After Trafalgar: The Royal Navy & the Napoleonic Wars, 1806 – 1816


After Trafalgar: The Royal Navy & the Napoleonic Wars, 1806 – 1816

This article examines the operational history of the Royal Navy during the military and geopolitical progress of the Napoleonic Wars, from the Battle of Trafalgar on 21 October 1805 to 27 August 1816 when Lord Exmouth suppressed the Algiers slave trade. This decade begins after Nelson and Collingwood smashed the invasion threat at Trafalgar, subsequent Franco-Spanish sea power thus reduced to mere squadrons, desperately rebuilding at bases scattered around the globe. The British Cabinet and Admiralty could at last concentrate on capturing France’s overseas naval bases and colonial factories. During these tumultuous years the United Kingdom persistently made war on Napoleonic France and captured the fleets and colonies of those nations which were allied to Bonaparte, such as Spain, Denmark, Russia and Italy. In 1812 the Royal Navy overcame the intervention of the United States, a growing power that had won dramatic naval victories against the United Kingdom. While ministries changed, and with them the prospects for peace, Cabinets tended to adopt the traditional strategy: wield the Royal Navy to blockade the enemy’s ports, land the British Army wherever possible, and supply treasure and resources to what became, after Napoleon’s escape from Elba, a total of seven military coalitions. 
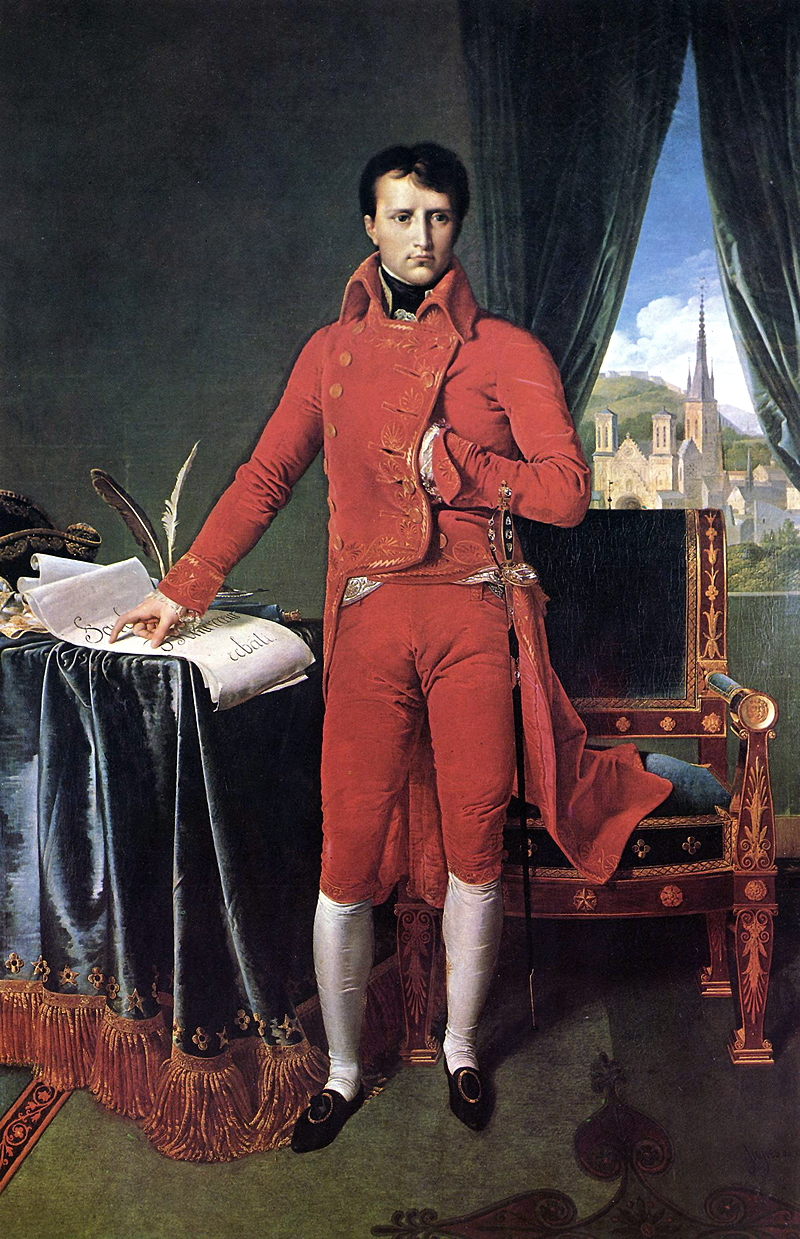
 

First COnsul2

Napoleon as First Consul, by Jean August Dominique Ingres c. 1803
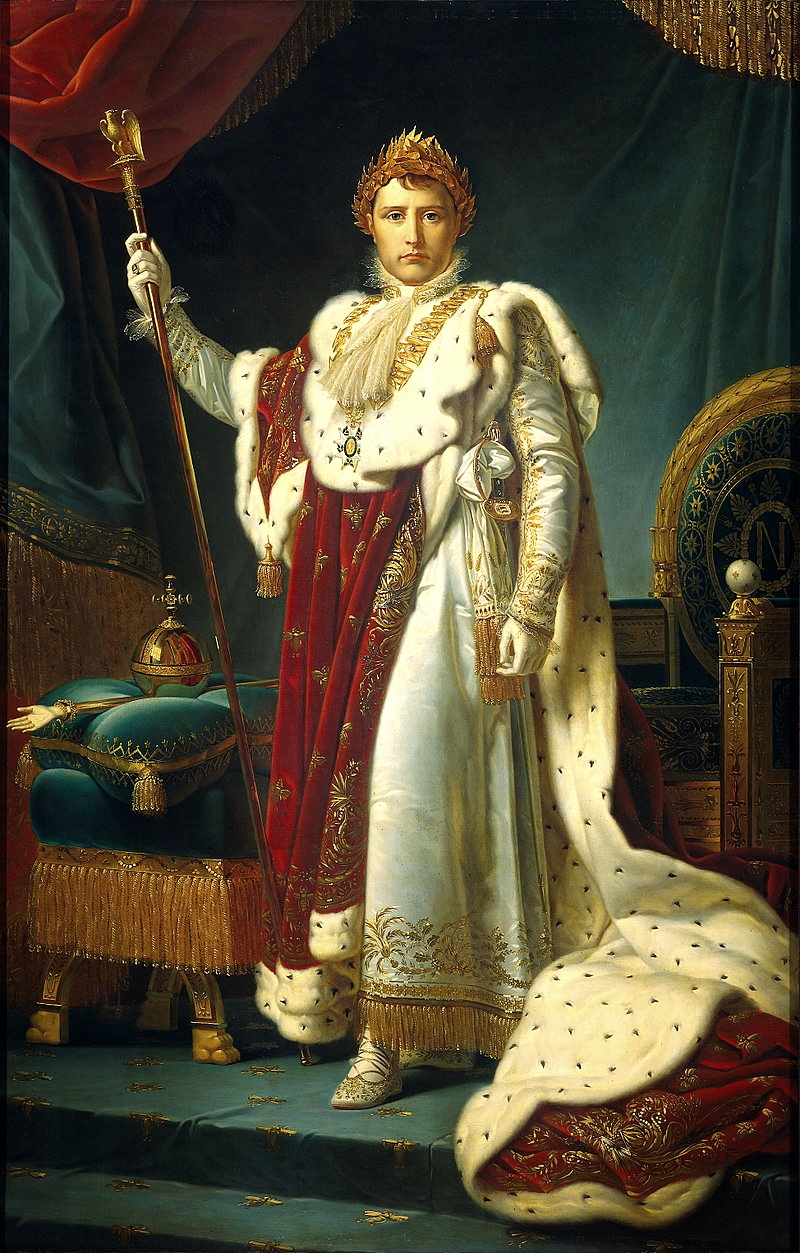
Napoleon I

Bonaparte crowned himself Emperor on December 2nd 1804. He was 35 years old. Painted by the studio of Francois Gerard.
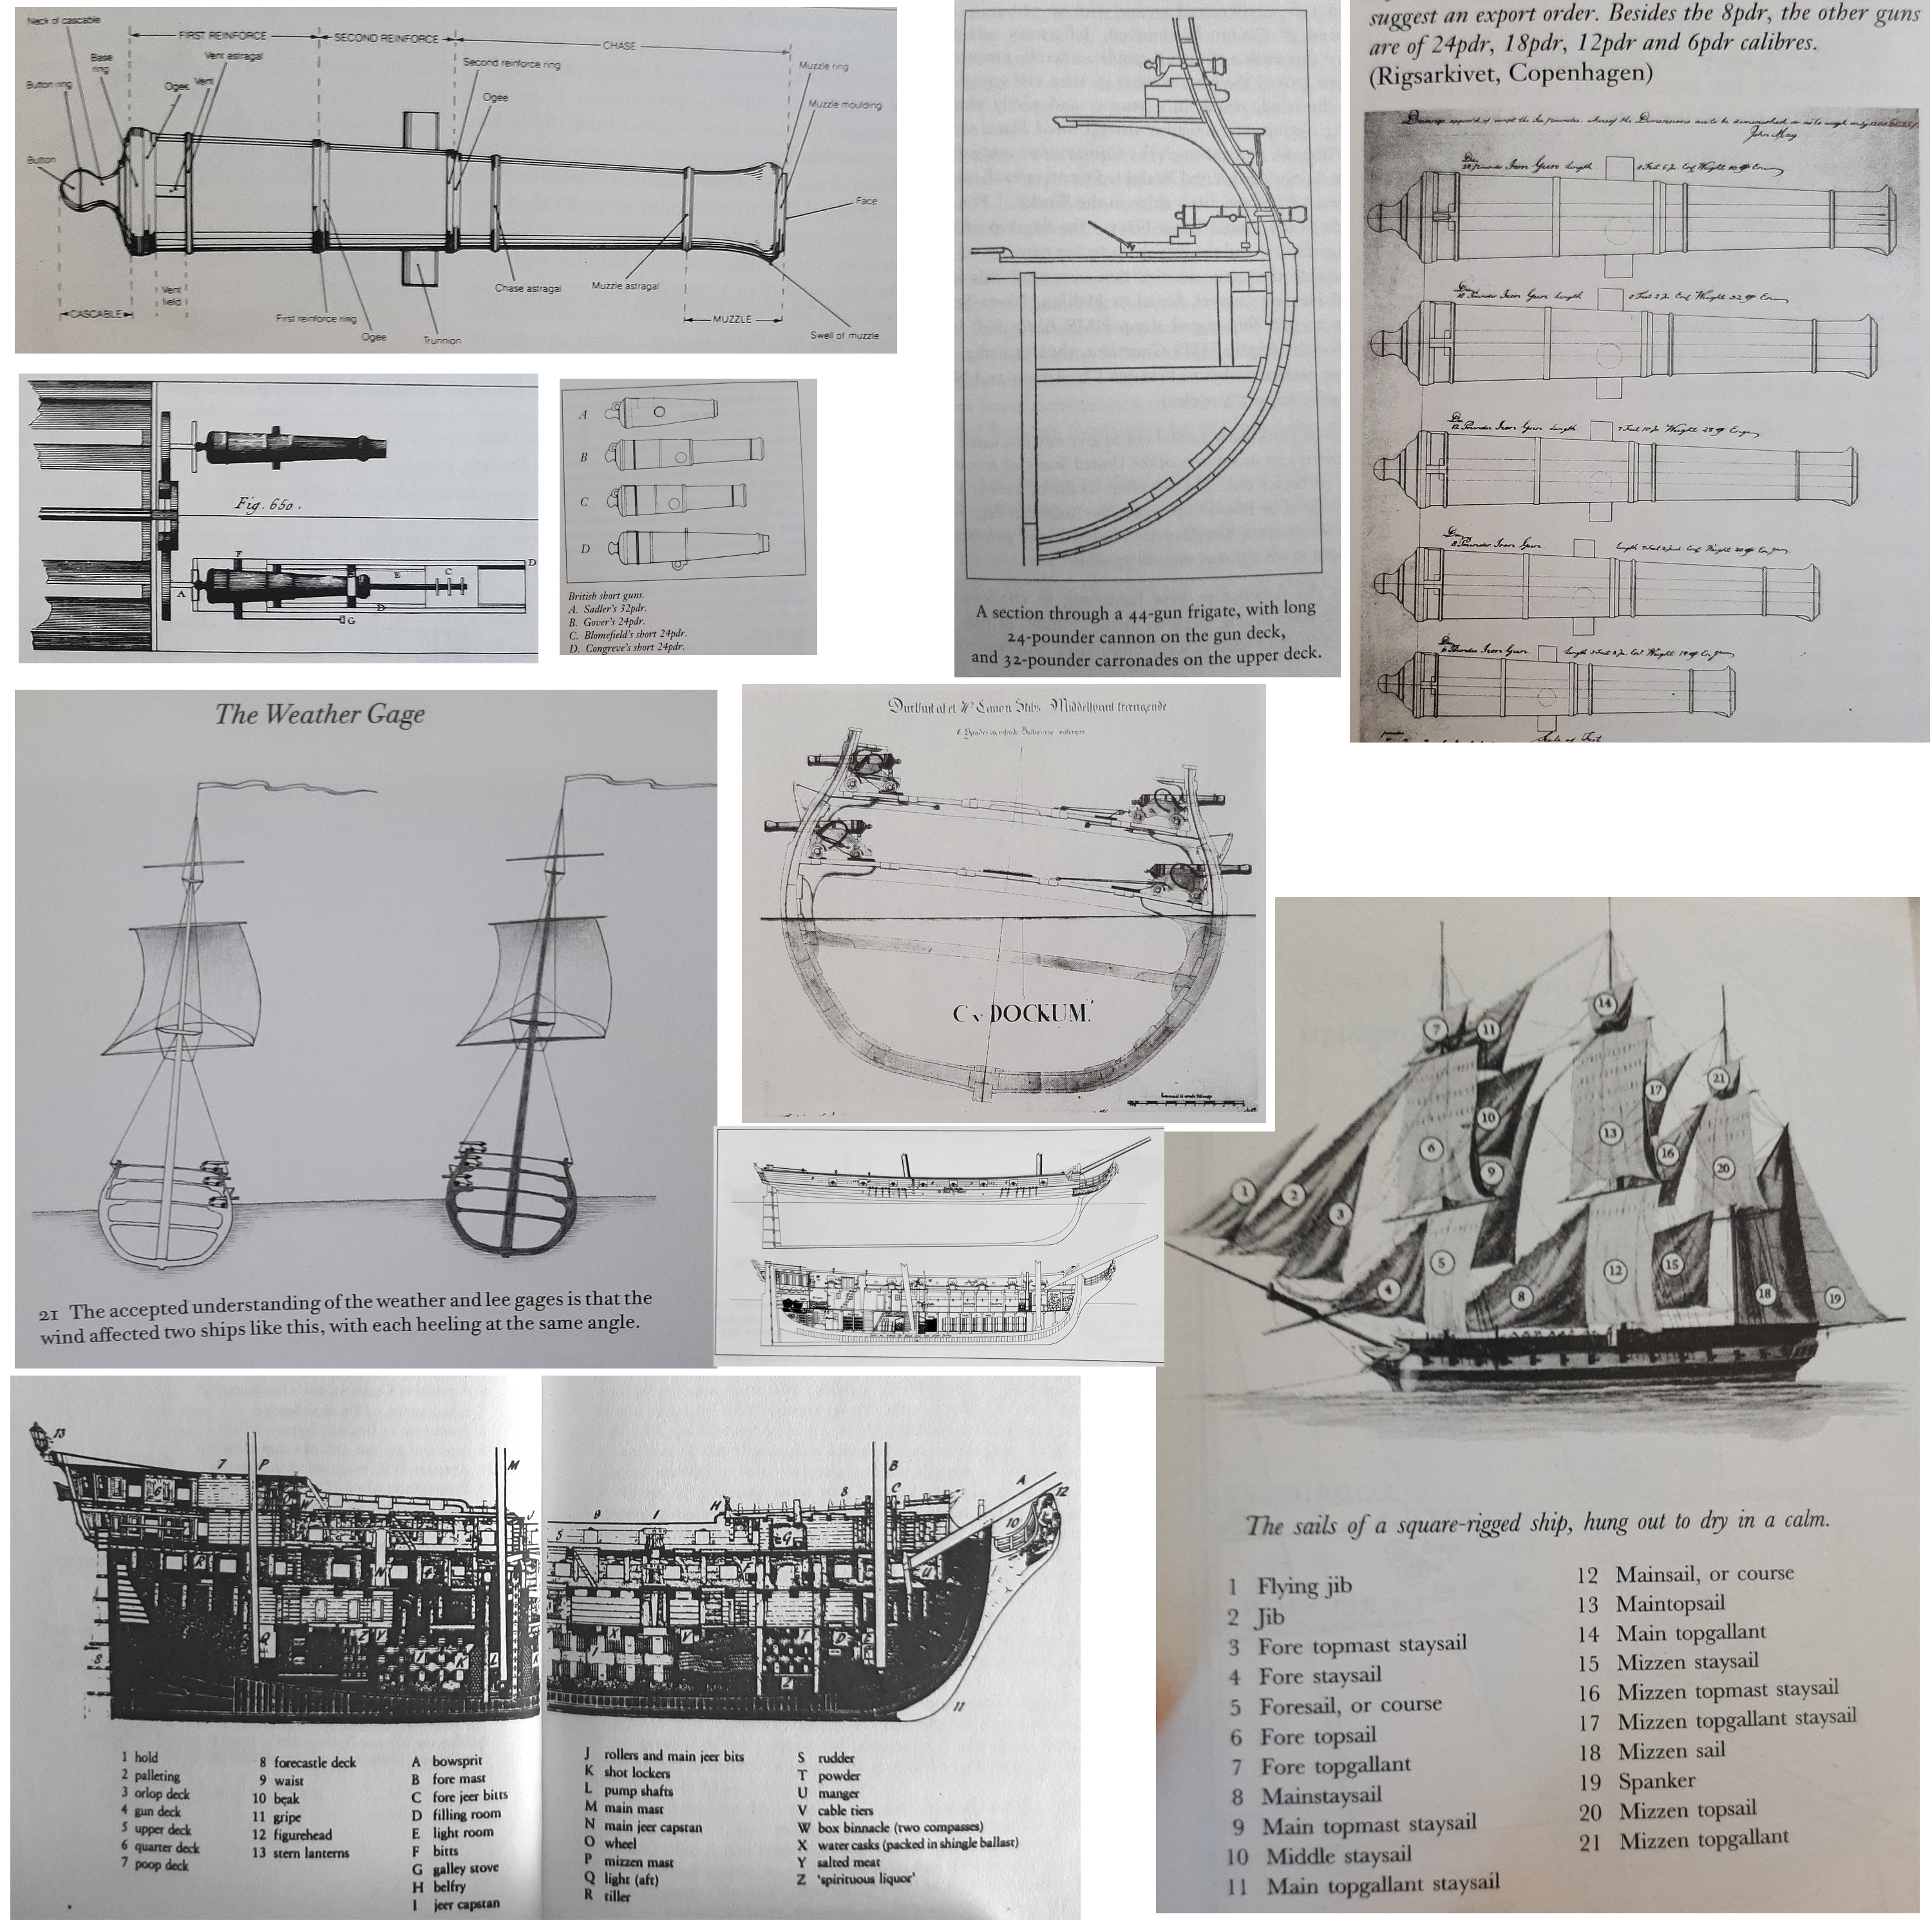
SHIPS

War at Sea during the Georgian period
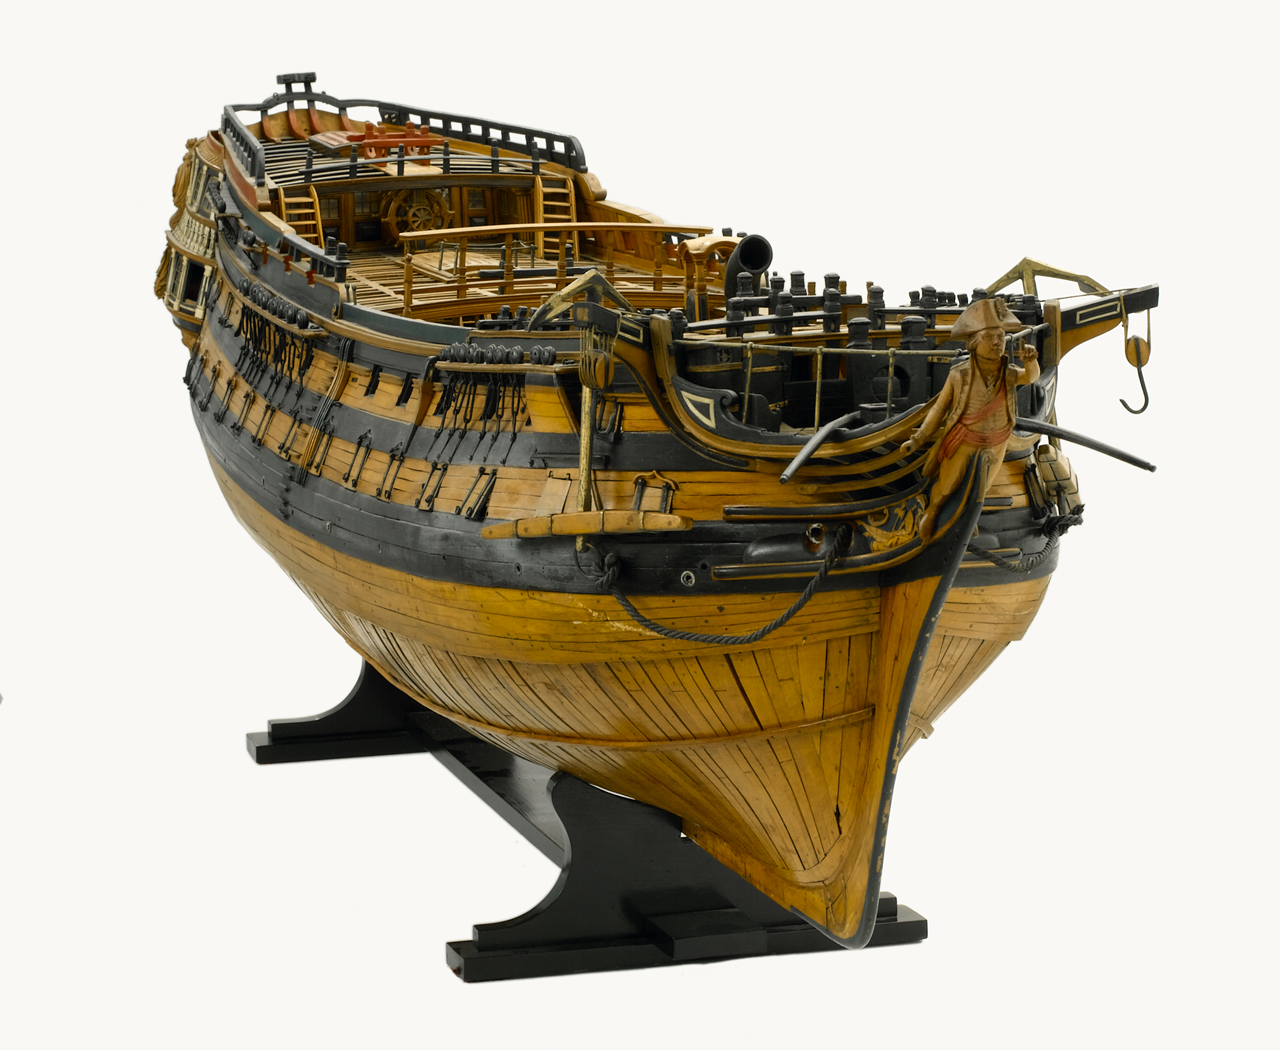
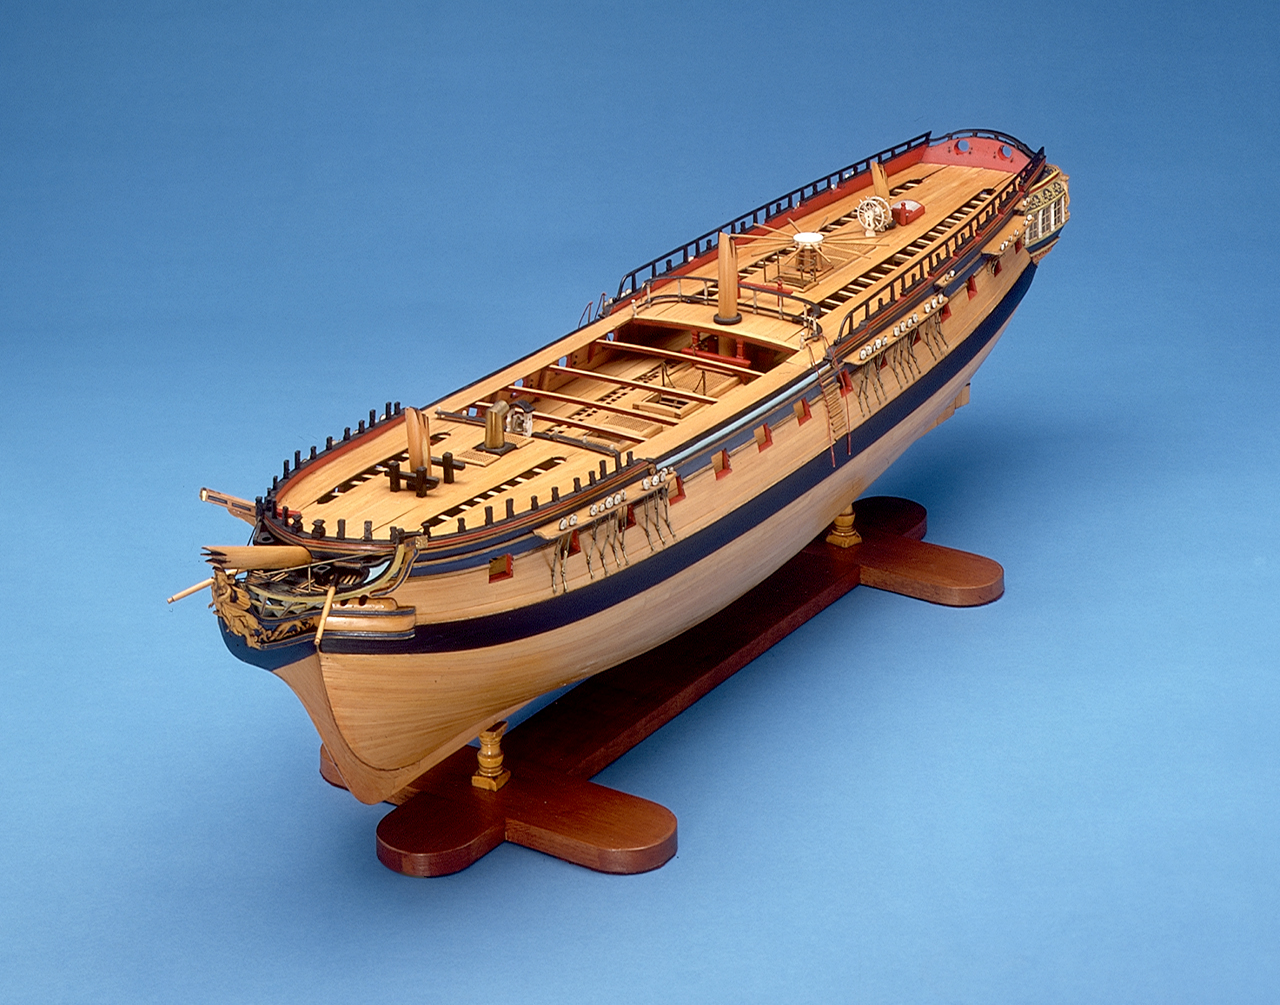
74 gun

74-gun third rate ship of the line, 1790 pattern

The Royal Navy’s role as strategic implement was to carry out amphibious operations of a vast scale and complexity. The goal was often to influence the situation on the continent by creating military diversions (the Peninsula, Walcheren), capturing the enemy’s naval bases and destroying his fleets (Copenhagen, Mauritius, Basque Roads), or acquiring the enemy’s colonies. Convoying merchants and hunting privateers were vital trade protection responsibilities that regional commanders needed to master.
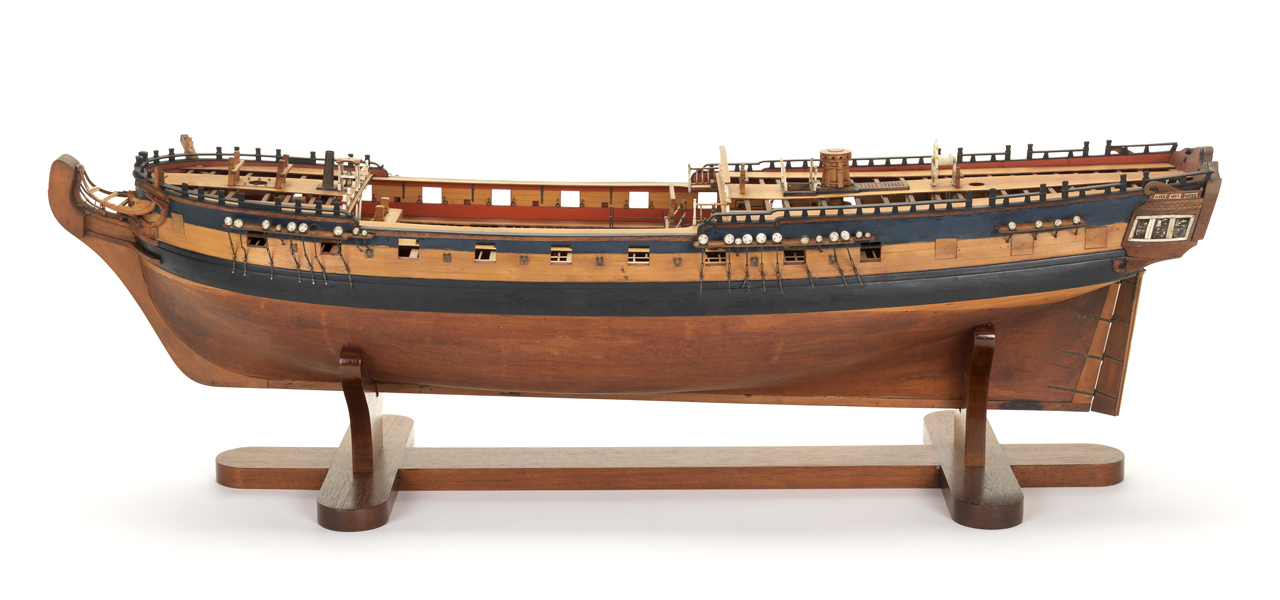
SLR0509

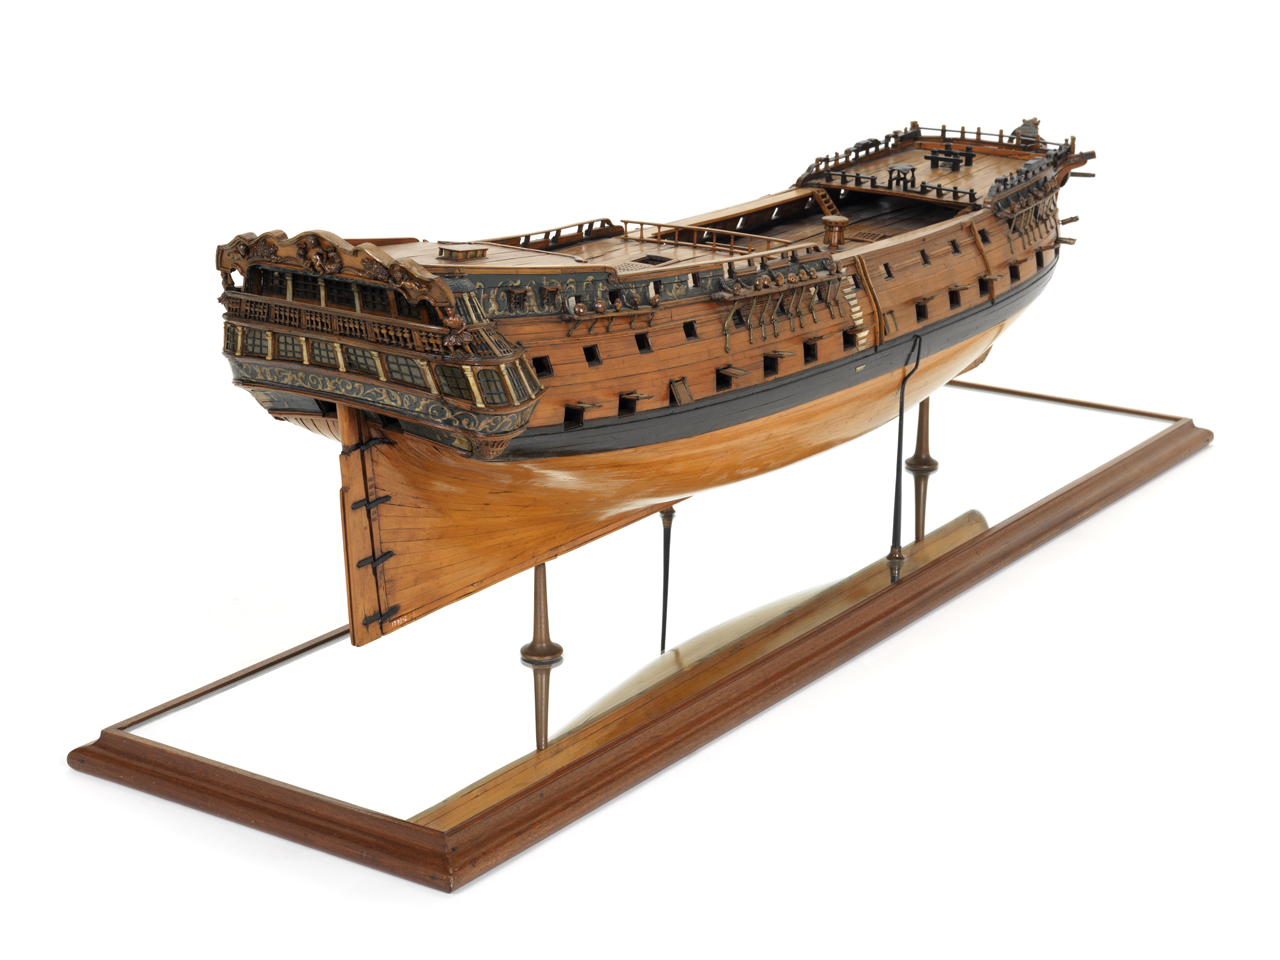
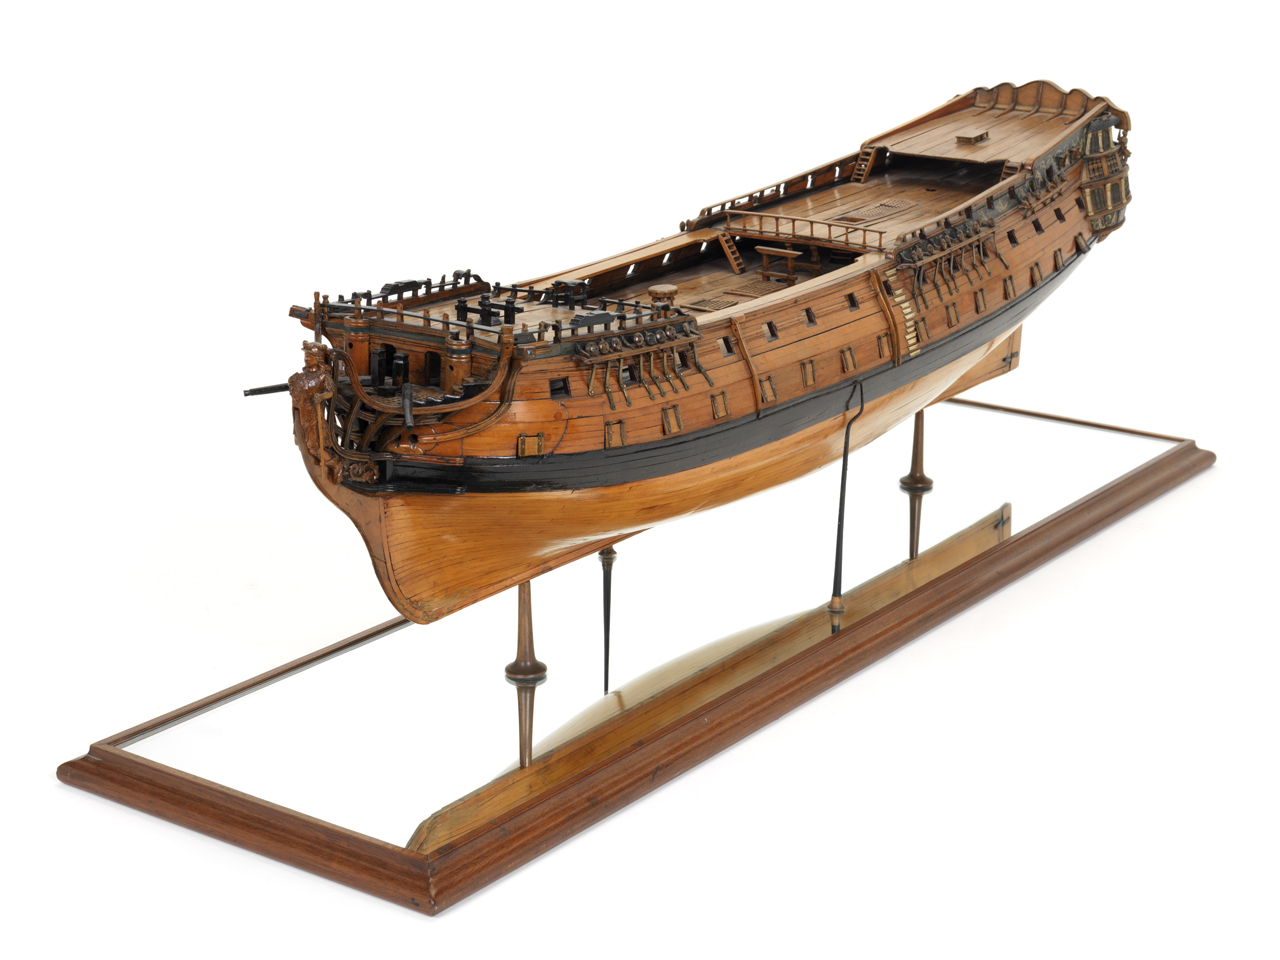
28-gun frigate c. 1763, 586 tons: 24 9-pdr cannons, four 3-pdrs on the quarterdeck
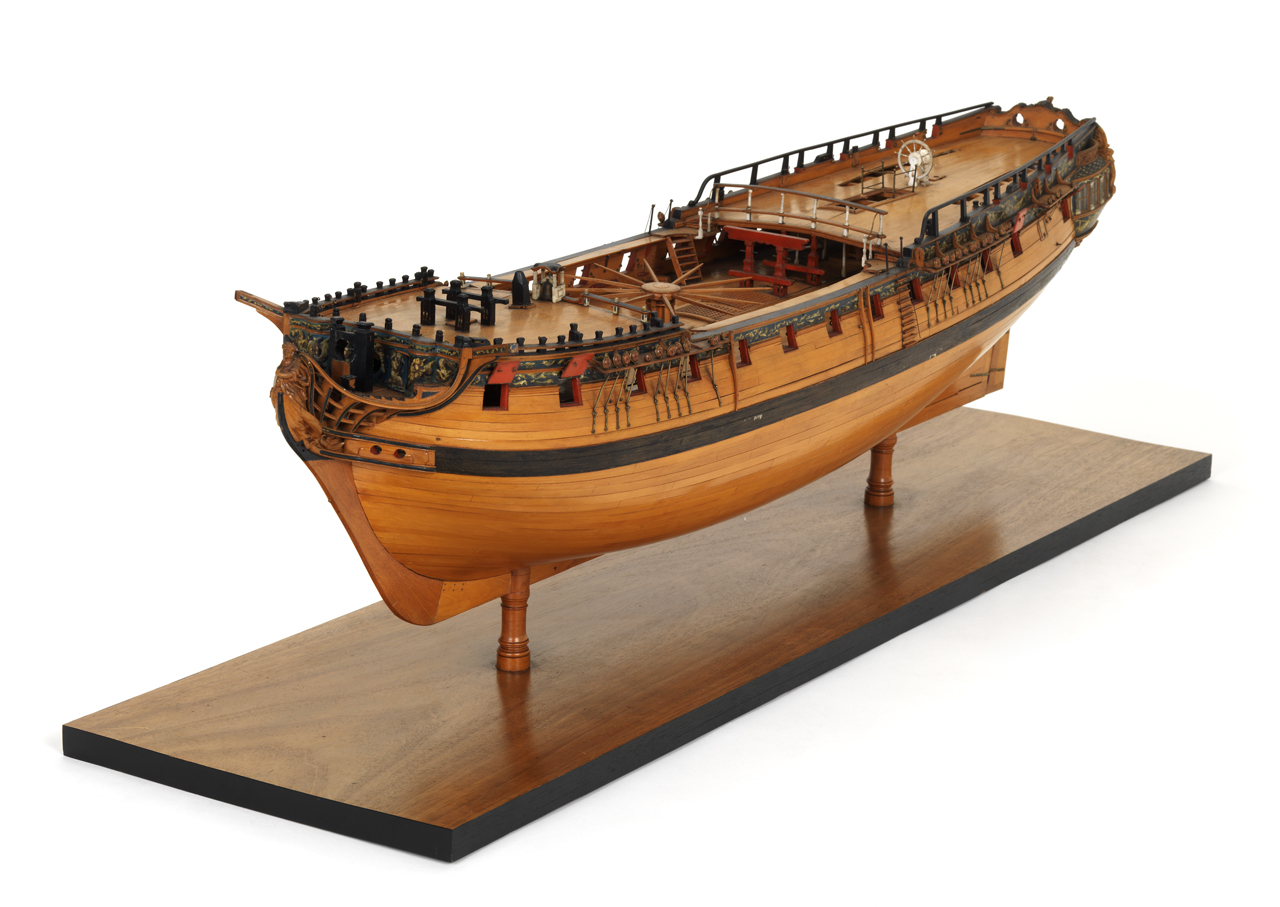
SLR0497

32 gun fifth rate, c. 1757, 660 tons

When these many global campaigns are considered to have occurred in addition to the nearly round the clock blockadade of European harbours, and by 1813 American ports, not to mention resources dedicated to convoy operations, logistical transportation and anti-privateering, it can be seen what influence an organization manned by not much more than 110,000 men in fact had in terms of executing Britain’s foreign policy and shaping world history.
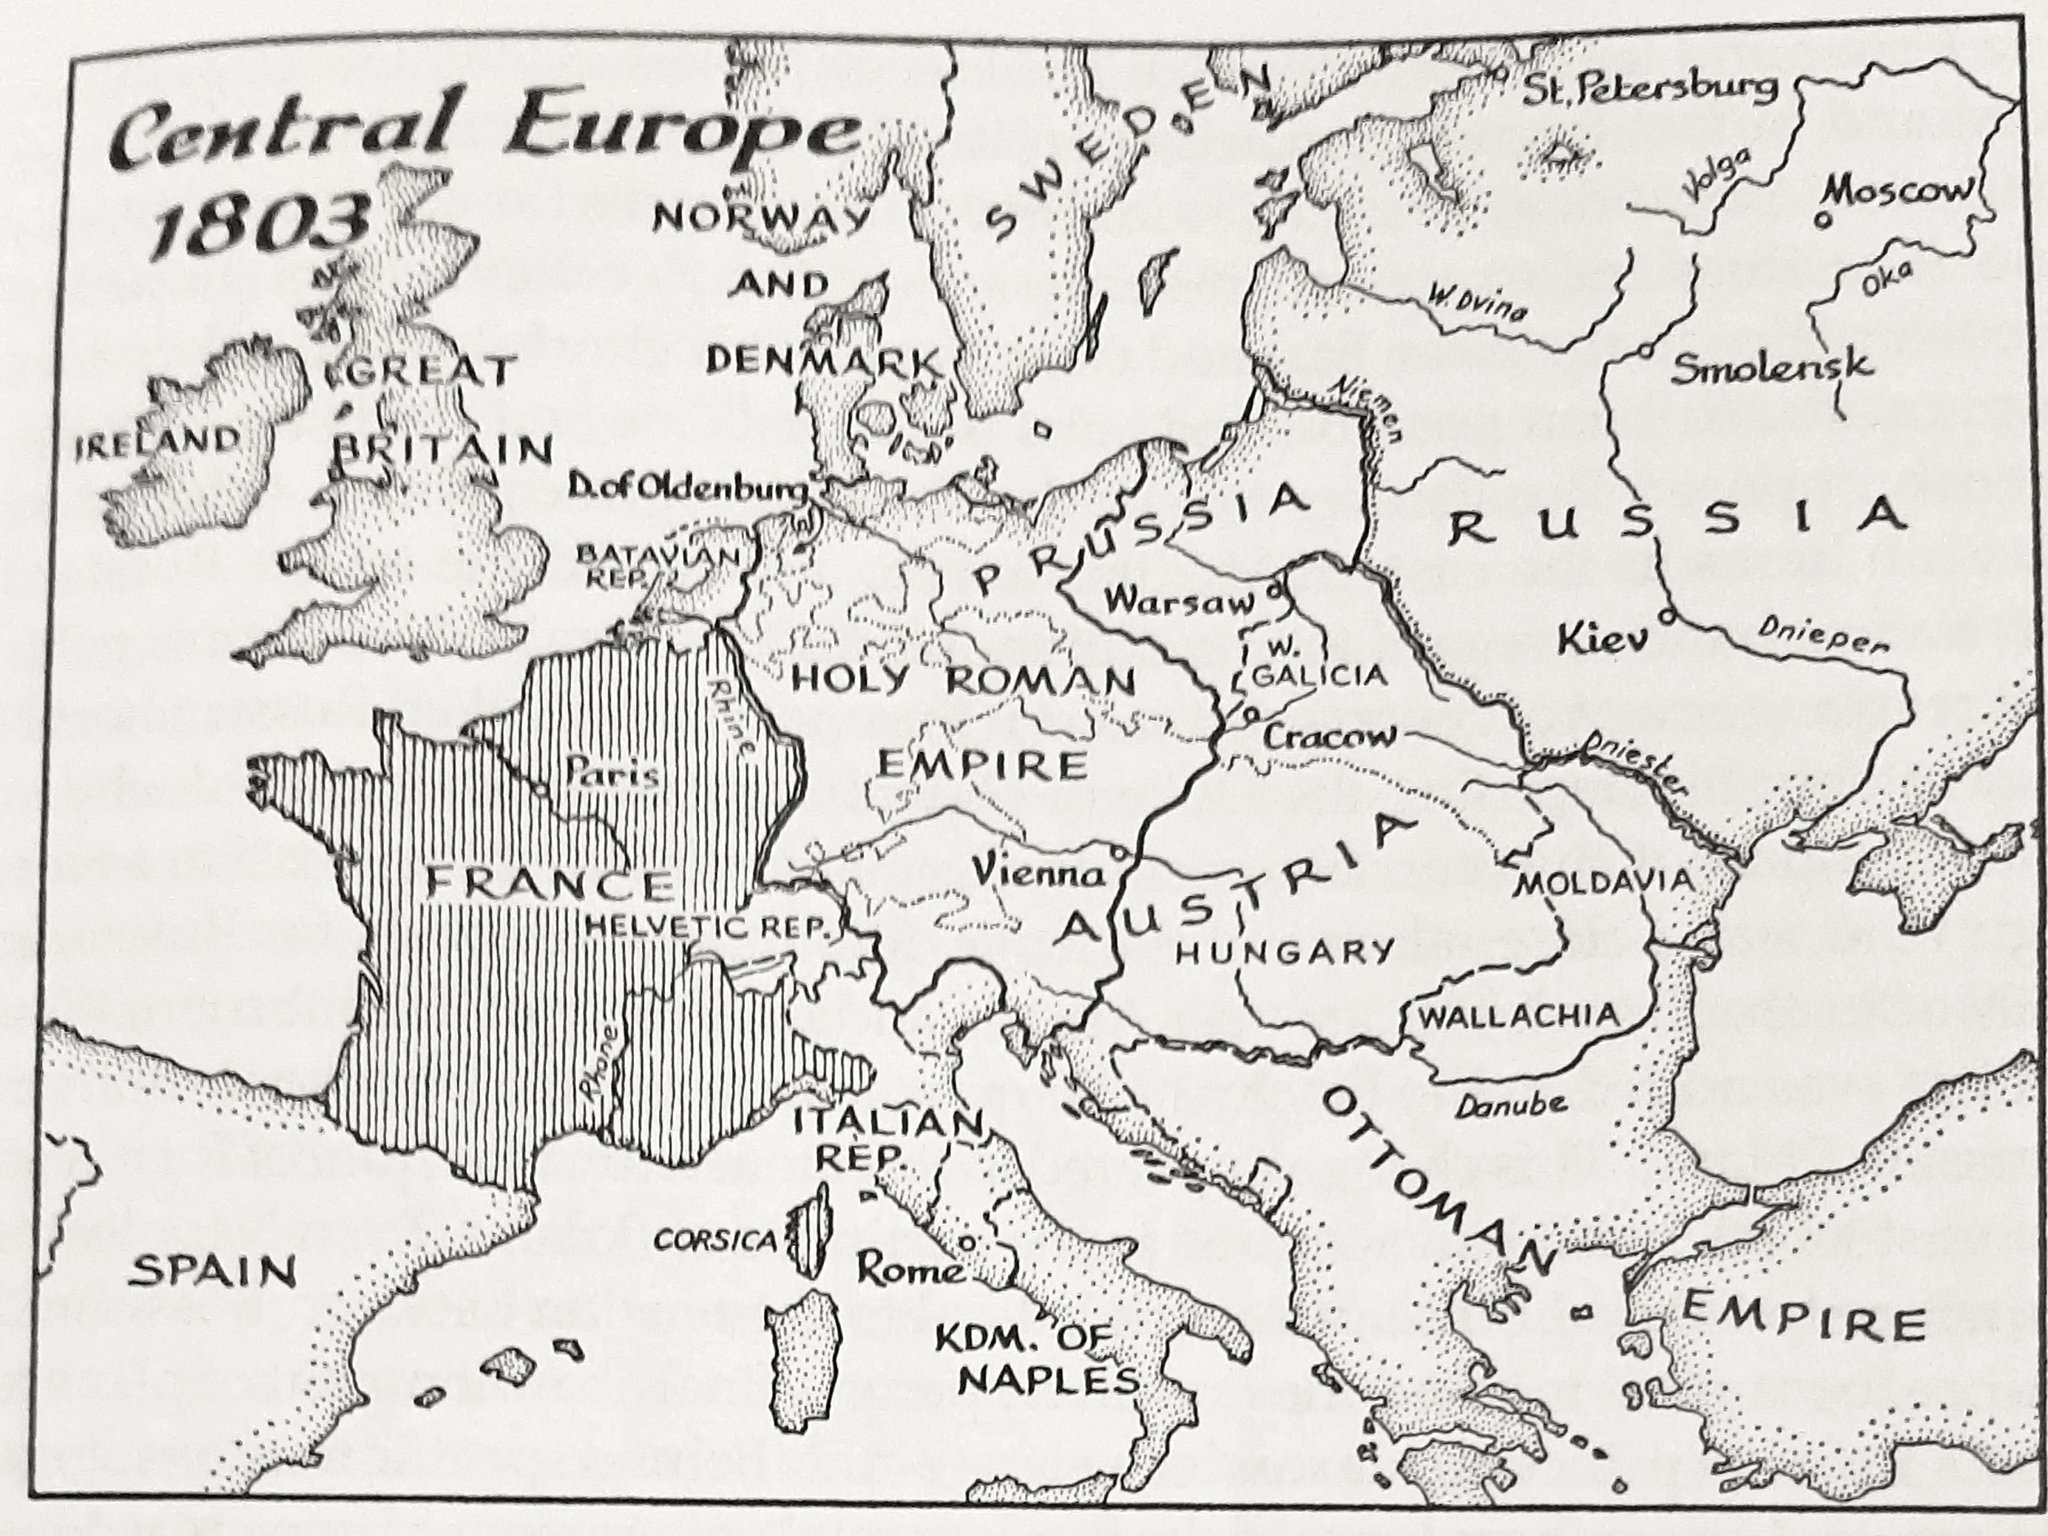
1803


Part I

1793

The Wooden Walls

Emperor Napoleon

Emperor Napoleon I in his coronation robes, 1804, by Jean Louis Charles Pauquet
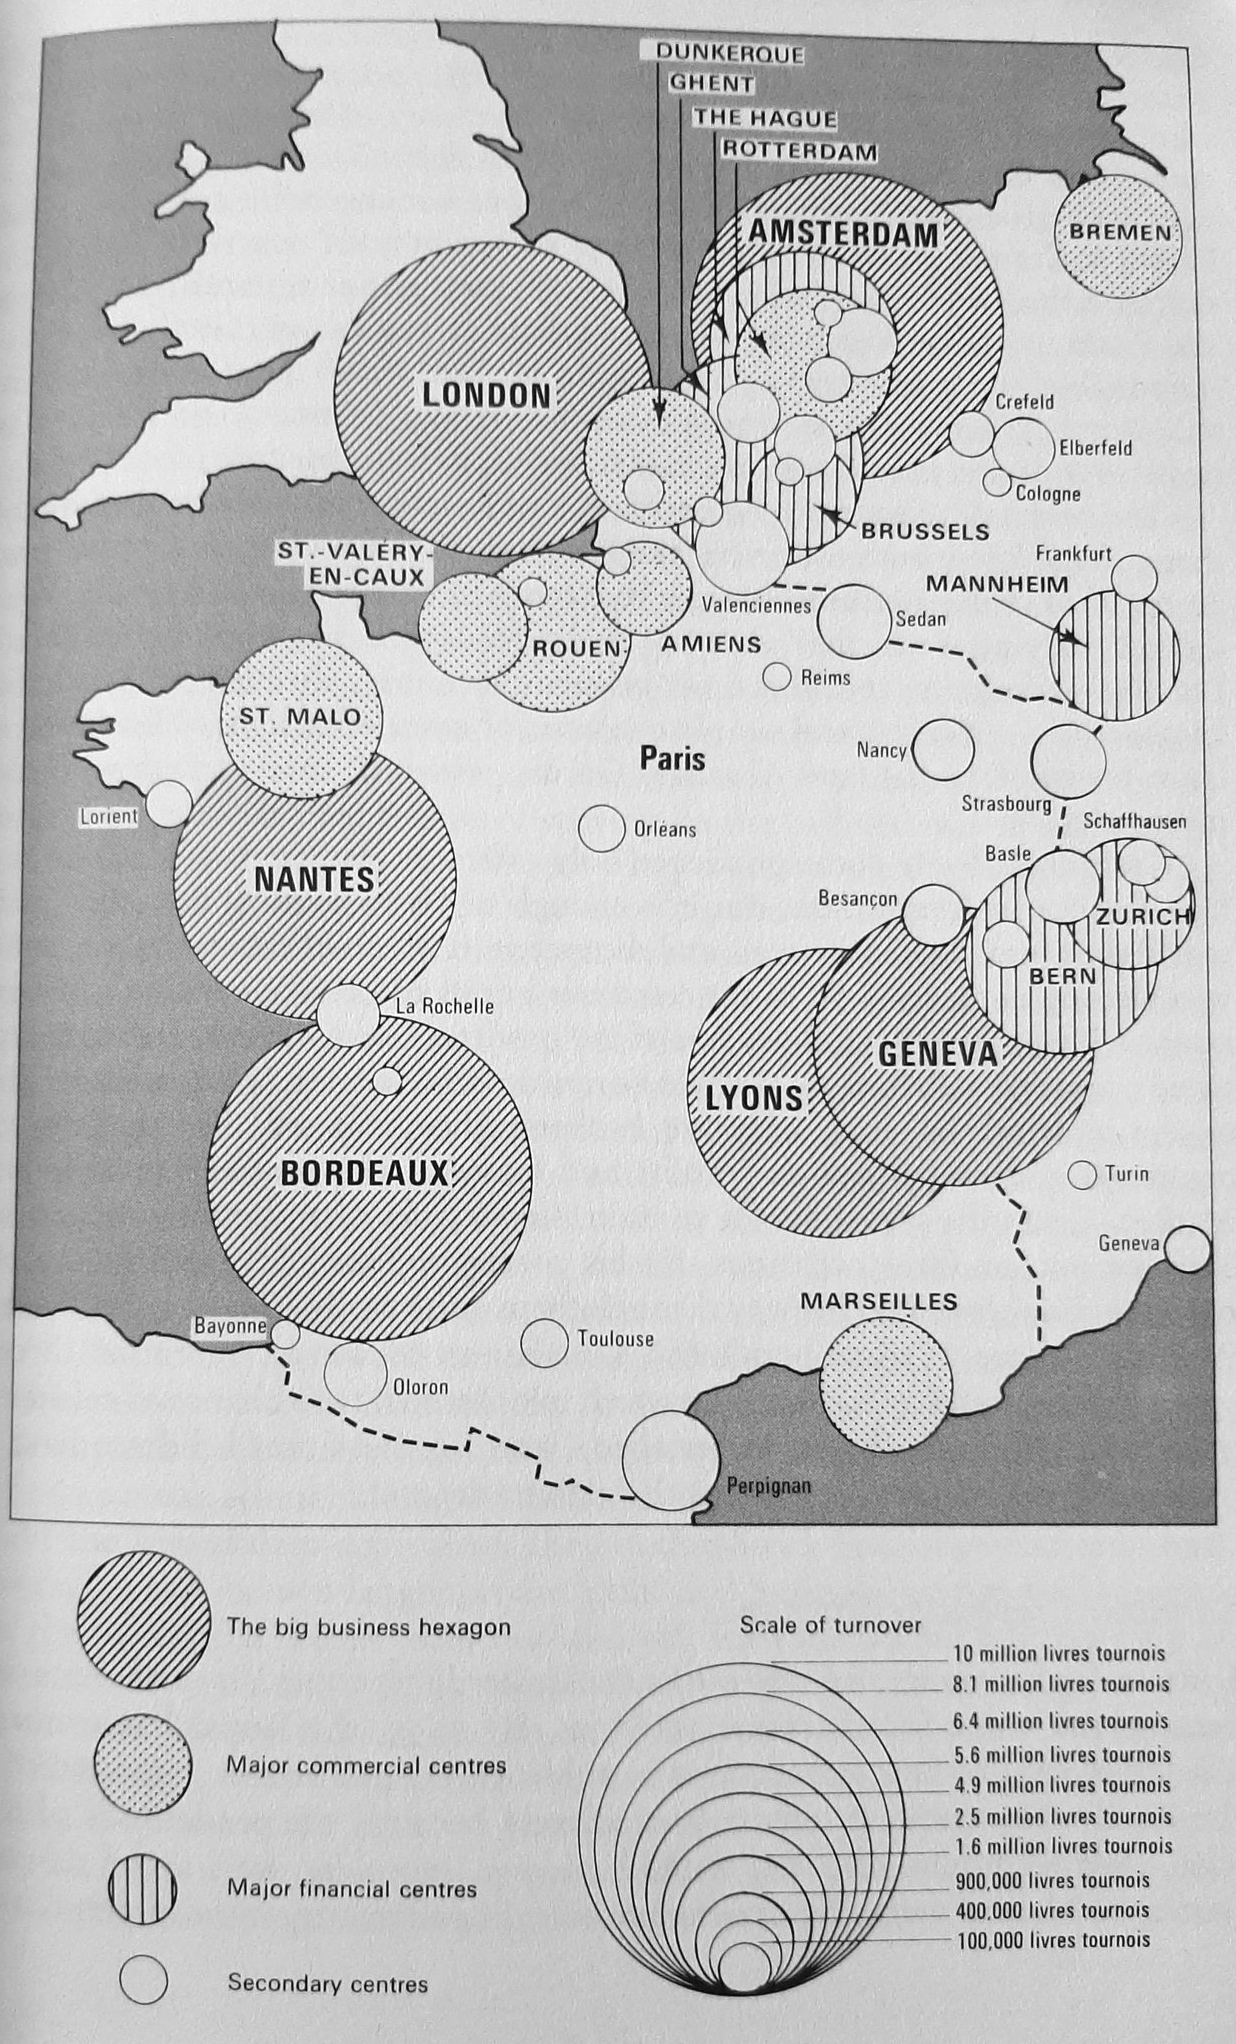
 

braudelmarkets

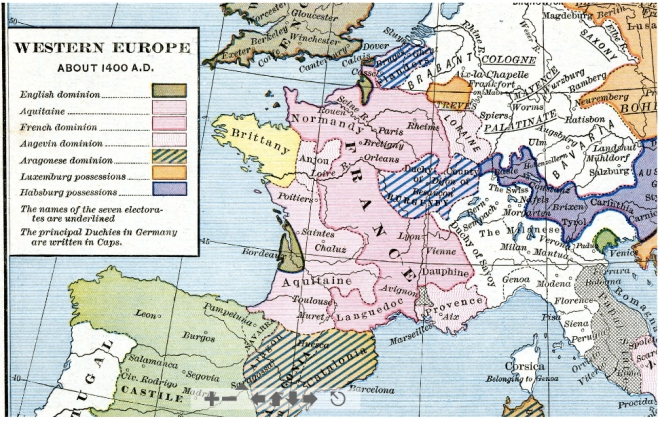
Late 18th century Western European commercial concentrations, from Fernand Braudel’s Wheels of Commerce. Paris and its environs represent the largest economic concentration
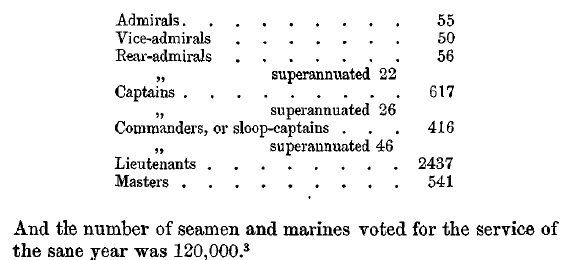
 

RN1806

Establishment of the Royal Navy in 1806

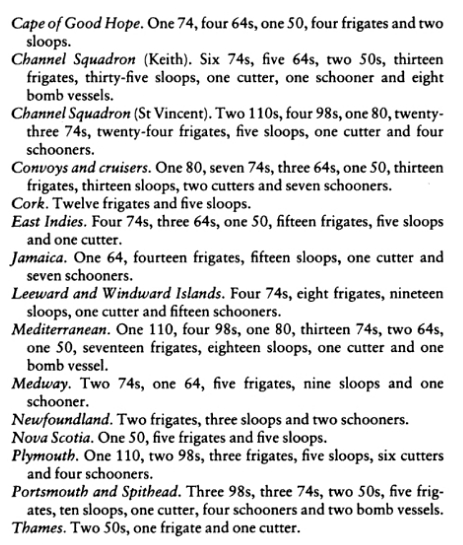
The Royal Navy expanded exponentially after 1793 when Revolutionary France declared war upon the United Kingdom and Holland, the latter whom the British were obliged to defend by the treaty of 1788. Mobilization increased the navy’s manpower estimate from the peacetime establishment of 20,000 seamen in 1792 to 73,000 the following year, a figure that continued to increase until it reached 100,000 in 1796. This level was maintained until the peak of 114,000 was reached in 1812. Another 165,000 seamen manned the merchant marine in 1812 (up from 118,000 in 1792). Nor do these figure include the Royal Marines: 5,000 in 1793, 30,000 by 1810, when the art of amphibious warfare had been finely honed.[1] At the beginning of 1806 the Royal Navy possessed 128 ships of the line, 15 fifty-gun cruisers, with another 88 and 19 building, respectively, for a total establishment of 250 ships, discounting frigates, etc.[2]
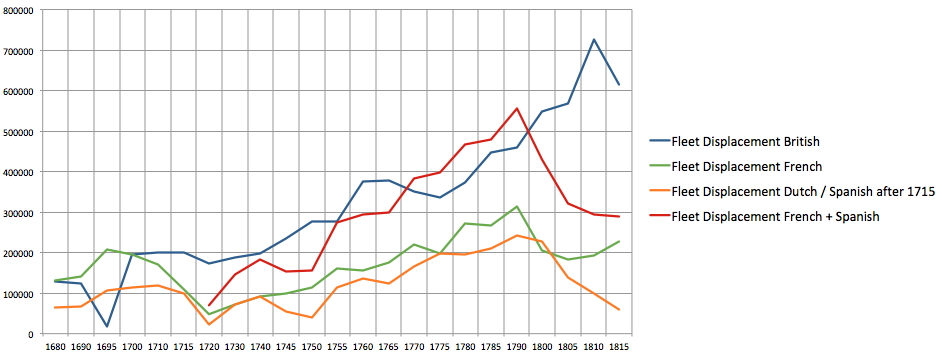
 

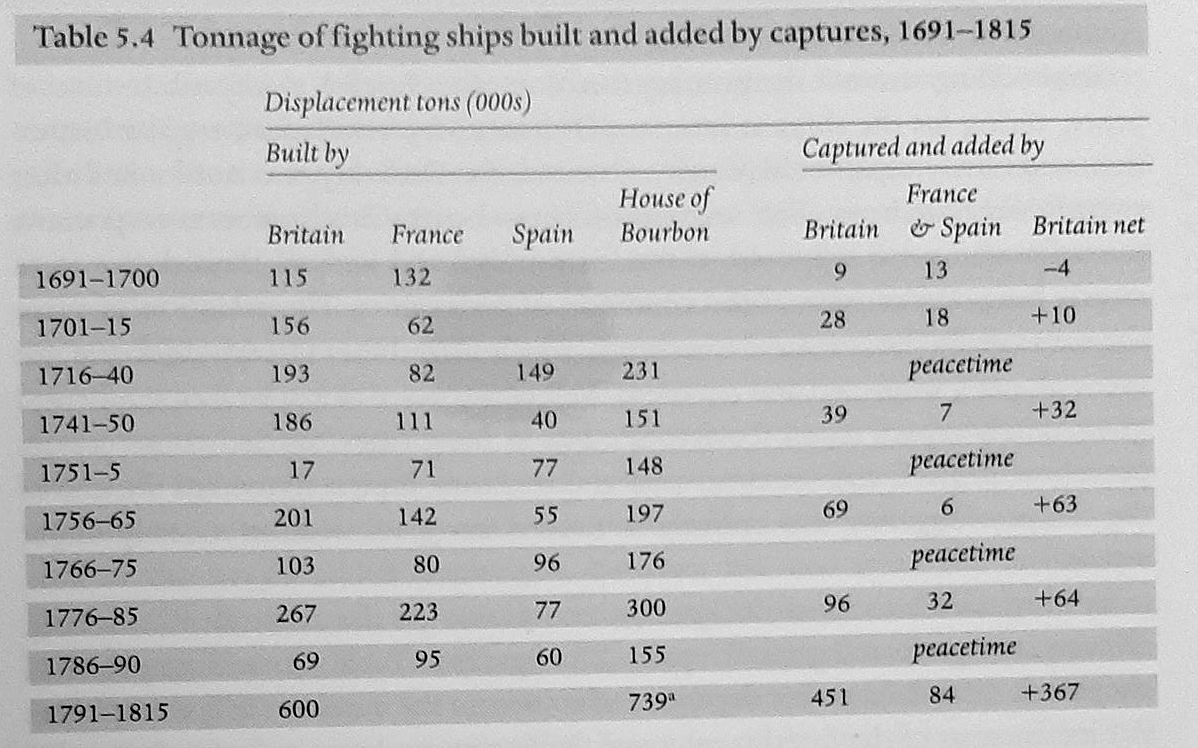
Fleet displacments2

Displacement tonnage of European fleets during 17th and 18th centuries
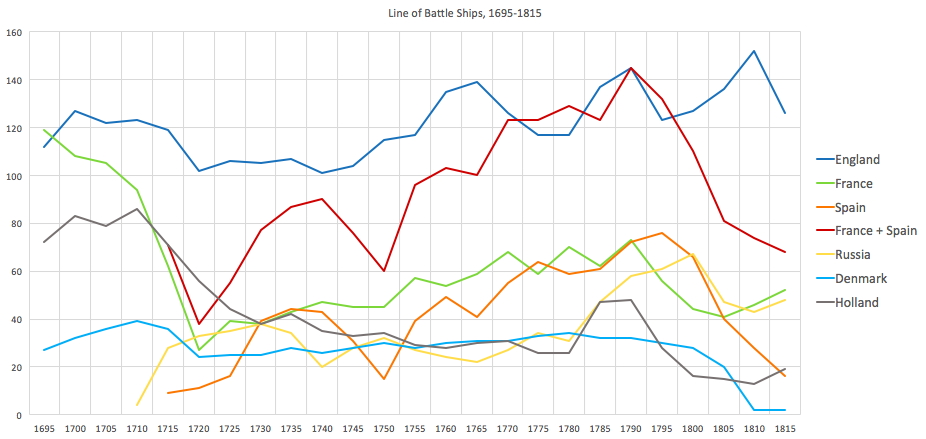
WarshipsFrigates

Numerical size of fleets during 18th century, ships of the line and frigates

The combined fleets of France and Spain were nearing parity with the Royal Navy when the Revolution broke out.
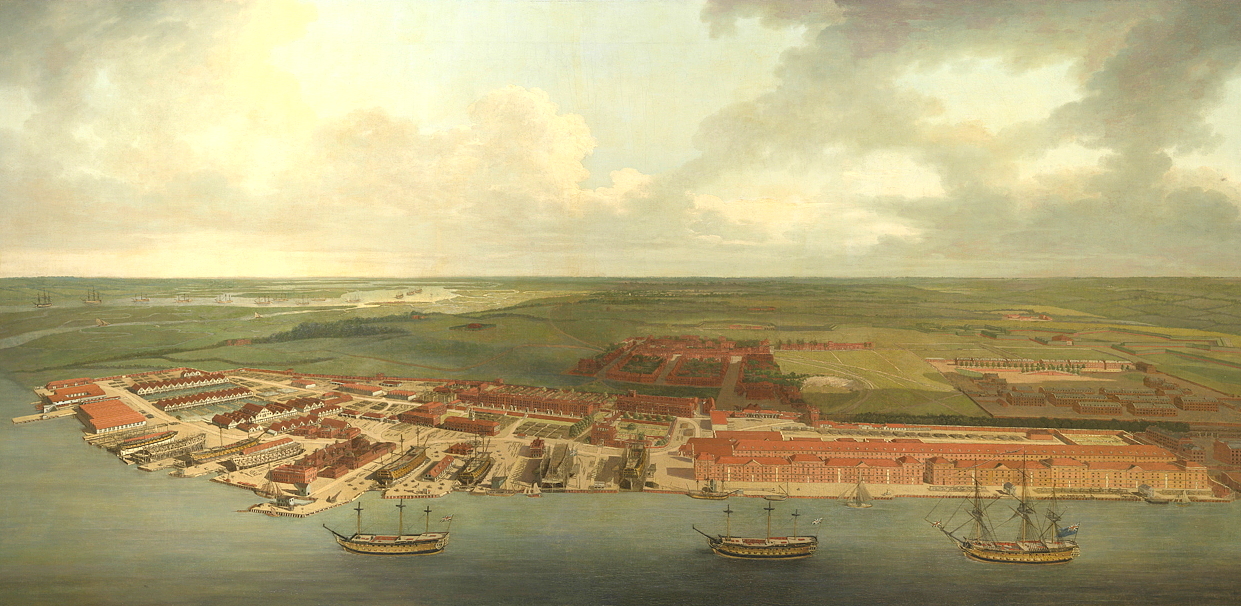
 

Chatham Dockyard by Farrington BHC1782

Chatham Dockyard, c. 1780s, by Joseph Farington
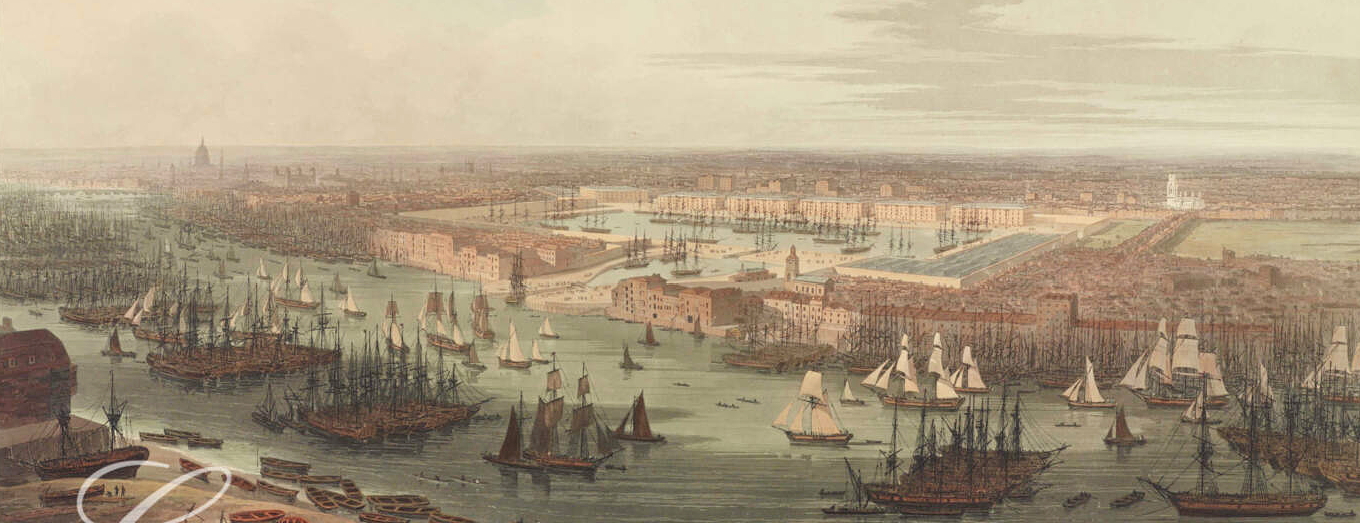
London Dockyard

London Docks at Wapping, 1803, by William Daniell

The generation of Royal Navy officers prominent in 1806 emerged from a long tradition of admirals, beginning in the hard school of the Elizabethan age. Prototypical practitioners such as the Earl of Lincoln, the Duke of Northumberland, Howard of Effingham, Sir John Hawkins, Francis Drake, Thomas Seymour, the Earl of Nottingham, the Earl of Essex, the Earl of Cumberland, Walter Raleigh, Richard Grenville, even Martin Frobisher, all illustrious predecessors who set the stage for their 17th century progeny. A new breed of sea generals evolved from the Civil War and Dutch Wars, including William Monson, George Somers, Edward Montagu, William Penn, the Duke of Northumberland, Robert Blake, George Monck, John Chichley, the Duke of York, the Duke of Grafton, and after 1688, Arthur Herbert, John Benbow, George Rooke, Stafford Fairborne, Viscount Torrington, John Leake and Edward Russell, whose 18th century successors were George Anson, George Clinton, Edward Vernon, Edward Hawke, John Byng, Edward Boscawen, John Byron, Samuel Barrington, George Pocock and James Cook, followed by George Rodney, Samuel Hood, John Harvey, Augustus Keppel, Richard Howe, George Darby, Robert Calder, and Charles Middleton.
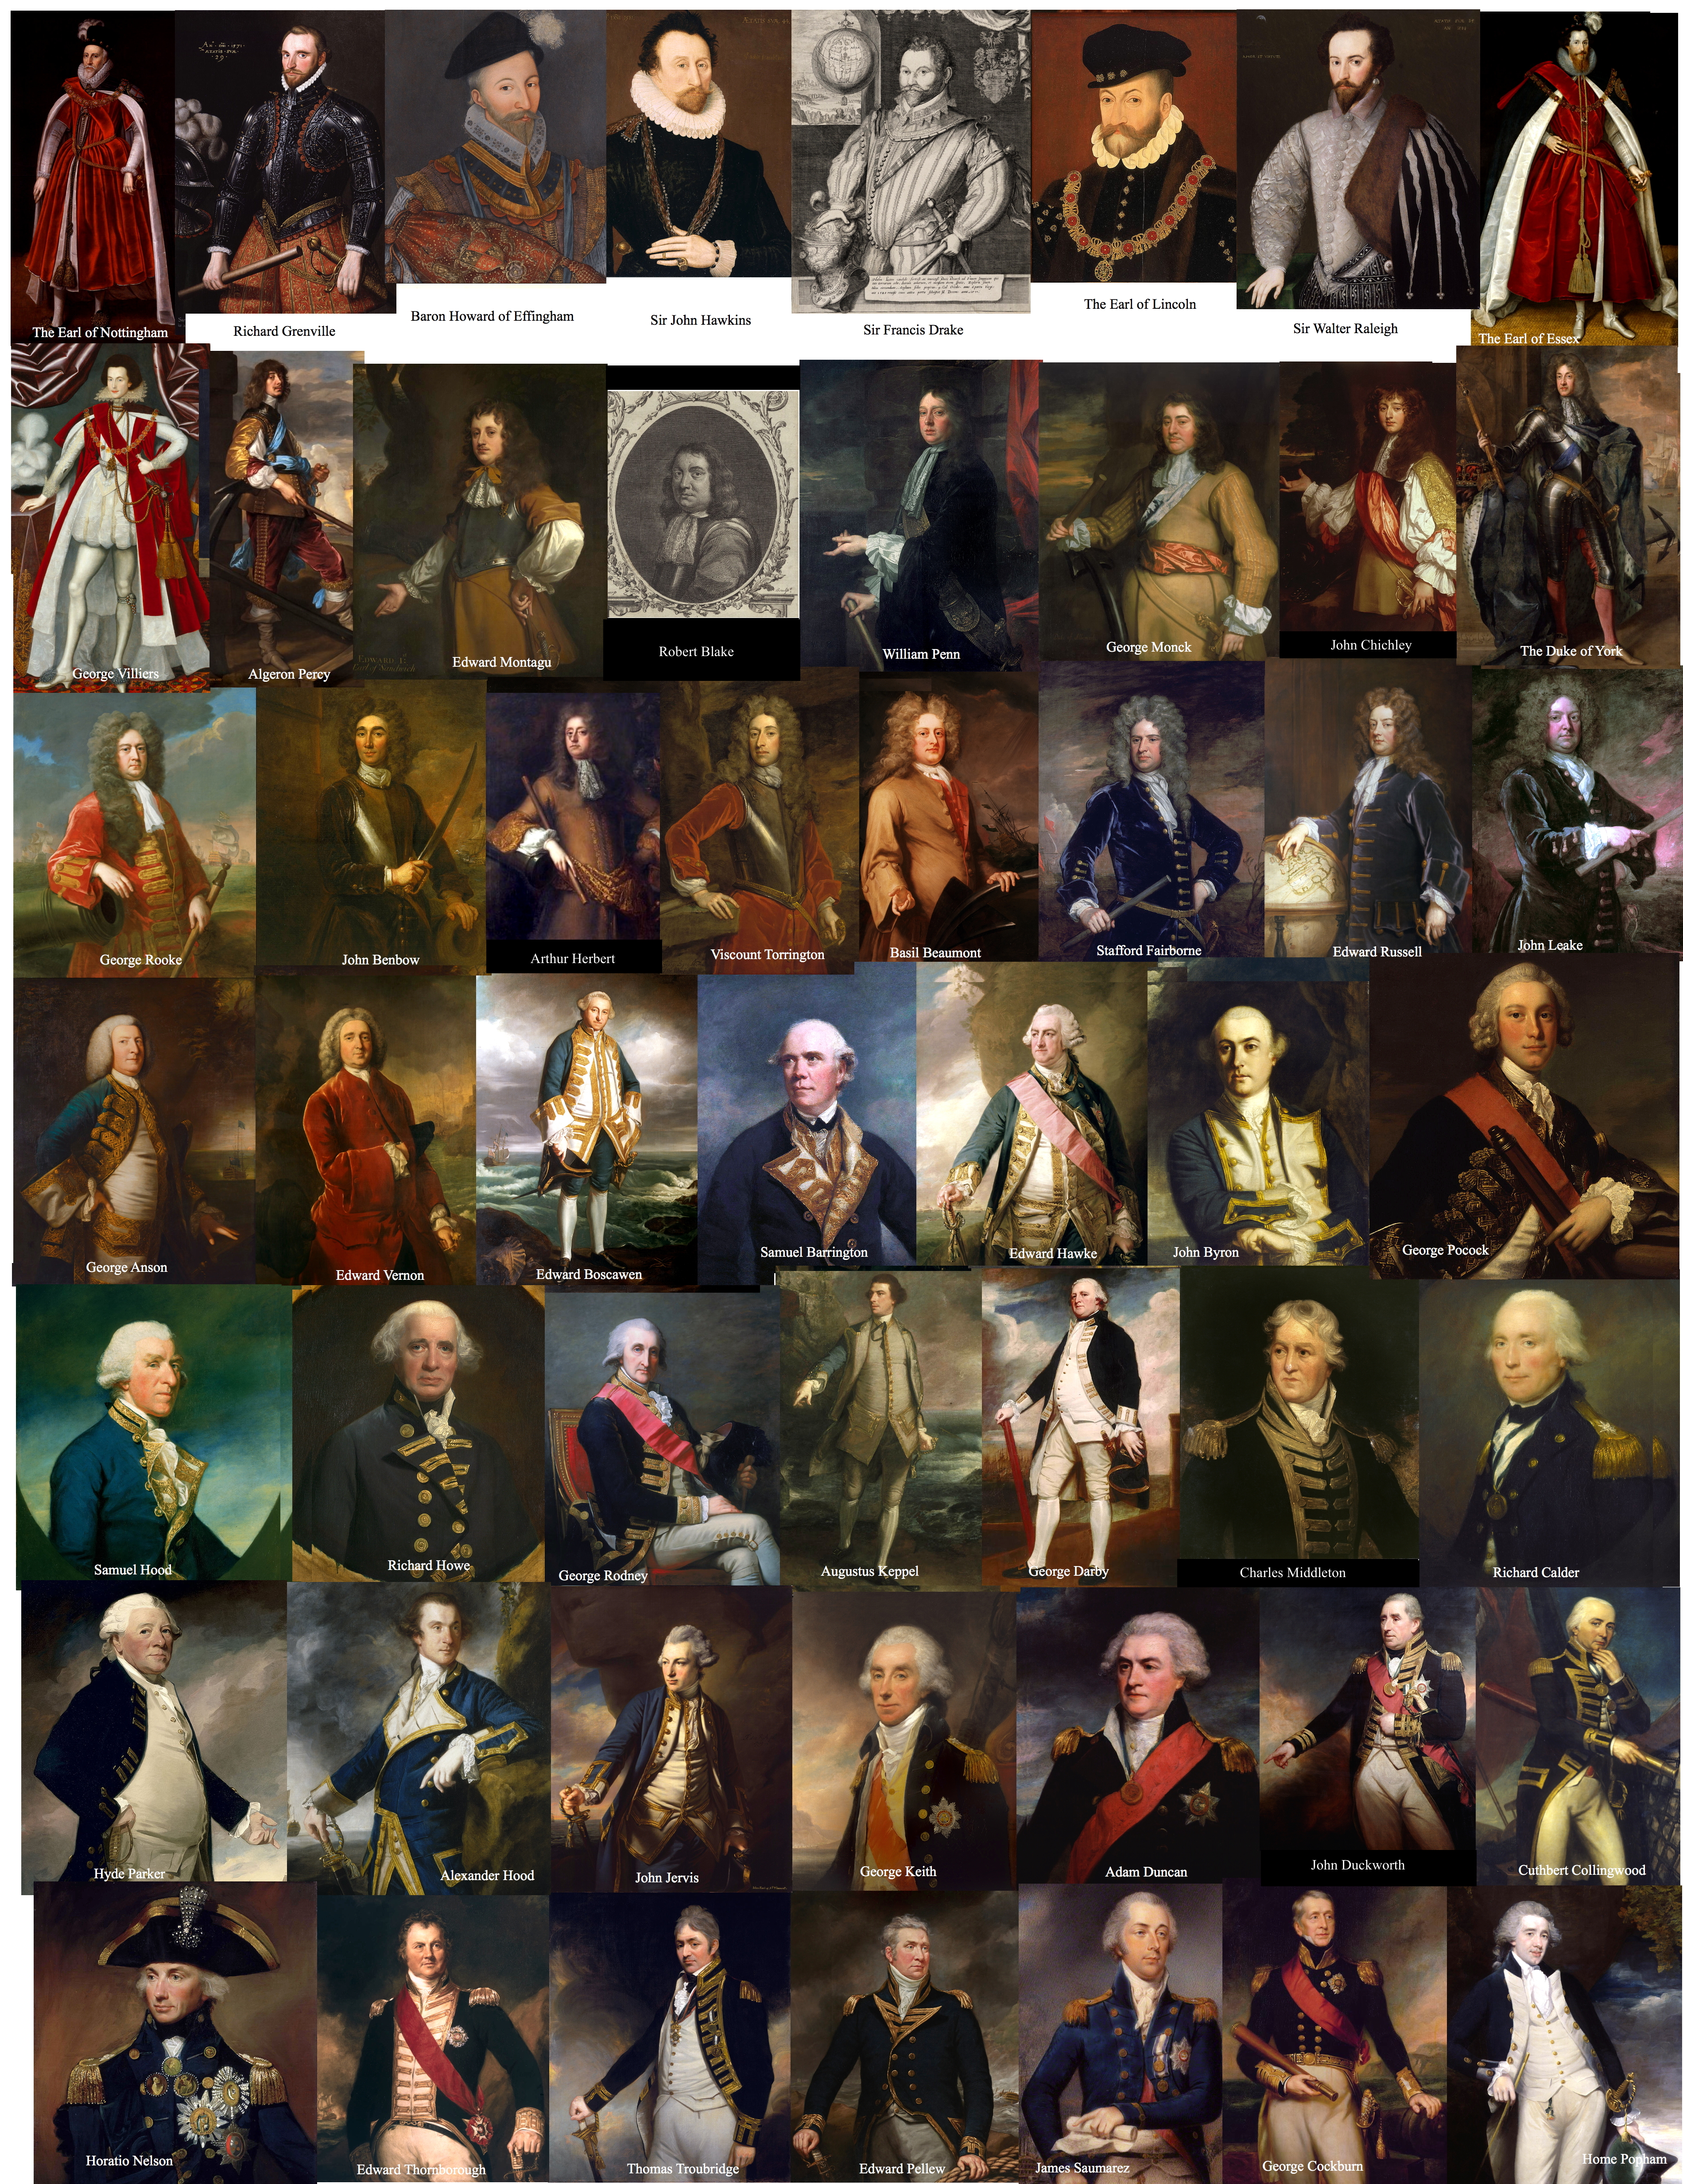
 

Masters05

Officer generations of the Royal Navy, from Elizabeth I to George III, 1558-1815

David Syrett, Nicholas Rodger, Roger Knight and Andrew Lambert are in agreement that the generation of officers who had risen to prominence since the beginning of the Napoleonic Wars were the successors of more than a centuries worth of professional experience.[4] The “service elite” who emerged out of the phase 1740-1792,[5] which included the War of Austrian Succession, the Seven Years War, the American Revolutionary War and the War of the First Coalition, had now produced the penultimate generation of 18th century officers: Alexander Hood, Adam Duncan, John Jervis, William Cornwallis, Hyde Parker, George Keith, John Duckworth, and Cuthbert Collingwood, whose uncompromising understudies and contemporaries, in particular those born between 1753 and 1775, included Horatio Nelson, James Gambier, Edward Pellew, Alan Hyde Gardner, James Saumarez, Thomas Thornbrough, Alexander Cochrane, Richard Strachan, Home Popham, John Warren, Robert Stopford, George Cockburn, Thomas Fremantle, William Sidney Smith, George Vancouver and Charles Stirling. It was these officers who carried Jervis and Nelson’s work through to completion.
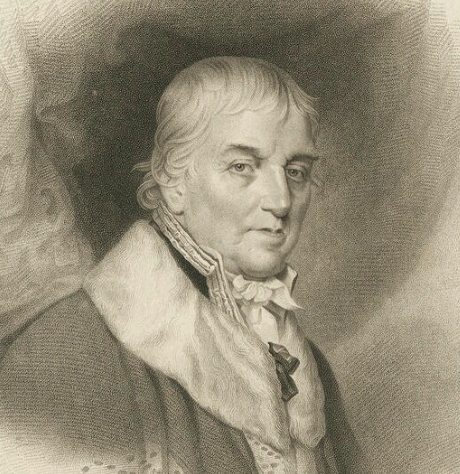
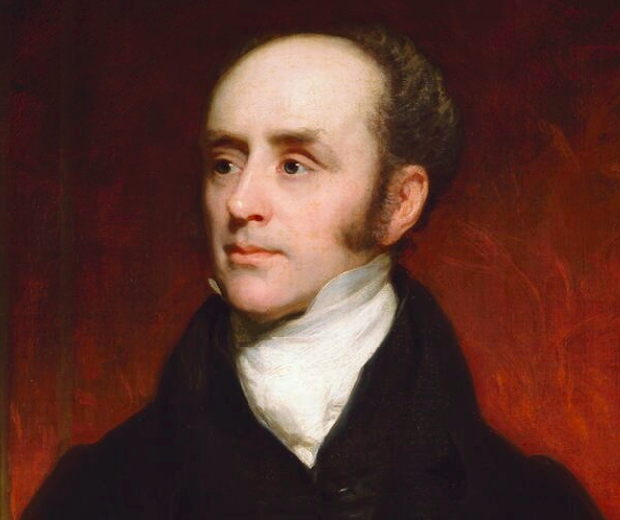
 

barham2Earl Grey

Charles Middleton, Lord Barham, First Naval Lord, 1805 – 1806, & Charles Grey, Viscount Howick, Barham’s Whig successor. Middleton, a talented frigate commander and dissembling administrator who cut his teeth reducing privateers in the Caribbean during the Seven Years War, spent forty years of a long career modernizing the navy and improving the quality and scale of dockyard works, a passion he shared with Lord Sandwich


houseofcommons

The House of Lords and House of Commons in 1766
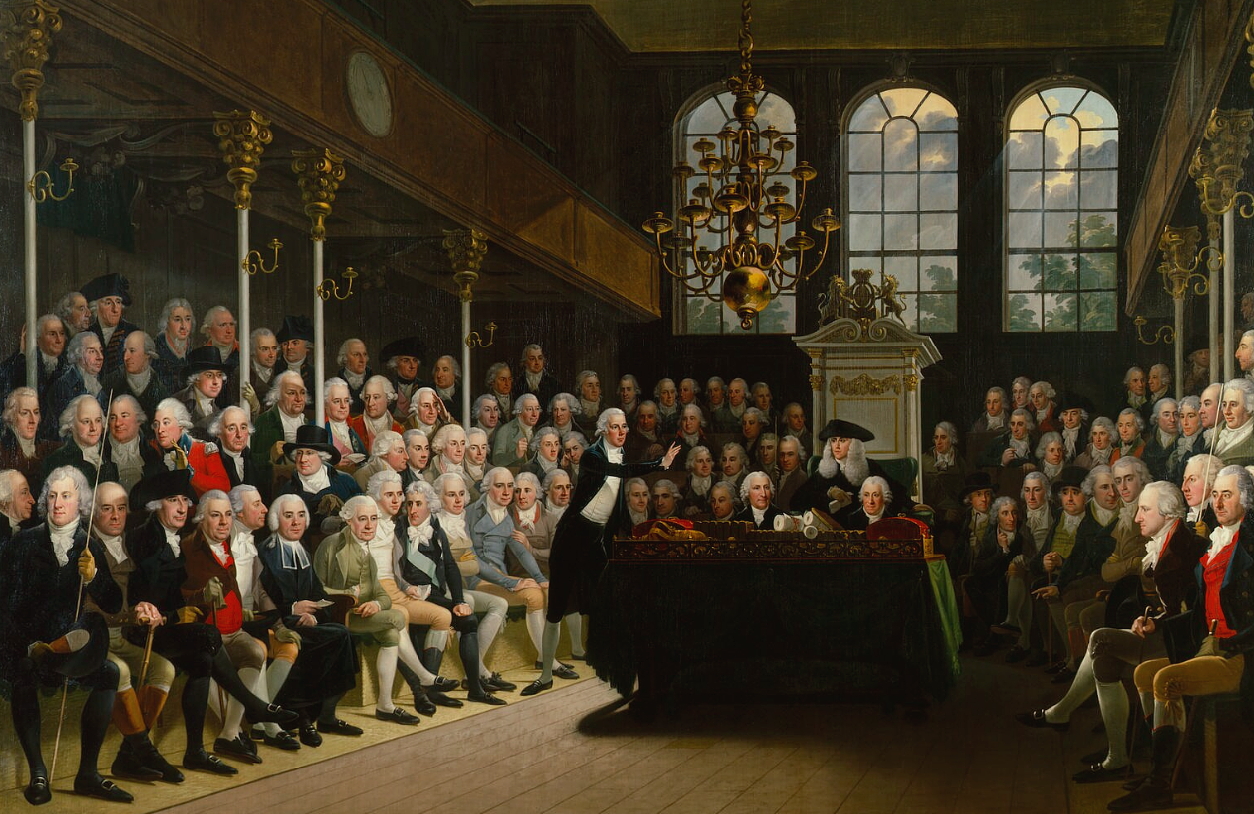
commons

The House of Commons in 1793-94, by Karl Anton Hickel

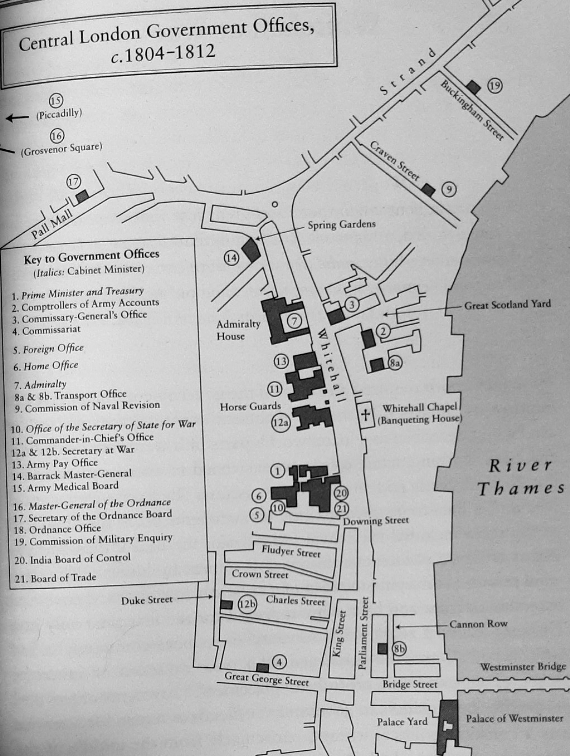
The direction of higher strategy naturally co-mingled with the formulation of government policy. A succession of more or less successful Tory or Whig dominated coalition ministries transitioned in the period after 1805 from the strategic defensive to a global naval offensive, blockading France and intercepting French trade, then conquering Napoleons’ numerous island bases, containing the Americans, and intervening directly on the Continent.
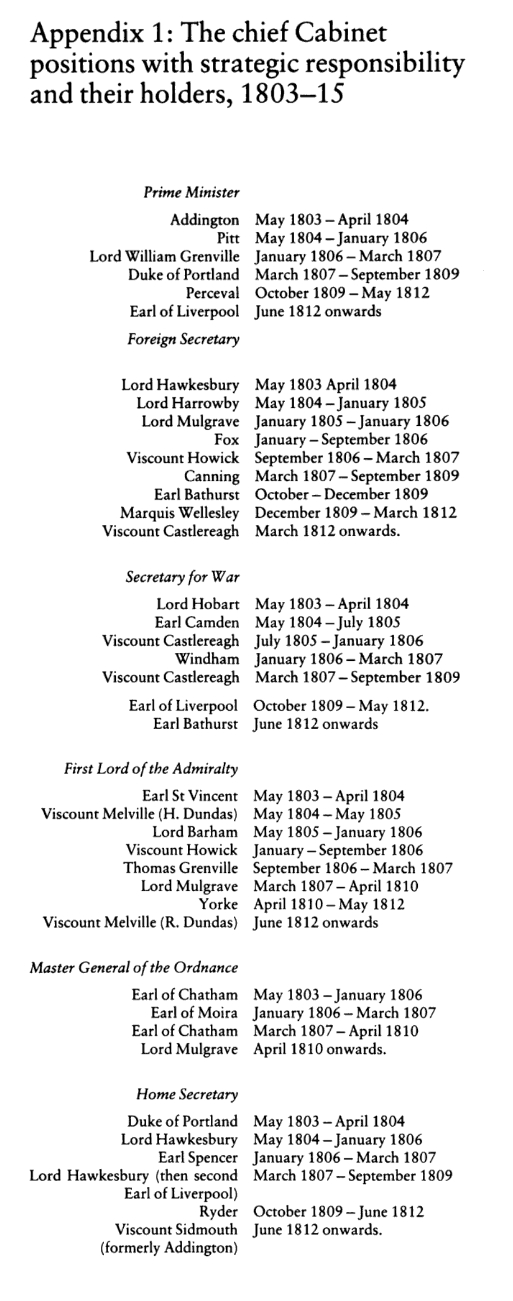
Cabinet

British Cabinet office holders, 1803-1815, from Christopher Hall, British Strategy in the Napoleonic War, 1803-15 (1999)
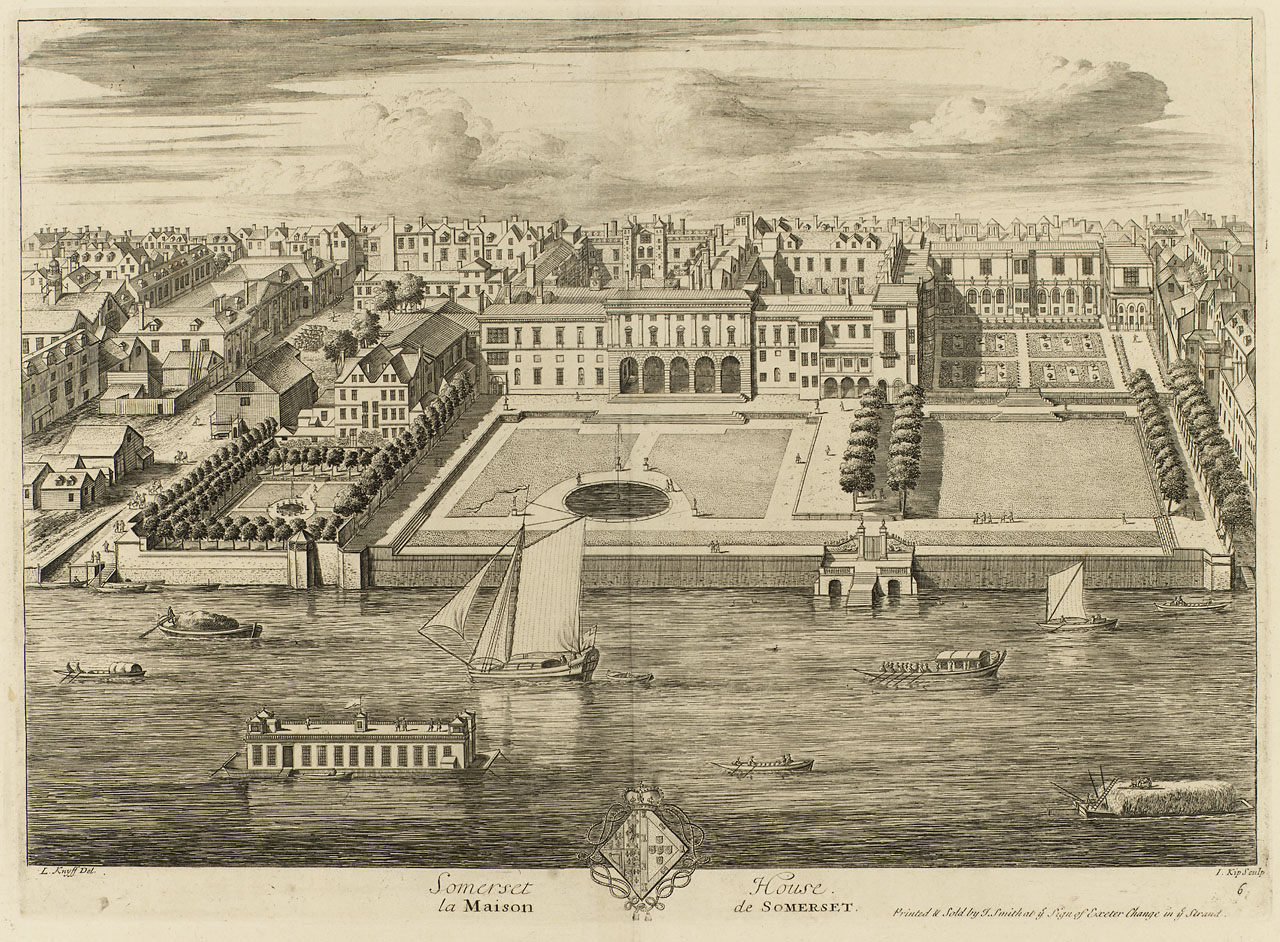
 

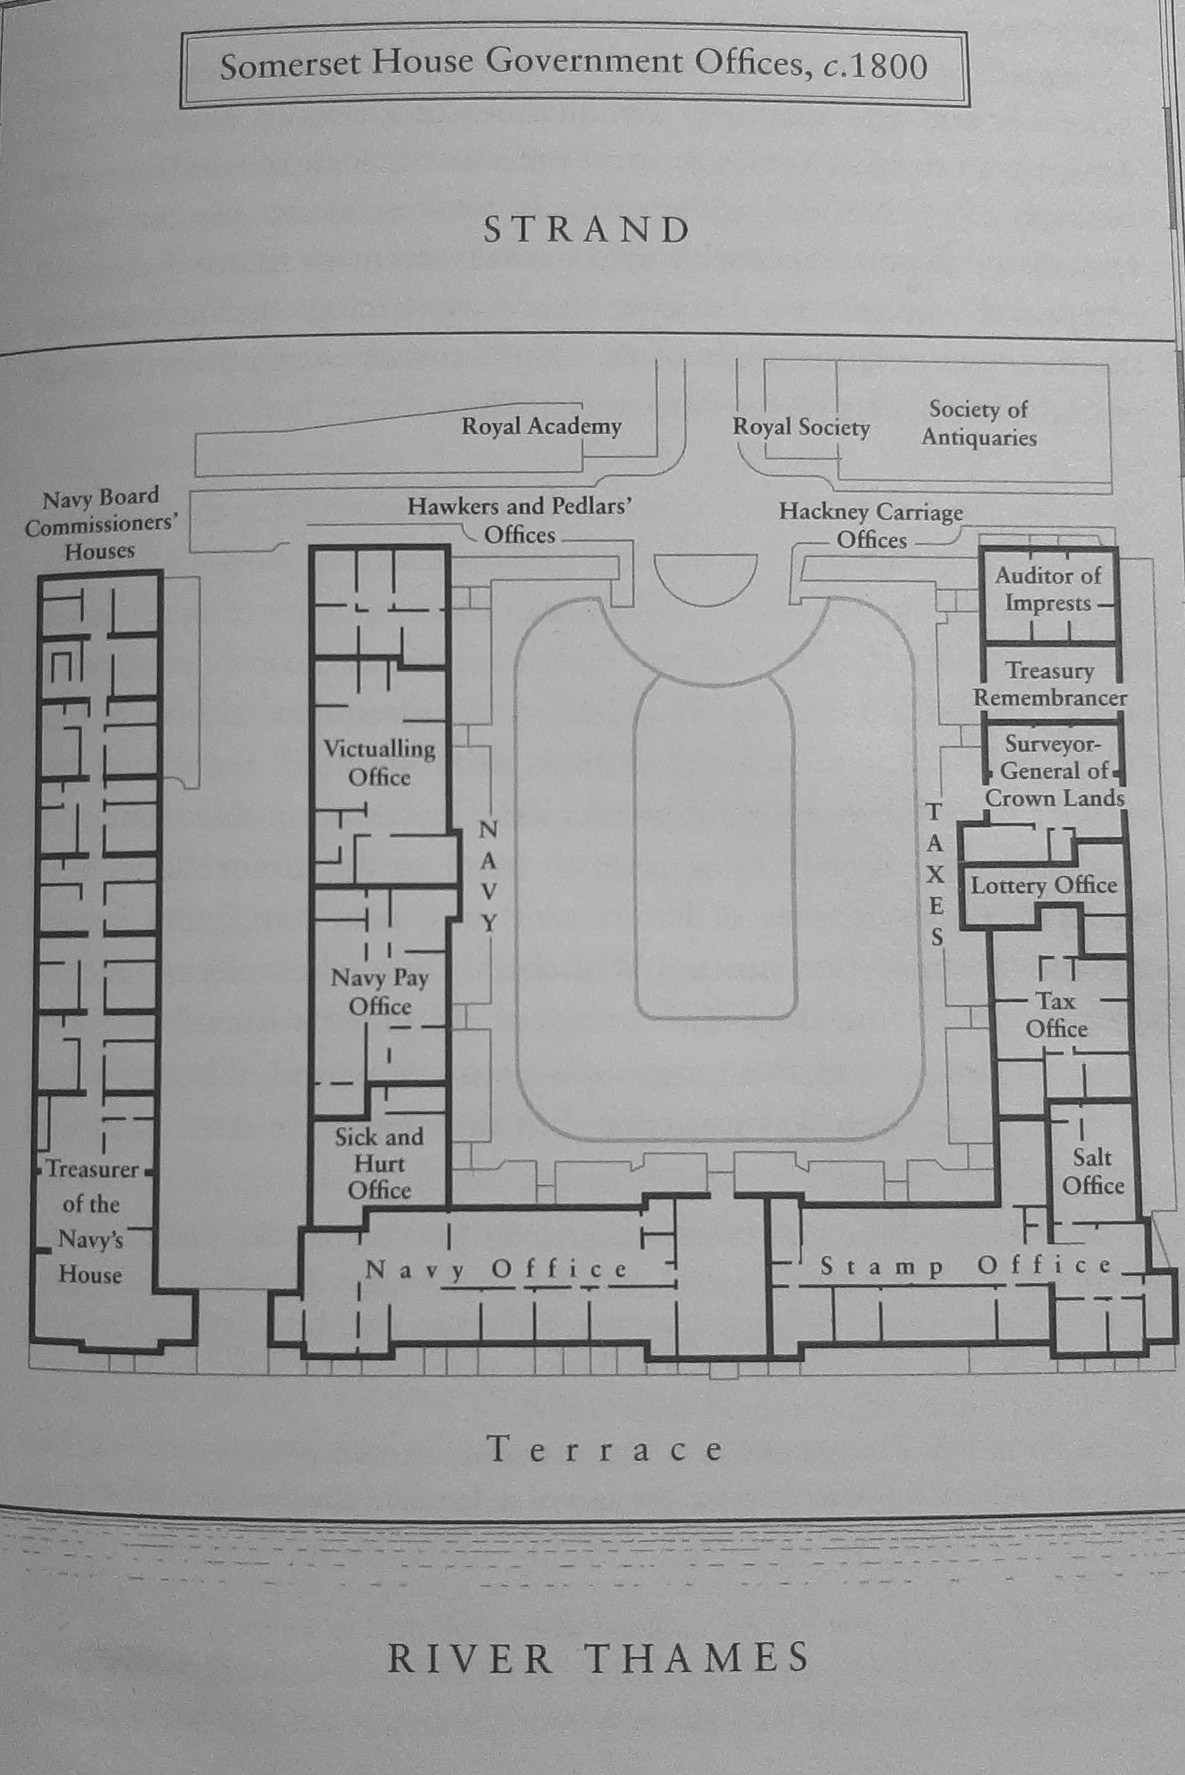
Somerset House

Somersethouse03

Somerset 1809

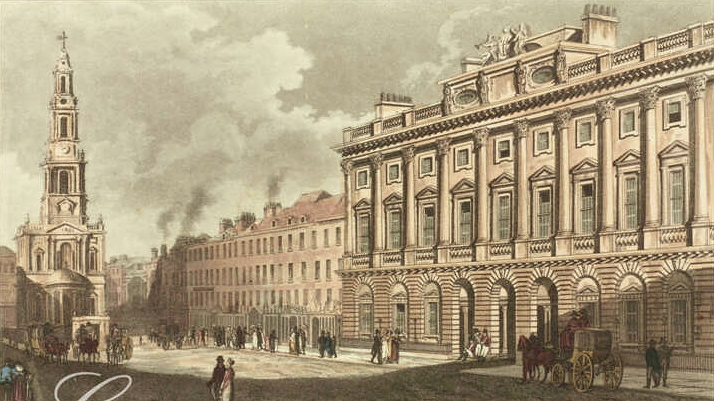
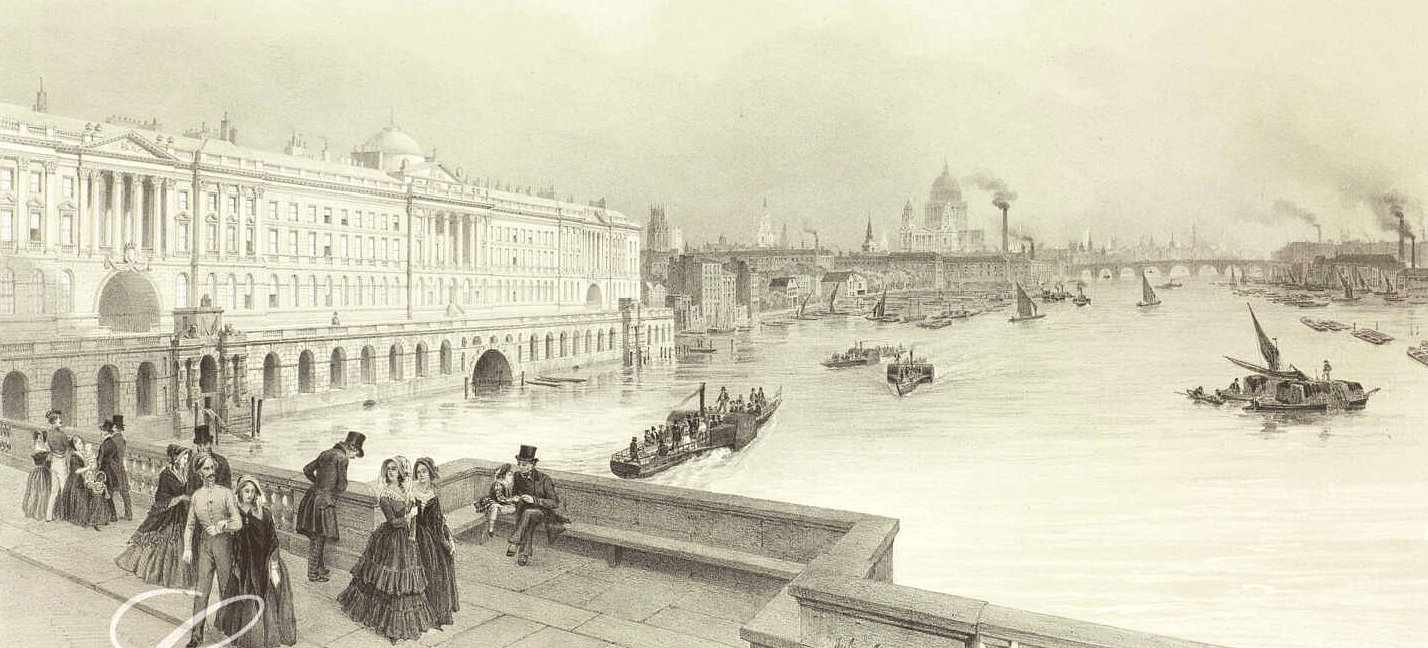
Somerset House c. 1720. Location of the Navy Board, Victualling and Sick offices after 1789, engraving by Leonard Knyff & Johannes Kip, in 1795 by Joseph Farington & in 1809 by Rudolph Ackermann


London180401London180402

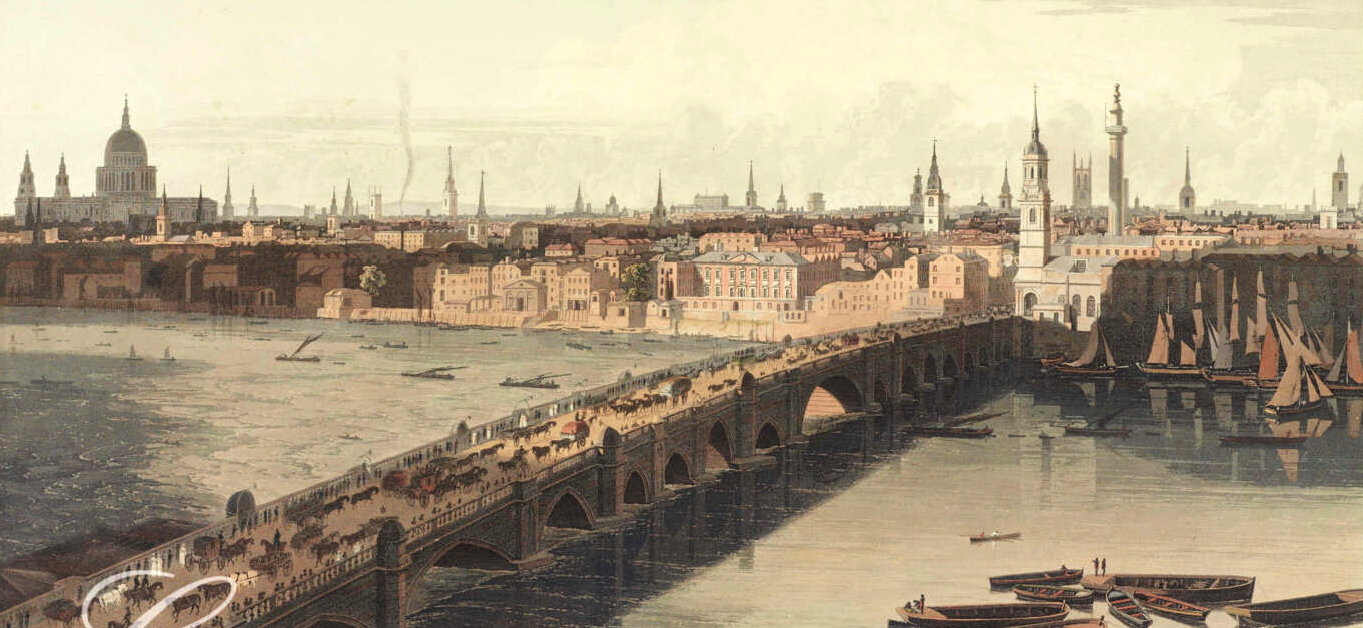
Views of London in 1804, by William Daniell


The Great Fleet Battles

Despite being a force of not much more than a hundred thousand men, and with less than 150 ships of the line, the Royal Navy won a string of victories between 1794-1805 that pulverized French, Spanish and Dutch naval power: the Glorious First of June (1794), Cape St. Vincent (1797), Camperdown (1797), the Nile (1798), Copenhagen (1801), Cape Finisterre (1805) and finally Trafalgar (1805), concluded a spectacular series of fleet battles that shifted the maritime initiative to the United Kingdom.[3] 

First of June

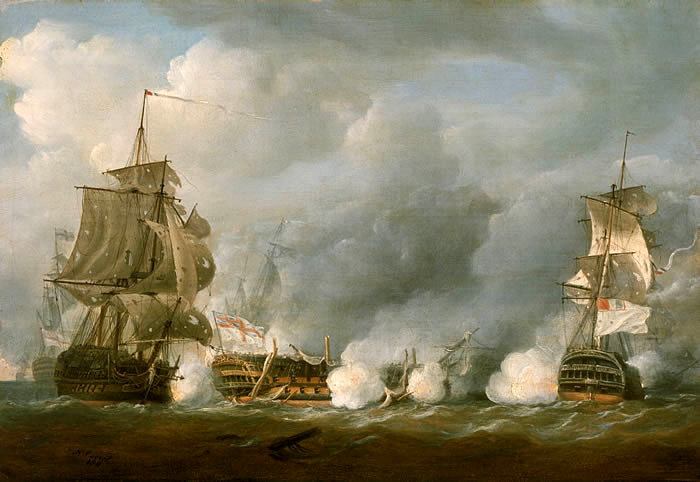
Lord Howe’s victory on the Glorious First of June, three hundred miles off Ushant, 1 June 1794, by Nicholas Pocock

Cape Saint Vincent

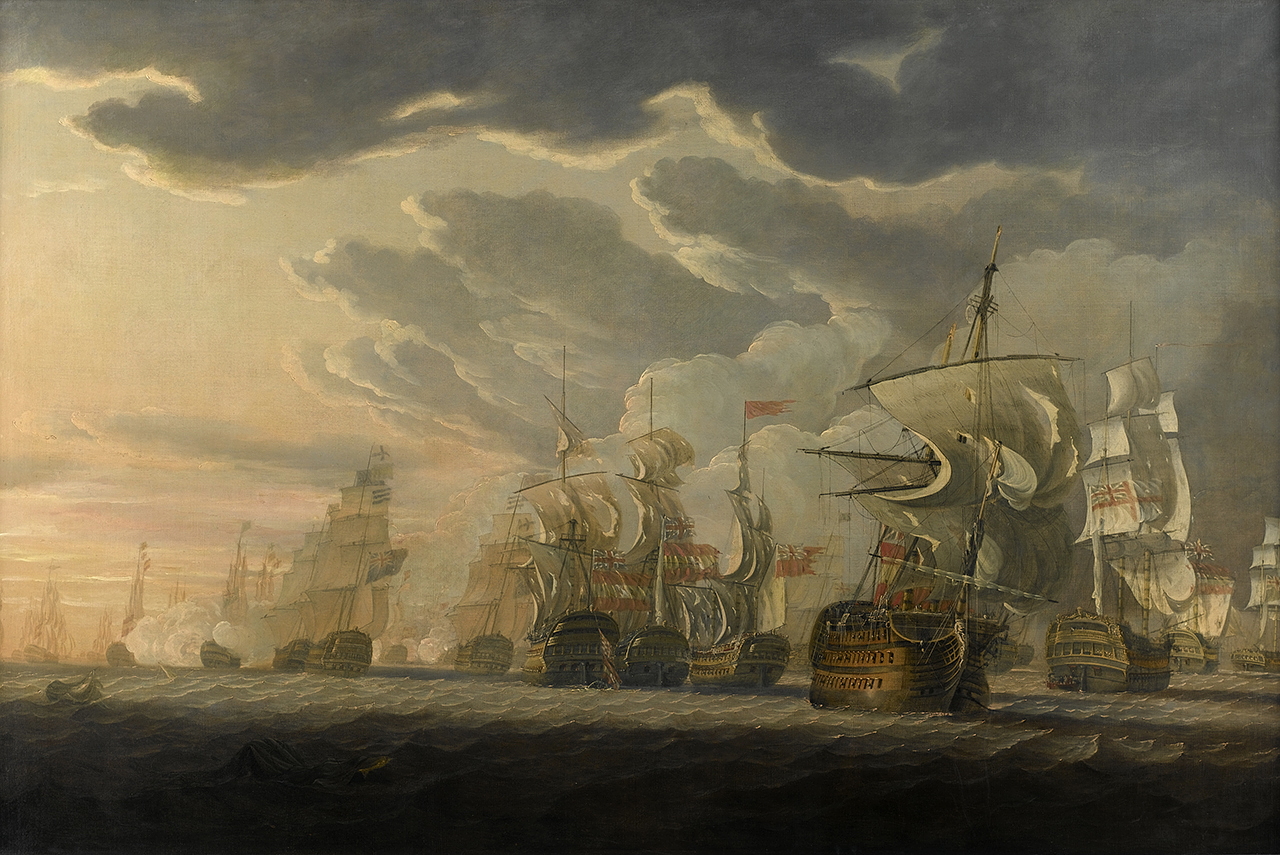
John Jervis’ victory at Cape St. Vincent, 14 February 1797, by Robert Cleveley

Camperdown

Adam Duncan’s victory against the Dutch at Camperdown, 11 October 1797, by Thomas Whitcombe

Cadiz

Rear Admiral Horatio Nelson was in command of the blockade of Cadiz in 1797, by Thomas Buttersworth

The Nile

Vice Admiral Nelson’s victory at Aboukir Bay, the Nile, 1 August 1798, by Nicholas Pocock

Copenhagen2

Viscount Nelson captures the Danish fleet at Copenhagen, 2 April 1801, by Nicholas Pocock

Cape Finisterre

Admiral Sir Robert Calder engages the Franco-Spanish fleet off Cape Finisterre, 23 July 1805, by William Anderson

Trafalgar

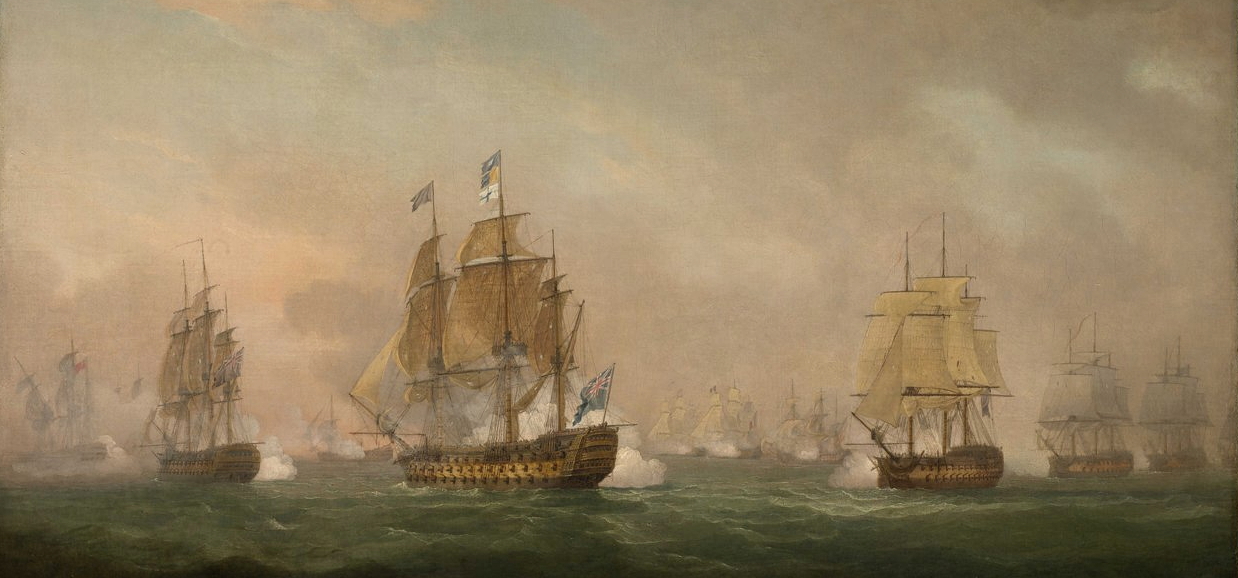
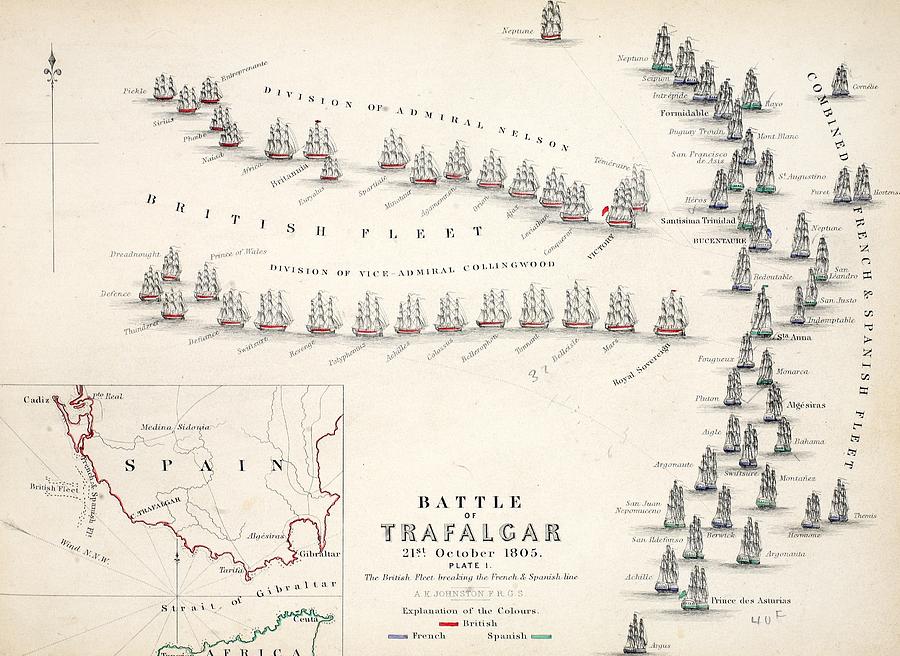
Lord Nelson’s decisive double line approach at Trafalgar, 21 October 1805

Pocock Trafalgar2

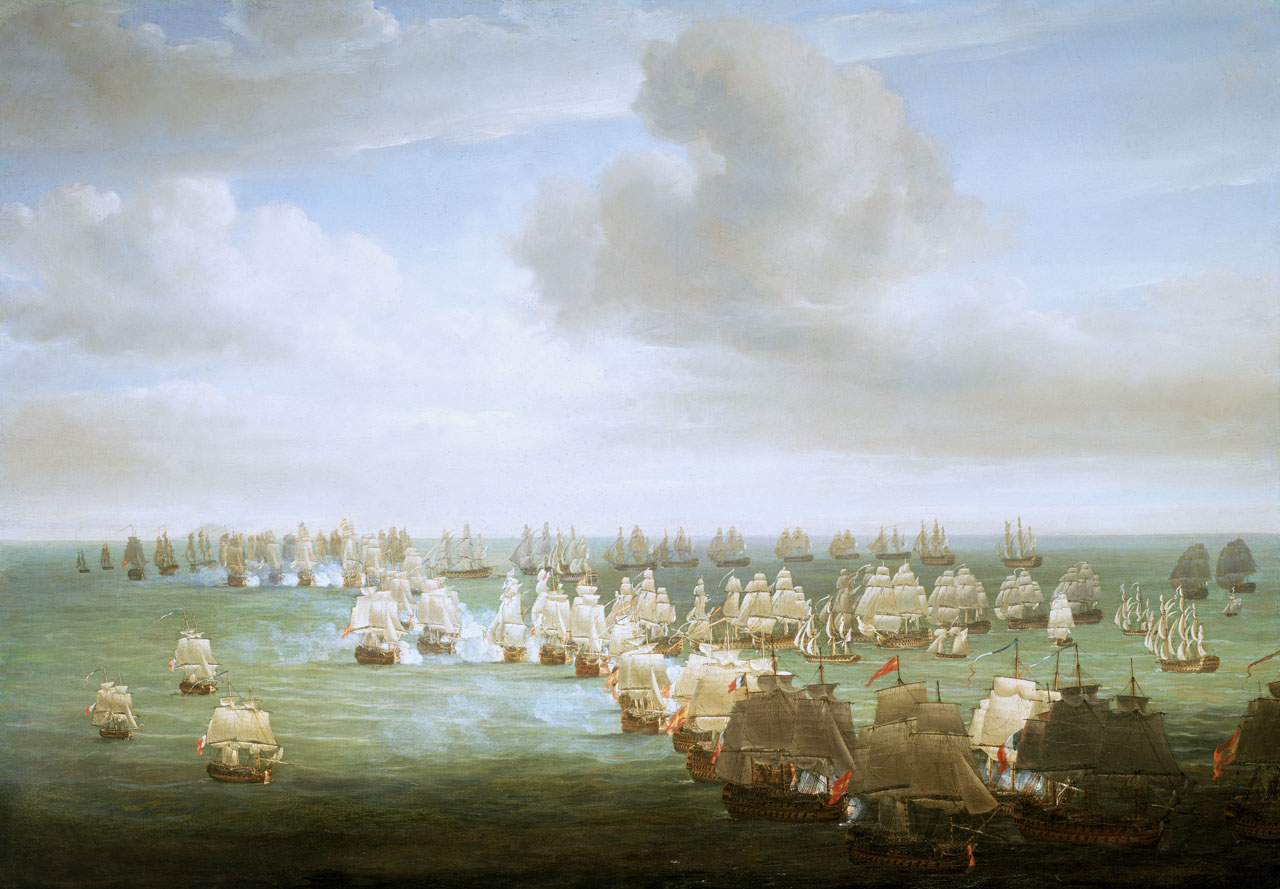
Nicholas Pocock’s 1808 painting showing Nelson and Collingwood’s divisions colliding with the Franco-Spanish battle line at Cape Trafalgar

trafalgar2

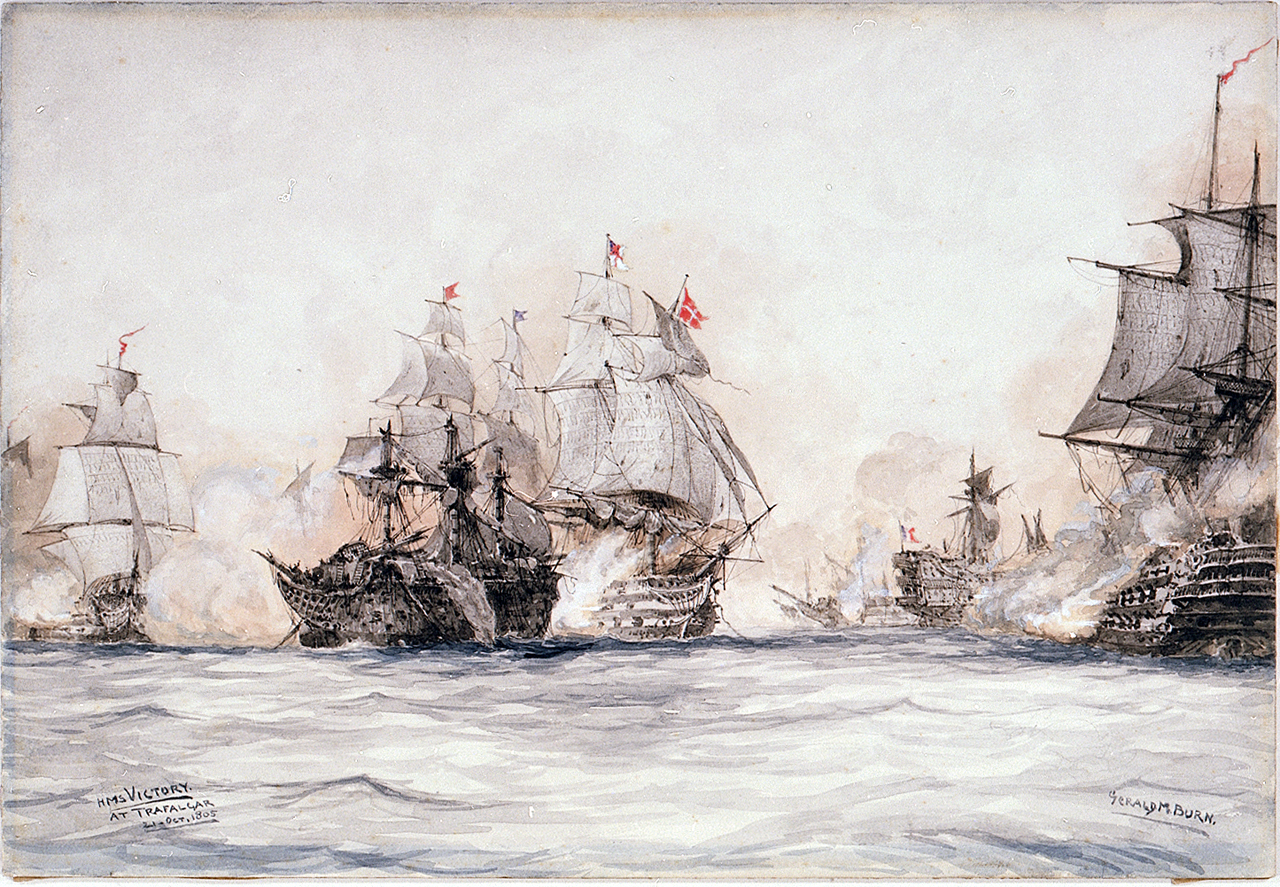
HMS Victory at Trafalgar by Gerald Maurice Burn

Battle_Of_Trafalgar_By_William_Lionel_Wyllie,_Juno_Tower,_CFB_Halifax_Nova_Scotia

Battle of Trafalgar by William Wyllie

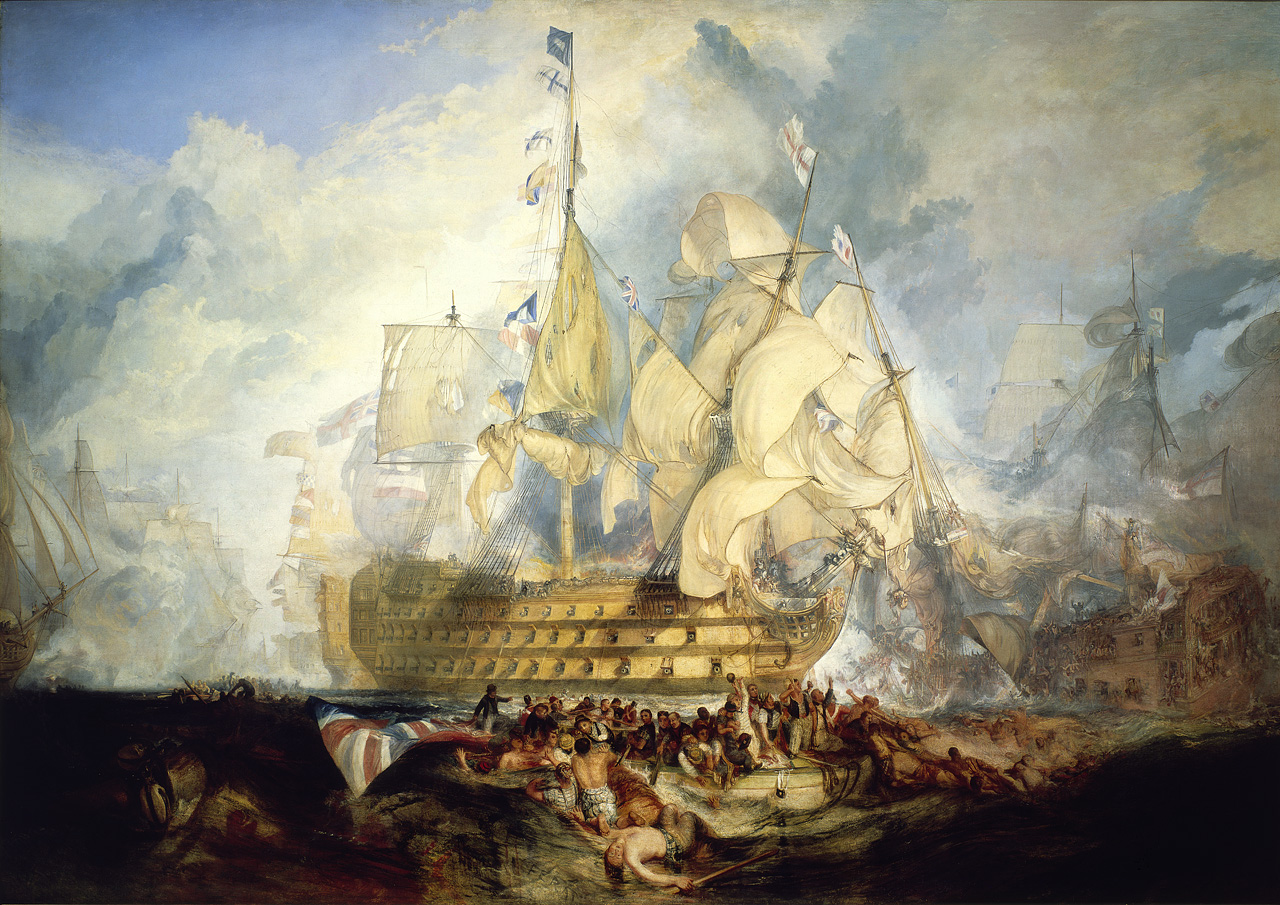
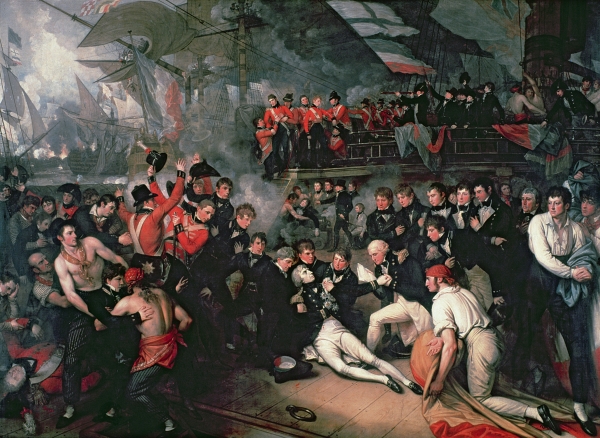
TurnerTrafalgarWest Death of Nelson

The Battle of Trafalgar by Joseph Turner, c. 1822-24, & The Death of Nelson, by Benjamin West, 1806

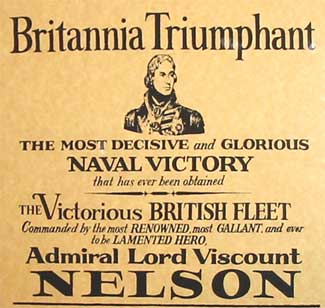
Nelson1805

1805 poster commemorating Nelson’s death and the victory at Trafalgar


The antagonist of the Royal Navy in this violent struggle was the young Marine Nationale, at a low point after Trafalgar and Ortegal: in possession of only 19 solid ships of the line, but Spain could still marshal 57 and Holland would add another 16.[7] With its opponents so reduced the Royal Navy was therefore the largest navy in the world, indeed, outnumbering all of the European fleets combined (239 ships). As Charles Esdaile wrote, “Trafalgar’s significance is a matter of some dispute. In the short term it mattered little: Britain had already escaped the threat of invasion, and it did nothing to affect events in central Europe. Nor did it permanently establish the fact of British naval predominance, for the French shipyards were over the years able to make up Villeneuve’s losses and force the British to continue to commit immense resources to the naval struggle. All that can be said for certain is that, despite much bluster, Napoleon never again attempted to launch a frontal assault against Britain: henceforth victory would have to be attained by some form of economic warfare. In that sense, then, Trafalgar may be said to have changed the whole course of the war…” Napoleon could only commit to fight on the continent, hoping his privateers and detached squadrons would inflict some damage on Britain’s veritable cornucopia of trade.[8]


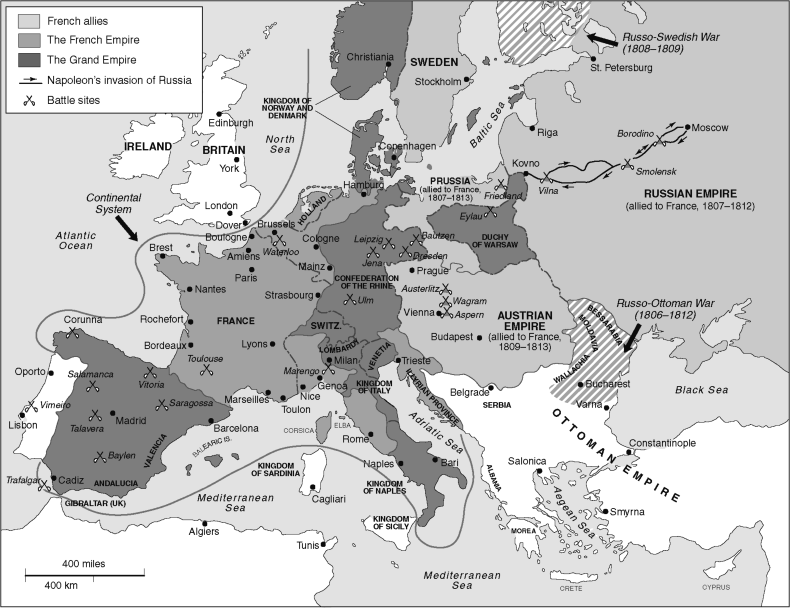
Battle Maps

European alliances and battle locations, 1802-1815


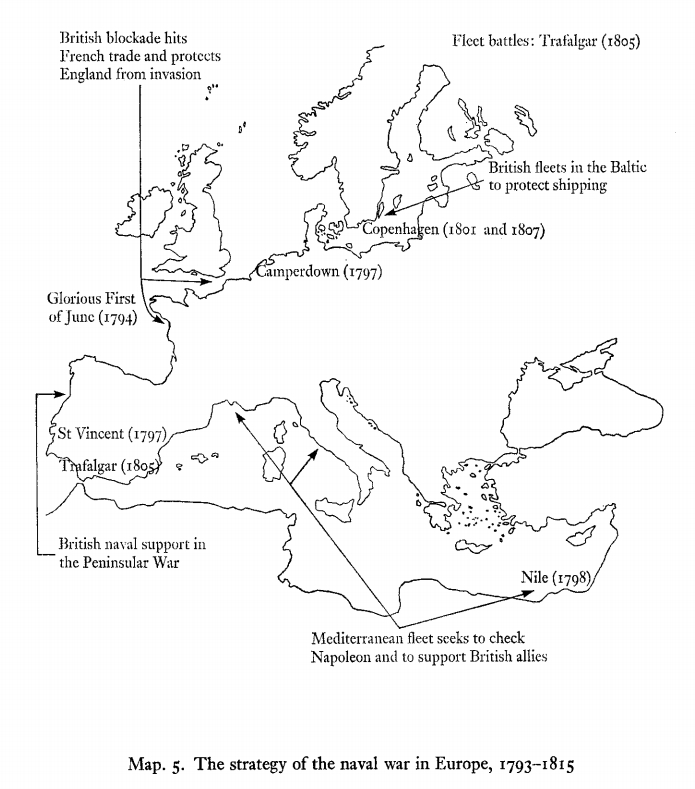
For the United Kingdom the challenge was now to take advantage of the destruction of the enemy fleets by leveraging British seapower to attack the French empire at its exposed flanks. As the editors of the Navy Records Society’s British Naval Documents, 1204-1960 described it, for Britain “the obvious alternative [to subsidizing continental coalitions] was to attack the empires of France and Spain, and disrupt their commerce; increasingly this strategy was used. The ‘blue water’ as opposed to ‘continental’ strategy aimed at defeating France by financial attrition.”[9] Napoleon was eager to do the same and after Trafalgar despatched squadrons to intercept British trade, such as the West Indian imports, which in 1803 were valued at £6.1 million and therefore had to be protected by the British from raiders crossing the Atlantic.[10]


kennedy

Britain’s maritime strategy against revolutionary and Napoleonic France, from Paul Kennedy, The Rise and Fall of British Naval Mastery (1983), p. 125


For both Britain and France then, as James Davey put it, “… in late 1805, the focus of the naval war moved away from Europe into the wide expanse of the Atlantic Ocean.”[11] Britain’s essential expeditionary strategy came to the fore, and not only on the colonial front. Herbert Richmond and Roger Knight credit Secretary of War Henry Dundas with first advancing the colonial war policy, described by Knight as a “strategy of pre-emptive strikes against French ports”, exemplified first by the Ostend raid, carried out in May 1798 by Captain Sir Home Riggs Popham, a figure who will appear frequently in the various raids recounted below.[12] The expeditionary strategy that followed, as Julian Corbett recognized it, culminated in the Walcheren expedition of 1809: an attempt to leverage “the army to perfect our command of the sea against a fleet acting stubbornly on the defensive.”[13]  


The Battle of Cape Ortegal

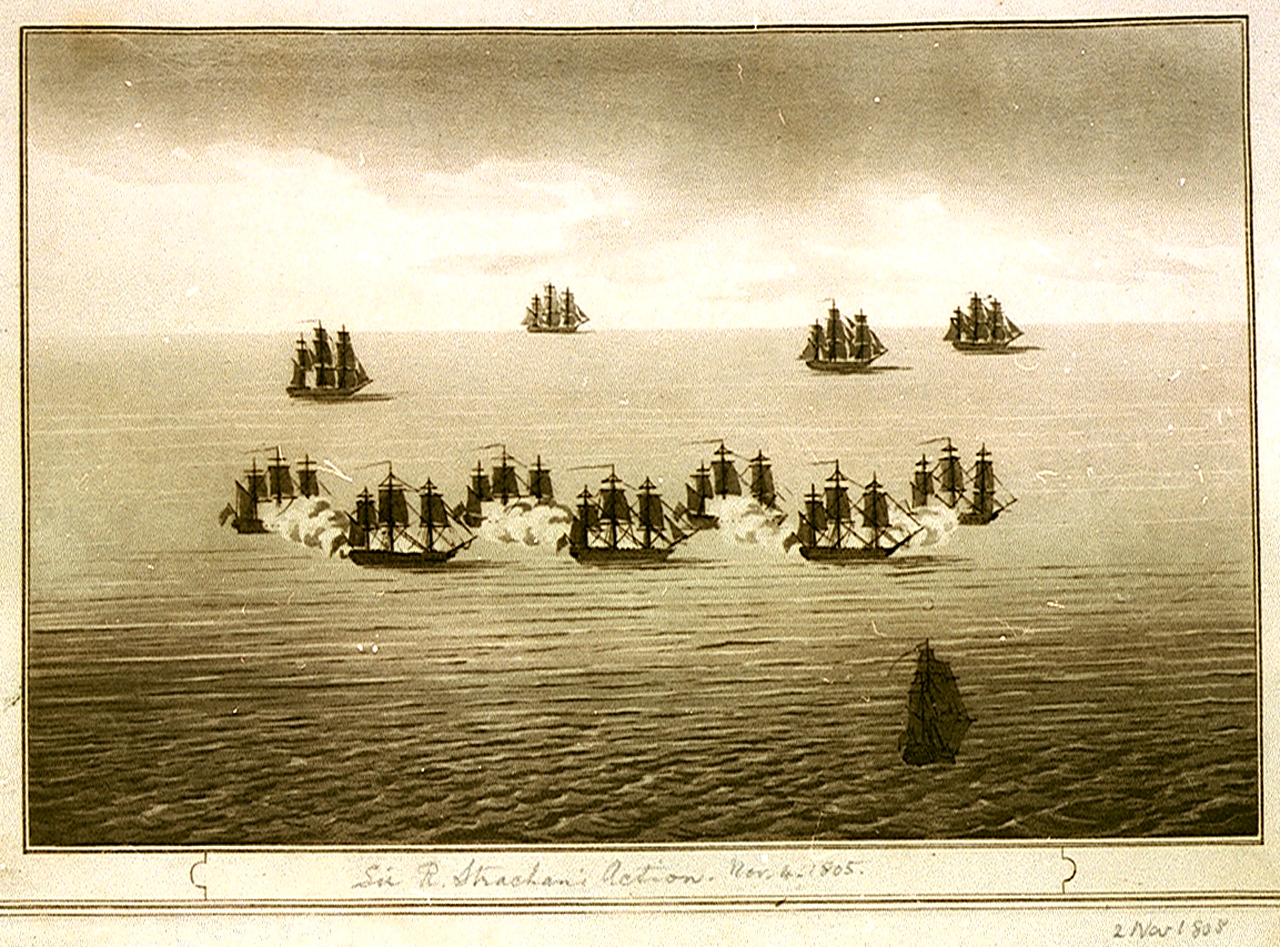
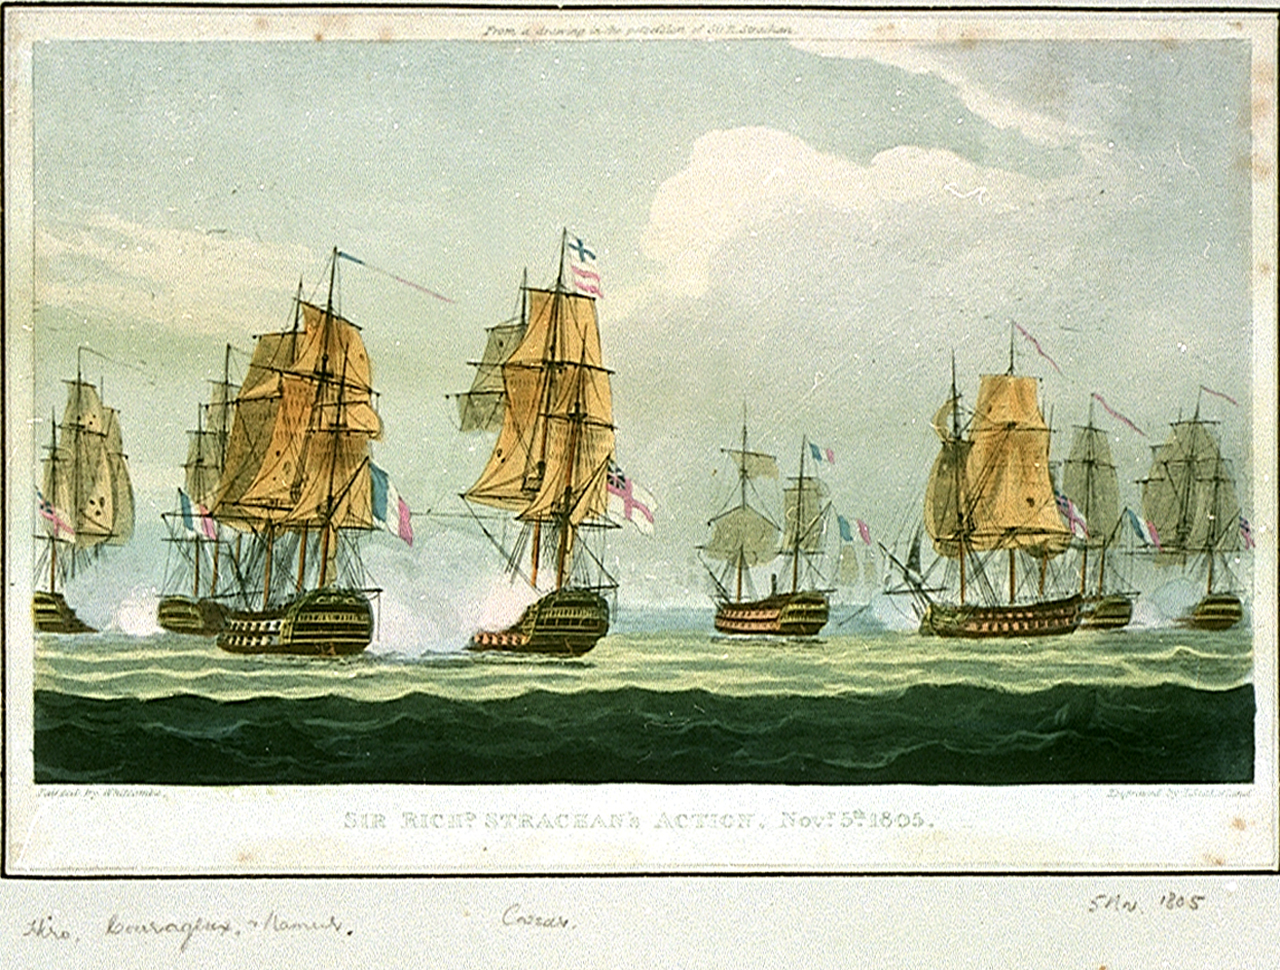
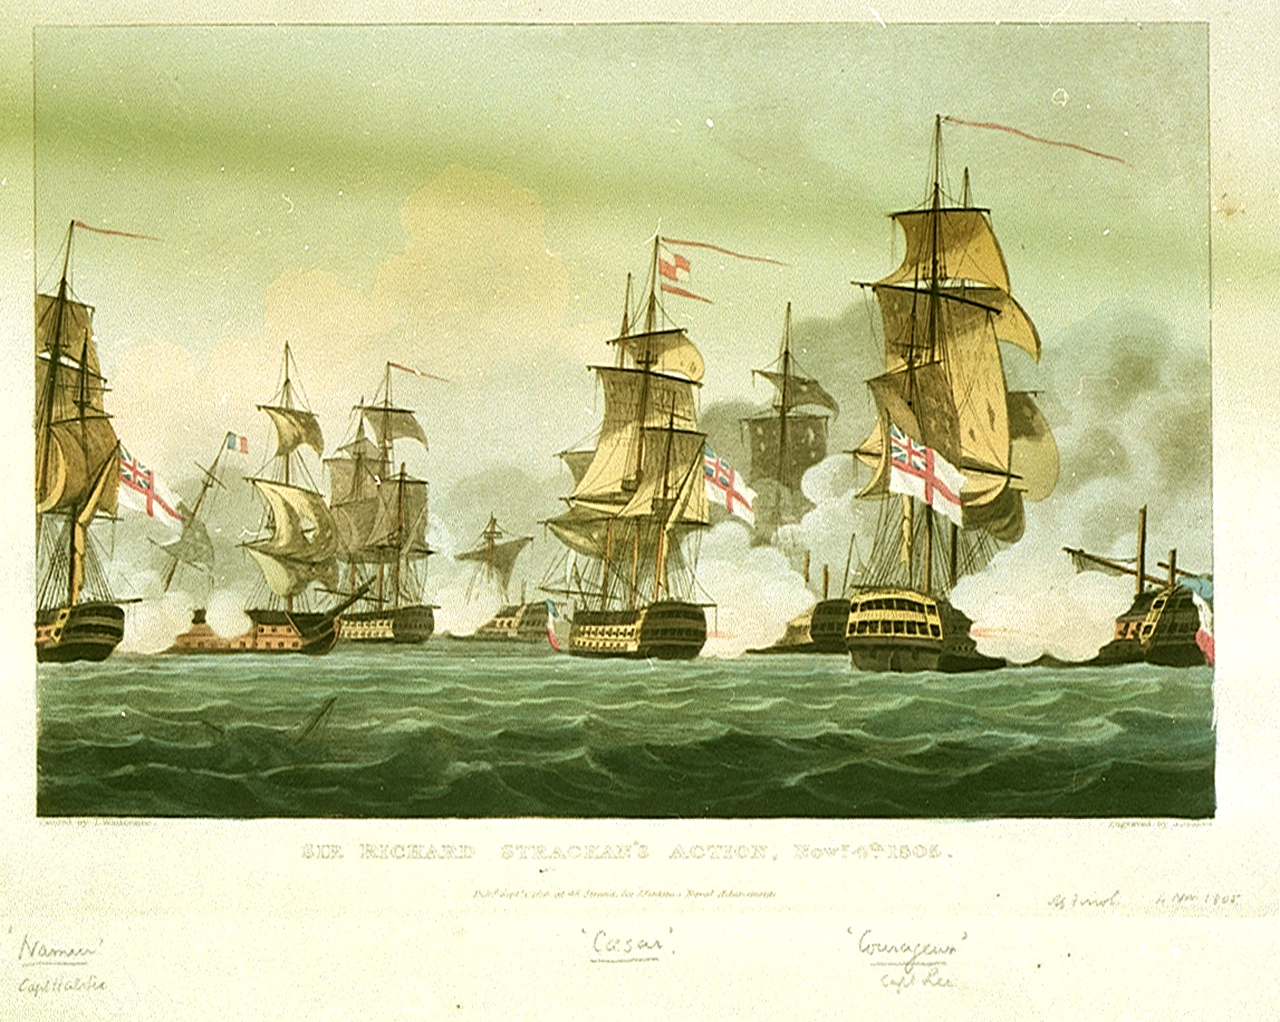
The Trafalgar campaign concluded when Captain Sir Richard Strachan’s squadron of five, tasked with blockading Ferrol, intercepted the squadron of Rear Admiral Pierre Dumanoir le Pelley, whose four of the line had escaped destruction at Trafalgar. On 4/5 November 1805 off Cape Ortegal, Strachan’s small force made quick work of the French squadron, taking all four of Dumanoir’s ships, but in turn missing Captain Zacharie Allemand, who slipped through to Rochefort having captured 43 merchants and three warships during his cruise.[6]


Sir_R._Strachan's_Action_Nov_4_1805Strachan's action

Strachan2

Views of the Battle of Cape Ortegal, 4/5 November 1805, Captain Sir Richard Strachan completes the destruction of Villeneuve’s fleet, by Thomas Whitcombe.


Part II

1805-8

Napoleon’s Campaigns against Austria, Prussia and Russia: Ulm and Austerlitz, Jena, Eylau, Friedland & Royal Navy Operations: San Domingo, South Africa, South America, Copenhagen, The Baltic, The Peninsula


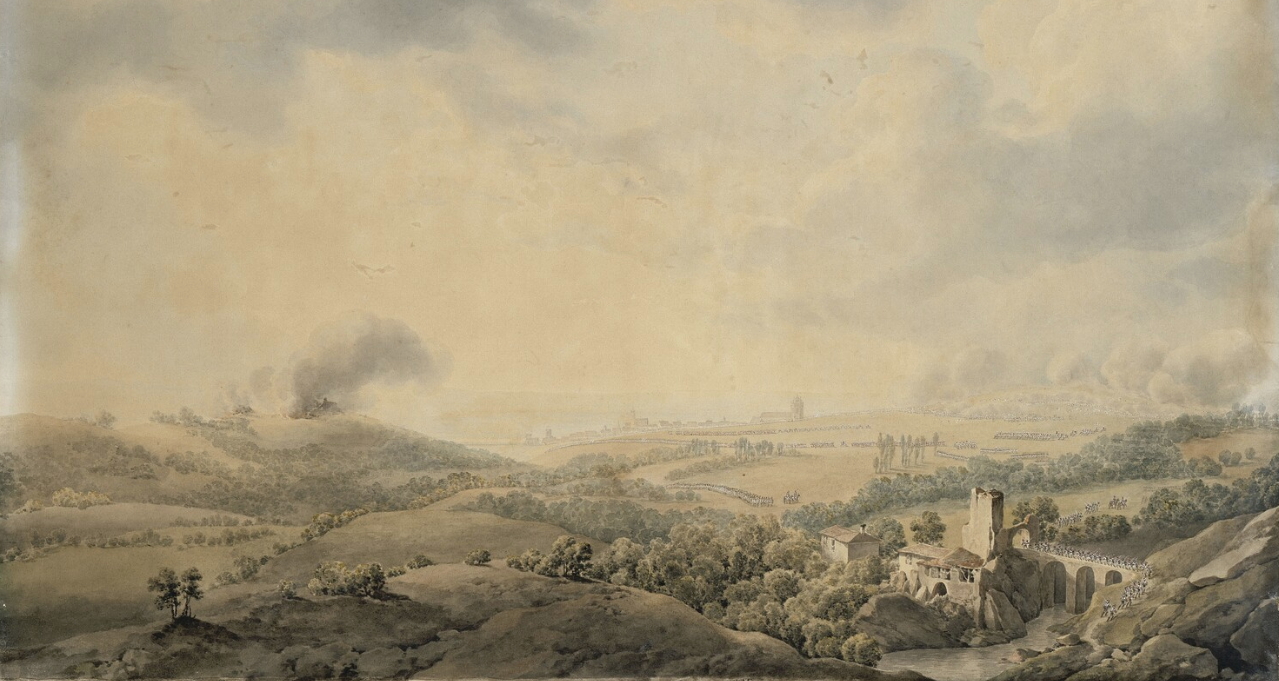
The spectacular defeat of the combined fleet at Trafalgar, although decisive in terms of Britain’s security from invasion, for Napoleon was merely in the background: the military action that season took place on Austrian and German soil, and it was here that the future of the Third Coalition was determined. The Austrian advance into Bavaria at Ulm under Mack was encircled by Ney, who had been despatched by Napoleon to hold what he thought was only a minor flank while the French Emperor executed his counter-march. Mack, however, had been totally surrounded between 15 – 17 October and then forced to surrender on the 20th, the day before Trafalgar.[14] The various French corps had inflicted 10,000 casualties and captured a staggering 50,000 prisoners, leaving the route to Vienna open.[15]

ulm

Napoleon encircles Mack’s Austrian corps at Ulm, 20 October 1805, by Giuseppe-Pietro Bagetti


The violation of Ansbach by the French on 3 October brought Frederick William III of Prussia around to a compromise with Alexander I Czar of Russia who, on 25 October, met with the Prussian king at Potsdam. By 3 November and the signing of the Treaty of Potsdam Frederick William was brought into the war alongside Russia.[16] After capturing the Austrian capital unopposed on 12/13 November, Napoleon turned against the Russians and Austrians as Kutusov and Buxhowden were combining between Brunn and Olmutz with 90,000 men on 19 November.[17] Napoleon arrived with Murat at Brunn the next day with 40,000 men – the Emperor’s forces were at this time precariously divided between the Hungarian, Viennese, and Italian fronts.[18] With both sides short on supplies, and winter lengthening, a decision had to be reached.


Austerlitz01

Napoleon issues his orders the morning of 2 December 1805, by Carle Vernet

Austerlitz02

Views of the Battle of Austerlitz, by Simeon Fort & Giuseppe-Pietro d’apres Bagetti, c. 1834-5

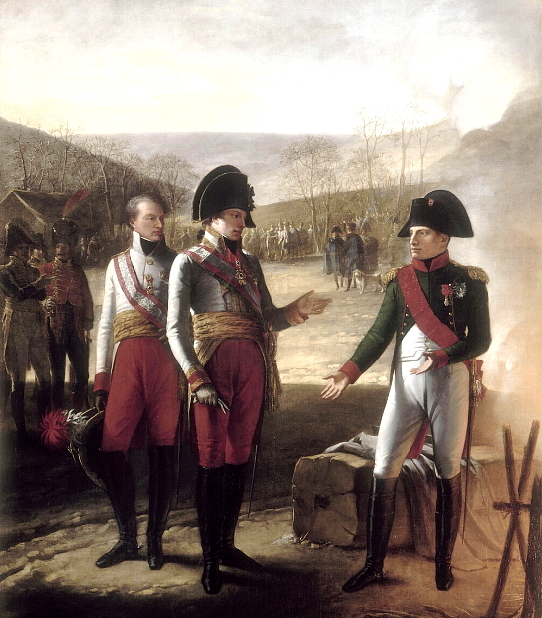
On 2 December, his army now massed at 65,000, Napoleon induced the Allies (commanded jointly by Czar Alexander and Emperor Francis) to attack at Austerlitz, routing both in hard fighting and inflicting 26,000 Allied casualties and taking 180 guns at the cost of only 7,000-8,000 French.[19] Francis II asked Napoleon for a truce on 4 December and on the 26th Austria agreed to the peace settlement known as the Treaty of Pressburg, ceding to Napoleon large portions of Italy and Germany.[20] This series of reversals for the Third Coalition seemed to do in William Pitt, who died on 23 January 1806.[21]


NapoleonFrancois

Napoleon meeting with Holy Roman Emperor Francis II on 4 December 1805, by Pierre-Paul Prud’hon

The War in 1806

French foreign minister Talleyrand, meanwhile, employed diplomacy to secure the treaty of Schonbrunn, 15 December 1805, neutralizing Prussia until August 1806.[22] After the New Year the Franco-Prussian alliance was solidified by the Treaty of Berlin, 24 February 1806, as a result of which Prussia annexed Hanover that March. Frederick William was in fact playing both sides and by July had resolved to join with the Russians.[23]  

Napoleon at this time, between May and July, was focused on a brief campaign in Dalmatia during which Ragusa was occupied by the French, the Russians landed a force stationed on Corfu to take Cattaro, but Molitor arrived with reinforcements and forced the Russians to withdraw back to the Moldavian frontier.[24]


fox

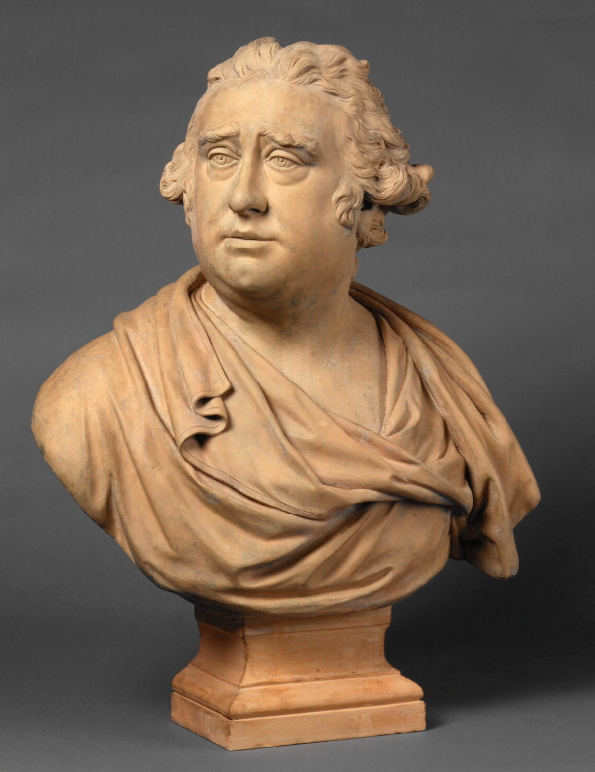
Terracotta bust of Charles James Fox, by Joseph Nollekens, c. 1791

Republican sympathizer Charles Fox, Foreign Minister in Grenville’s Talents ministry, was attempting to negotiate a way out of the war, as had been arranged previously with Revolutionary France by the Peace of Amiens in 1802. While Fox was willing to accept Napoleon’s suzerainty in Europe he was not willing to suffer French domination of the Mediterranean, where Napoleon was employing Joseph to secure Sicily. This effort was frustrated by Collingwood and Sir Sidney Smith (see below), and even Fox soon exhausted his patience with Napoleon’s machinations. At any rate Fox’s death on 13 September, and subsequent replacement by Lord Howick (Earl Grey), reduced the probability of successful peace negotiations to a small margin.[25]


Pörträt_Kaiser_Franz_I_von_Österreich

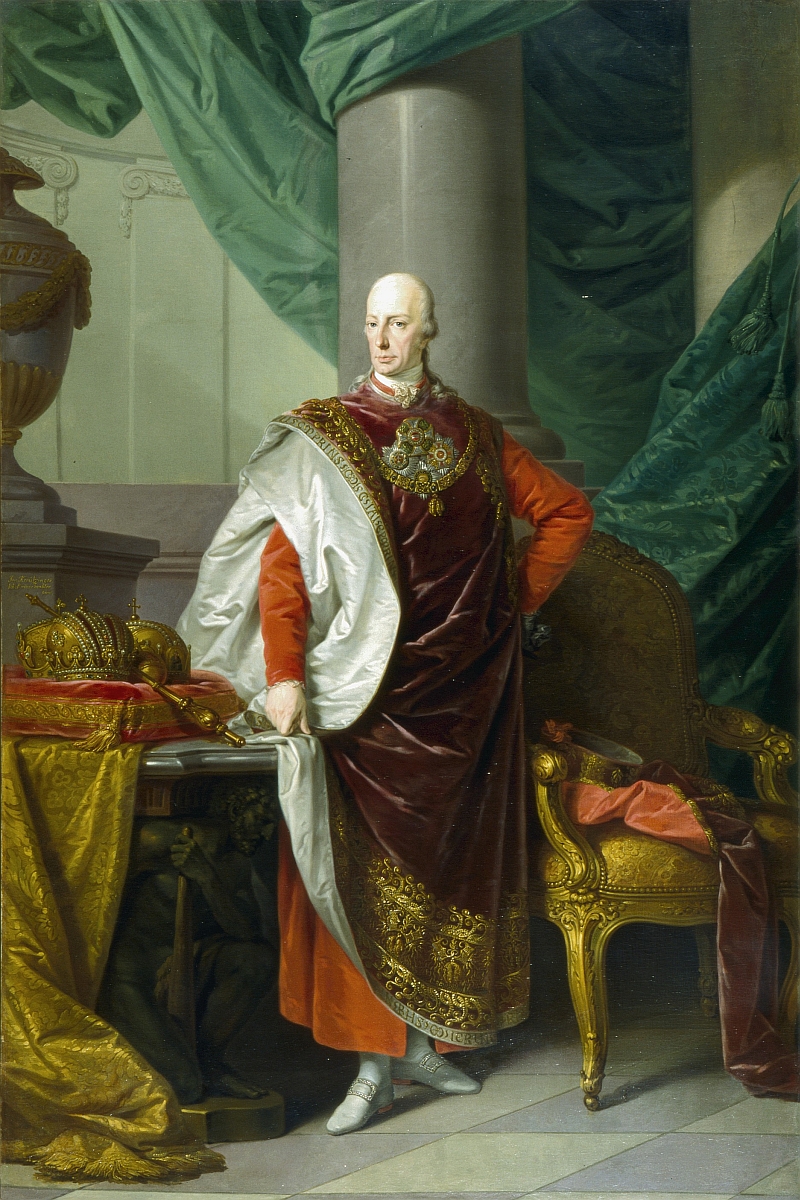
In August 1806 Francis dissolved the Holy Roman Empire and became Francis I, Emperor of Austria

Napoleon’s next target was the Holy Roman Empire, towards the control of which Talleyrand concluded the treaty of Saint-Cloud on 19 July, prelude to the formation of the Confederation of the Rhine.[26] The Habsburg Holy Roman Emperor Francis II, seeing the writing on the wall and worried that Napoleon would soon usurp the title for himself, took the pre-emptive measure on 6 August 1806 of dissolving the Empire and proclaiming that he was now Francis I of Austria.[27]

Napoleon meanwhile consolidated his position by installing his relatives onto the thrones of the conquered territories: Joseph Bonaparte marched to Naples where, by the end of March 1806, he was declared King of the Two Sicilies; Louis Bonaparte was installed as King of Holland on 5 June, and Caroline Bonaparte (Murat’s wife) gained the Grand Duchy of Berg. Napoleon’s sisters, Elise and Pauline, received various parts of Venetia, Istria and Dalmatia.[28] In 1807 Jerome Bonaparte became King of Westphalia.[29]

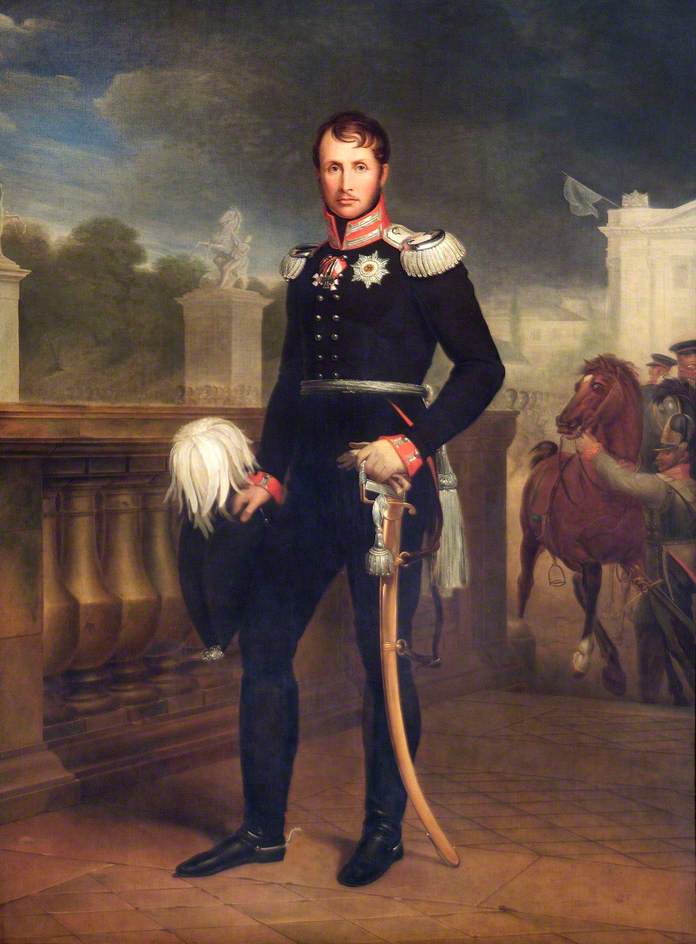
Herbig, Wilhelm Friedrich Heinrich, 1787-1861; Frederick William III (1770-1840), King of Prussia

Frederick William III, King of Prussia, by Wilhelm Herbig, c. 1818

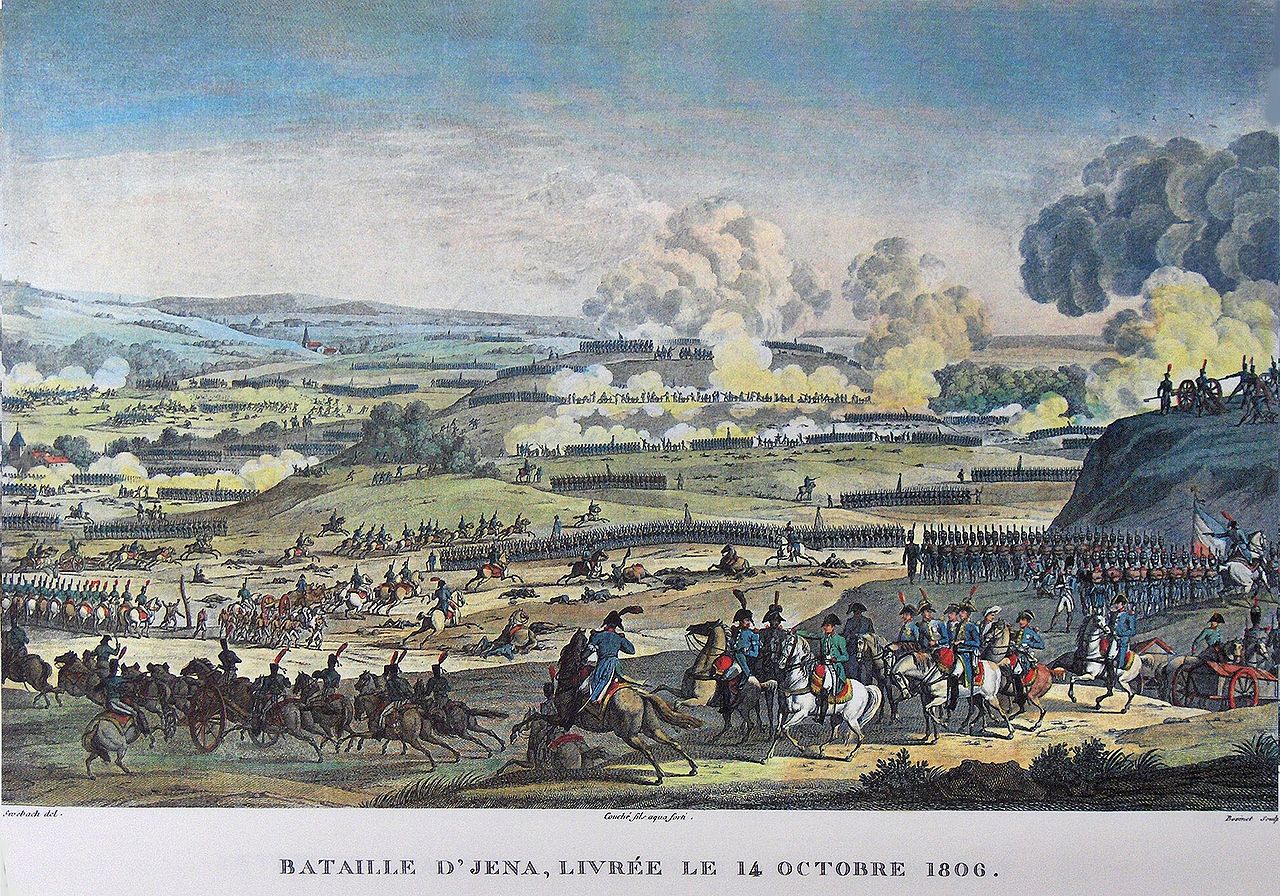
The Prussians soon realized that they would face the same fate as the Austrians and Russians the year before if they did not take action immediately. Napoleon had 160,000 men in six corps, stretched between Baireuth and Coburg, with which he intended to march on Berlin.[30] The Emperor started his advance on October 8th and quickly routed the divisional strength Prussian forces before him. By evening on the 12th Davout’s 3rd Corps was at Naumburg, Lannes’ 5th Corps at Jena and Augereau’s 7th Corps at Kahla, effectively cutting off from Berlin the King’s 50,000 men.[31]

By the 14th Napoleon’s corps were combining at Jena where he now had 95,000 men, with Davout and Bernadotte in position to attack the Prussian left flank at Auerstadt.[32]


Jena 1806

Battle of Jena-Auerstedt, 14 October 1806, by Carle Vernet and Jacques Swebach

Having cleared his lines of communication and smashed the Prussians at Jena, Napoleon continued the advance. Davout took Berlin on 25 October, enabling Napoleon to force the various German princes to surrender one by one, with Frederick William agreeing to Napoleon’s draconian terms on 6 November. This led on the 16th of November to the signing of the convention of Charlottenburg that formally took Prussia out of the war.[33] Napoleon imposed the Continental System as arranged by the Berlin Decree of 21 November.[34]


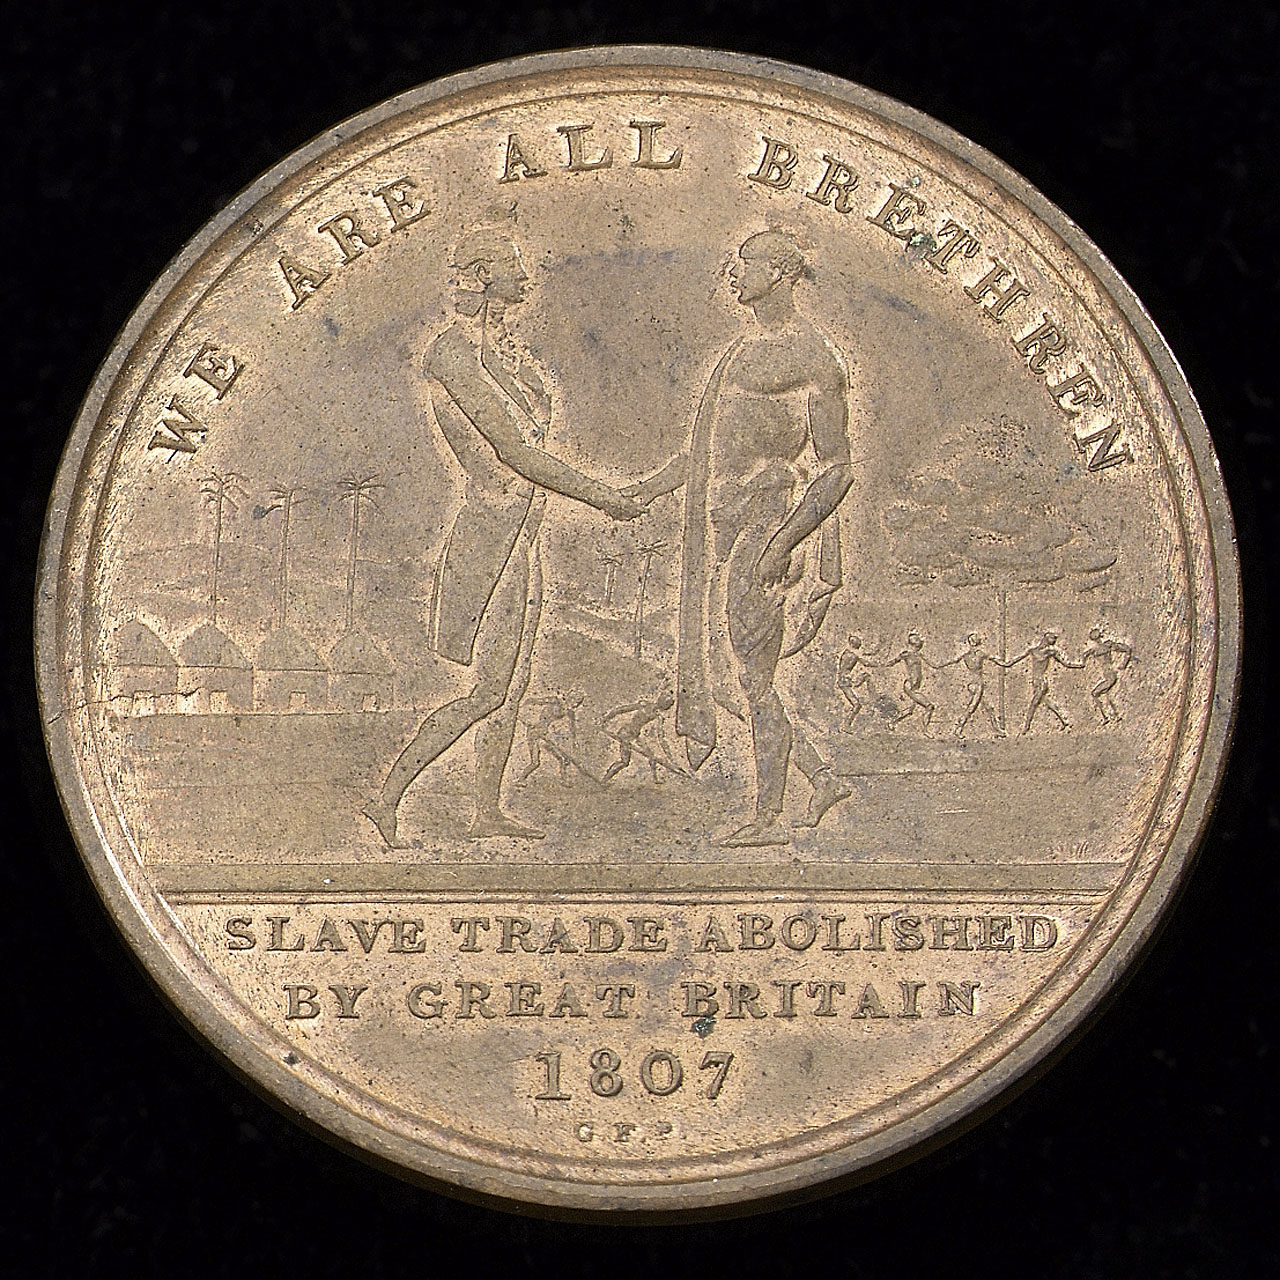
slavetrade1

Slave trade abolished, 1807

The British cabinet took the extraordinary measure of abolishing the slave trade by the Slave Trade Act of March 1807, hoping thus to further weaken Franco-Spanish legitimacy by encouraging their colonial populations to revolt, as had Haiti in 1791, or join with the British. Napoleon responded with the Milan Decree of December 1807, collectively an attempt to isolate Britain through imperial tariffs – but enforcing this trade bloc necessitated strict repression of the European nationalities that were under Napoleon’s control.[35]


Napoleon berlin

Napoleon enters Berlin, 27 October 1806, by Charles Meynier

The continental system was marginally successful in terms of increasing British deficits by restricting her access to the continental markets of Northern Europe. Exports to that region had been valued at £13.6 million in 1809, but fell to only £5.4 million in 1812, before recovering to £22.9 million in 1814. This decrease in European trade was relative, as total British exports and re-exports in 1800 were valued at £52.4 million, £60.9 million in 1810, £50.8 million in in 1812, and in 1814 at £70.3 million.[36] Thus it can be seen that the Continental System imposed some damage on Britain’s overseas trade in the years before Napoleon’s war with Russia and Britain’s war with America, but ultimately failed to cripple the economy of the United Kingdom.


1807, the Turn of Russia

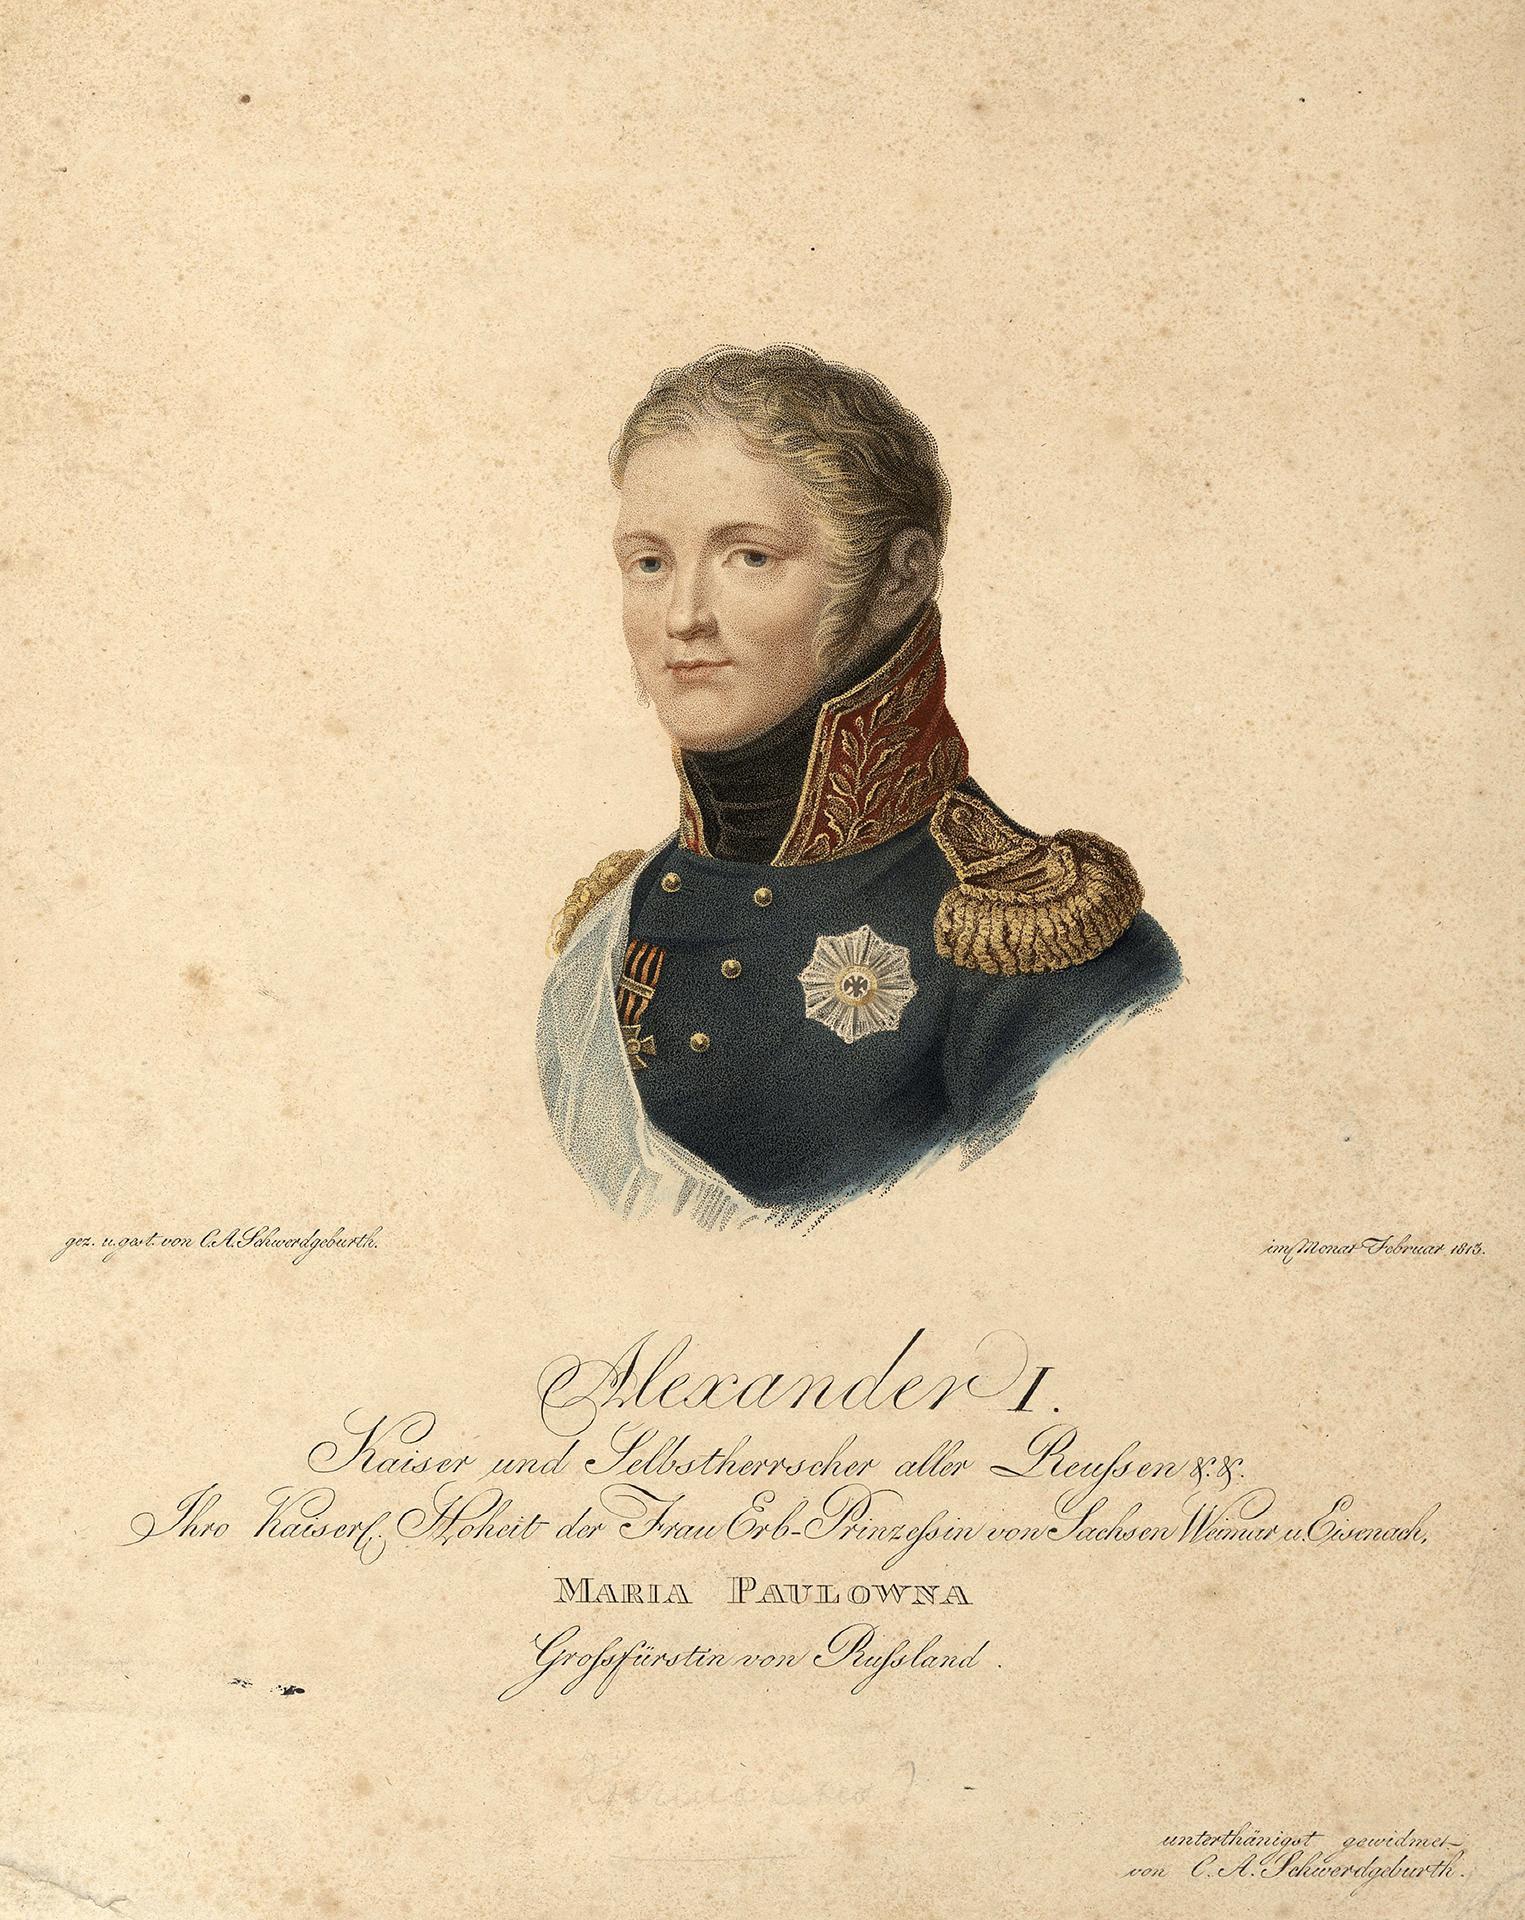
AlexanderI

Portrait of Alexander I, by Carl August Schwerdgeburth, c. 1813

The Russians meanwhile marshalled their forces in Poland, Bennigsen with 60,000 men by mid-November 1806 occupied Warsaw and Buxhowden’s 40,000 were moving to join him.[37] Napoleon marched to confront them on 25 November, the Russians withdrew, and Murat entered Warsaw on the 28th, where Napoleon joined him on 18 December.


Kamensky

Marshal Kamenskoi (Mikhail Kamensky)

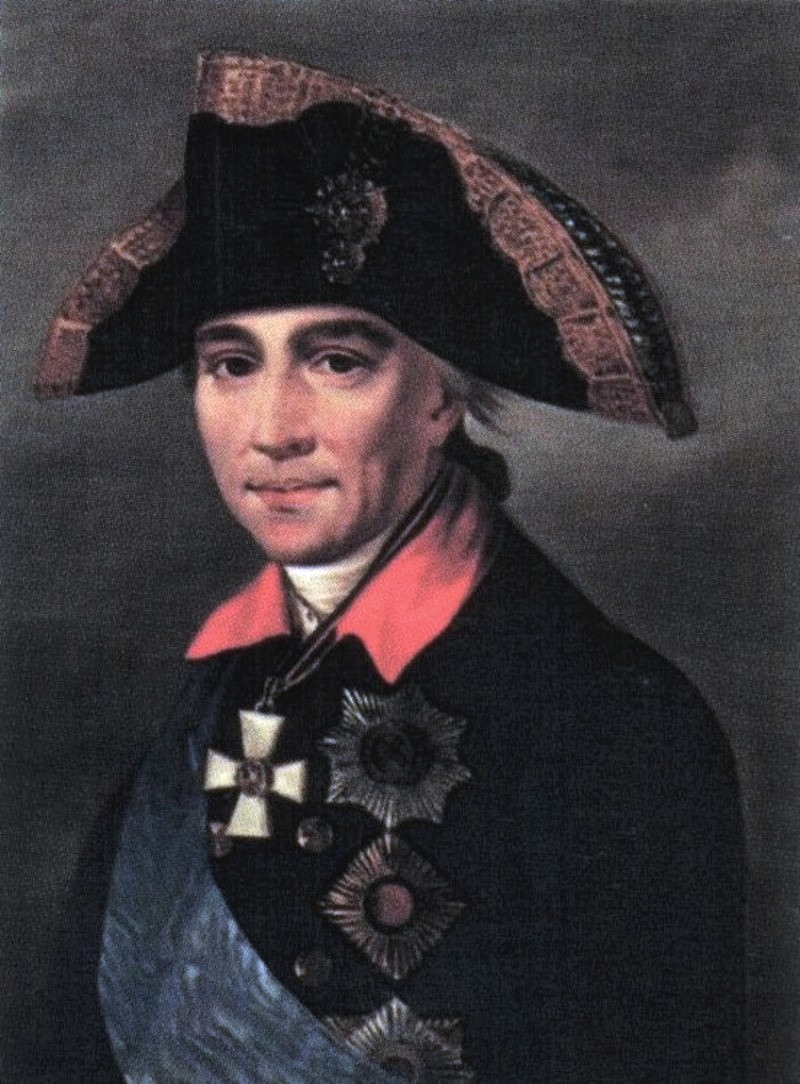
Marshal Kamenskoi (Mikhail Kamensky) assumed command of the united Russian army. Napoleon advanced with his army of 120,000 foot and 25,000 horse, but the Russians withdrew, and on the 26th Lannes engaged Benningsen at Pultusk, while Davout and Augereau drove the Russians from Golymin, with Kamenskoi withdrawing to Novgorod.[38] Campaigning in the winter conditions was arduous and at the beginning of 1807 Napoleon returned to Warsaw while his corps laid siege to Danzig, 

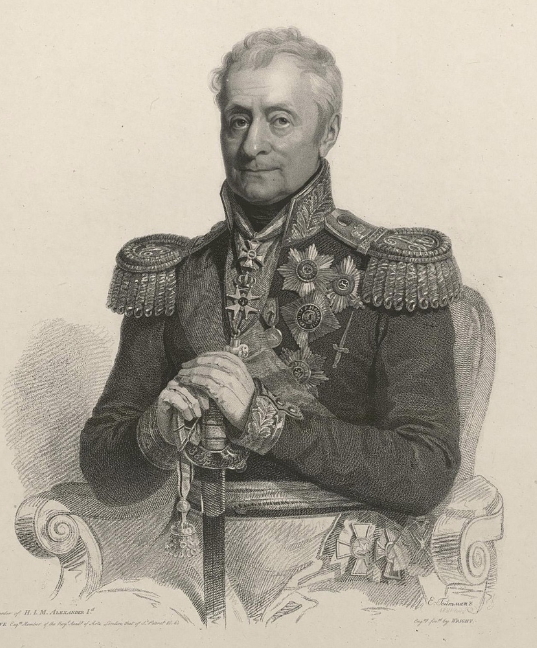
Bennigsen

Count Levin August Bennigsen, by George Heitman and Thomas Wright

Bennigsen replaced Kamenskoi as Russian C-in-C, and on 15 January he marshalled his army at Biala. Bennigsen’s intention was to secure Konigsberg, where King Frederick William was then located, and then to march on Danzig and raise the siege. This was an error, as Napoleon quickly realized he could once again cross the Allies’ lines of communication and execute a repeat of his Jena maneuver.

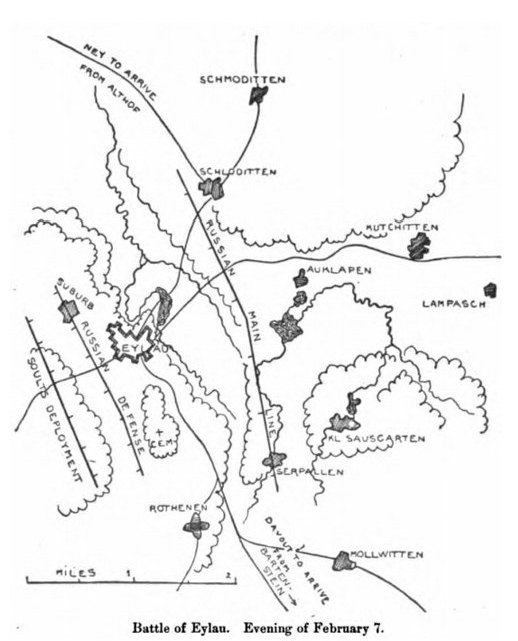
Eylau02

Russian and French deployments before Eylau, from T. A. Dodge, Napoleon, vol. II (1909)

Napoleon’s intention, before taking command of the vanguard, was to have Soult, Ney, Davout, Murat, Augereau, and Bessieres variously surround the Russians before destroying them with a frontal attack.[39] Napoleon marched from Warsaw on 30 January with 75,000, while despatching orders for Ney and Bernadotte to join him with another 34,000.[40] Bennigsen luckily intercepted some of Napoleon’s orders intended for Bernadotte and realized his danger,[41] immediately ordering a concentration at Allenstein, he discovered to his surprise Soult and Murat already there. Benningsen marched north, trying to cross the Alle, but was blocked by the shadowing French. With the French corps closing in Bennigsen now began a series of retreats while Napoleon hastened to turn the Russian flank and attack their rear.


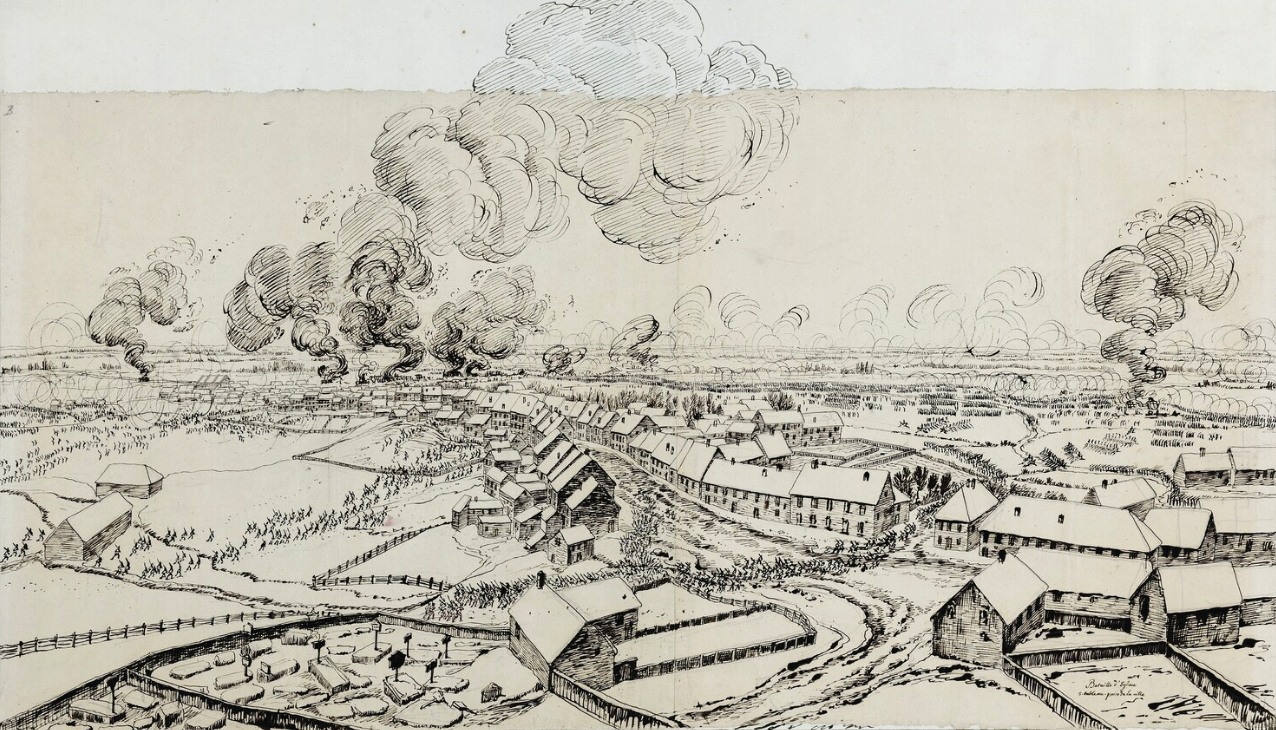
Eylau

Battle of Eylau, Bennigsen check’s Napoleon’s advance, 7 February 1807, by Giuseppe-Pietro Bagetti

The French closed in on February 6th, fighting some small engagements, and at last forced Bennigsen, with 126 battalions and 195 squadrons (75,000-80,000 men) to fight on the 7th at Eylau, where Soult was waiting, having stormed that place with the bayonet while the rest of the French army closed in. Although the Russians outnumbered the French, and possessed far more artillery, Napoleon’s corps were more mobile and their commanders fully understood their roles in the operational plan: while Murat, Augereau, and Soult held the centre at Eylau with 36,000 men, Davout would then march up on the right flank with 18,000, while Ney took the left flank with 15,000.[42] Bennigsen began shelling Eylau on the 8th, but was unaware of his danger as the French flanks arrived, with Davout intending to cut-off the Russian retreat.[43]

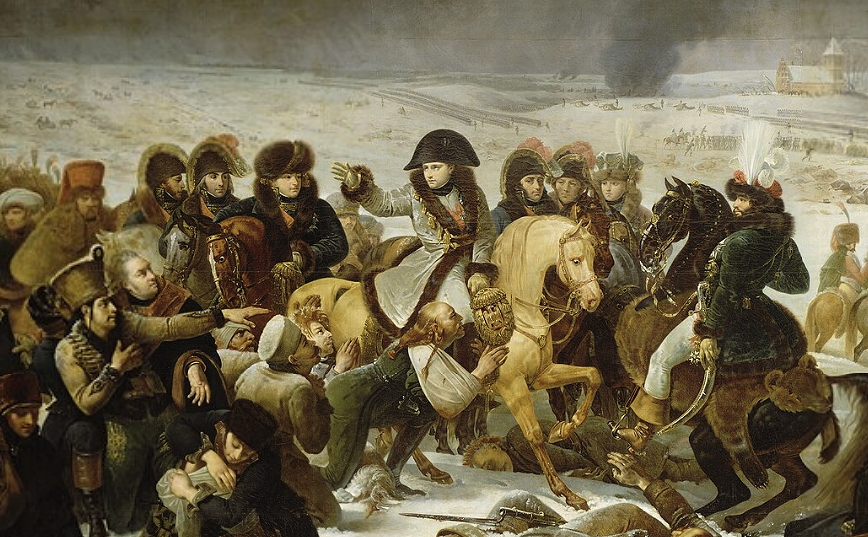
Heavy snow fall now obscured the battlefield, and by dawn on the 9th Napoleon had fought Bennigsen only to a draw, the arrival of the Prussians under L’Estocq amidst the poor weather deflecting Davout’s flank attack.[44] What had at first seemed like a another Jena devolved into a terrible attrition battle, Napoleon’s first serious check: there were 40,000 casualties left in the snow, the Grand Armee having suffered between 20,000 and 25,000 killed and wounded to the Russians’ 11,000, with another 2,500 prisoners destined for French prisons – still, Napoleon held the field after the slaughter and so the Russians withdrew to Konigsberg.[45]


Eylau02

Napoleon after Eylau, 9 February 1807, by Jean-Baptiste Mauzaisse

The carnage at Eylau had been a serious wakeup call for Napoleon, who promptly despatched General Bertrand to meet with Frederick William and try to arrange a peace settlement.[46] Napoleon’s corps required all spring to regain their strength, but then Danzig, which had been under siege since 11 March, surrendered on the 27th of May, and at last this enabled Napoleon time to mass against Bennigsen’s base at Konigsberg.[47]


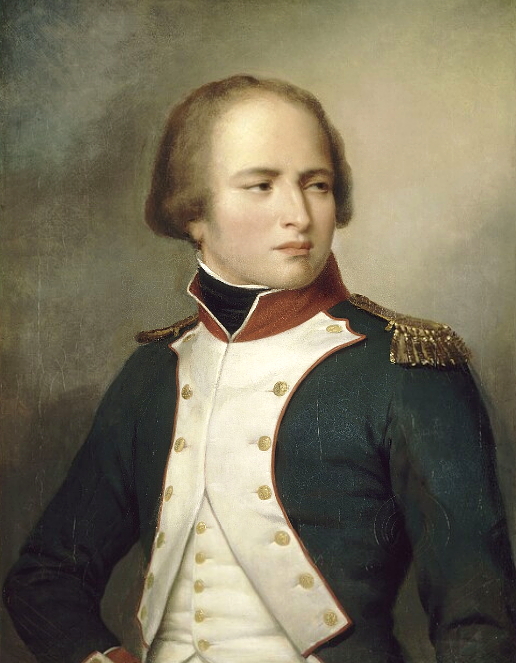
Davout02Davout

Louis-Nicolas Davout, perhaps Napoleon’s ablest commander, as a Lieutenant Colonel in 1792 by Alexis-Nicolas Perignon, c. 1834, and Marshal Davout by Pierre Gautherot

Bennigsen took the offensive at once, departing Konigsberg on 5 June with his 50,000 men, but was badly outnumbered by Napoleon, who began once again to concentrate his corps against Bennigsen’s lines. Bennigsen brushed aside Ney’s corps, but soon found himself facing Napoleon’s combined army and so withdrew to his entrenchments at Heilsberg.[48] Here Napoleon’s plan of attack for 10 June was to have Murat, Soult and Lannes pin the Russians, while Ney, Davout and Mortier cut off Bennigsen’s retreat.[49]

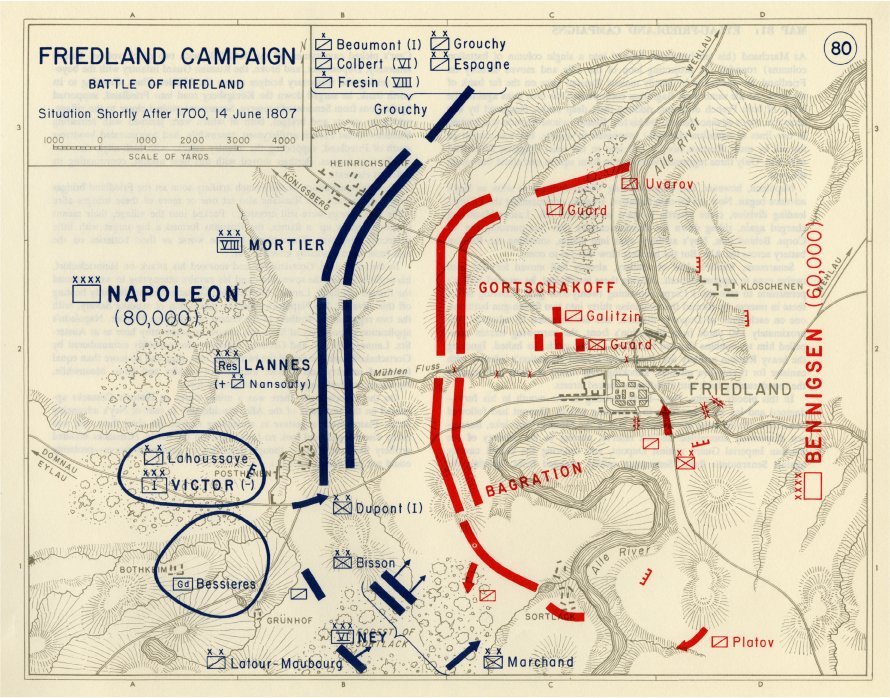
Napoleon visited Murat and Soult’s headquarters that afternoon, and in the evening began to develop a frontal attack despite this being strictly contrary to the orders he had given his marshals. The result was a strong repulse of both Murat and Soult.[50] Despite this setback the turning movement continued to develop onto the 11th; Bennigsen realized that Davout was about to turn his flank and he withdrew from Heilsberg that night, reaching Friedland on the 13th.[51]


Friedland

Battle of Friedland, showing Bennigsen being squeezed back against the Alle river


Friedland01

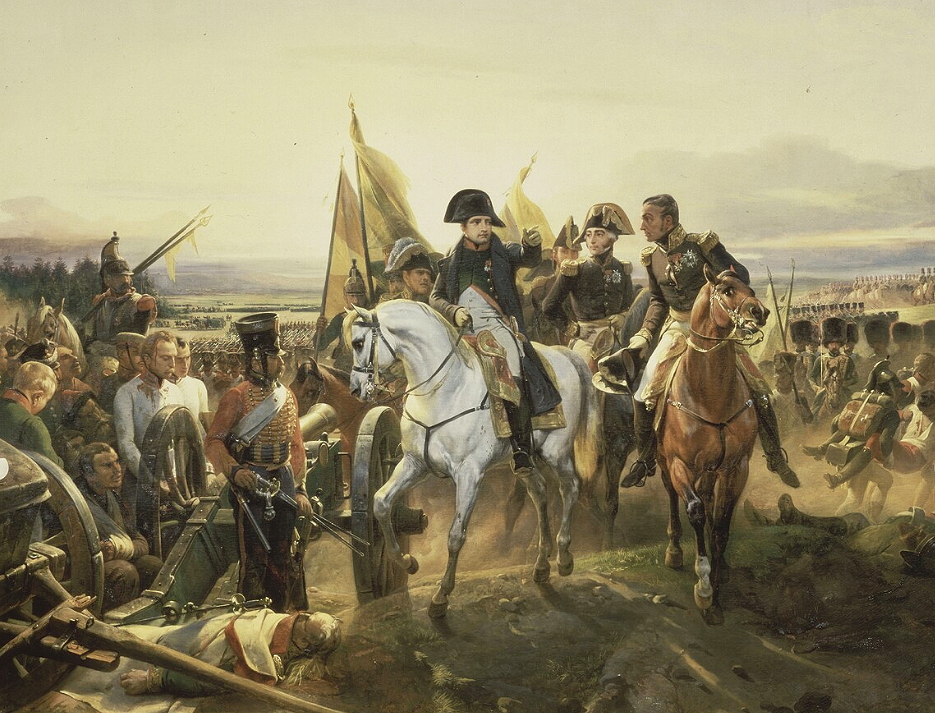
Napoleon commanding at Friedland, 14 June 1807, by Carle Vernet

There on the morning of the 14th Lannes’ corps encountered the Russians first, but Napoleon  arrived at noon (having camped the night before at Eylau, site of the bloody winter battle only five months earlier), to support the 35,000 already engaged with another 50,000, pressing his attack before Bennigsen could bring his combined Russo-Prussian force of 90,000 into action.[52] Napoleon stove in Bagration’s corps after which the Russians collapsed, scrambling to get back across the river.[53]

Friedland

Battle of Friedland, 14 June 1807, by Simeon Fort

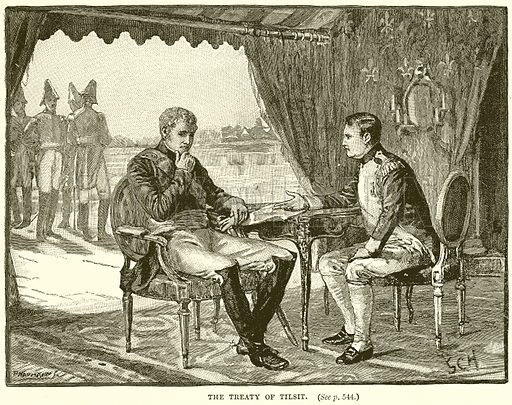
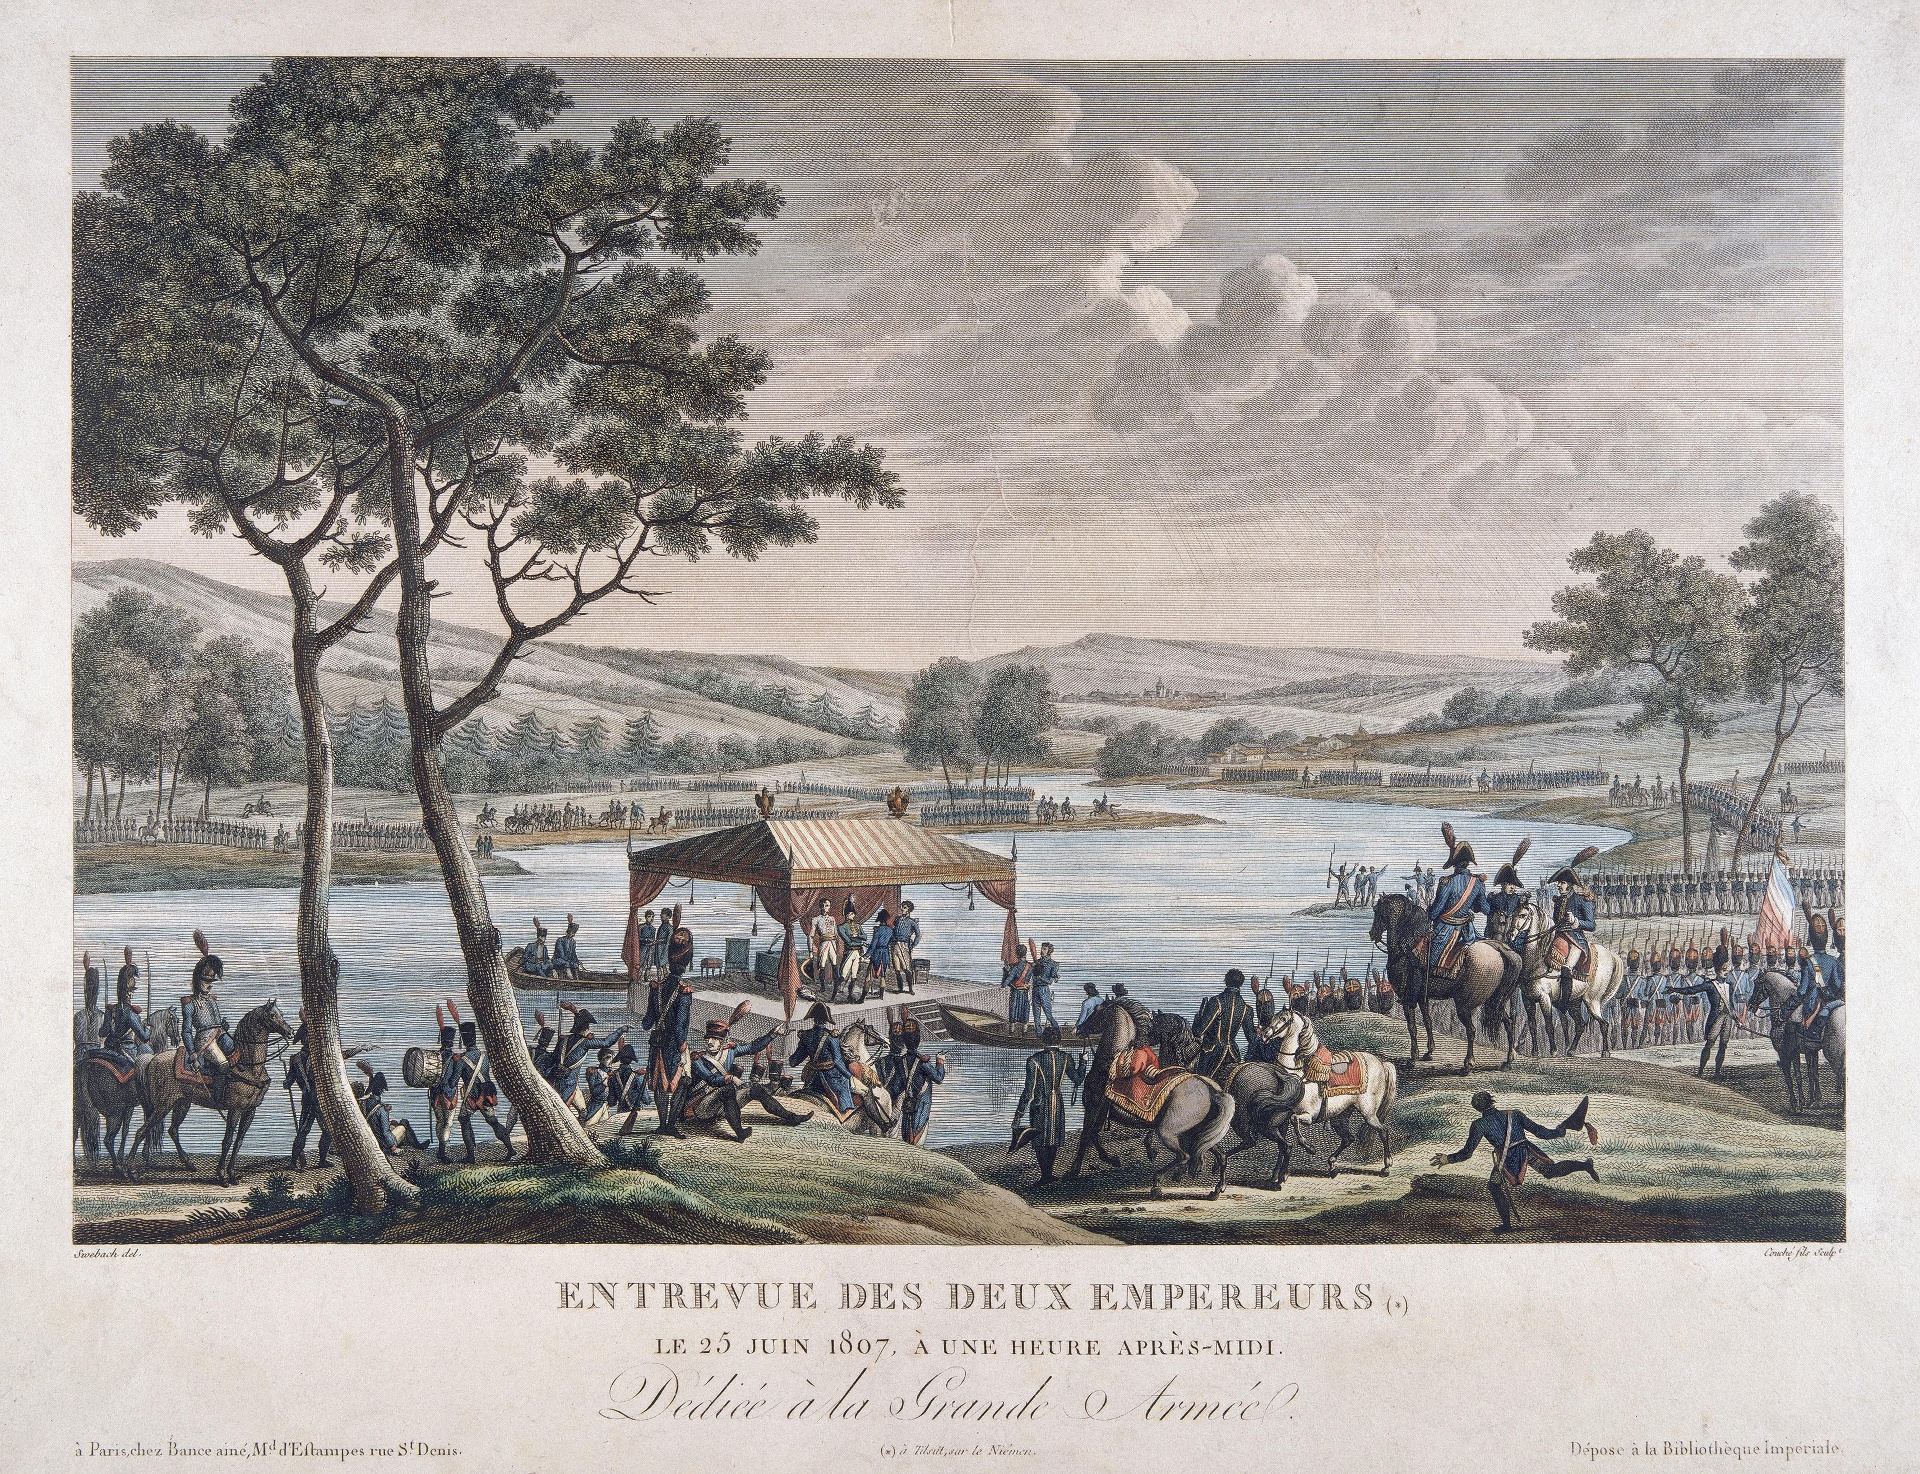
The result was 15,000 Russian casualties to 7,500 French, and Bennigsen’s withdrawal to the Niemen, whither Alexander I asked Napoleon for a truce. The following negotiations culminated on 7 July 1807 with the Treaty of Tilsit.[54] This agreement between French Emperor and Russian Czar took the Russians out of the war, dismantled the Fourth Coalition, and left the British isolated. As Kissinger later phrased it: Napoleon arrived at Tilsit “to complete the division of the world.”[55]


The Treaty of Tilsit

After defeating Count von Bennigsen on 14 June, Napoleon and Czar Alexander I met in the middle of the Neman River to sign the Treaty of Tilsit, 7 July 1807


Neman River

Alexander I and Napoleon meeting on the Neman River, by Francois-Louis Couche


As 1808 dawned the Napoleonic Empire was at its height. Despite Napoleon’s control over the European continent, he did not possess the naval power to confront Britain. The Royal Navy thus continued its long-term naval blockade and began to recapture the various Franco-Spanish overseas colonies.

Europe1807

Europe in July 1807, after the Treaty of Tilsit


The War at Sea Renewed, 1805 – 1808

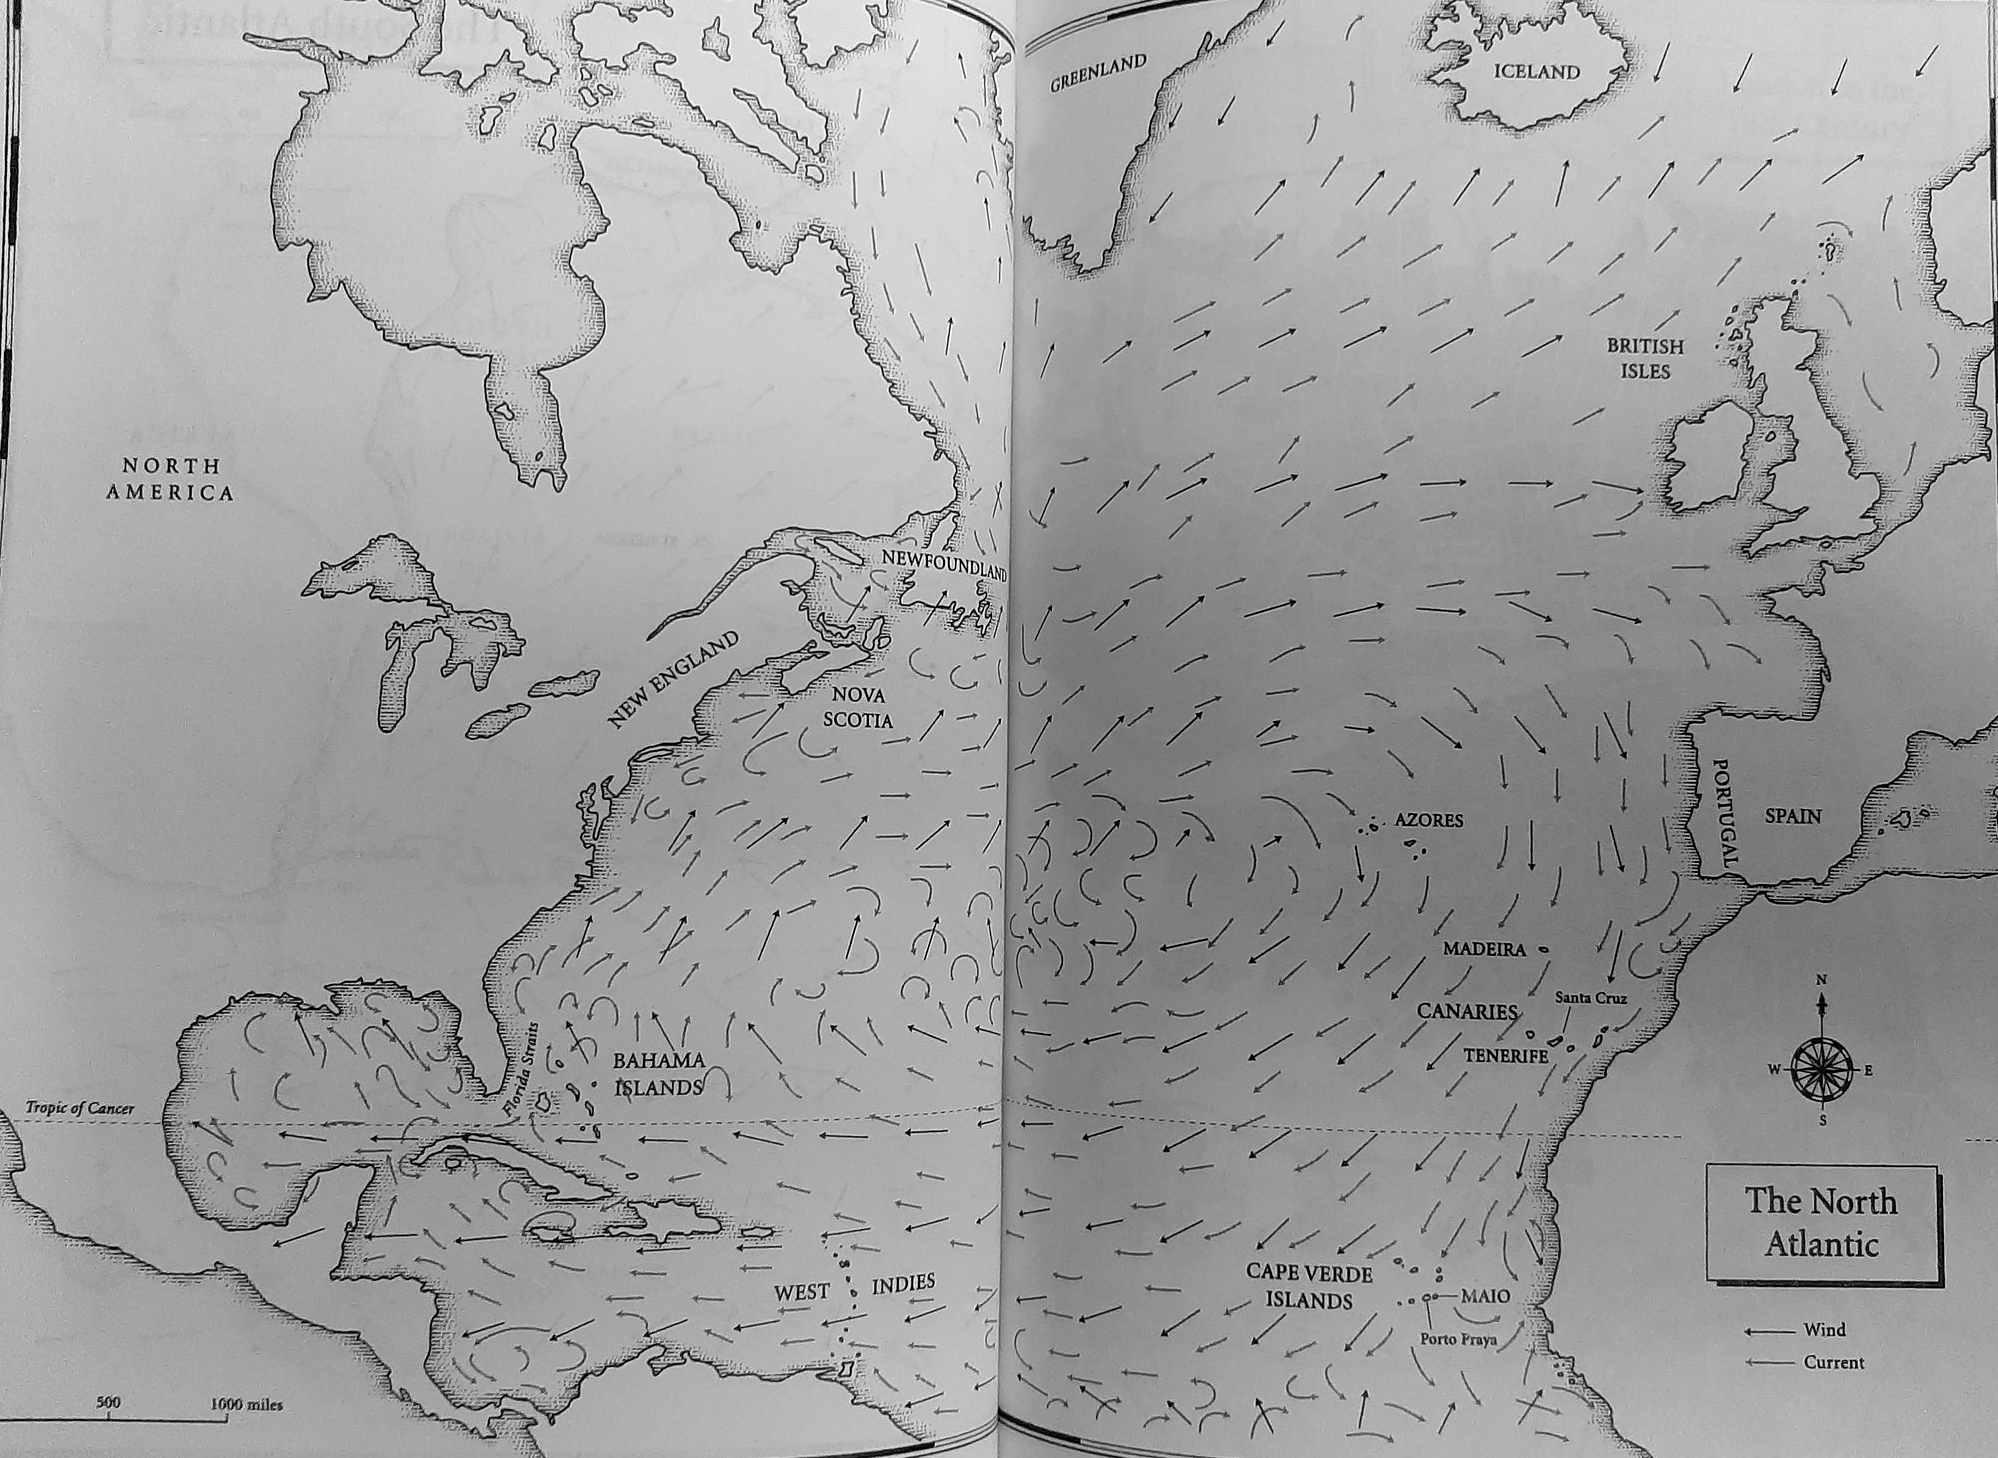
On 13/14 December 1805, when Admiral Cornwallis’ blockading force withdrew to Torbay for the winter, two French squadrons escaped Brest. The first, under Rear Admiral Jean-Baptiste Willaumez, made for the Cape of Good Hope and the South Atlantic, while the second, under Vice Admiral Corentine de Leissegues, sailed for the West Indies with orders to land 1,000 men at San Domingo and then intercept merchant traffic off Jamaica.[56] At the Admiralty this development was recognized as the transition point: Napoleon’s naval strategy had ceased to revolve around invasion through main action and instead became a prolonged guerre de course.

northwind

Prevailing winds in the North Atlantic


Cornwallis

Rear Admiral of the Blue William Cornwallis, c. February 1802


Brest Squadrons

The Brest squadrons, commanded by Vice Admiral Corentin Leissegues and Rear Admiral Jean Baptiste Willaumez, escaped Cornwallis’ Channel blockade on 13 December 1805

warren

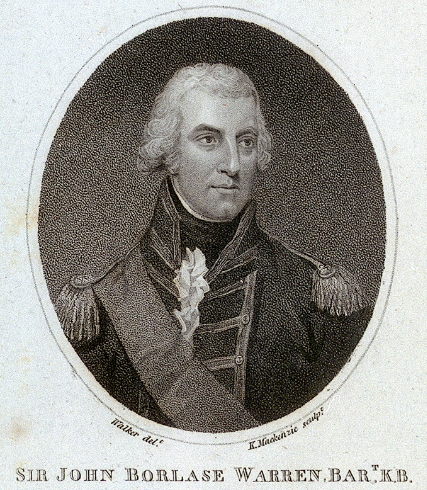
Vice Admiral Sir John Warren, c. August 1800

Warren and Strachan

Vice Admiral Warren and Rear Admiral Strachan’s squadrons

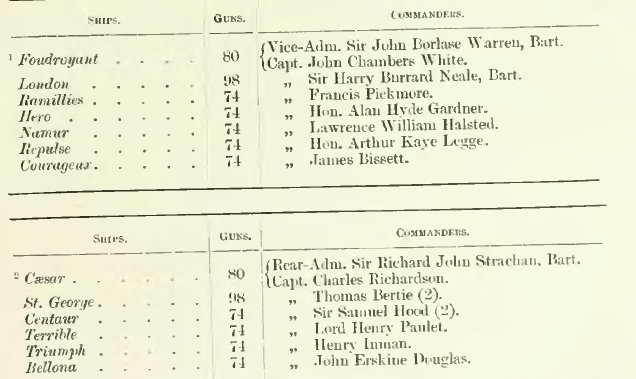
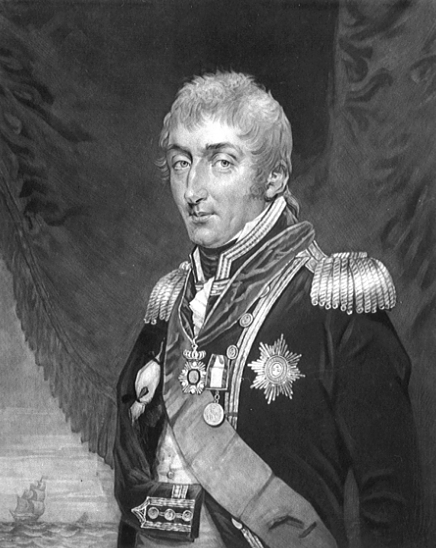
Vice Admiral Sir John Warren, newly promoted on 5 November 1805, and Sir Richard Strachan, likewise promoted to Rear Admiral, were despatched on December 24th with orders to intercept the Brest squadrons and ensure they were not allowed to take prizes amongst Britain’s lucrative West Indian and South American trade.[57] Warren, in his flagship Foudroyant (80, Captain John C. White), with six of the line, sailed south after Willaumez early in January 1806, but could not locate his quarry.


Dianna

38-gun fifth rate (1794), HMS Diana 

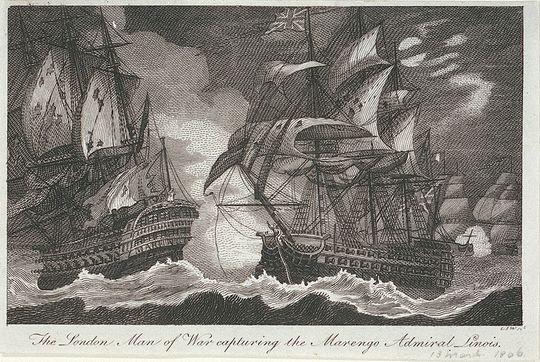
Having been joined by Captain Sir Harry Neale in HMS London (98), Warren shifted his flag and on the 13th of March, while they were cruising off the Cape Verde Islands, Foudroyant and the 38-gun frigate Amazon of Captain William Parker, took the 74 or 80-gun Marengo, Rear Admiral Linois’ flagship, along with the frigate Belle Poule (40). Linois had been in the process of returning from the East Indies, where he had been displaced by Rear Admiral Edward Pellew’s efforts.[58]


Battle_of_13_March_1806

Vice Admiral Warren’s London (98, Captain Sir Harry Neale), with Amazon (38, Captain William Parker) and Foudroyant (80, Captain John Chambers White) takes Linois’ Marengo and Belle Poule (40) on 13 March 1806

After returning to Spithead with his prizes Warren was ordered to resume the search for Willaumez’ squadron. Again Warren was unable to locate it in North American waters during 1806. In October 1807 Warren was promoted to C-in-C North America.[59] Strachan, for his part, had no more luck, having arrived at Barbados early in August 1806, but had in fact passed not more than 60 miles from Willaumez on the night of the 18th.[60]


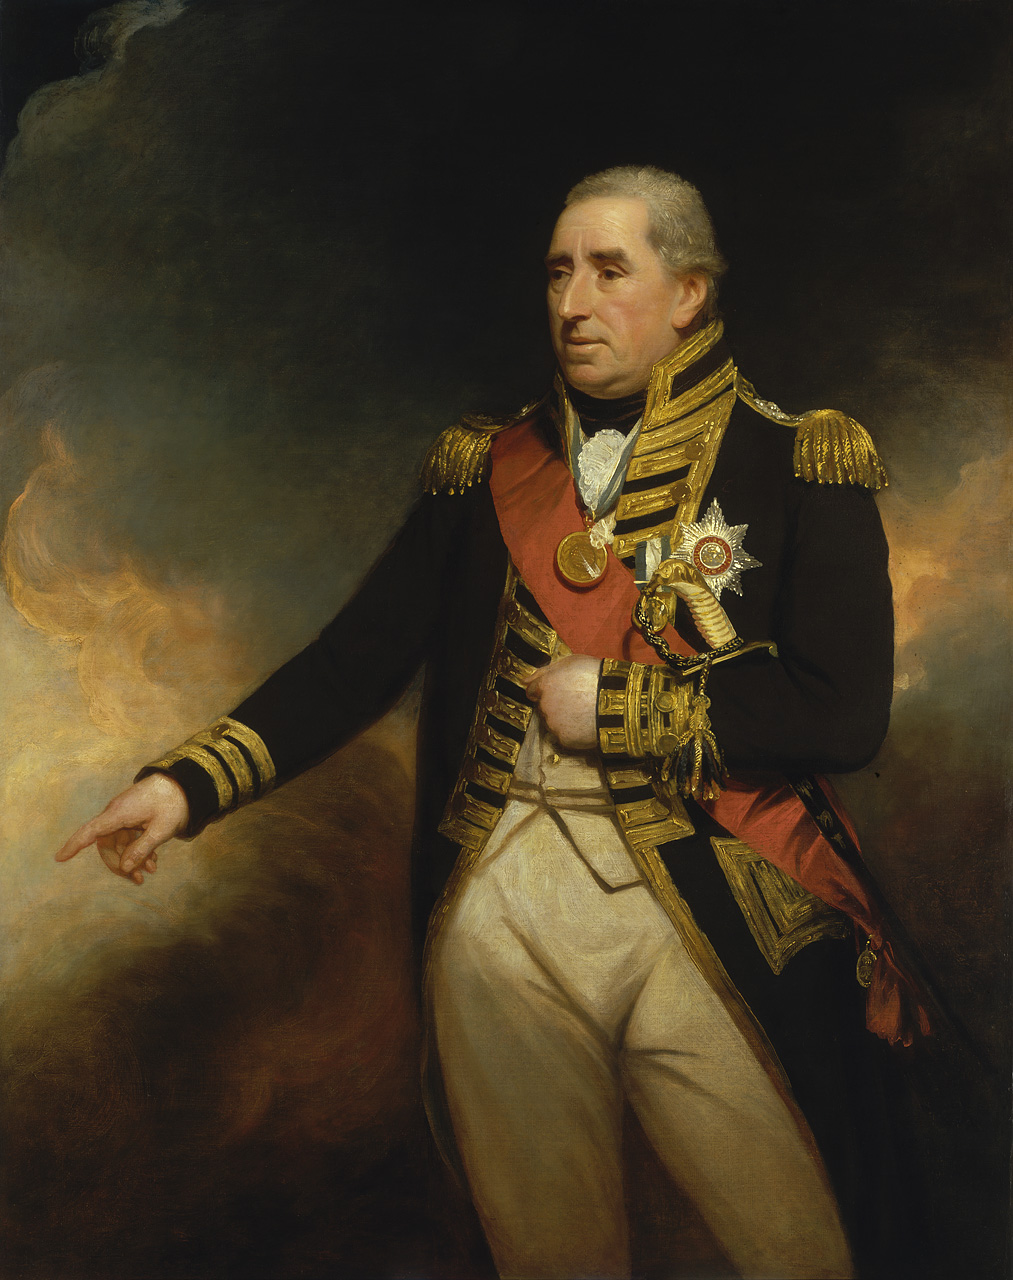
Sir Samuel Hood

Engraving of Sir Samuel Hood, c. November 1806, after losing his right arm in the September action.

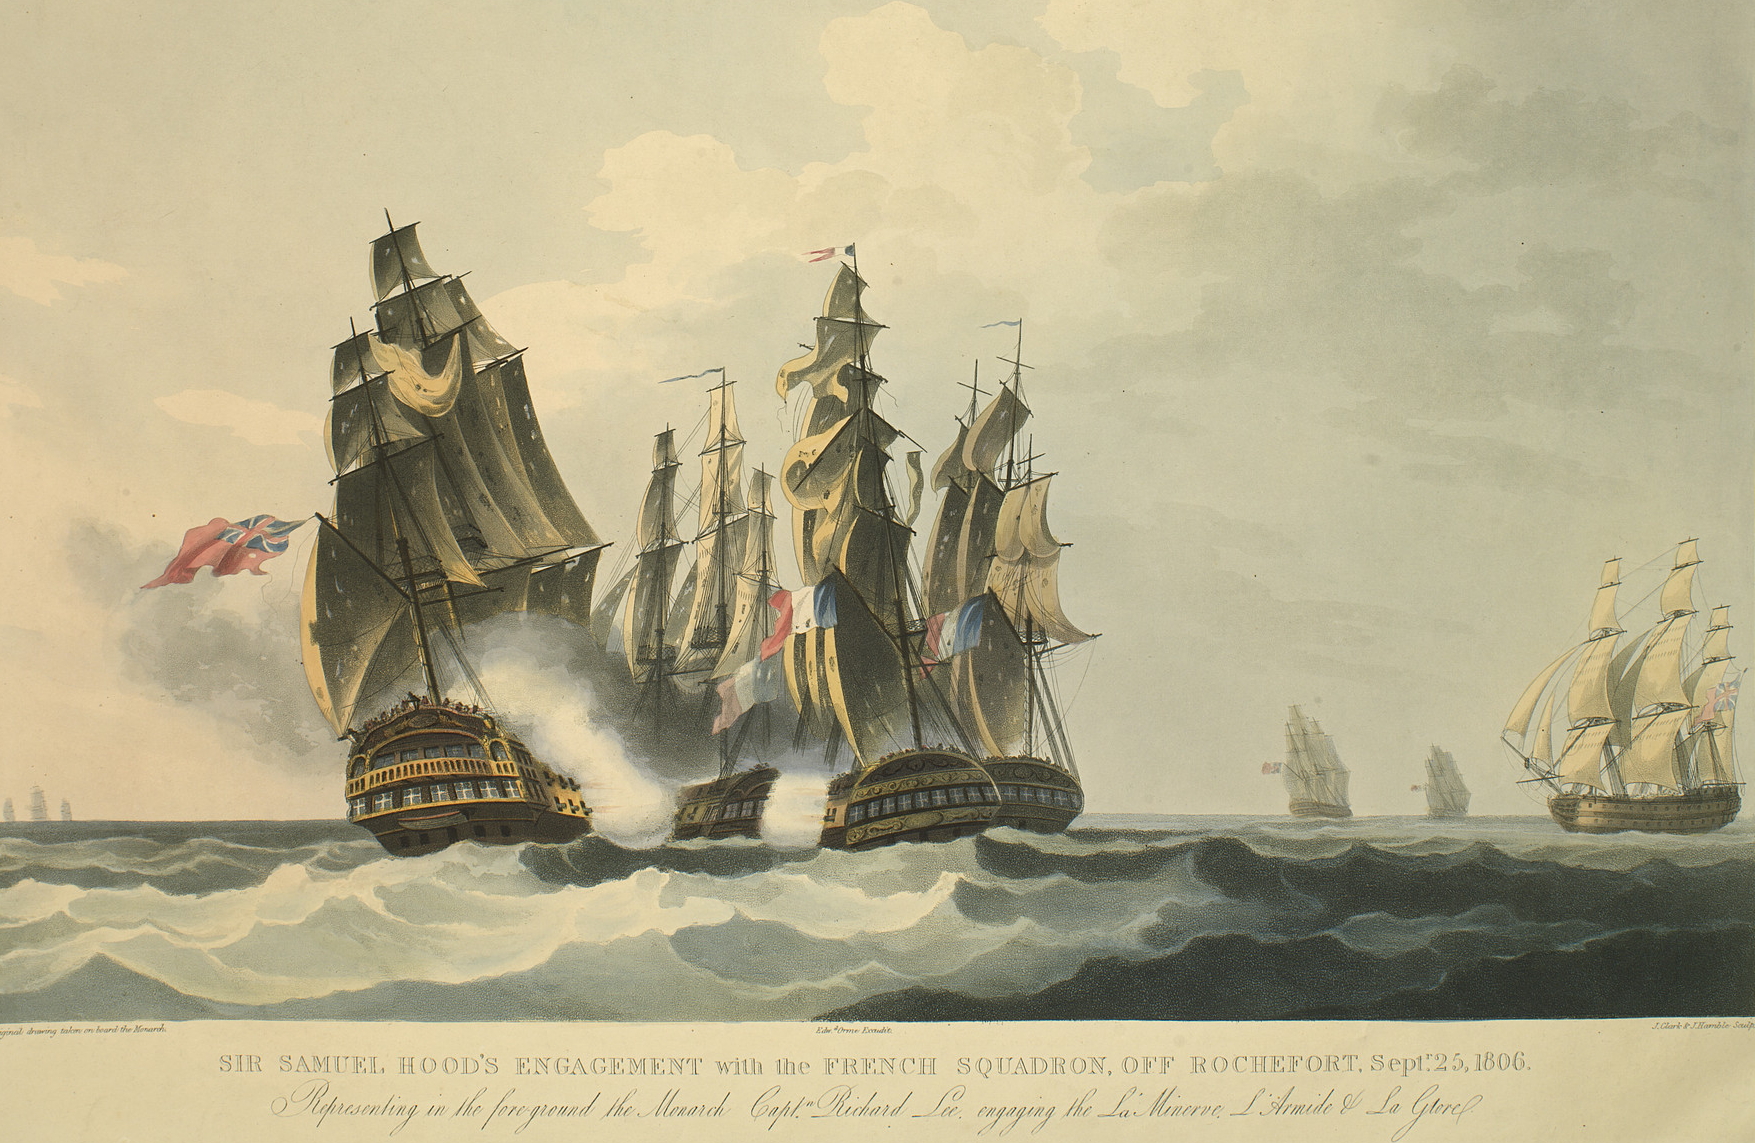
On 25 September 1806 Commodore Samuel Hood, flying his flag in the Centaur (74) and with Monarch, Mars, and three other warships, captured a squadron of five French warships, including four French 40-gun frigates, which had been heading from Rochefort to the West Indies.[61] Hood lost his right arm to a musket ball during the action. Lauded as a naval hero, Hood accompanied Lord Gambier in the Copenhagen expedition in 1807.[62] A similar success story was that of Captain Cochrane in the Imperieuse (40) who, between 13 December 1806 and 7 January 1807, captured or destroyed 15 French ships.[63]

735131.a

Hood’s action against the Rochefort Squadron, 25 September 1806, engraving by John Heaviside Clark


bevan

HMS Leopard detains USS Chesapeake, 21 June 1807, by Irwin John Bevan

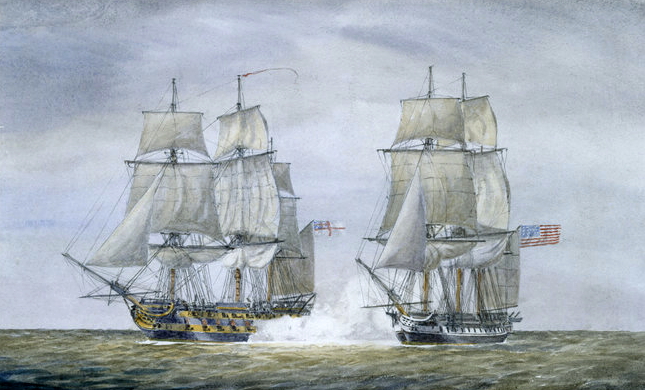
Here we must briefly mention the Leopard-Chesapeake incident, a significant development in the prelude to the intervention of the United States in 1812: On 21 June 1807 the 50-gun HMS Leopard, captained by Salusbury Humphreys, intercepted the 38-gun USS Chesapeake with orders to recover deserters known to be aboard.[64] Chesapeake refused to allow a search and so Leopard fired broadsides at the American warship until it surrendered. Four sailors were taken off the frigate, but only one proved to be a Briton; this despite there being 2,500 British seamen serving in the American merchant marine: a major diplomatic embarrassment for the British government that dramatically weakened relations between the two nations.[65]


The West Indies and the Battle of San Domingo, 6 February 1806

Duckworth 1809

Admiral Sir John Duckworth, c. 1809-1810 by William Beechey

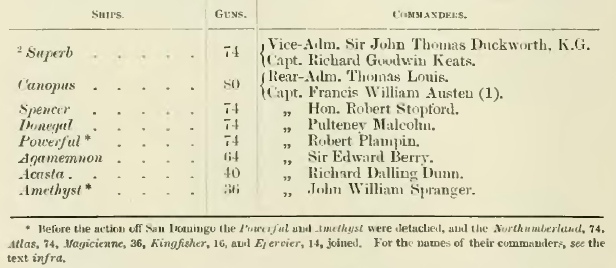
The other side of the Brest squadron’s story revolved around the command of Admiral Sir John Duckworth who, after Trafalgar, had been ordered by Collingwood to blockade Cadiz. On Christmas Day 1805 Duckworth encountered Leissengues’ squadron and chased him to the West Indies.[66] Duckworth detached Powerful (74) on January 2nd to join Rear Admiral Pellew in the East Indies, and then steered for Barbados where he arrived on the 12th.


sandomingo

Duckworth’s Cadiz blockade squadron in the chase against Leissengues’ six of the line.

The next week Duckworth was joined by Rear Admiral Alexander Cochrane in the Northumberland (74) and Captain Pym in the Atlas (74). Duckworth at first had no intelligence regarding Leissengues’ deployments and thus intended to re-cross the Atlantic and return to his blockade station, but on February 1st the carronade sloop Kingfisher informed him of French warships near San Domingo. Acting on this intelligence Duckworth made sail for San Domingo and on February 5th arrived at the eastern end of the island. There he was joined by the 36-gun frigate Magicienne, bearing intelligence that further confirmed the reports of nearby French warships. On the morning of the 6th Duckworth sailed for the harbour of San Domingo where his frigates identified Leissengues’ squadron, in fact anchored and deploying troops ashore since 20 January.[67]


Barbados2

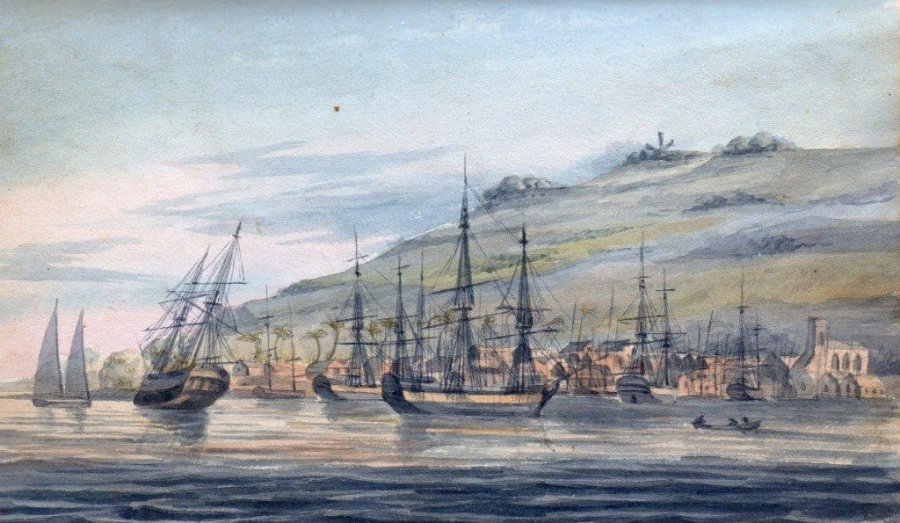
Barbados

John Pitt’s sketchbook of British warships and merchants at Barbados (including the 98-gun Temeraire)

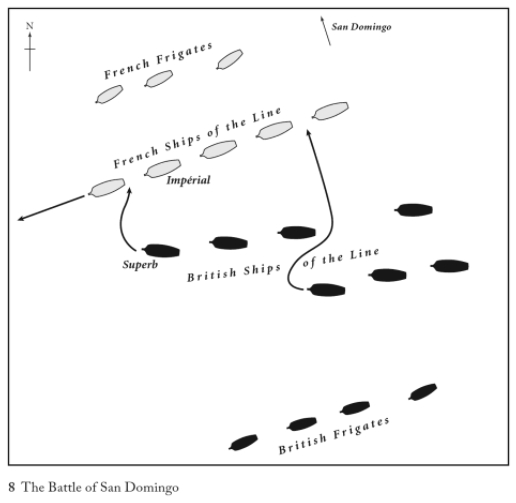
Leissengues immediately realized the danger and at 7:30 am slipped anchors. Duckworth, who had six of the line, mainly cruisers, and two frigates plus his carronade sloops, was outnumbered by Leissengues’ nine warships, including three frigates.


SanDominiogomap

Chart of Battle of San Domingo from J. Davey, In Nelson’s Wake


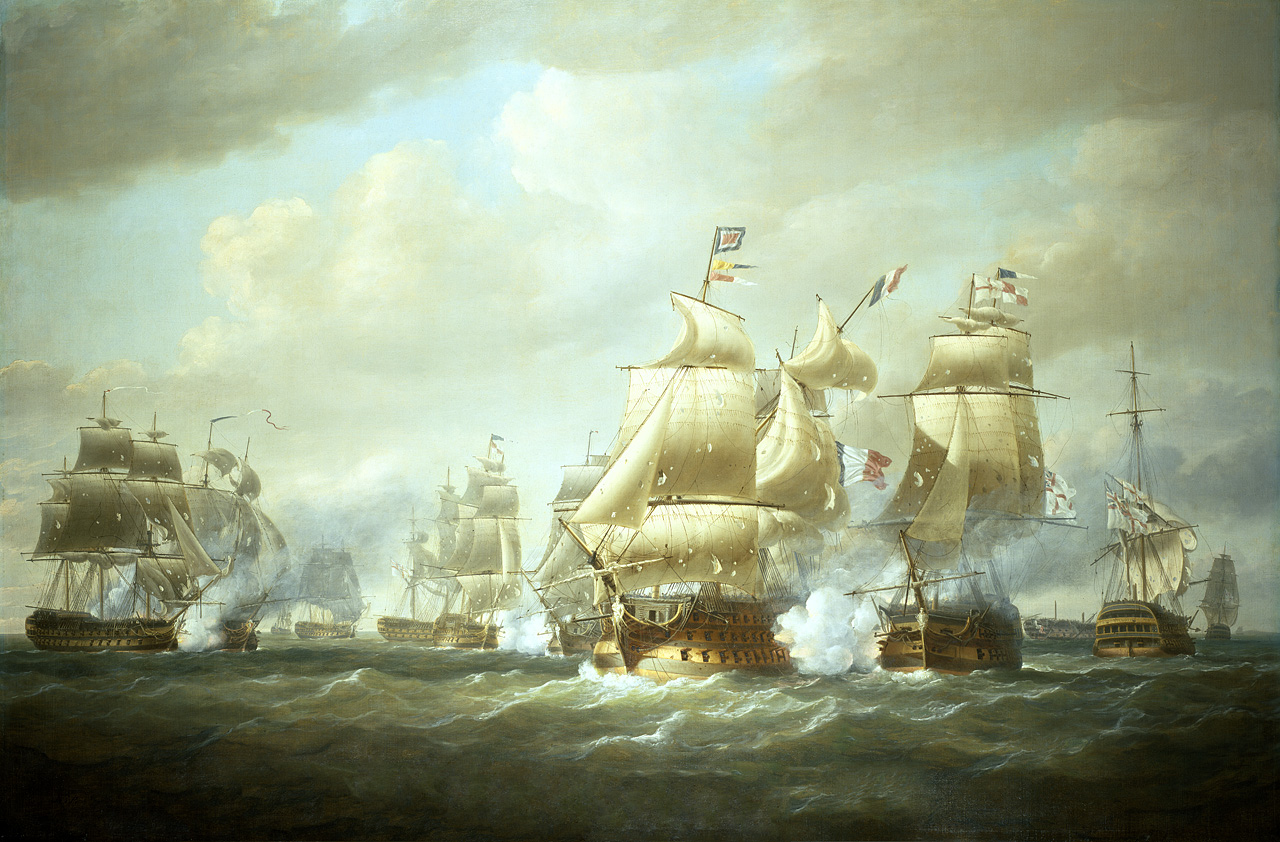
Battle of Havana by Serres

The Battle of San Domingo, 6 February 1806, by Nicholas Pocock

In the action that followed Duckworth split his squadron into two columns, with a third frigate group cutting off the French escape route, and engaged the French line in two attacks. At the front of the line Duckworth’s flagship Superb engaged the Alexandre at 10:10 am, while the Northumberland (74) engaged the Imperial, the latter mounting 120 or 130 guns, and ultimately held off three RN warships for nearly two hours. Duckworth’s division was sustaining heavy casualties but as planned Rear Admiral Thomas Louis came up leading his division in the Canopus (80) and poured in fire against the French line.[68] This movement swung the battle in Duckworth’s favour, and at 11:30 am Leissengues in Imperial attempted to steer away, only to run aground ten minutes later.

SLR0568

SLR0568

80-gun second rate HMS Canopus, French capture from the Nile


boats2

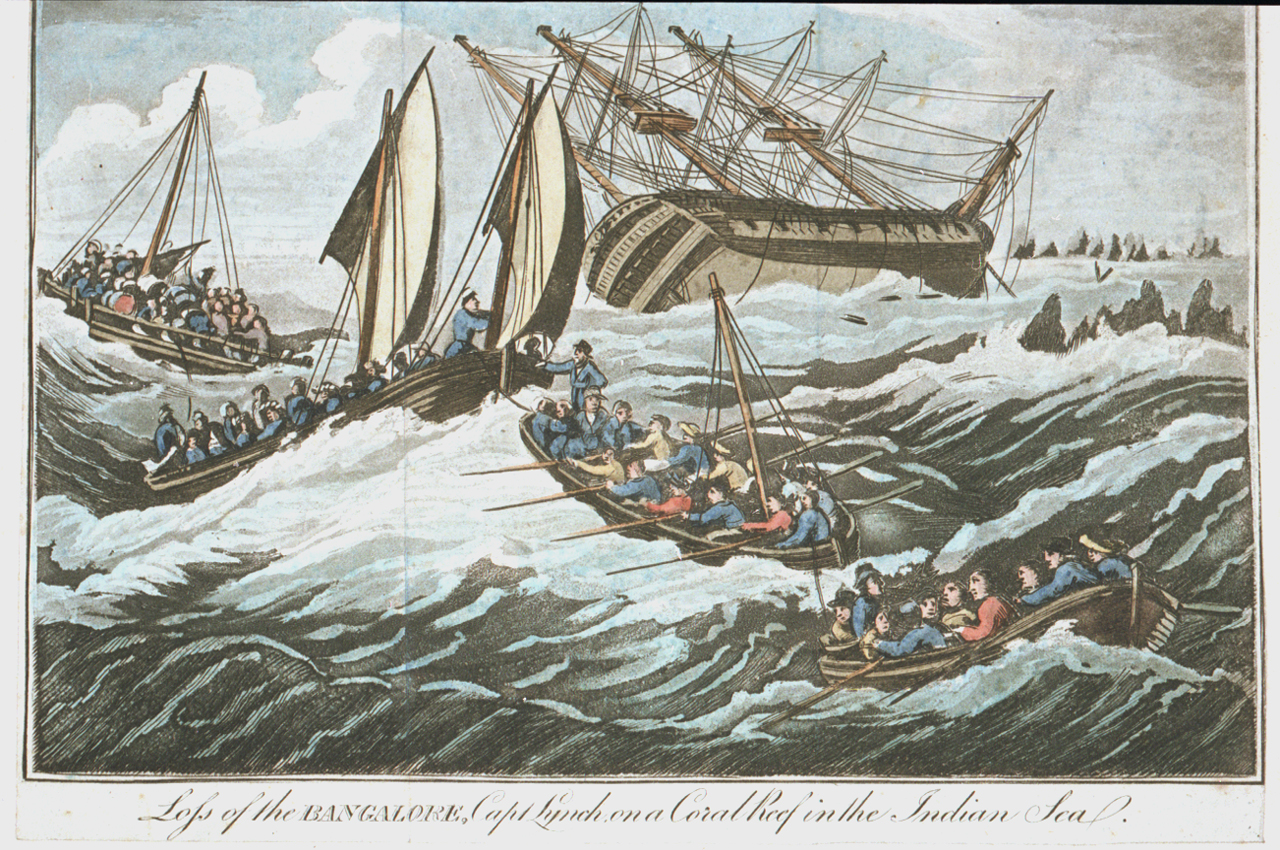
Loss of the Indiaman Bangalore (1802), by Thoomas Tegg

In the event Duckworth captured one 80, two 74s, and forced the Imperial and the Diomede (72) to wreck themselves ashore, and they were subsequently burned. The French frigates and a corvette escaped. The British suffered 64 (or 74) killed and 264 or 294 wounded, the French suffered between 500-760 killed and wounded.[69] Duckworth for his part had justified his movements, although he likely would have faced recrimination had he returned home empty-handed, having abandoned his station in the pursuit.[70] Vice Admiral de Leissegues, for his part, in fact escaped the destruction of his squadron and later returned to Europe.


Caribbean

Caribbean theatre of operations

Rear Admiral Willaumez continued to evade the RN and sailed for the Cape of Good Hope. There he learned of Commodore Home Popham’s success (see below), preventing him from taking any action and so sailed for South America but eventually concentrating at Martinique on June 24th, before departing on 1 July for Montserrat.[71] Willaumez was then spotted on the 6th off Tortola by Rear Admiral Cochrane, whom Duckworth had detached after San Domingo to observe Martinique, but as he was then preparing to escort a merchant convoy, and as Cochrane’s four of the line were outnumbered by Willaumez’s six, with a convoy of 280 merchants to protect, pursuit was impossible.[72]

F8855 002

HMS Superb (74), built 1760

Willaumez, who had Jerome Bonaparte with him, did not wait around to confront Cochrane and instead made for Jamaica to intercept merchant traffic there, in the process seizing a number of prizes. Jerome in the Veteran (74), for whatever reason, made an ill-advised sortie out of the Caribbean and eventually returned to France. Willaumez was compelled to search north for Napoleon’s youngest brother, failed to locate him, and towards the end of August returned to the Caribbean where he docked at Havana.[73] Willaumez ultimately dispersed his squadron, and his ships variously met their fates along the American seaboard, although the Foudroyant made it back to Brest in February 1807.[74]


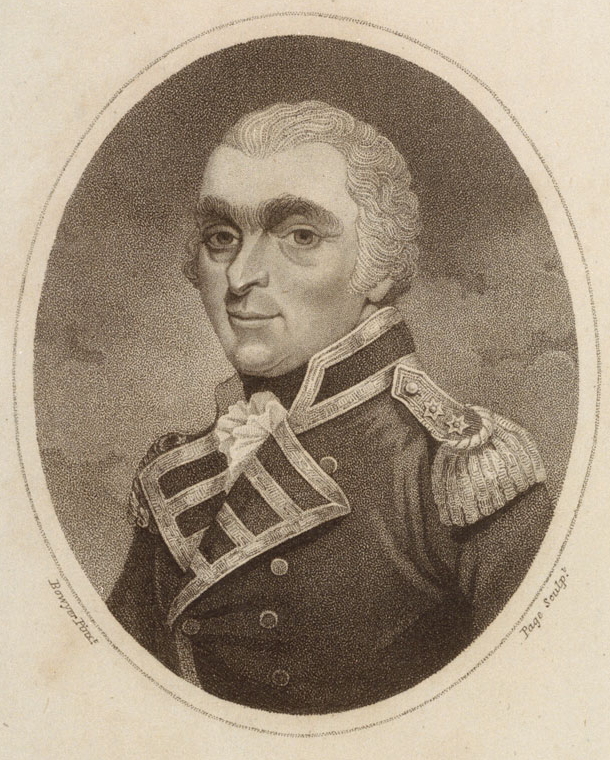
James Richard Dacres, Esqr, Vice Admiral of the Red (PAD3166) Artist/Maker R. Page after Robert Bowyer

Vice Admiral James Dacres, C-in-C Jamaica, by Robert Bowyer, R. Page and Joyce Gold, 31 October 1811

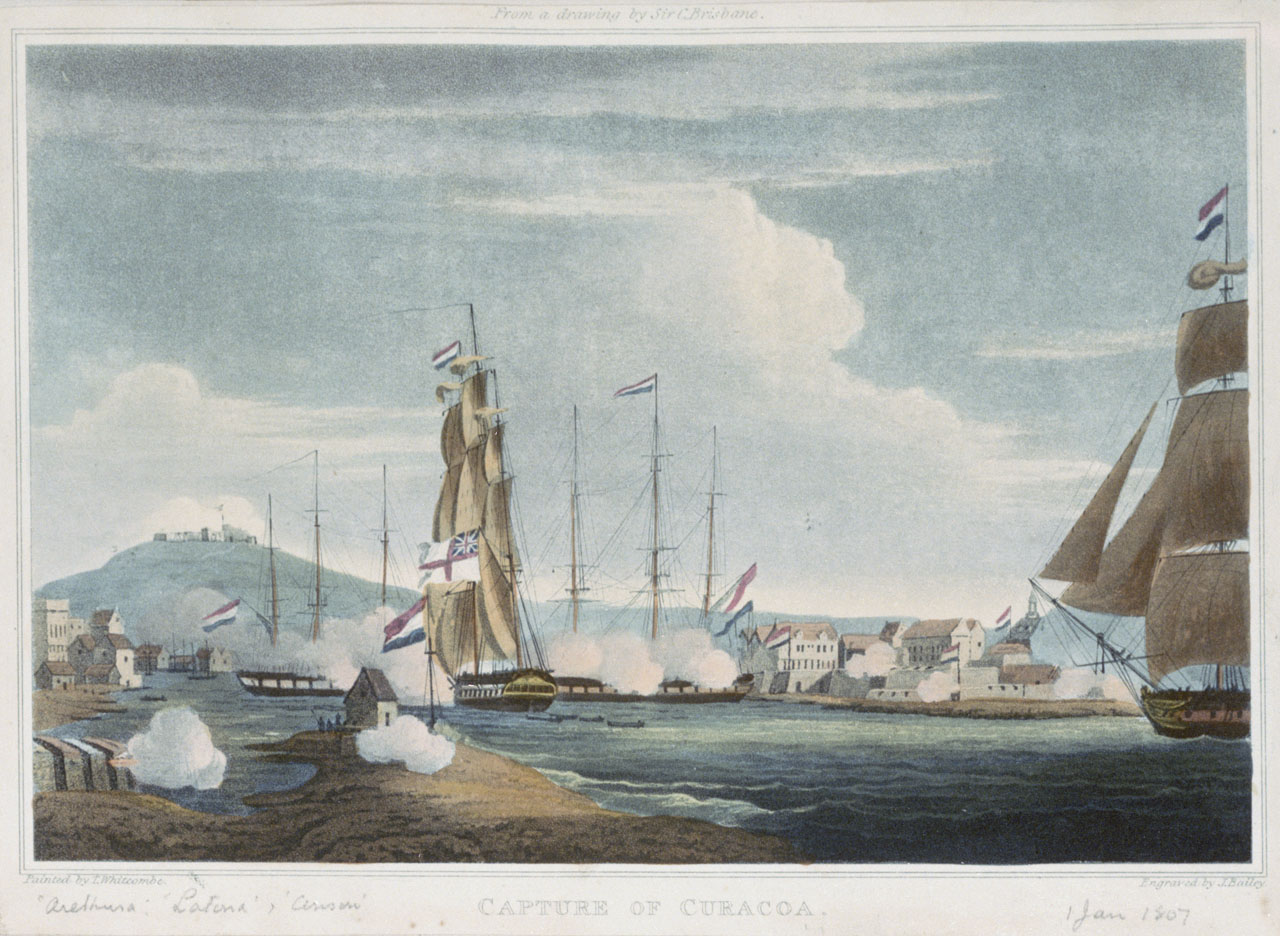
Operations in the Caribbean continued late in 1806: St. Thomas was taken from the Danish on 21 December by Rear Admiral Alexander Cochrane and General Bowyer, and St. Croix was quietly occupied on Christmas Day.[75] This series of successes was immediately followed up by the capture of the Dutch island of Curacao. On 29 November 1806 Vice Admiral James Dacres at Jamaica despatched Captain Charles Brisbane in the Arethusa (38) with Latona (38, Captain James Wood), and Anson (44, Captain Charles Lydiard), with orders to join with the Fishguard (38) when they located it, then reconnoitre the island of Curacao to determine if the Dutch there were willing to join the Allies.[76] Brisbane’s squadron reached Aruba on 22 December, collecting the Fishguard next day. Brisbane relied on surprise and intended to force the Dutch to concede at cannon-point. Besides Fort Republiek and Fort Amsterdam, the latter with 60 cannon, there was a Dutch 36-gun frigate, a 22-gun corvette, and two armed schooners in the harbour.[77]


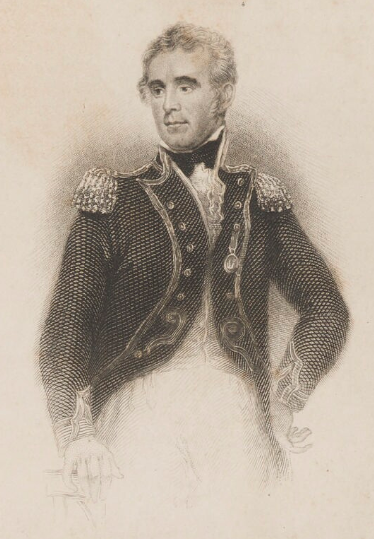
brisbane

Captain Sir Charles Brisbane, knighted for the capture of Curacao, engraving by William Greatbach from drawing by James Northcote, c. 1837


Curacoa

The capture of Curacao, 1 January 1807 by Thomas Whitcomb

Arethusa was flying a flag of truce when Brisbane led the squadron into the harbour at 5 am on 1 January 1807. The Dutch wisely ignored the flag and opened fire. The Fishguard at the rear of the line ran ground, and at 6:15 am Brisbane opened fire and moved in alongside the Dutch frigate before Brisbane himself led the boarding action that captured it. Latona and Anson took the Dutch corvette. Brisbane followed up this coup by leading the shore party that stormed Fort Amsterdam at 7:30 am. Afterwards the seaman and officers returned to their ships and engaged Fort Republiek, silencing it by 10 am. At noon the island’s governor, M. Pierre Jean Changuion, surrendered. The British had lost three killed and 14 wounded, while the Dutch suffered nearly 200 casualties, a testament to the value of surprise and swift execution.[78]


The East Indies

Squadrons

Disposition of British squadrons in January 1807, from Christopher Hall, British Strategy in the Napoleonic War, 1803-15 (1999)
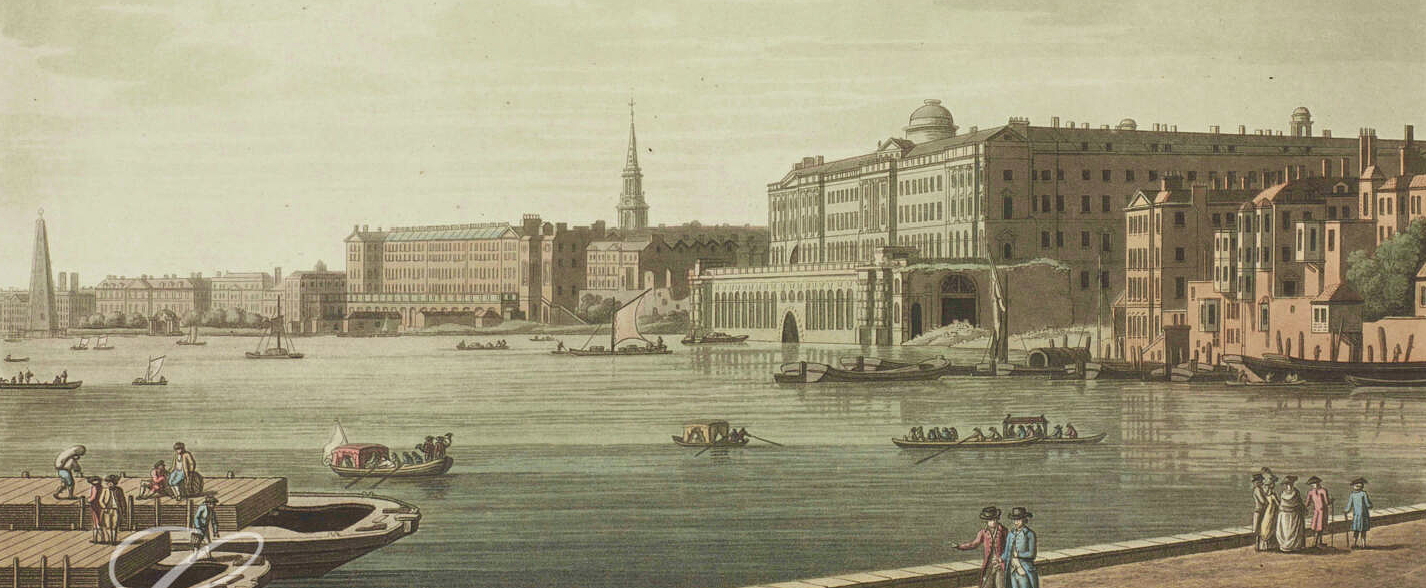
Rear Admiral Edward Pellew was appointed C-in-C East Indies in April 1804, and thither he departed that July in the Culloden. For political reasons related to Pellew’s defence of Addington’s ministry, Henry Dundas, Lord Melville, who superseded St. Vincent at the Admiralty, decided to split Pellew’s command in half, with Rear Admiral Thomas Troubridge taking the eastern half. Troubridge departed England on 27 April 1805 in the Blenheim (74). This was a situation guaranteed to produce confusion and the results were far from optimal.[79]
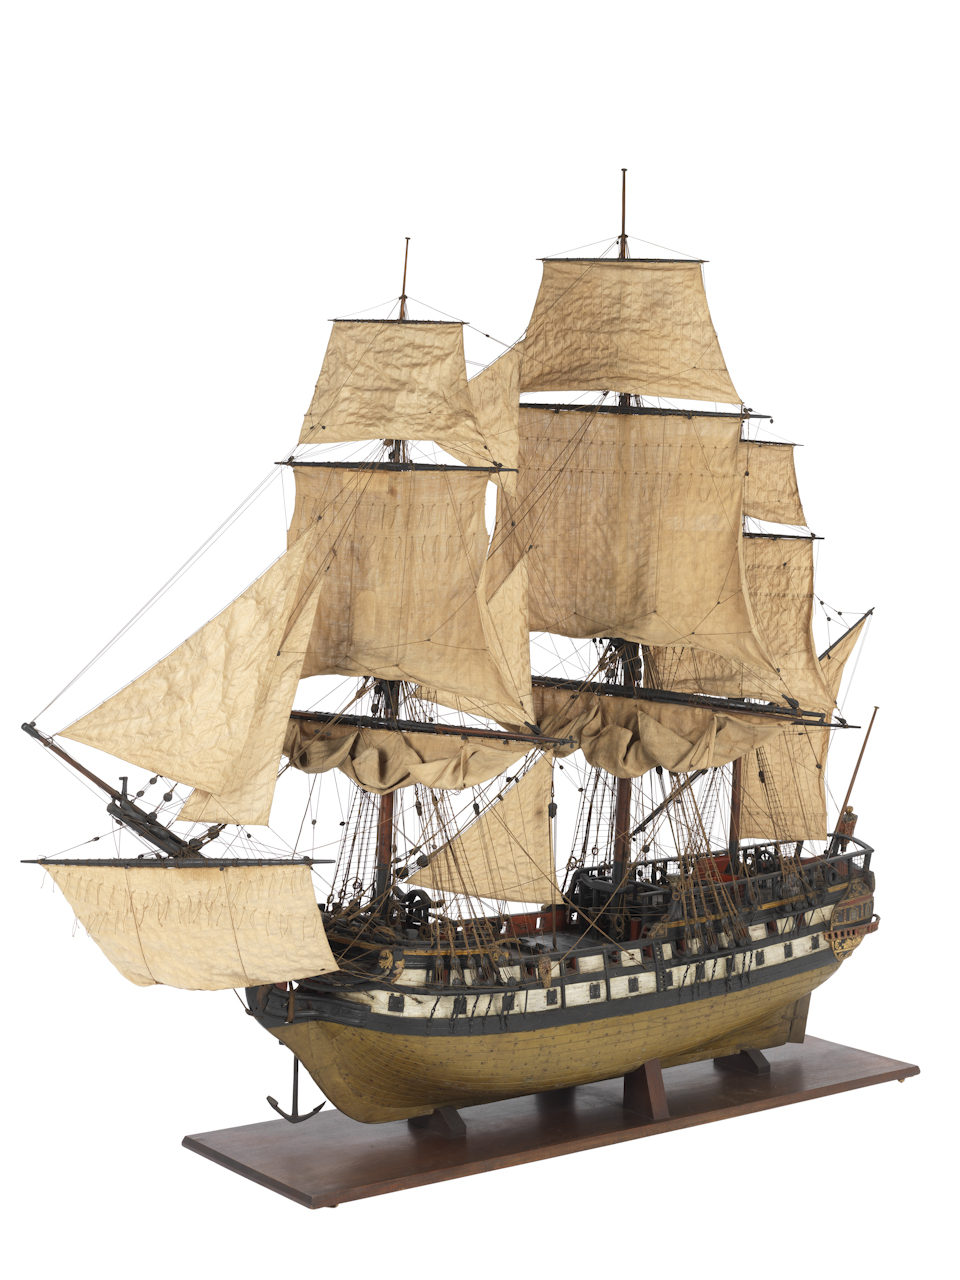
French Indiaman

French East Indiaman of 1764, 900 tons, 20-25 guns


Troubridge was escorting a convoy of 11 merchants when, on 6 August 1805, after departing Madagascar, he fell in with Admiral Linois in the Marengo, who however declined to engage, but as we have seen was captured in March the following year by Vice Admiral Warren. Troubridge rendezvoused with Pellew’s squadron at Madras on 22 August and Pellew, ignoring Troubridge’s orders to take half of the East Indies squadron under his command, simply added Troubridge to his existing squadron – to the latter’s outrage.[80]
 

Dance

PU5677

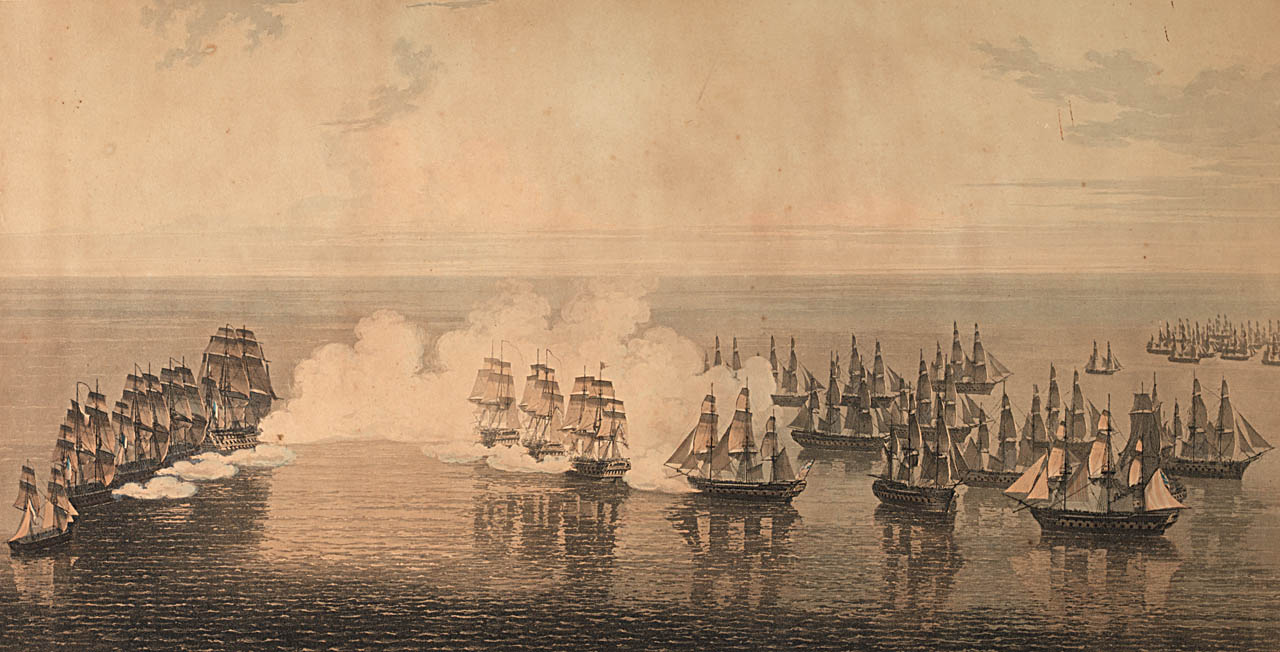
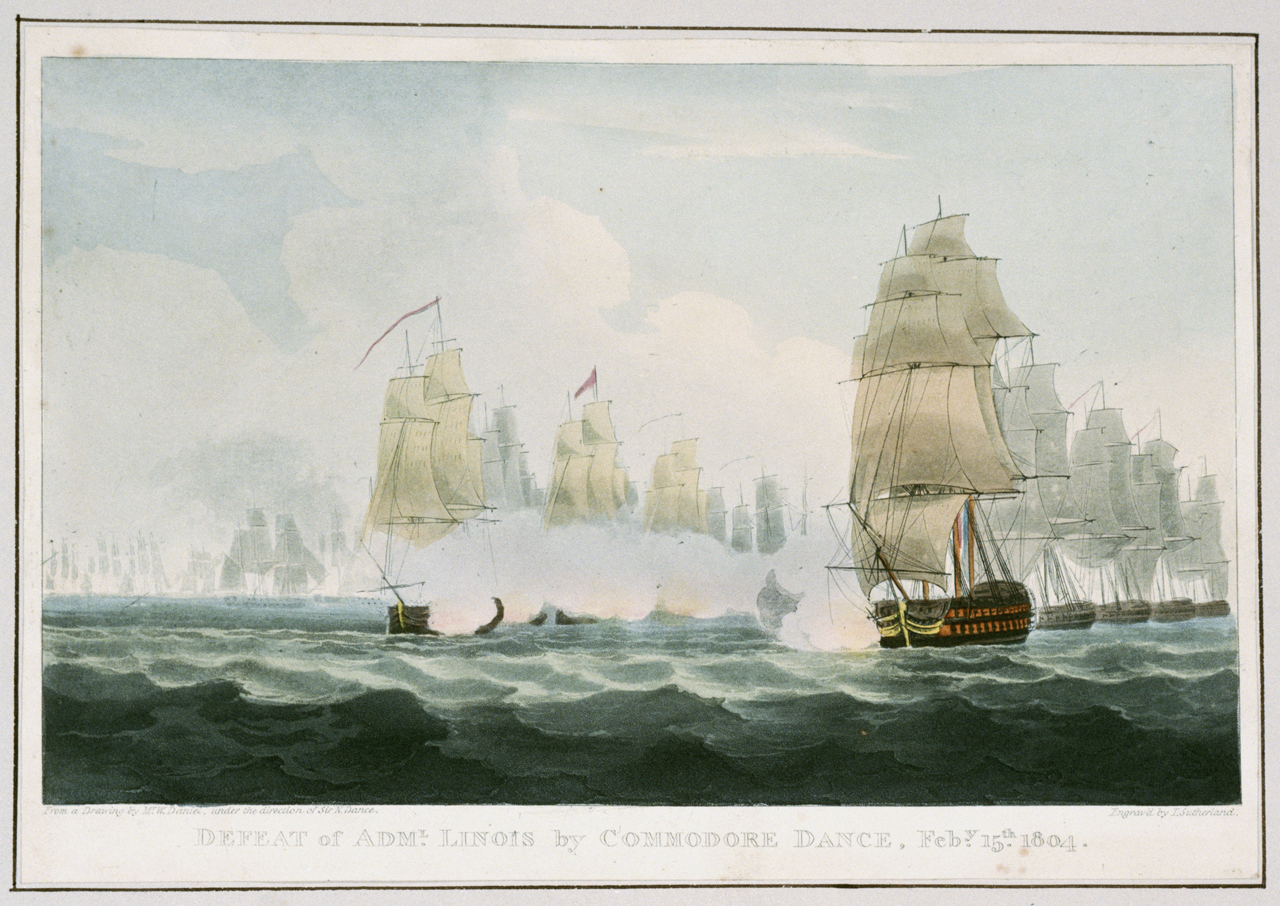
The BEIC trade from the factory at Canton was exposed to French interception, as Admiral Linois had attempted in the Malacca Strait on 14/15 February 1804. Linois with Marengo (74), Belle Poule (40), and Semillante, plus the corvettes Berceau and Aventurier engaged Captain Nathanial Dance’s convoy of 39 ships, who, with great pluck, turned the tables on Linois and chased him off. Paintings by William Daniell & Thomas Sutherland, September 1804
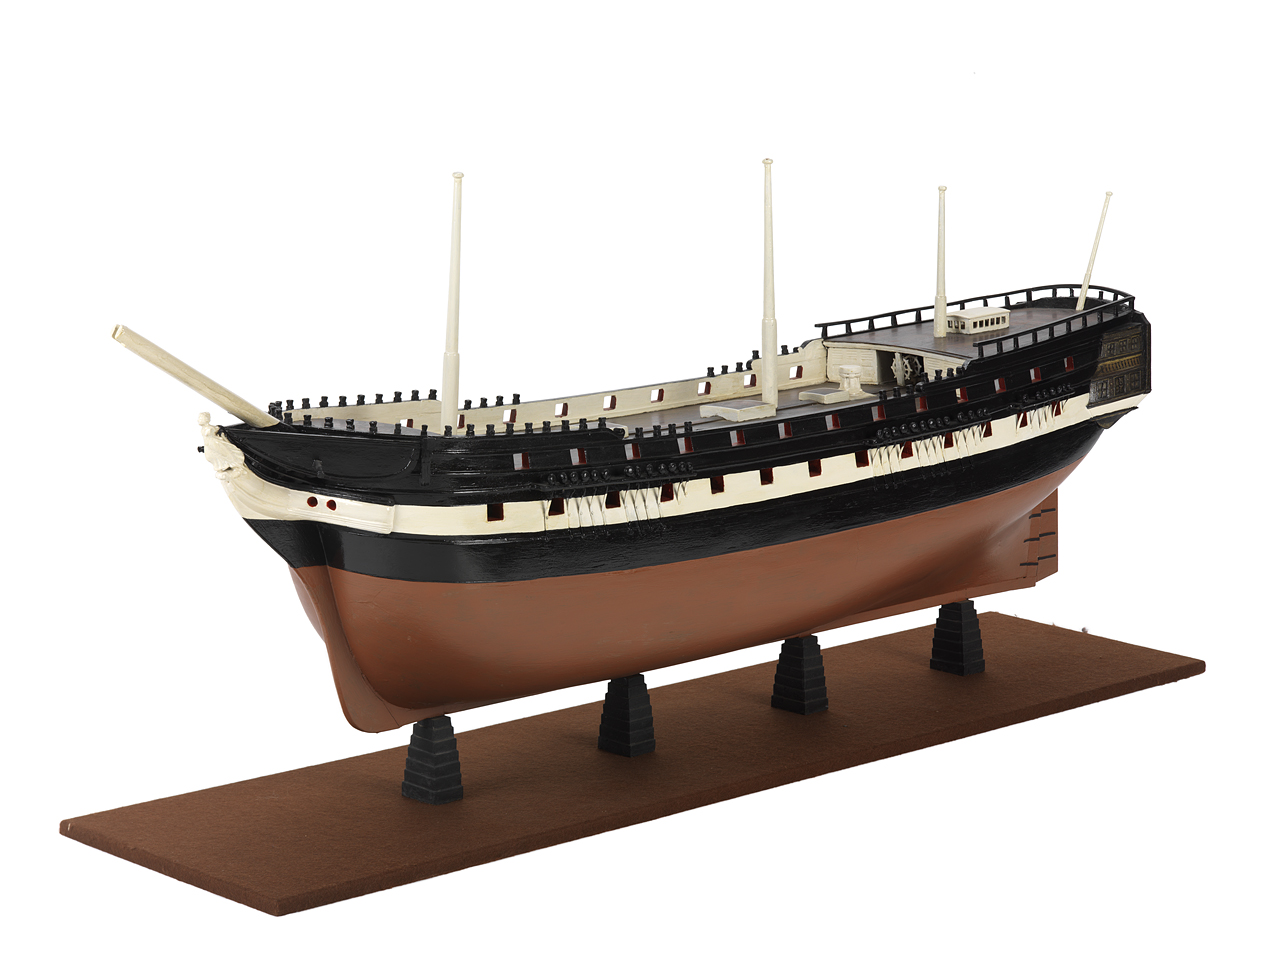
 

Indiaman

Large Indiaman, Scaleby Castle (1798), 1,237 tons, 26 18-pdrs

Pellew intended to have Troubridge convoy the China trade, a vital mission given Linois’ presence off Sumatra and the lack of any escort for the BEIC ships in those waters. Indeed, Linois brought five captured BEIC ships into Mauritius between 1804-6, but eventually exhausted his supplies and was thus intercepted and captured on 13 March 1806 by Warren off the Canaries while returning to France.[81] Troubridge, for his part, felt that he was being shuttled off to an unimportant command by Pellew and was so upset that he preferred to stay behind at Penang in the sloop Rattlesnake, presumably sour grapes. The disconnect between Pellew and Troubridge was equalized somewhat on 9 November when Troubridge was promoted to Rear Admiral of the White, the same rank as Pellew, but the situation in London shifted rapidly following the death of Pitt and the return to power of the Whigs under the Talents ministry indicated a change in policy.
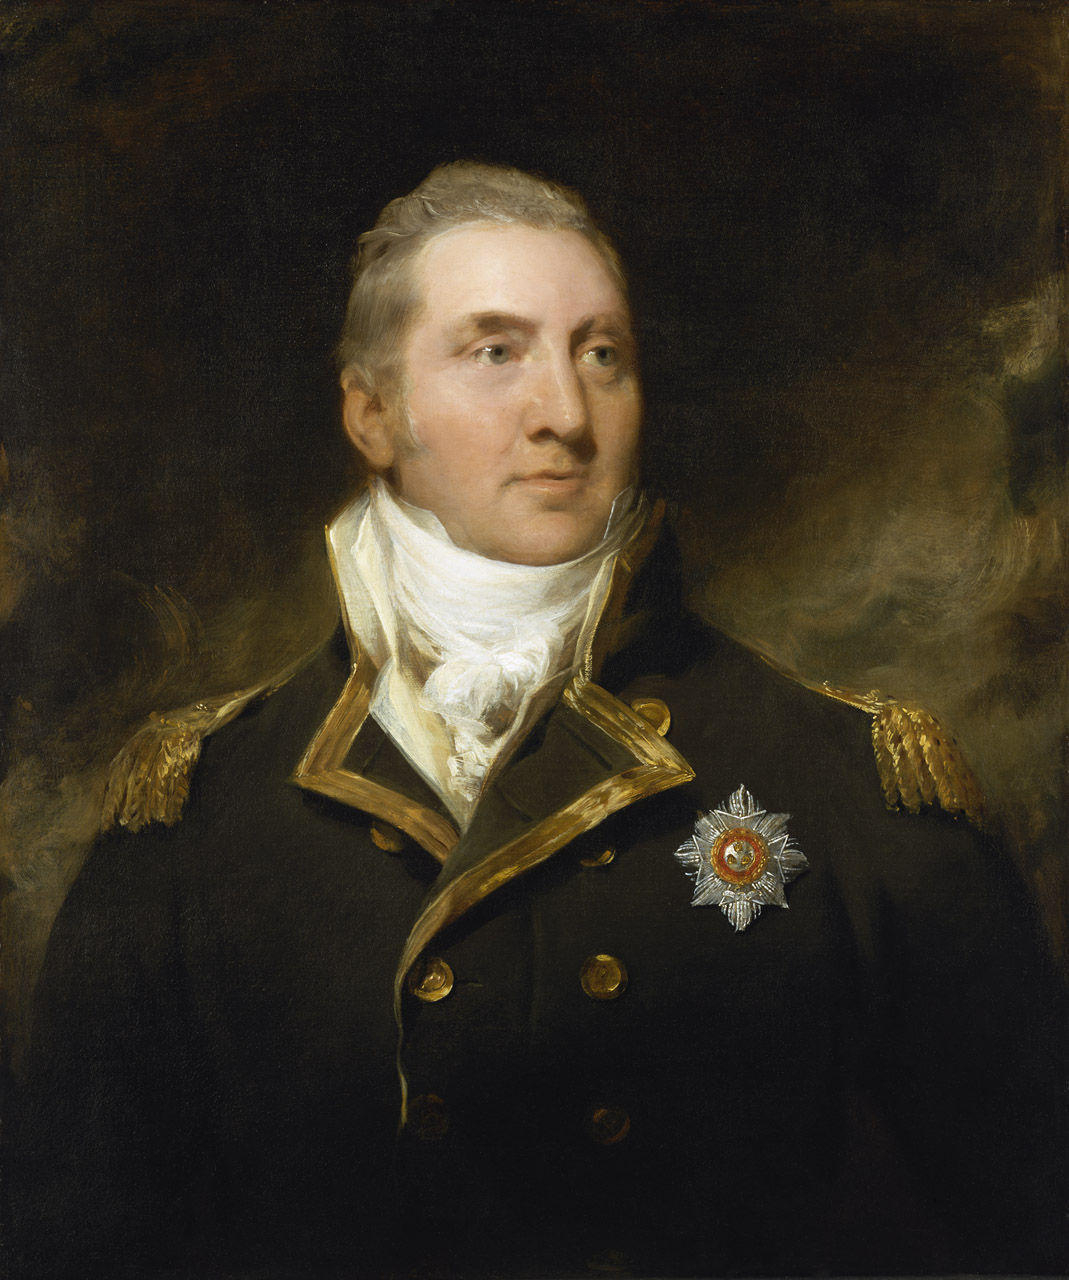
02

Edward Pellew as Captain in 1797, painted by Thomas Lawrence, also engraving by Thomas Lawrence
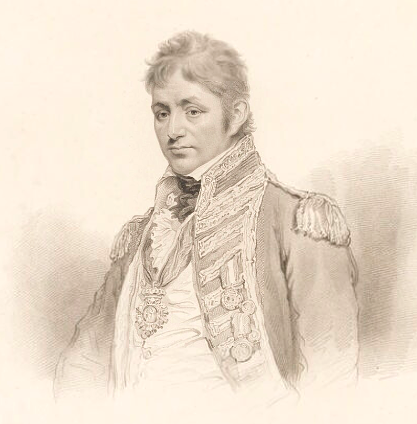
 

Troubridge

Rear Admiral Sir Thomas Troubridge, engraving based on drawing by Sir William Beechey

As such Pellew ultimately came out on top and in April 1806 orders were despatched to make Troubridge C-in-C Cape of Good Hope, following on Commodore Popham’s operation (see below). These orders did not arrive until January 1807 and Troubridge then departed from Madras on 12 January in the aged Blenheim (90) with the Java (36), a Dutch prize, and the brig Harrier (18). Tragically Troubridge’s squadron was caught in a storm early in February off Madagascar, with the Blenheim and Java foundering with all hands.[82] Harrier returned to Madras and informed Pellew, who sent Troubridge’s son in the Greyhound to search, the French at Mauritius even offering assistance, but nothing was ever heard from Troubridge’s lost squadron.
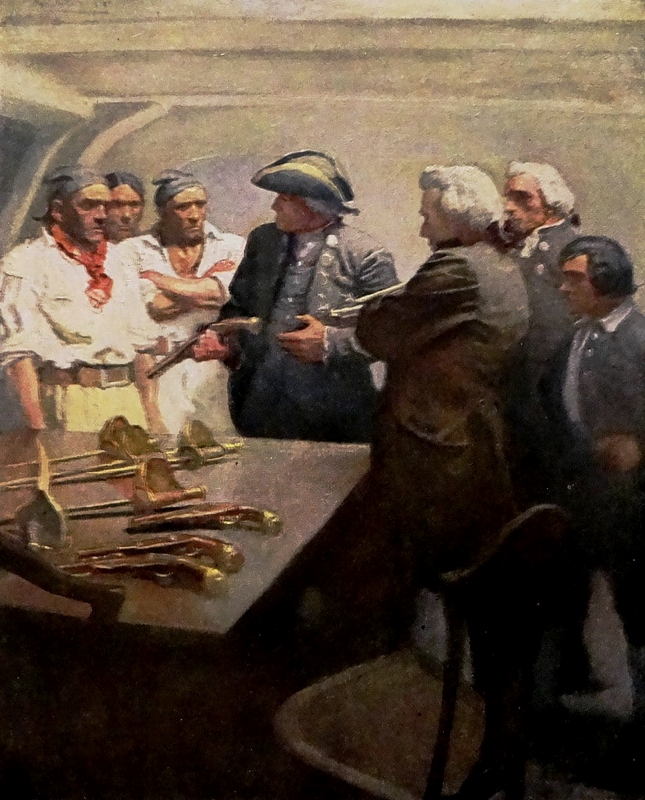
 

Weyth

Illustration by N. C. Wyeth for the 1911 edition of Robert Louis Stevenson’s Treasure Island

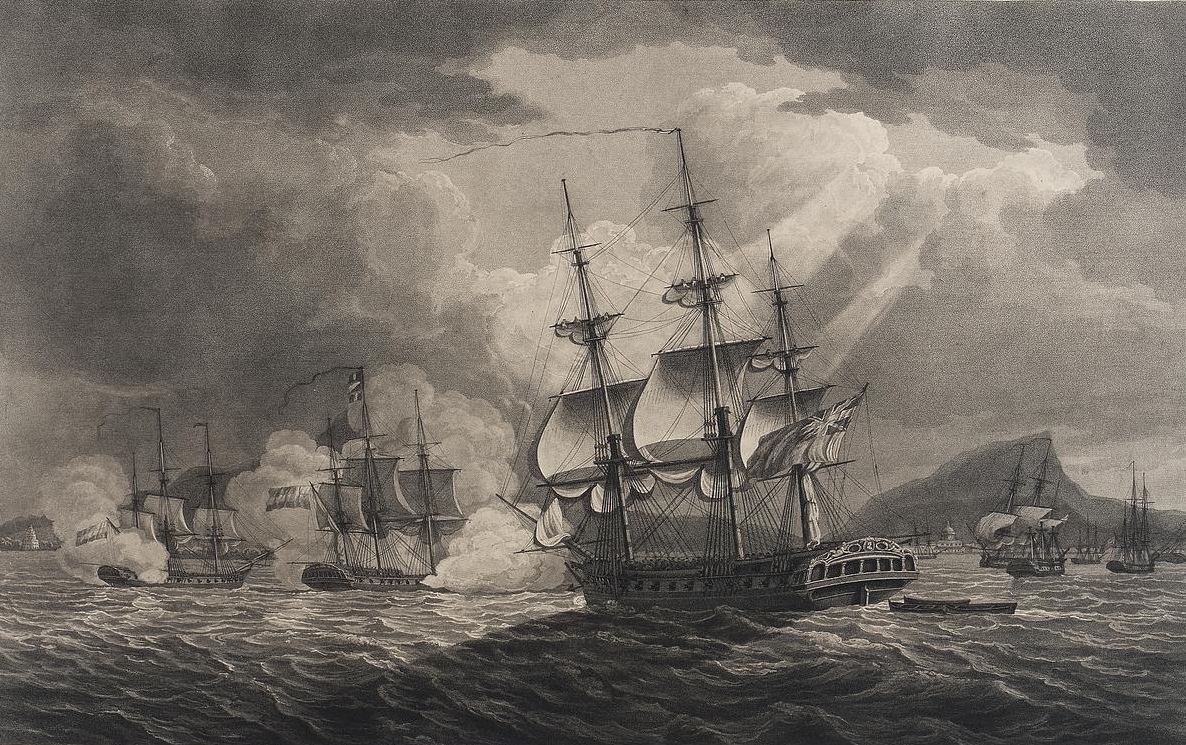
Pellew for his part had his eye on the island of Java, and in June 1807 despatched from Madras Captain Peter Rainier in the Caroline (36) with Commander Fleetwood Pellew, Sir Edward’s son, in the Psyche (36), to observe the the harbour of Griessee where he suspected two Dutch 68-gun ships were located.[83]
pellew2

Nicholas Pocock’s drawing of Captain Fleetwood Pellew of the Psyche engaging two Dutch frigates at Samarang roadstead, Java, 31 August 1807

Captain Pellew in fact discovered from a prize secured on 30 August that these Dutch warships were present at the harbour of Samarang, but were not in sailing condition. The next morning Pellew despatched Lt. Lambert Kersteman and acting Lt. Charles Sullivan in Psyche’s boats to enter the roadstead. There they found a number of merchants, including the armed merchantmen Resolutie and Ceres, plus the corvette Scipio (24). Psyche’s boatcrew captured an armed schooner and a merchant brig, both of which they burned, while Psyche chased the other merchants and Scipio to ground, the Dutch frigates then surrendering one by one and were taken as prizes.[84]
 

PellewSquadronJava

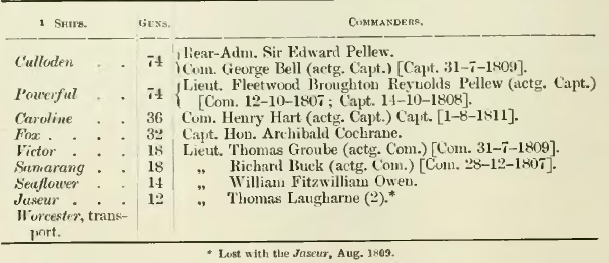
Rear Admiral Pellew’s squadron for the capture of the Dutch ships at Griessee (Surabaya), Java, 5/6 December 1807

Suitably reinforced, Rear Admiral Pellew sailed to Java and on 5 December and demanded the surrender of the warships at Griessee (Surabaya), an ultimatum that was refused. The next day Pellew sailed in with the Culloden (74) and Powerful (74), defeating a small 12-gun fort. The Rear Admiral compelled the local authorities to acquiesce to his terms, although the senior Dutch officer, Captain Cowell, had already scuttled his ships including the Revolutie (68), Pluto (68), the hulk Kortenaar (68), and two transports.[85] Thus, by the beginning of 1808, the Dutch naval presence in the East Indies had been terminated, if not all its various colonies yet captured.


The South African Expedition

southwind

Prevailing winds in the South Atlantic
SouthAfrica

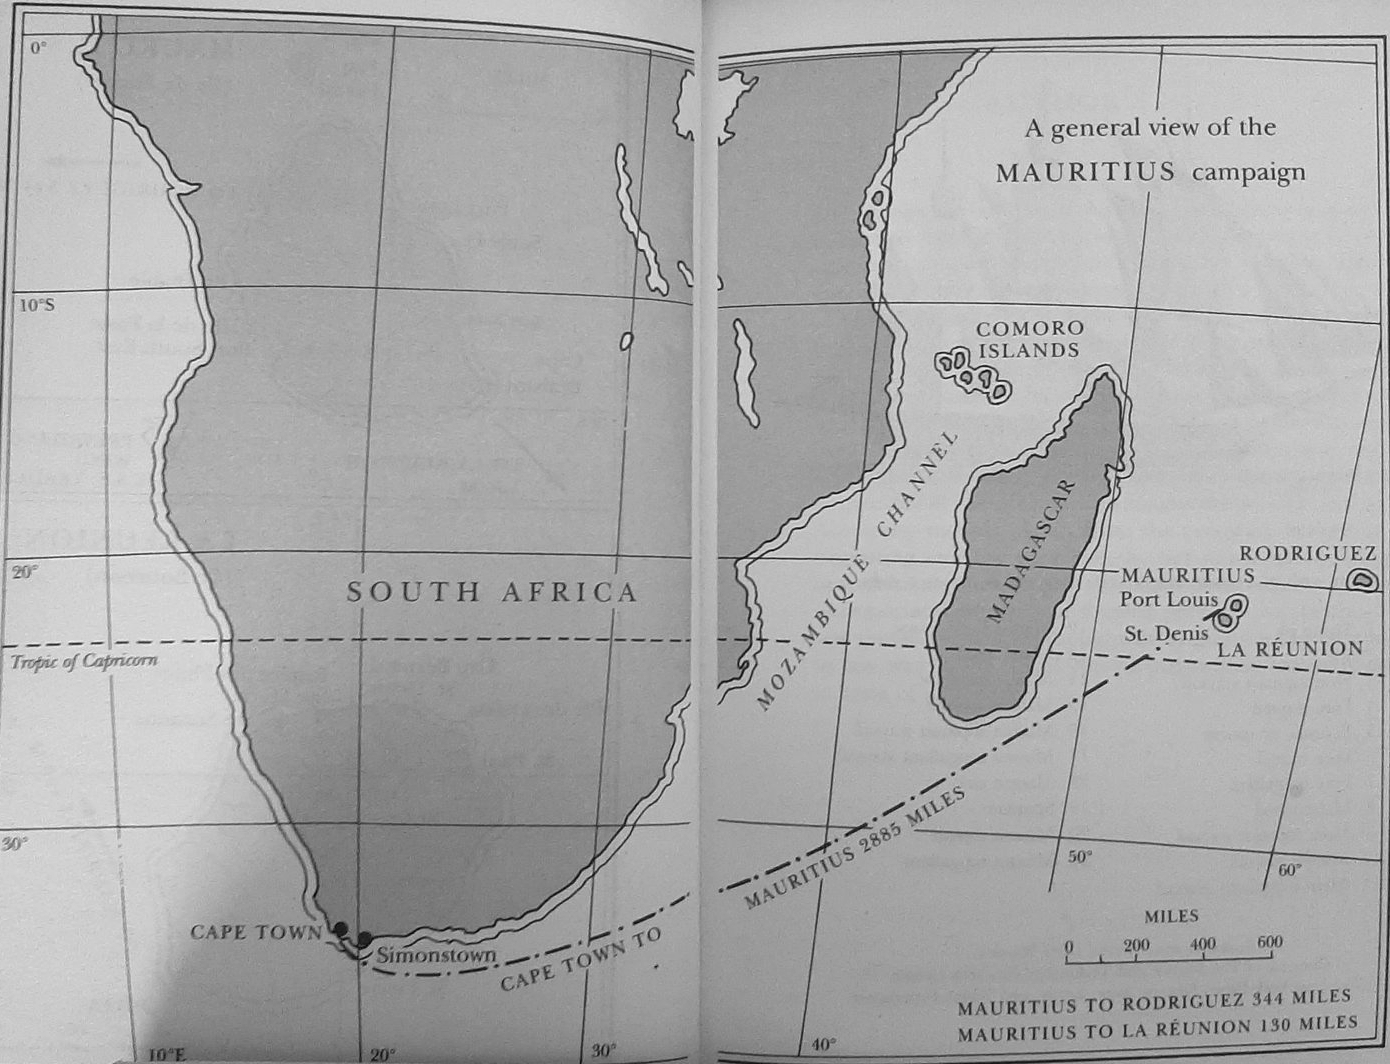
South Africa and Mauritius, control points on merchant routes from India and China

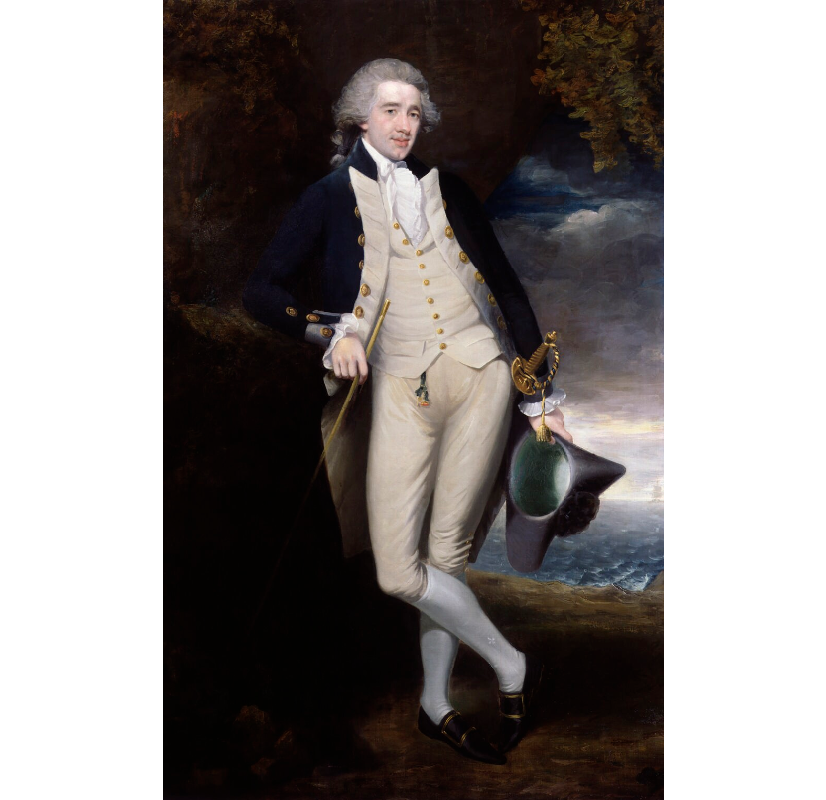
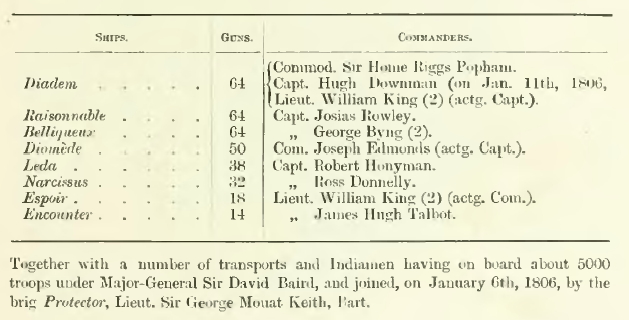
Cape Town belonged to the Dutch but had been taken in 1801 and then returned in the peace of 1803. With the Netherlands now under Napoleonic occupation the capture of Cape Town once again became a priority. Between August – September 1805 an expedition was outfitted to retake Cape Town, commanded by Commodore Sir Home Riggs Popham and carrying 5,000 troops under Major General Sir David Baird.[86] Popham, flying his flag from the 64-gun Diadem, sailed south from San Salvador on 26 November and on 4 January 1806 anchored at Robben Island, Table Bay,  before proceeding to land Baird’s men over the course of the 6th and 7th. The Leda (38), Encounter (14) and Protector (12) carried out a bombardment and landed men to clear the enemy from the area of Blauwberg Bay (Bloubergstrand) while the main landing was underway.[87]
 

Popham1783

Home Riggs Popham as a 21 year old Lieutenant in 1783
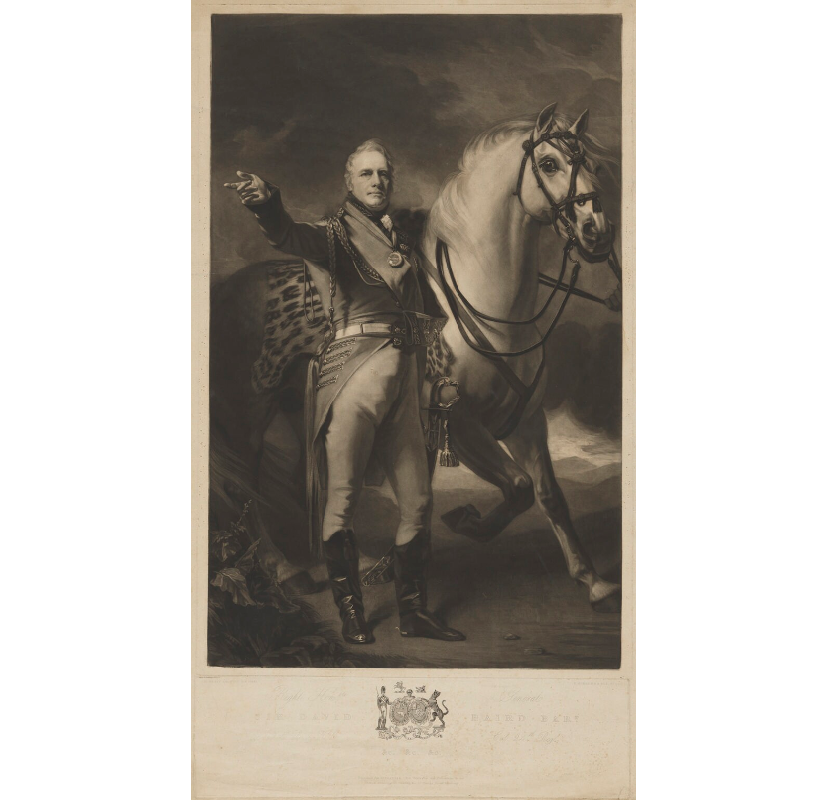
Baird

Lieutenant General Sir David Baird, c. 1814 by Thomas Hodgetts

On January 8th the expeditionary force marched towards Cape Town and defeated a Dutch defensive force under Lt. General J. W. Janssens, inflicting 700 casualties and sustaining 15 KIA and 189 WIA. The capital was quickly secured when the Dutch capitulated on the 10th, with Popham and Baird capturing 113 brass and 343 iron cannon. Added to the spoils was the 40-gun French frigate Volontaire, captured on 4 March when it approached the British squadron thinking them Dutch – although the Dutch had burnt their own 68-gun ship Bato on 13 January to prevent capture.[88] With this singular triumph under his belt, the amphibious enthusiast Popham next prepared an expedition to cross the Atlantic and take Buenos Aires: the ambitious objective was to capture all of Spanish South America.
 

popham1806

Commodore Popham’s squadron for the Cape of Good Hope operationSLR0534
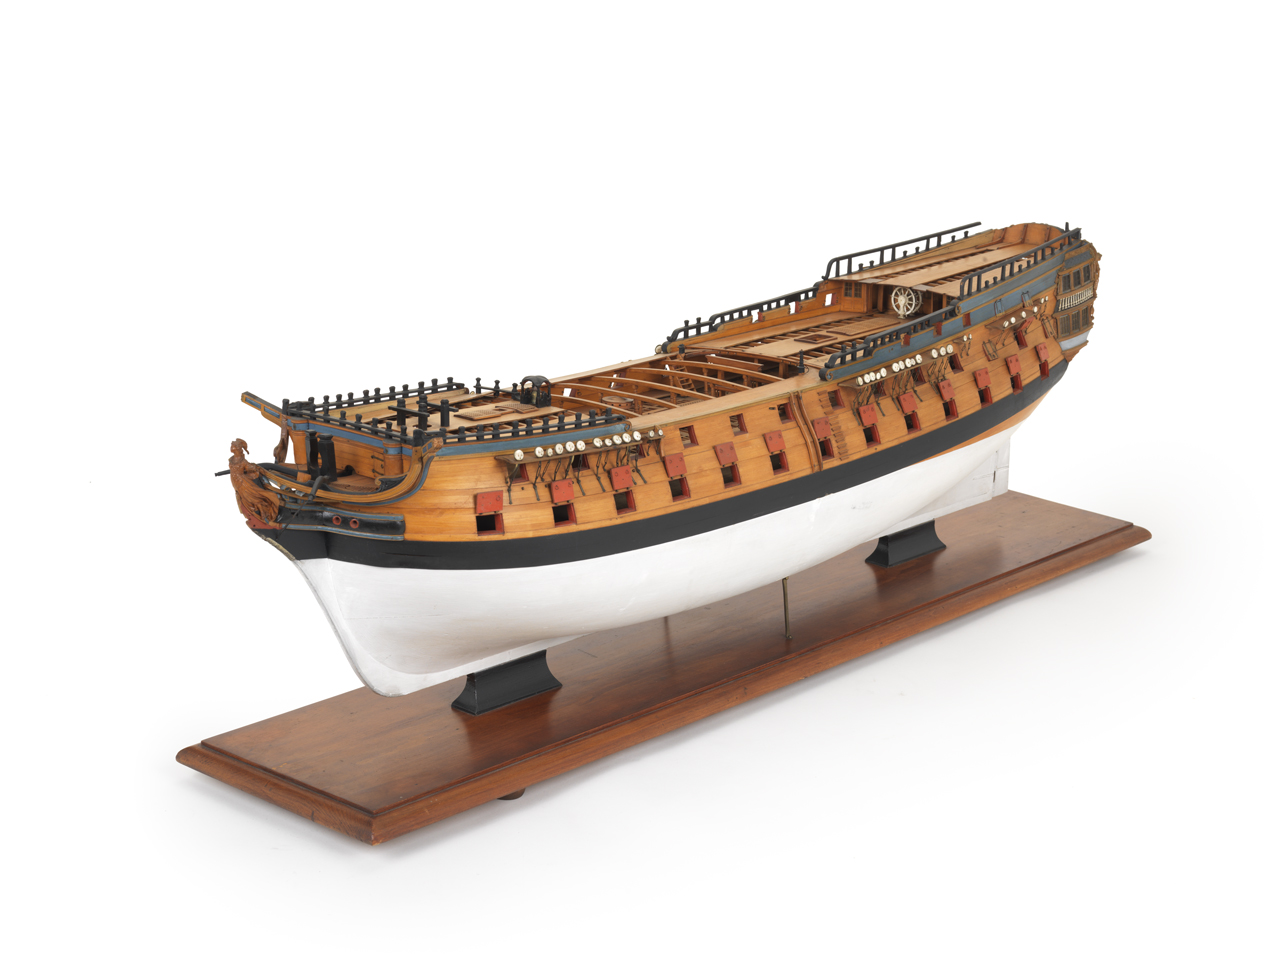
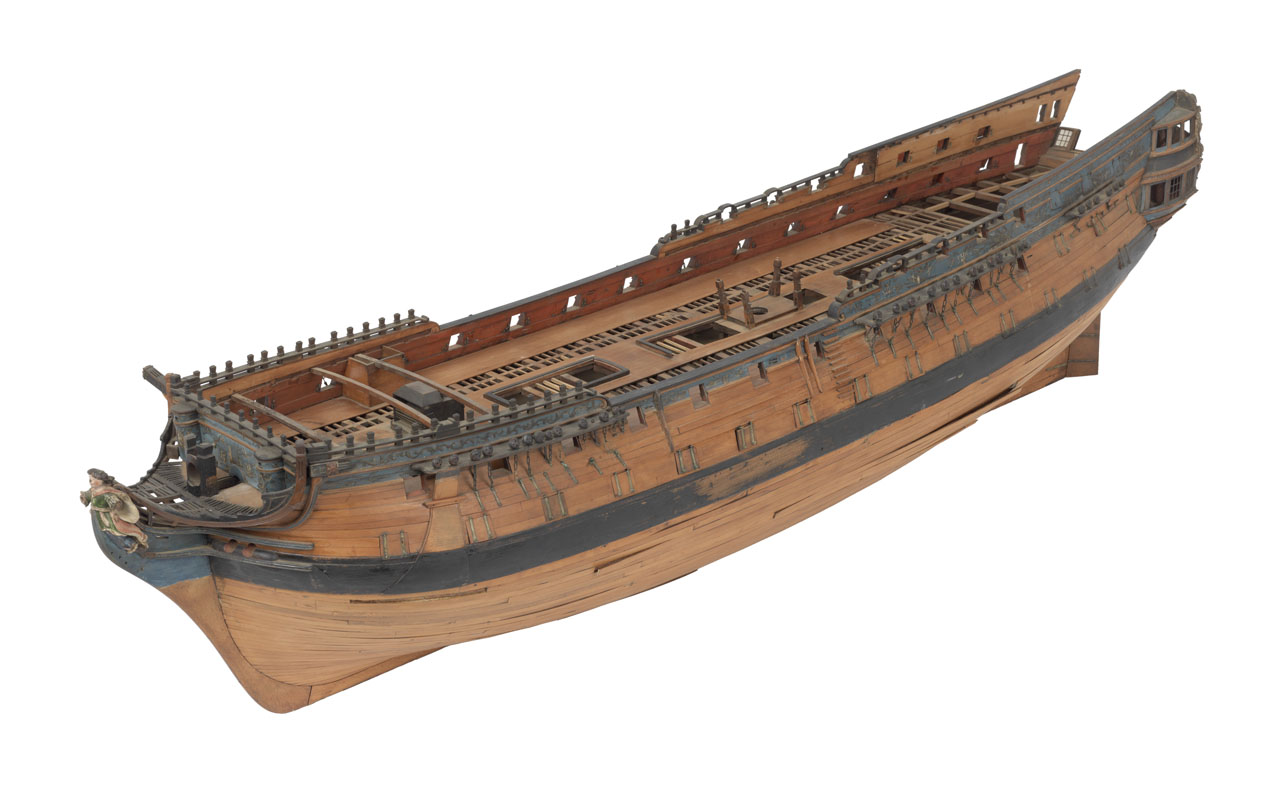
1,375-ton 64-gun (1774) third rate

F9204 002

 940-ton 38-gun (1780) frigate


The Capture of Buenos Aires: The South American Expedition of 1806
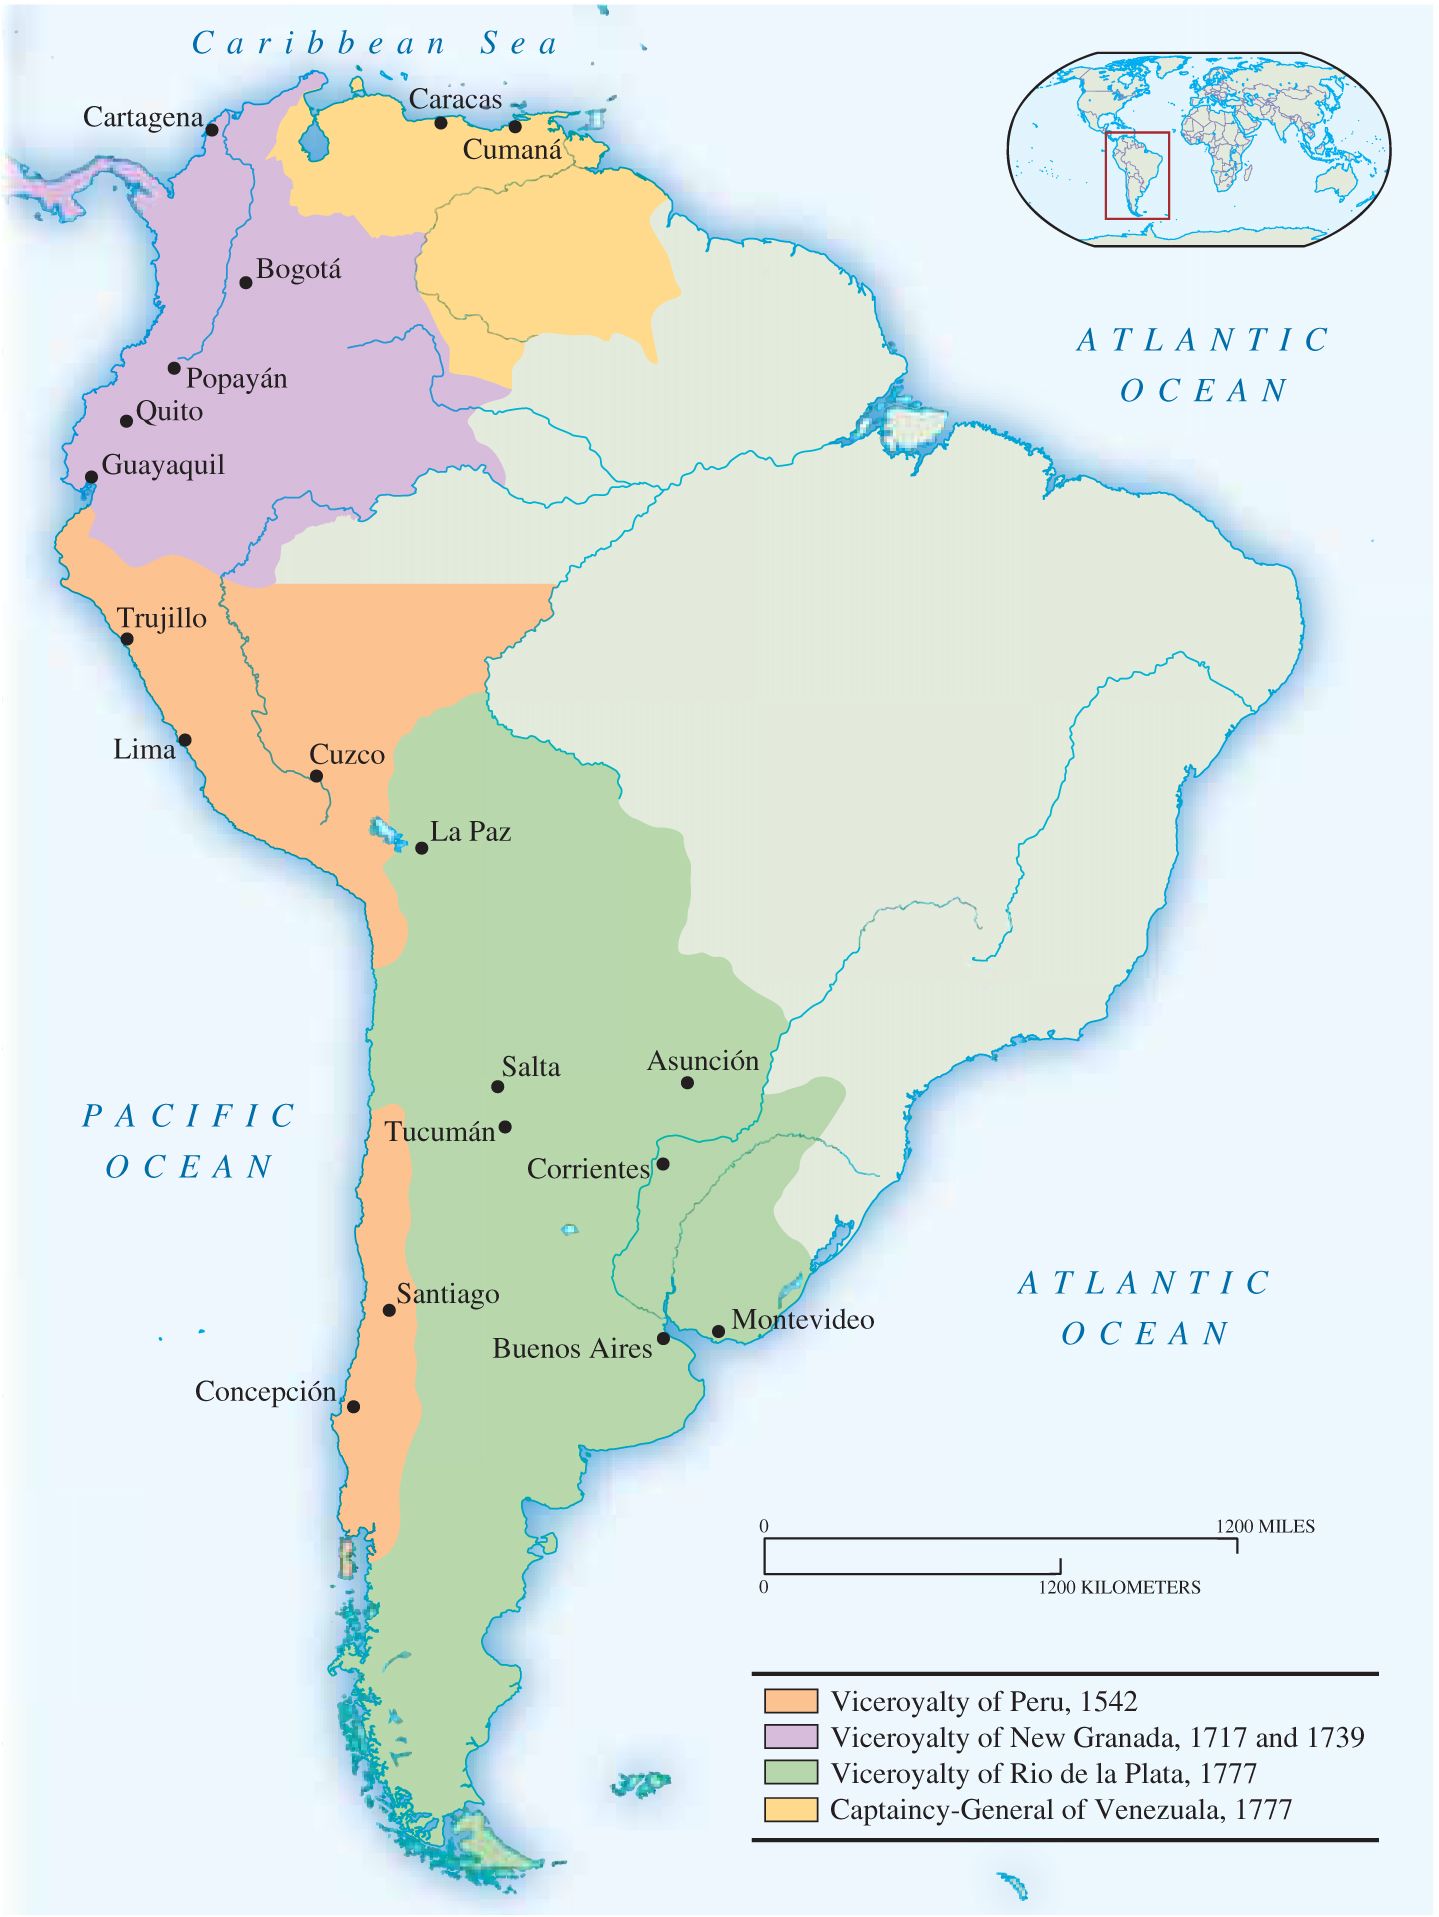
South AmericaSouth America in 1806, organized into conglomerated Spanish and Portuguese Viceroyalties.


Popham 1807

Commodore Sir Home Riggs Popham, c. 1807 by Anthony Cardon, copied from Mather Brown;
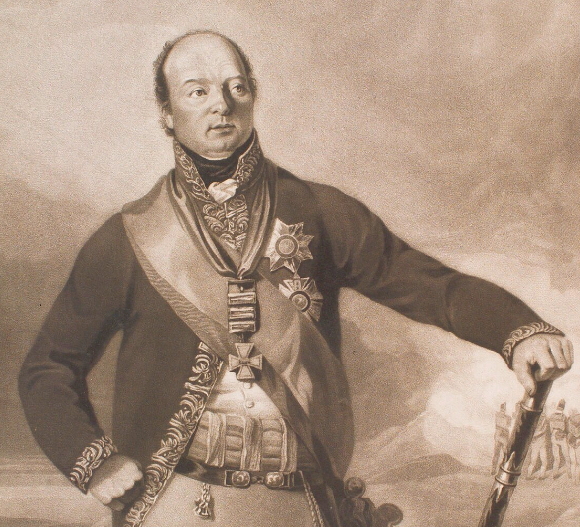
beresfordWilliam

Major General Williams Carr Beresford

Popham sailed from South Africa on 14 April 1806 with one of Baird’s regiments, 1,200 men from the 71st Regiment under Major General William Beresford, plus an attached Royal Marine battalion of 435.[89] With his flag in the Narcissus Popham made haste for Flores to gather intelligence, arriving there on 8 June, followed by the rest of the squadron and its transports five days later. While the Diadem blockaded Montevideo and Raisonnable and Diomede held the mouth of the Rio de la Plata, Popham with the transports worked their way up the river, arriving off Point Quilmes, 12 miles from Buenos Aires, on 25 June. The task force was put ashore that night and in the morning General Beresford brushed aside the Spanish garrison of 2,000. A capitulation agreement was negotiated on 28 June and signed on 2 July by the governor Don Josef de La Quintana, Viceroy of the Rio de la Plata: Argentina, Uruguay, Paraguay and Bolivia had been seized.[90]
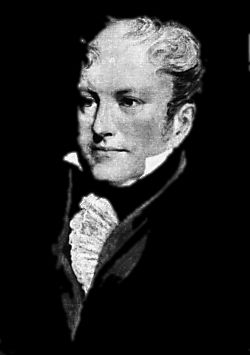
 

Charles_Stirling

montevido

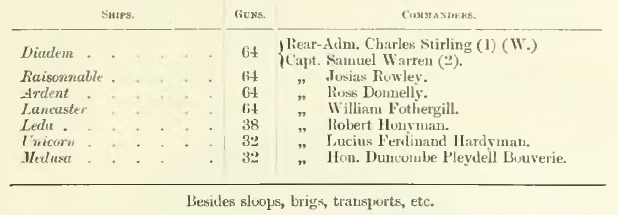
The relief squadron under Rear Admiral Charles Stirling

Popham and Beresford’s triumph was short lived however as 2,000 Argentinians under the command of French general Santiago Liniers retook Buenos Aires between 10-12 August (the British suffering 48 KIA and 107 WIA) and then imprisoned the rest of the garrison, including Major General Beresford.[91] A relief expedition under Rear Admiral Charles Stirling, with Brigadier General Sir Samuel Auchmuty, arrived on 3 December and Popham was sent back to England in disgrace. On 3 February Stirling and Auchmuty captured Montevideo with the loss of 192 killed, 421 wounded and eight missing. Upon returning to England on 20 February Popham was immediately arrested and tried for court martial, although in the event receiving only a sever reprimand and his rank being reduce from Commodore to Captain.[92] A fateful decision as we shall see.

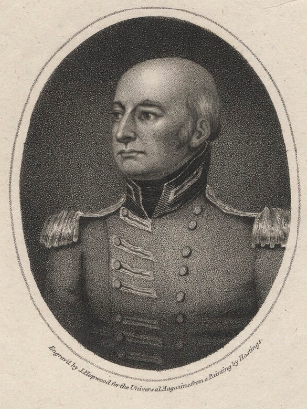
 

murray

Rear Admiral George Murray

whitelocke

Lieutenant General John Whitelocke, engraving by James Hopwood, based on drawing by Edward Hastings, March 1808

In May Auchmuty was superseded by Brigadier General Crauford who brought 5,000 reinforcements, a figure further reinforced by the arrival of Lt. General John Whitelocke and Rear Admiral George Murray in the Polyphemus (64) on 15 June. The army went ashore at Buenos Aires on 28 June and launched an attack against the city on 5 July. Although they carried the city the cost of 2,500 casualties was excessive. Whitelocke agreed thereafter to evacuate the entire operation and the adventure was terminated as the Talent’s ministry collapsed. Whitelocke was later dismissed from service.[93]


Collingwood in the Mediterranean
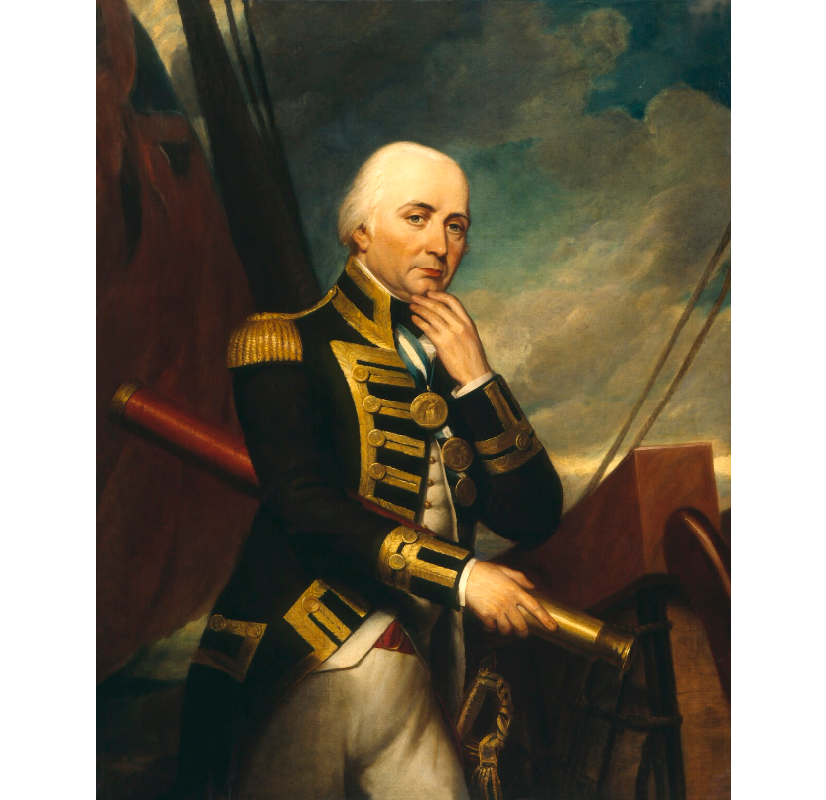
Collingwood in 1807

Baron Collingwood in 1807, copy by Henry Howard from painting by Giuseppe Politi

In the spring of 1806 Napoleon moved to consolidate his position in Italy, in particular by reducing Ferdinand of Naples. Sicily provided supplies to Britain’s Mediterranean naval base at Malta, much as Reunion supplied Isle de France at Mauritius, and both islands were needed to assemble and victual expeditions, as was done in Egypt and at the Dardanelles.[94]
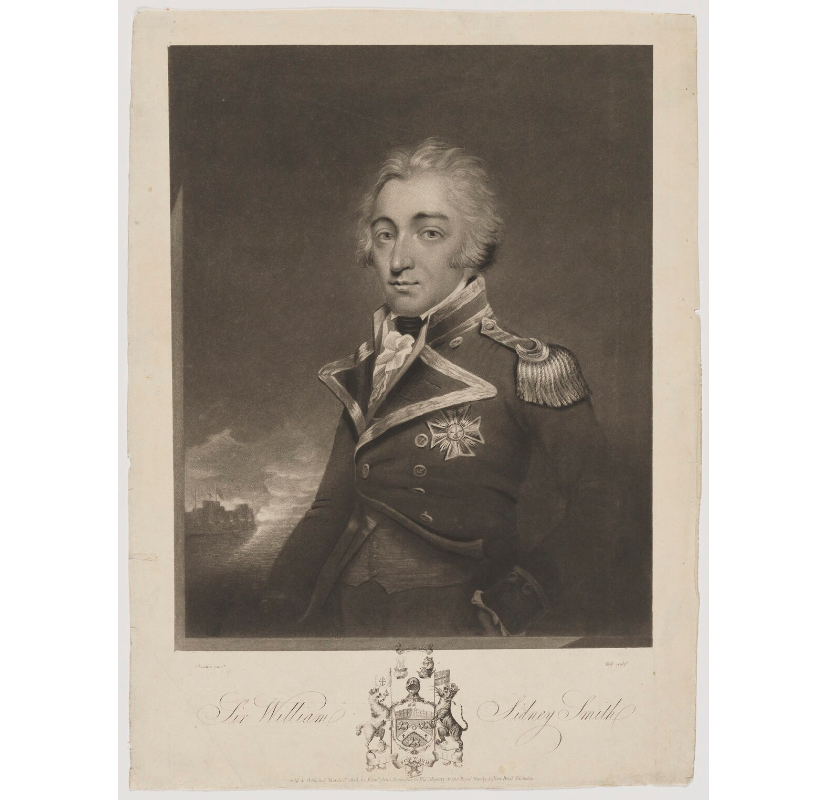
Smith

Rear Admiral Sir William Sidney Smith, by Edward Ball, March 1803

Unable to prevent the loss of Naples, but before the end of March when Napoleon’s forces overran that theatre, the Allies’ mixed Anglo-Russian force of 10,000 was withdrawn to Sicily and Ferdinand himself was evacuated by HMS Excellent.[95] Collingwood, hoping to create some problems for the French, detached Rear Admiral Sir William Sidney Smith, an exceptional intelligence officer, to take command of the small squadron of five of the line and two or three frigates then assembling at Messina. Sidney Smith arrived there on 21 April and from then until the middle of May Smith’s squadron was engaged assisting the Neapolitans: operations that included the capture of the island of Capri on 11 May, a successful action that was followed by the landing at Calabria of Major General John Stuart with between 4,800 – 5,200 men on the night of 30 June / 1 July.[96]
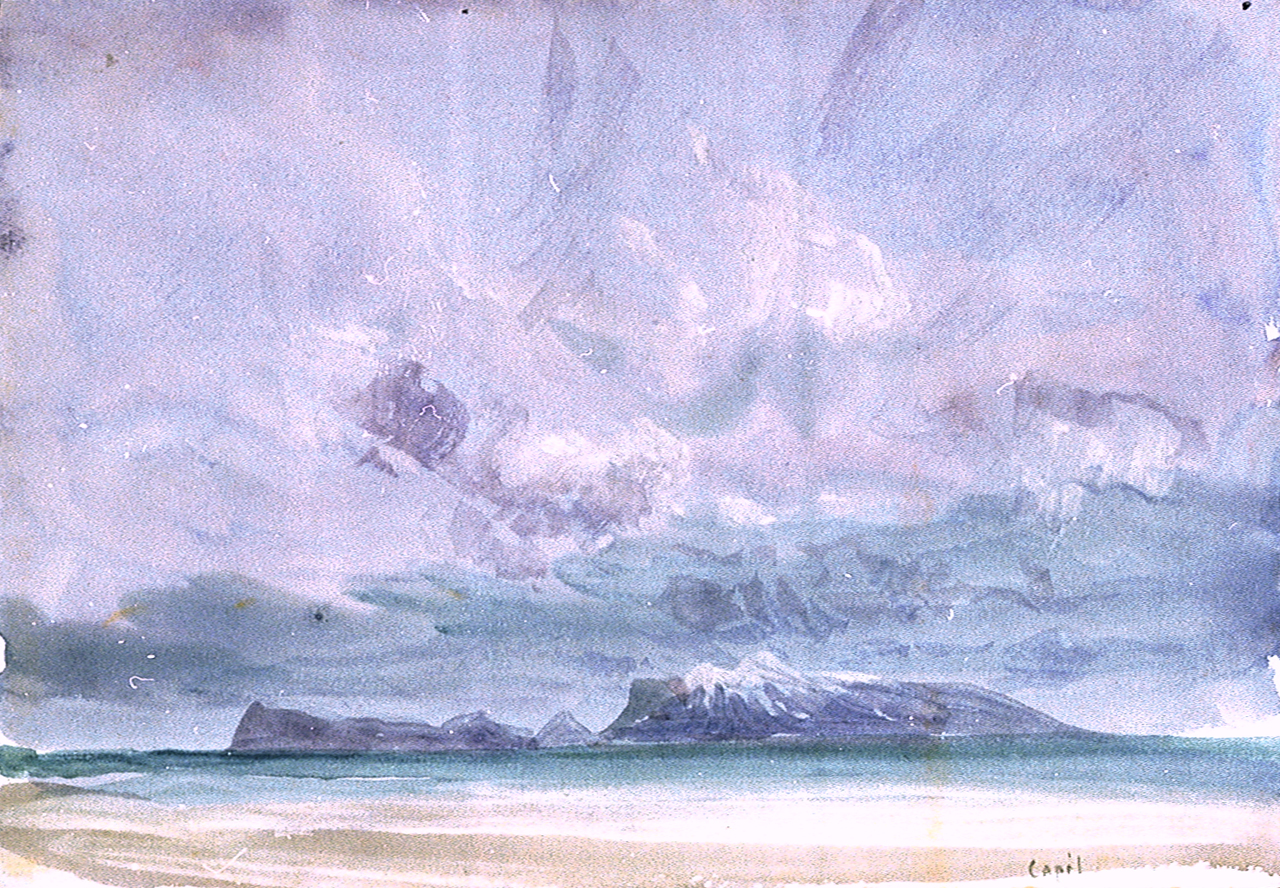
 

Capri

The Island of Capri, by William Wyllie
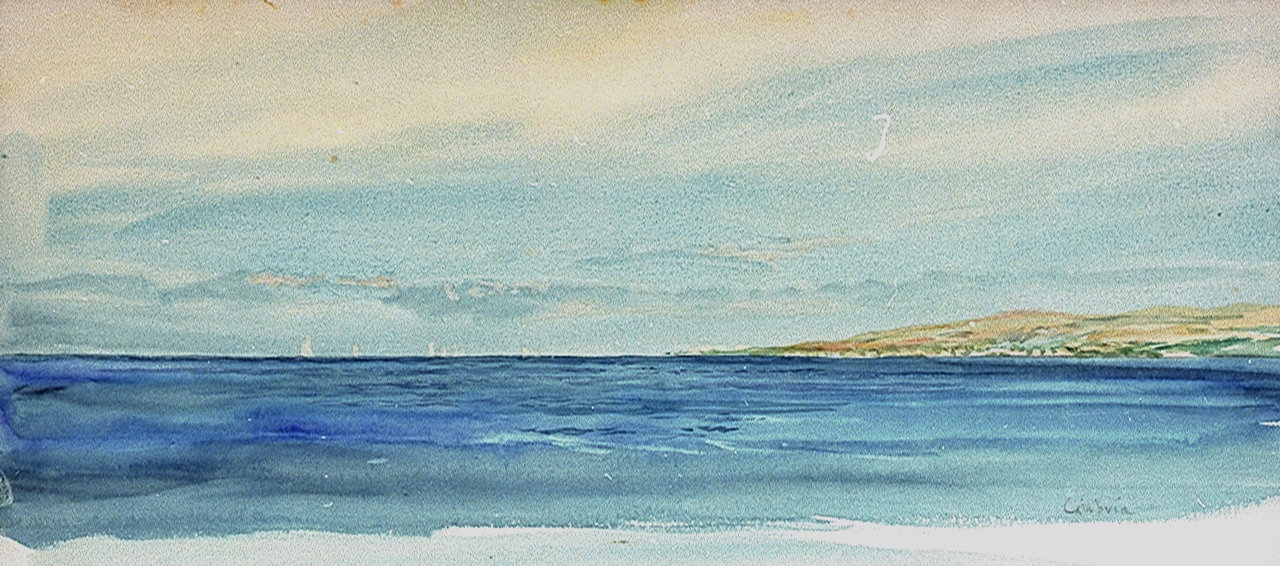
Calabria

View of Calabria in the Straits of Messina, by William Wyllie
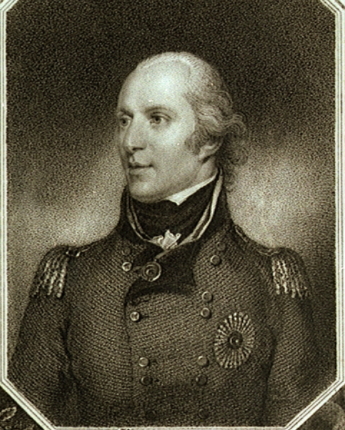
John Stuart

Major General John Stuart, landed with 4,800 at Calabria, 1 July 1806

Stuart’s forces routed 7,000 French troops in a sharp action on 4 July near the village of Maida, suffering only 45 killed and 280 wounded, but capturing or killing the majority of the French forces, perhaps capturing as many as 4,000.[97] Although one biographer considers the action largely the success of his subordinates, General Stuart was  nevertheless promptly knighted and awarded a life pension of £1,000.[98] This minor success however could not change the strategic situation in Naples ,as Gaeta fell to the French on 18 July and the English were at last forced to withdraw to Sicily.[99]


The Naval War in the Baltic & the Capture of Copenhagen, 1807
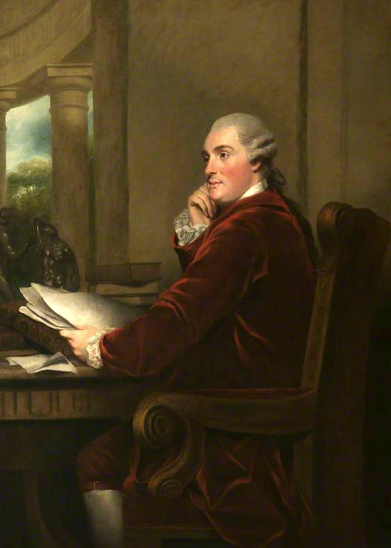
Duke of POrtland 2

William Cavendish-Bentinck, 3rd Duke of Portland, Prime Minister 1807-1809, copy by John Powell of Joshua Reynold, c. 1782
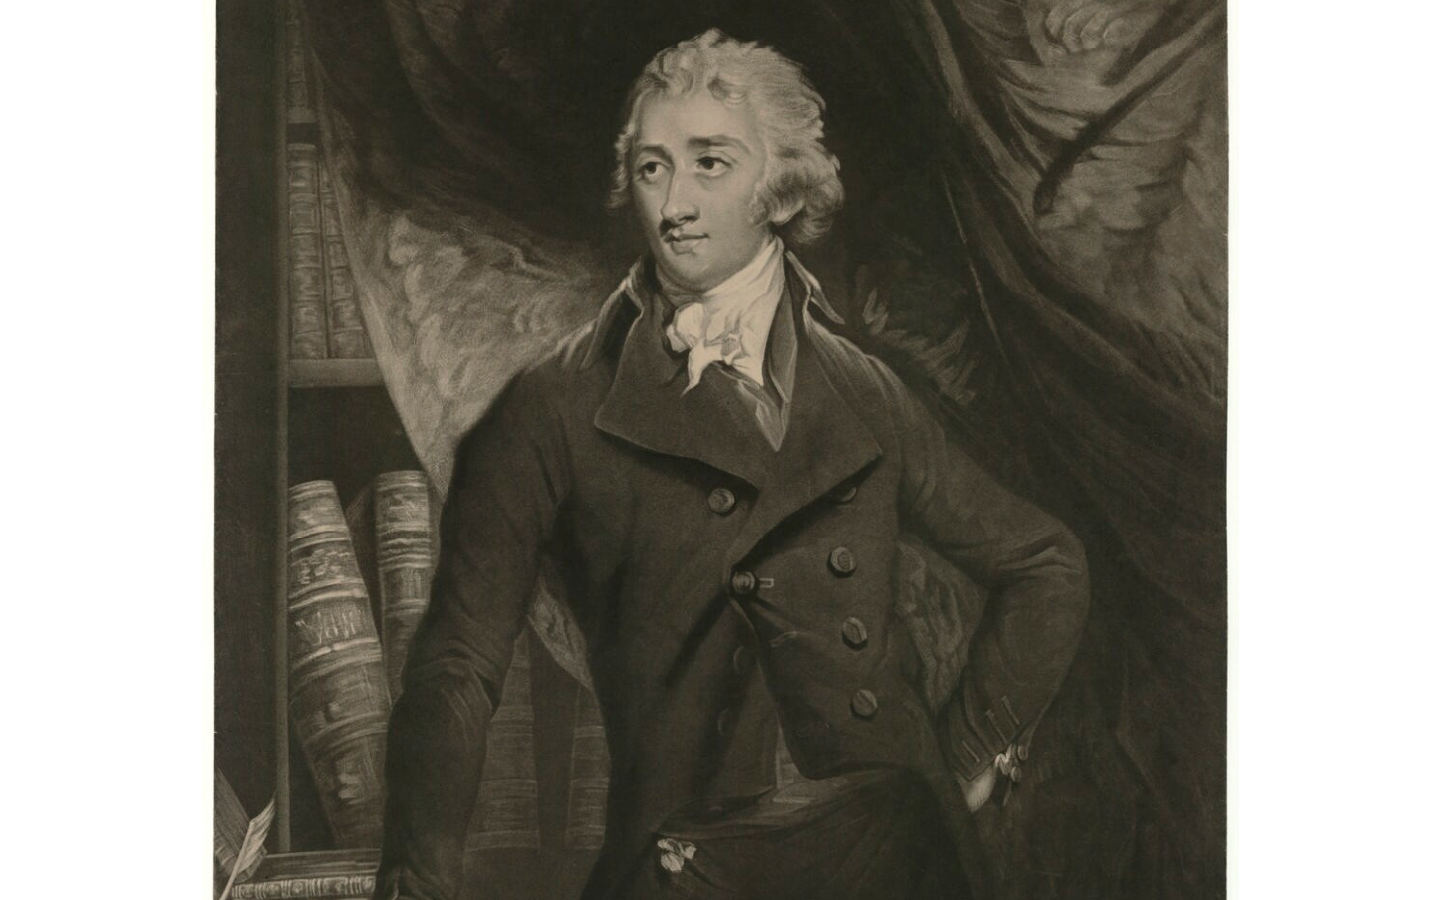
Canning 1806

George Canning, Secretary for War

By the summer of 1806 Napoleon’s naval potential was 45 French and Spanish warships spread across his Atlantic and Mediterranean ports. He expected another six Dutch and eight French warships to be ready soon from Antwerp, Flushing and Texel, plus perhaps another 11 from Sweden and 16 from Denmark, not to mention the 20 Russian warships at Reval and Kronstadt. The Baltic therefore was liable to become a critical theatre of the war, at precisely the time Napoleon would be campaigning in Germany. To pre-empt Napoleon’s movements in this direction Secretary for War George Canning and Foreign Secretary Viscount Castlereagh determined on 19 July to present an ultimatum to the Danes insisting that they hand over their fleet to the British. When this was predictably rejected an expedition was organized to land troops as part of a combined naval bombardment of Copenhagen with the goal of capturing the Danish fleet and stores.[100]
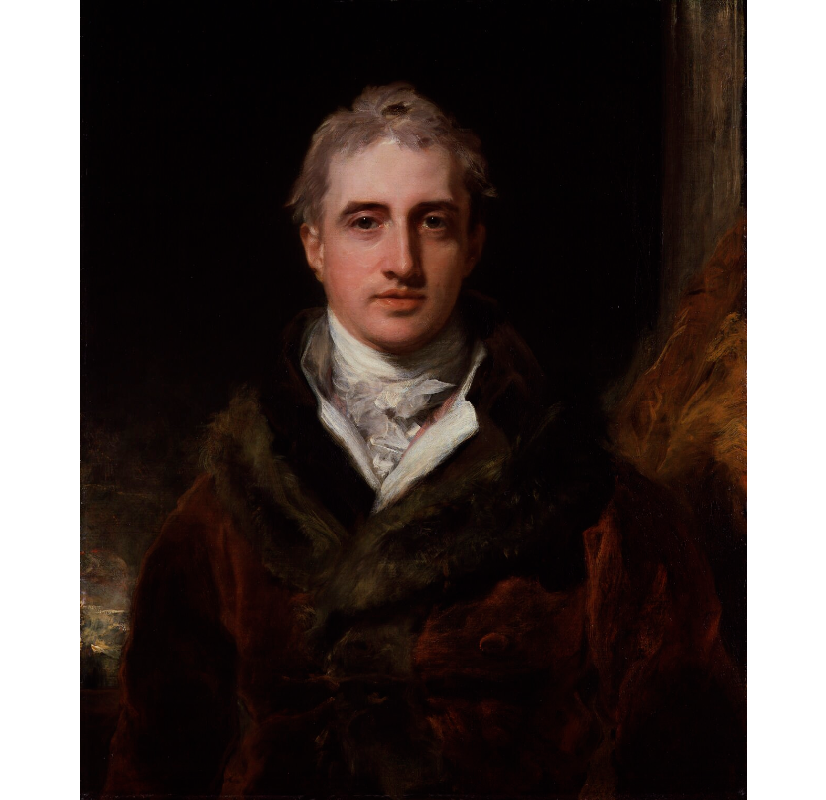
Castlereagh 1809

Robert Stewart, Lord Castlereagh, the 2nd Marquess of Londonderry, Foreign Secretary in Cavendish’s government


The Bombardment of Copenhagen
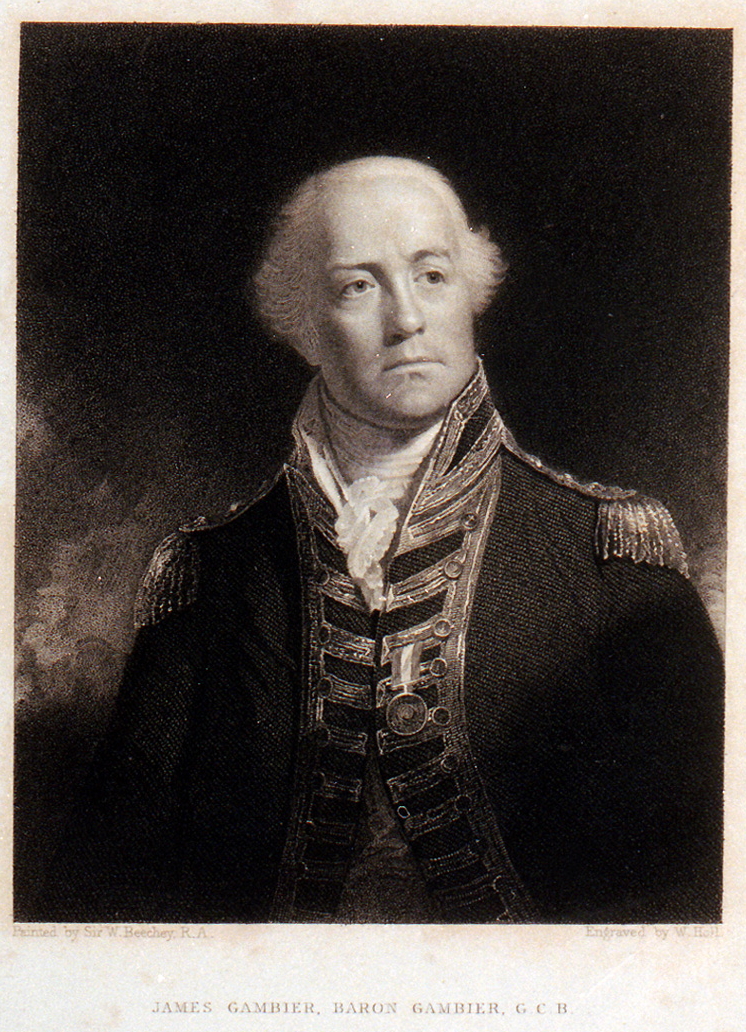
Baron Gambier

Admiral James Gambier, Baron Gambier, by William Beechey & William Holl, print c. 1833


The Admiralty wasted no time and Admiral James Gambier’s fleet of 22 warships, with 19,000 troops under Lieutenant General Lord Cathcart, sailed from Yarmouth on 26 July.[101] Gambier’s Captain of the Fleet, despite his court martial in March having concluded only the month prior, was, perhaps unsurprisingly, Home Popham.[102] The Dutch capital was defended in the same fashion as it had been during Nelson’s attack in 1801: 174 guns, more than two dozen mortars, plus 5,500 soldiers, another 4,000 sailors and 3,600 militia, the dismasted Mars (64), five mobile frigates, and 30 gunboats.[103] The rest of the Danish fleet, about 30 warships of various sizes, were to be blockaded inside the port of Copenhagen itself.


Copenhagen

Admiral Gambier’s fleet for the Copenhagen expedition
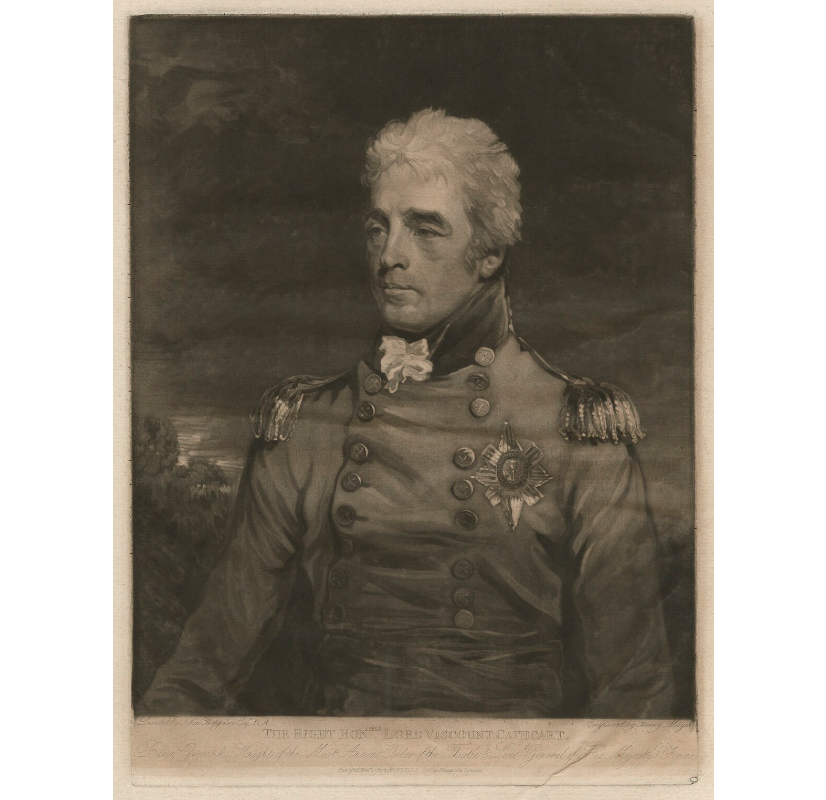
Cathcart

William Cathcart, Earl Cathcart, 1807, by John Hoppner and Henry Meyer


Landings commenced on 16 August, the Danish gunboats offered a token resistance on the 17th, and Gambier established his blockade line on the 18th.[104] A small flotilla of bomb vessels, commanded by Captain Peter Puget in the Goliath (74), prepared to attack the Danish defences, but on the morning of the 23rd the Danes launched a spoiling attack with their gunboats, successfully driving off the British, yet the Danes were in turn driven back by cannon fire from the English beachhead.[105]
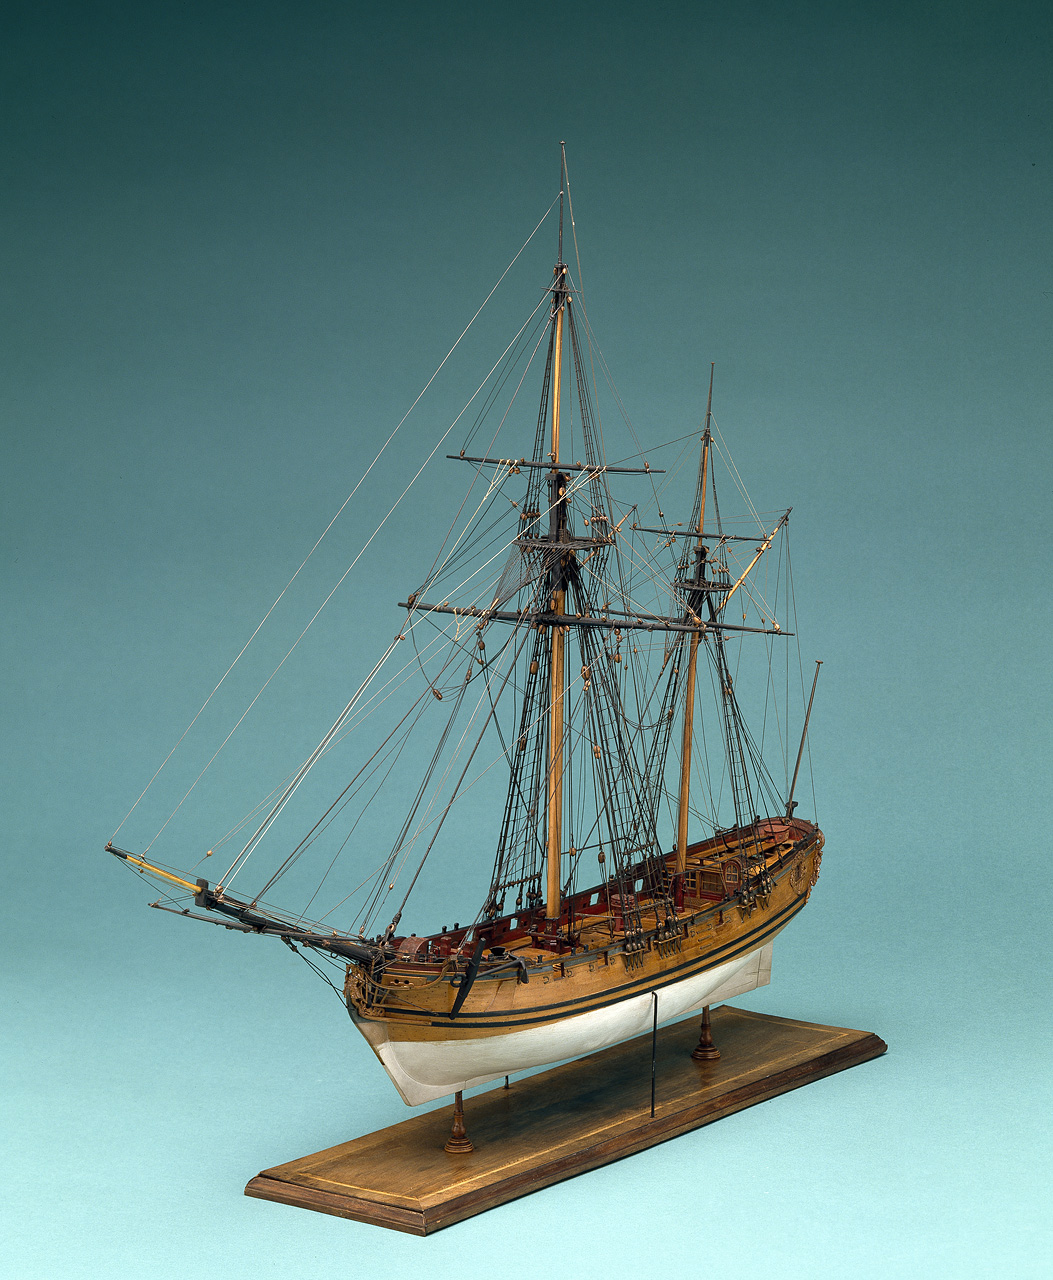
 

D4083_3

Speedwell-type 142 ton sloop of 12 guns, c. 1752
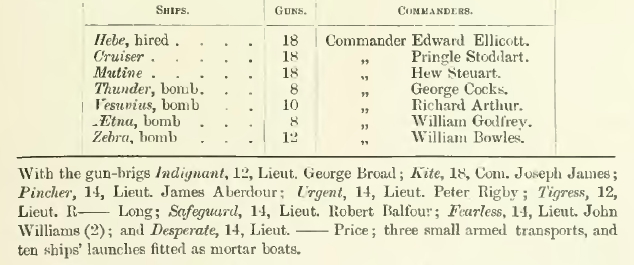
 

puget

Captain Puget’s bomb flotilla, plus the third-rate Goliath during the attack on 23 August 1807
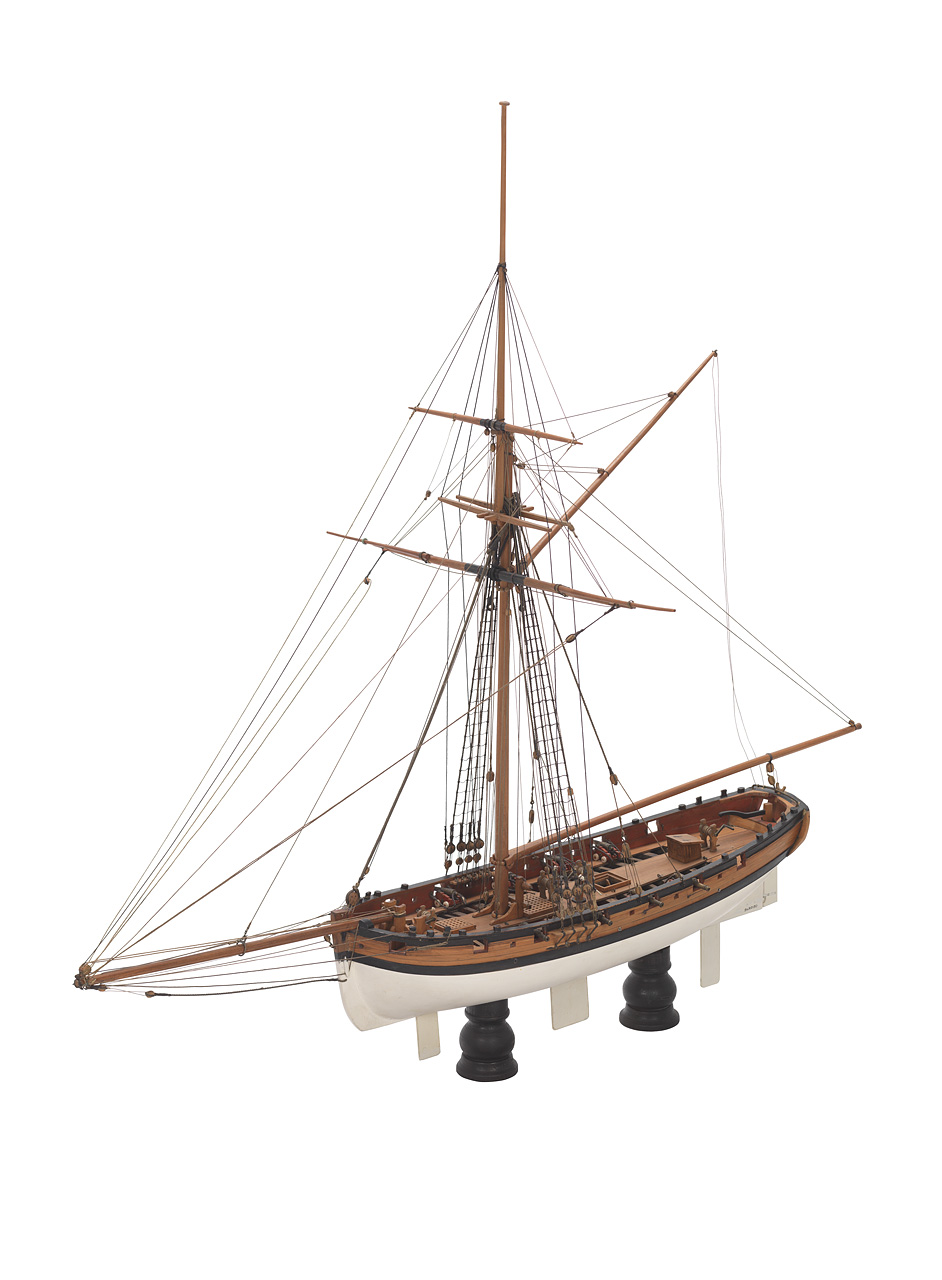
Trial 1790 fighting vessel

A 1790 pattern 123-ton shallow draft 12 cannon gunboat of the bomb vessel-type 

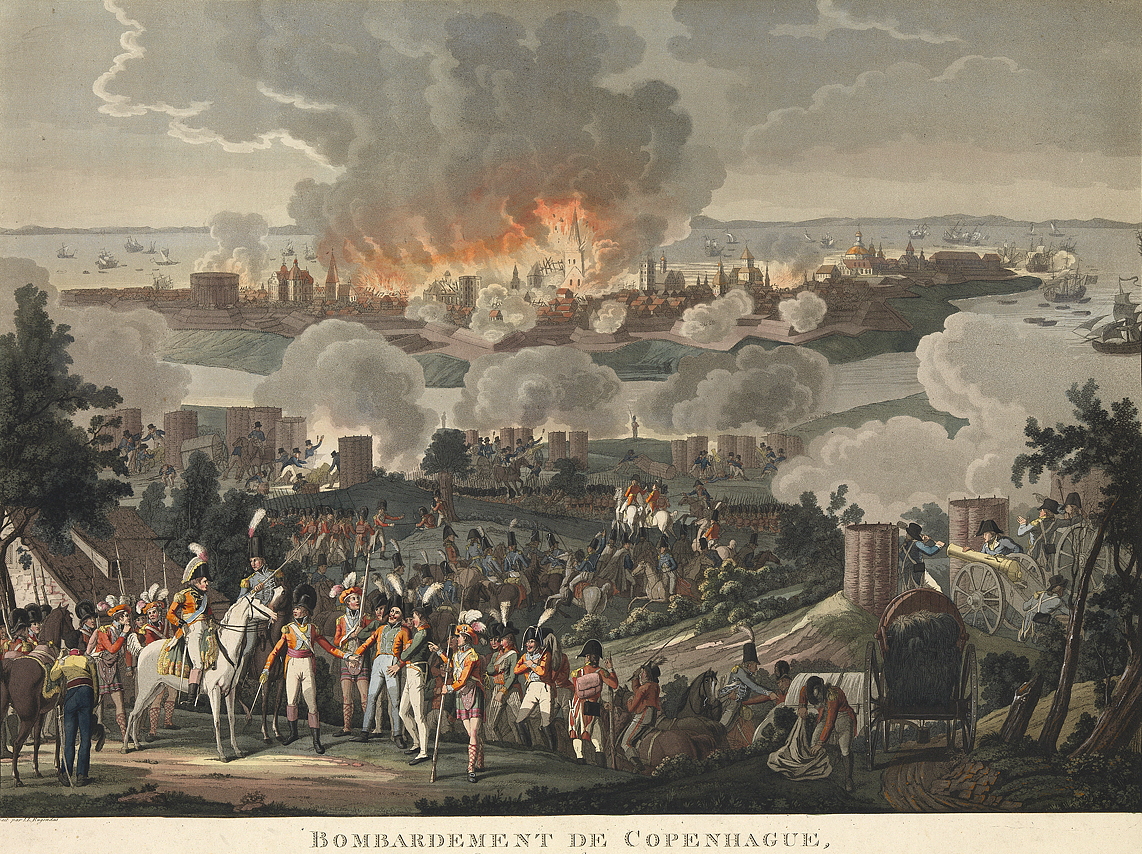
Repeated sorties to disrupt the British siege works on the 25th, 26th and 27th failed, but the effort was renewed on the 31st. On 1 September the British issued a proclamation to General Peyman commanding the Copenhagen garrison to surrender, but he refused and thus Copenhagen was bombarded with a terrific fire the following evening. The cannonade continued for 48 hours, Peyman finally requesting terms on the 5th and then capitulating on the 7th.[106]
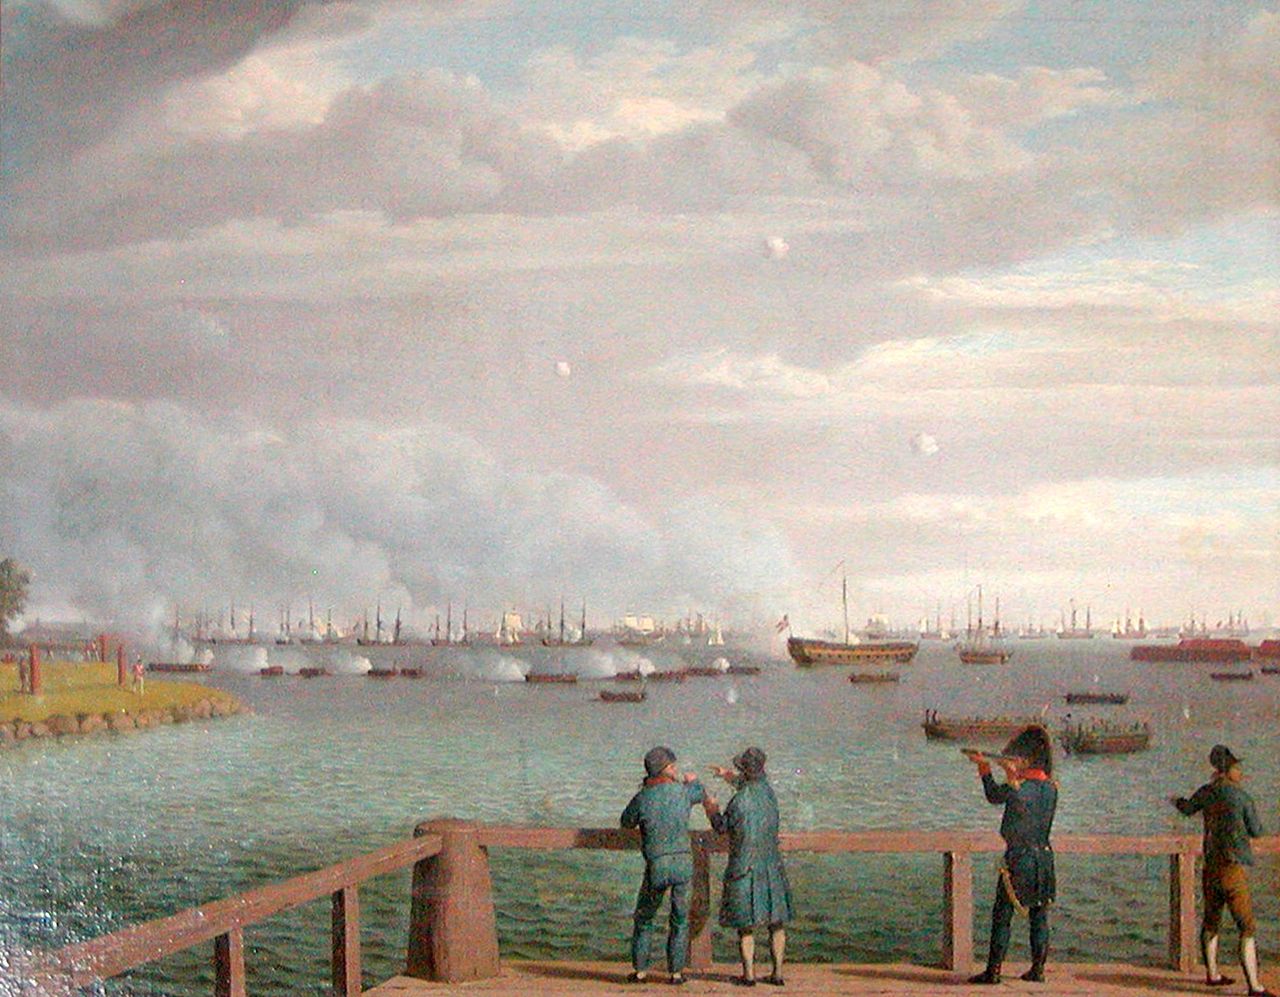
 

Copenhagen2

'Admiral Gambier's Action off Copenhagen, 1807"

PAH8055   Bombardement de Copenhague, du 2 au 5 Septembr 1807. Vue considerable Flotte anglaise commendee par l'Admiral Gambier 

Views of the Bombardment of Copenhagen, by Christian William Eckersberg, c. 1807, Thomas Buttersworth, c. 1813, and 2-5 September 1807 by Jean Laurent Rugendas

The entire Danish fleet at Copenhagen was captured (of which four battleships were eventually added to the Royal Navy), including the various gunboats – as many as 52 smaller vessels and 15 frigates – plus 20,000 tons of naval stores. Gambier returned the fleet to England on October 21st, and was promptly elevated to the peerage as Baron Gambier. The cost for the British was primarily diplomatic, as they had of course attacked what had been a neutral country, thus handing Napoleon a propaganda coup if nothing else. The immediate consequence was to prevent Napoleon from gaining the Danish fleet in the aftermath of Tilsit.[107]

Copenhagen3

List of Danish warships surrendered at Copenhagen

Copenhagen

Breaking up Danish naval stores and ship construction


The Dardanelles and Alexandria, February – March 1807

The Ottoman Empire was also in play during 1806/7, as the Sultan was gravitating towards Napoleon’s sphere. On 2 November 1806 Collingwood despatched Rear Admiral Thomas Louis in Canopus (80), along with Thunderer (74), Standard (64), Active (38) and Nautilus (18) to reconnoitre the Dardanelles, where they arrived and anchored at Tenedos on the 21st. During December Rear Admiral Louis had recourse to collect the British ambassador who had separately departed Constantinople aboard the Endymion, a prudent decision given the deterioration of relations with the Sultan.[108]
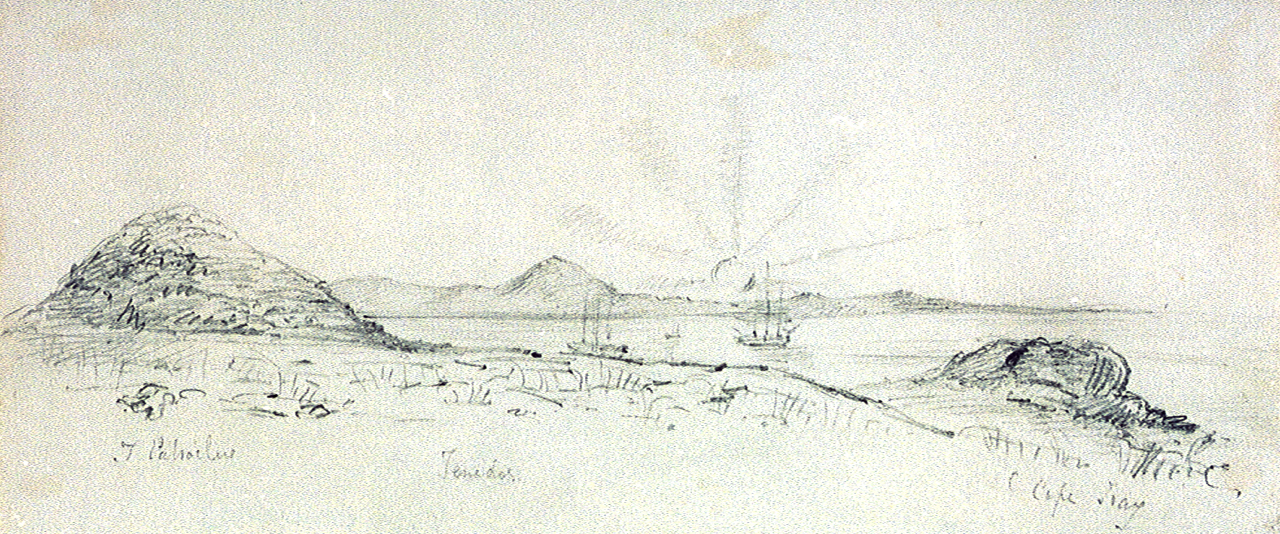
Tenedos

Galipoli

Sketch of the site of Troy, looking towards Tenedos, & Pacha’s Point lighthouse at Gallipoli, July-October 1853 by George Mends


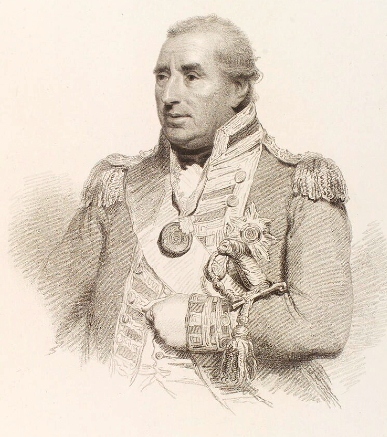
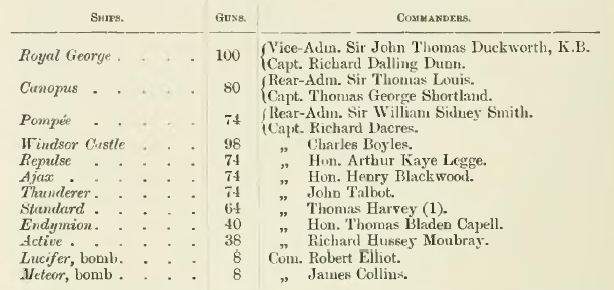
On 22 November the British government sent orders to Collingwood to despatch an expeditionary squadron to anchor off Constantinople and pressure the Porte not to intervene against British interests (the Ottoman Empire declared war against Russia in December 1806).[109] Collingwood did not receive these orders until 12 January 1807, but upon receipt immediately determined upon Vice Admiral Duckworth for the mission. Duckworth departed on the 15th aboard the Royal George (100). His orders were to consult with Mr. Arbuthnot, the British ambassador who was then waiting with Rear Admiral Louis at Tenedos and, if the situation called for it, to sail to Constantinople and induce the Turks to hand over their fleet.[110]
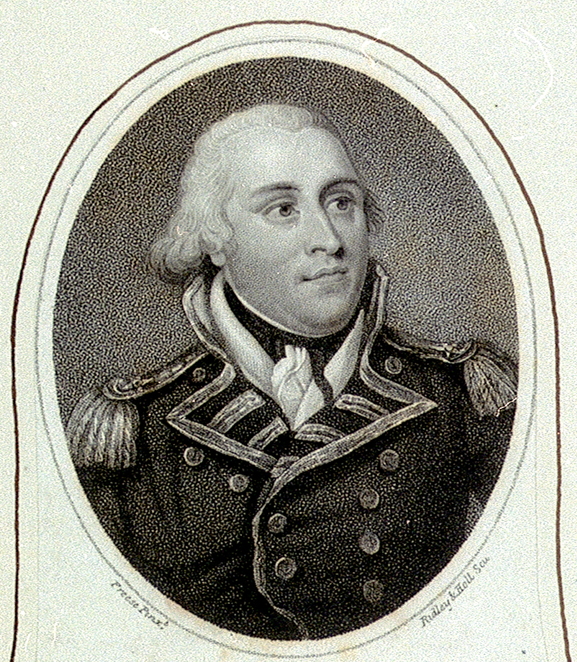
 

Rear Admiral Louis2

Rear Admiral Thomas Louis of the White, d. 17 May 1807
Duckworth3

Vice Admiral Duckworth, by Giovanni Vendramini, December 1809
duckworthdardanlles

The Dardanelles expeditionary force

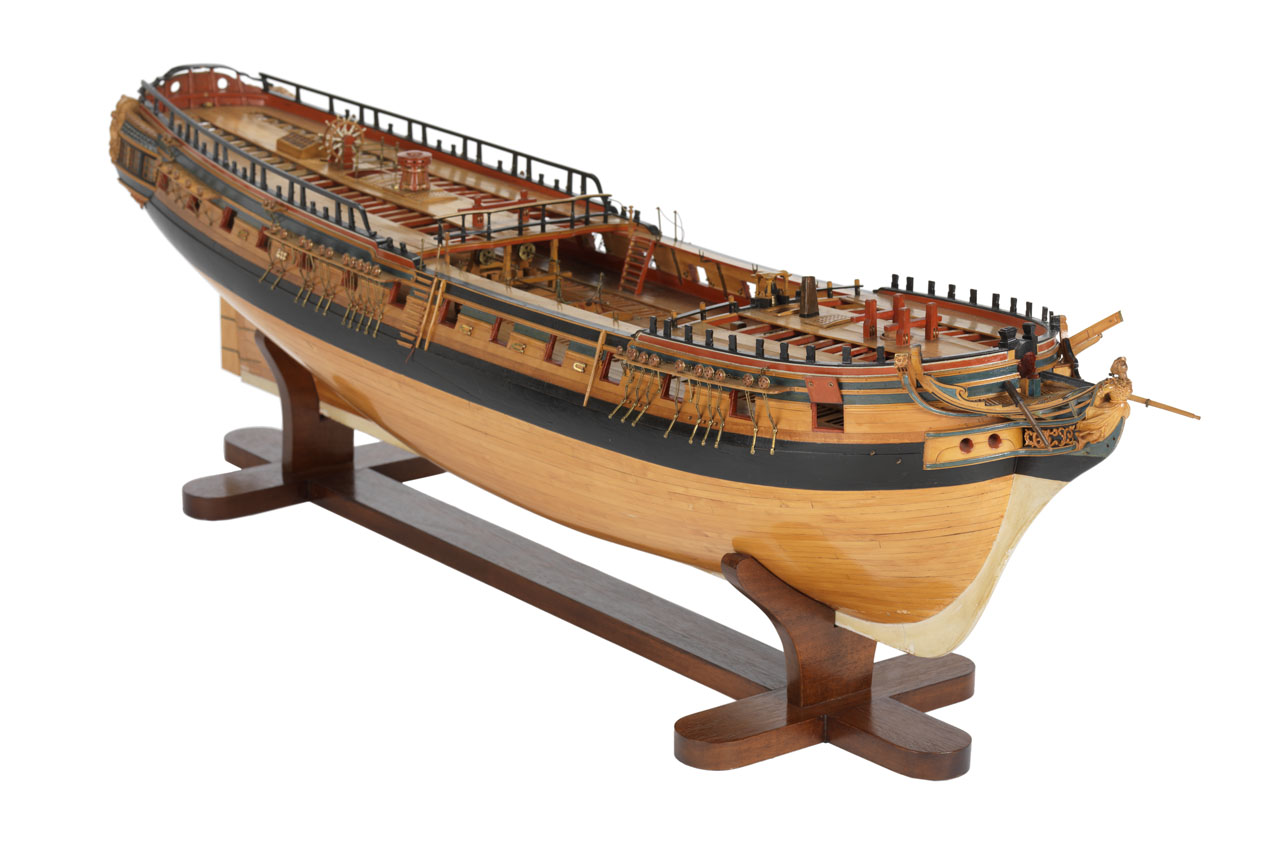
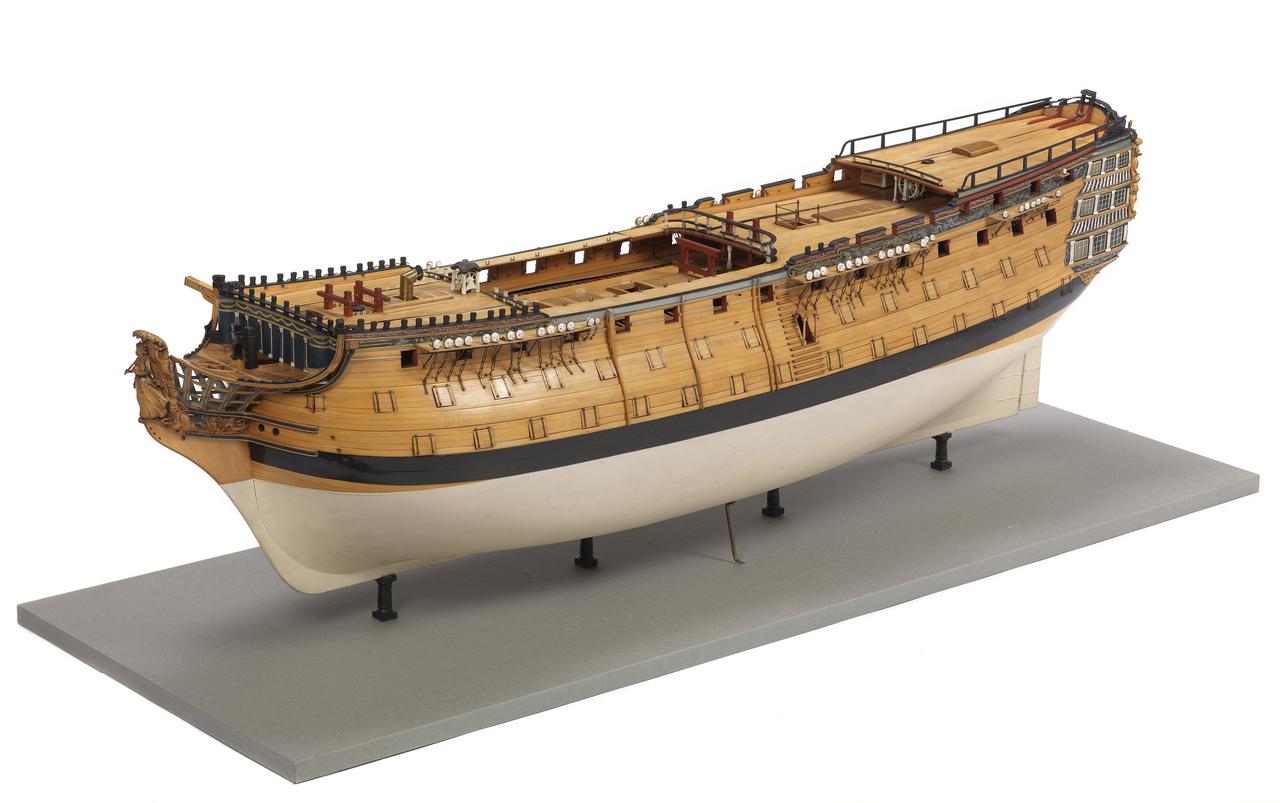
Ship model of Queen Charlotte (1789) Warship, first rate, 100 guns, made circa 1789 Three quarter bow SLR0555

2,278-ton 100-gun first rate Queen Charlotte (1789), the same generation as HMS Royal George (1788

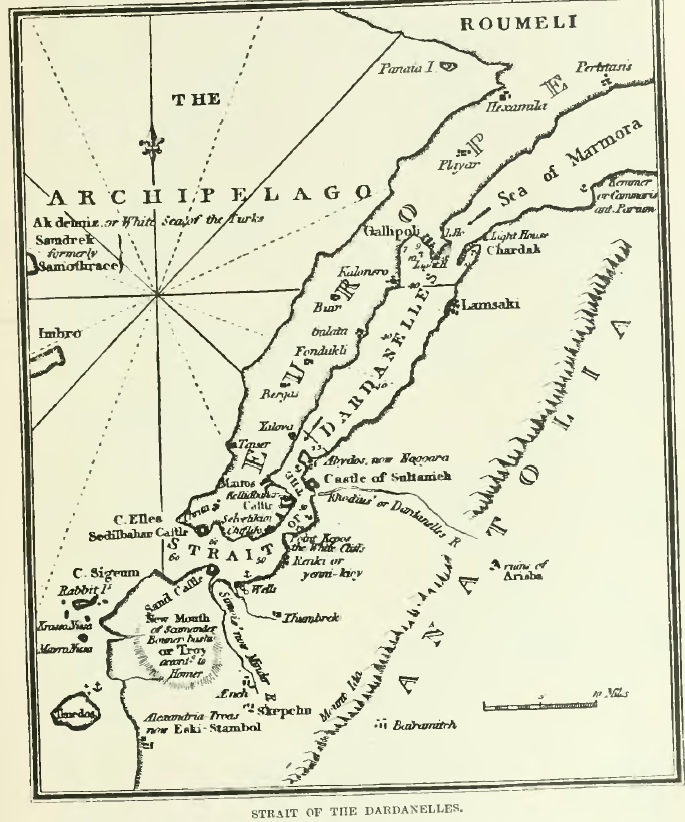
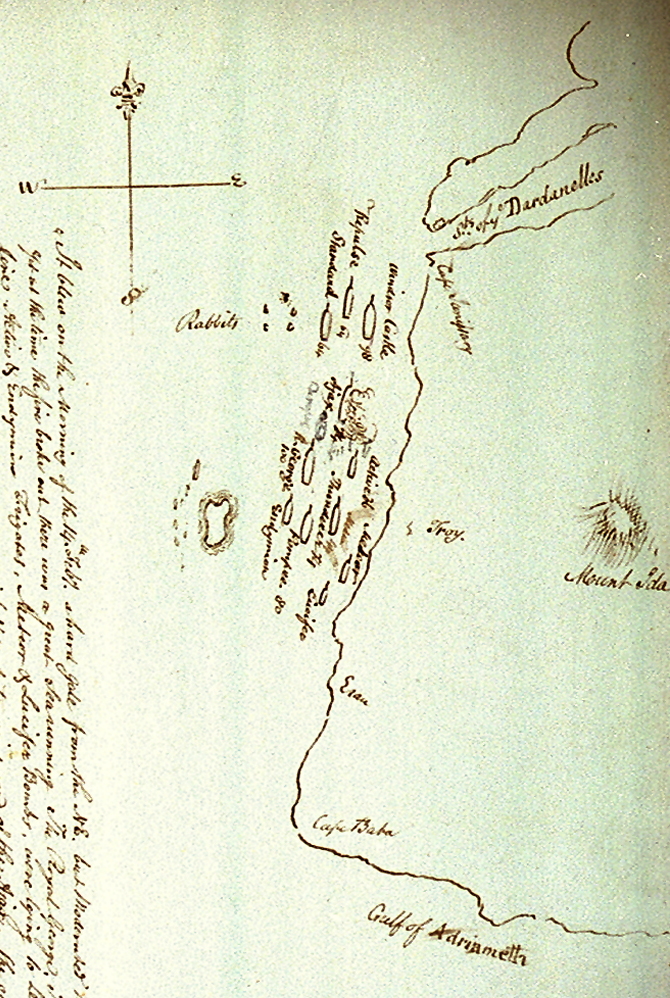
From the start Duckworth was concerned about the operation and could only have become more worried when at 9 pm on 14 February a fire broke out aboard HMS Ajax, quickly got out of hand, causing the ship to drift ashore at Tenedos where it exploded at 5 am the following morning, with the loss of 252 out of 633 officers and men.[111]
Dardanelles

1811 chart of the Dardanelles, reproduced in William Laird Clowes, History of the Royal Navy, volume V, p. 223
Duckworth2

Duckworth’s anchorage at the entrance of the Dardanelles, 14 February 1807, by Nicholas Pocock


Despite this setback Duckworth was on the move again on the morning of the 19th, his force divided into two divisions, with Rear Admiral Sir Sidney Smith commanding the Pompee, Thunderer, Standard and Active, and carrying orders to defeat the Turkish squadron (one 64, one 40, two 36s, one 32, one 22 corvette, one 18 corvette and two 10 corvettes, two brigs and three gunboats) at Point Pesquies, modern Nara Burnu, if they attempted to intervene.[112]
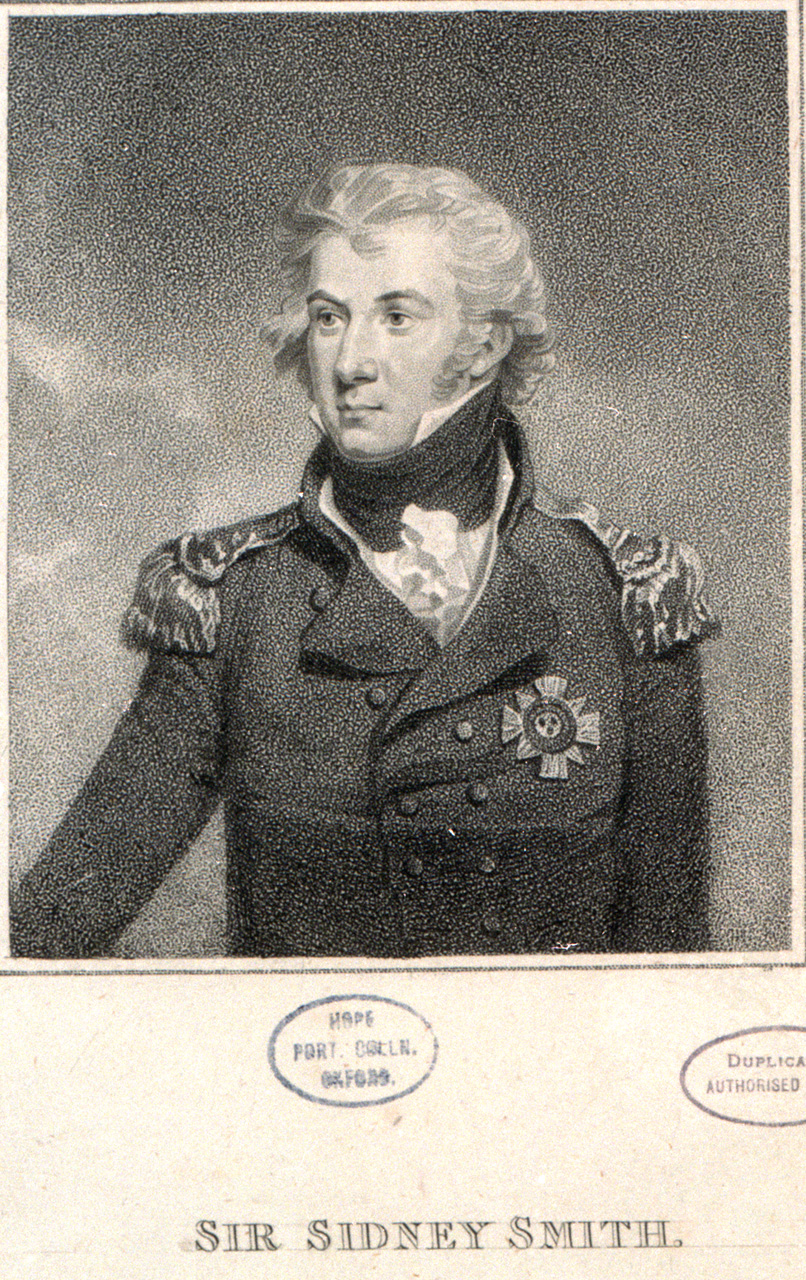
Sidney Smith

Rear Admiral Sir William Sidney Smith

The Turkish positions were largely obsolete medieval fortifications and were little threat so long as the British were able to suppress them with naval cannonade. The Turks started firing as soon as Duckworth entered the peninsula, the British suffering six killed and 51 wounded. At about 10 am the Turkish squadron deployed to engage Duckworth, but they were immediately countered by Sidney Smith, whose division anchored alongside the Turkish line and rapidly reduced them – within thirty minutes all but two of the Turkish warships had surrendered.
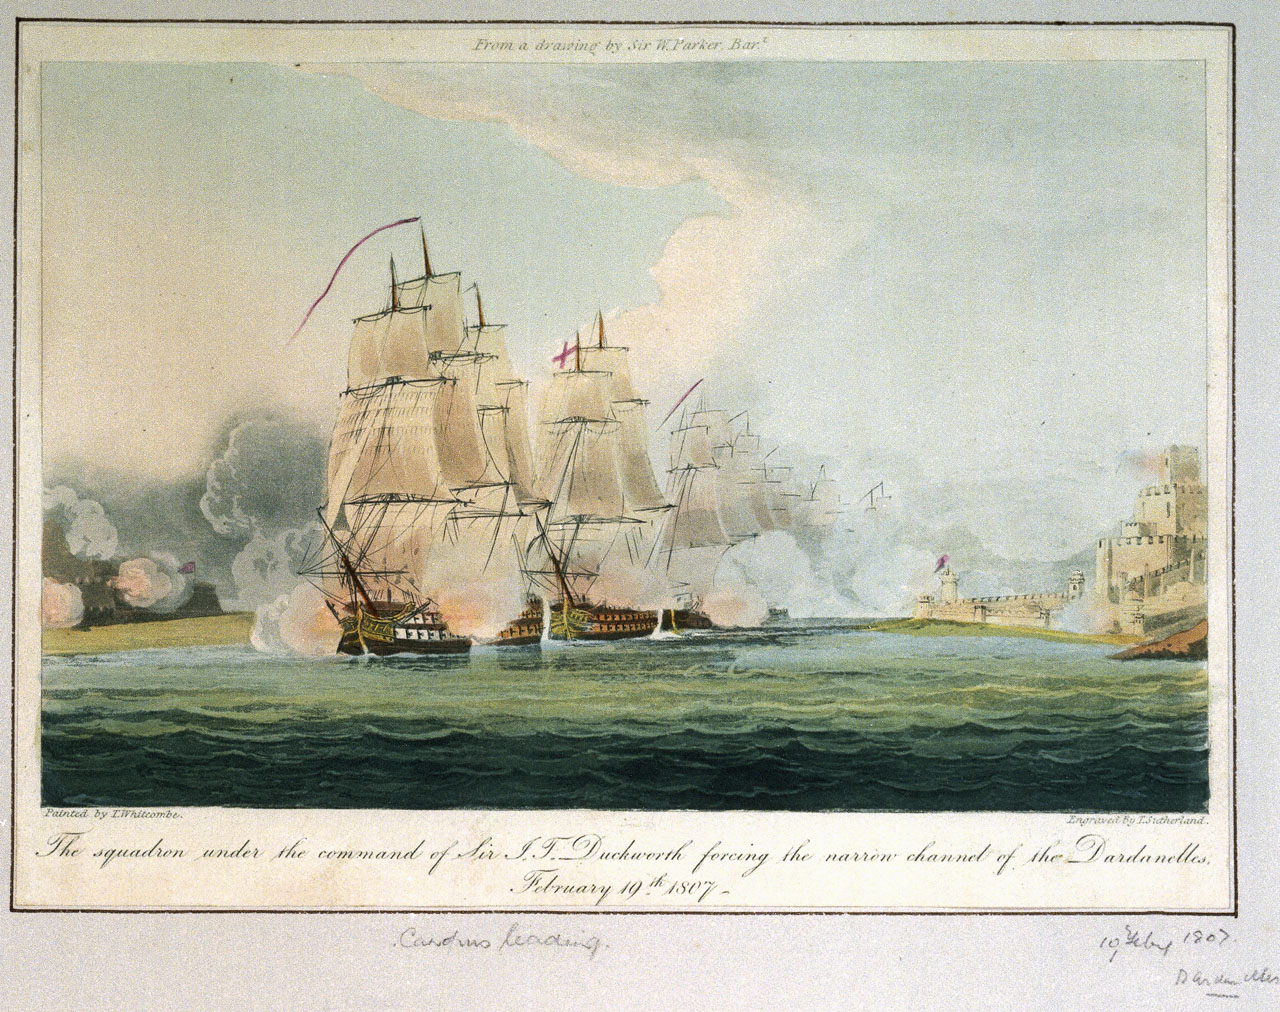
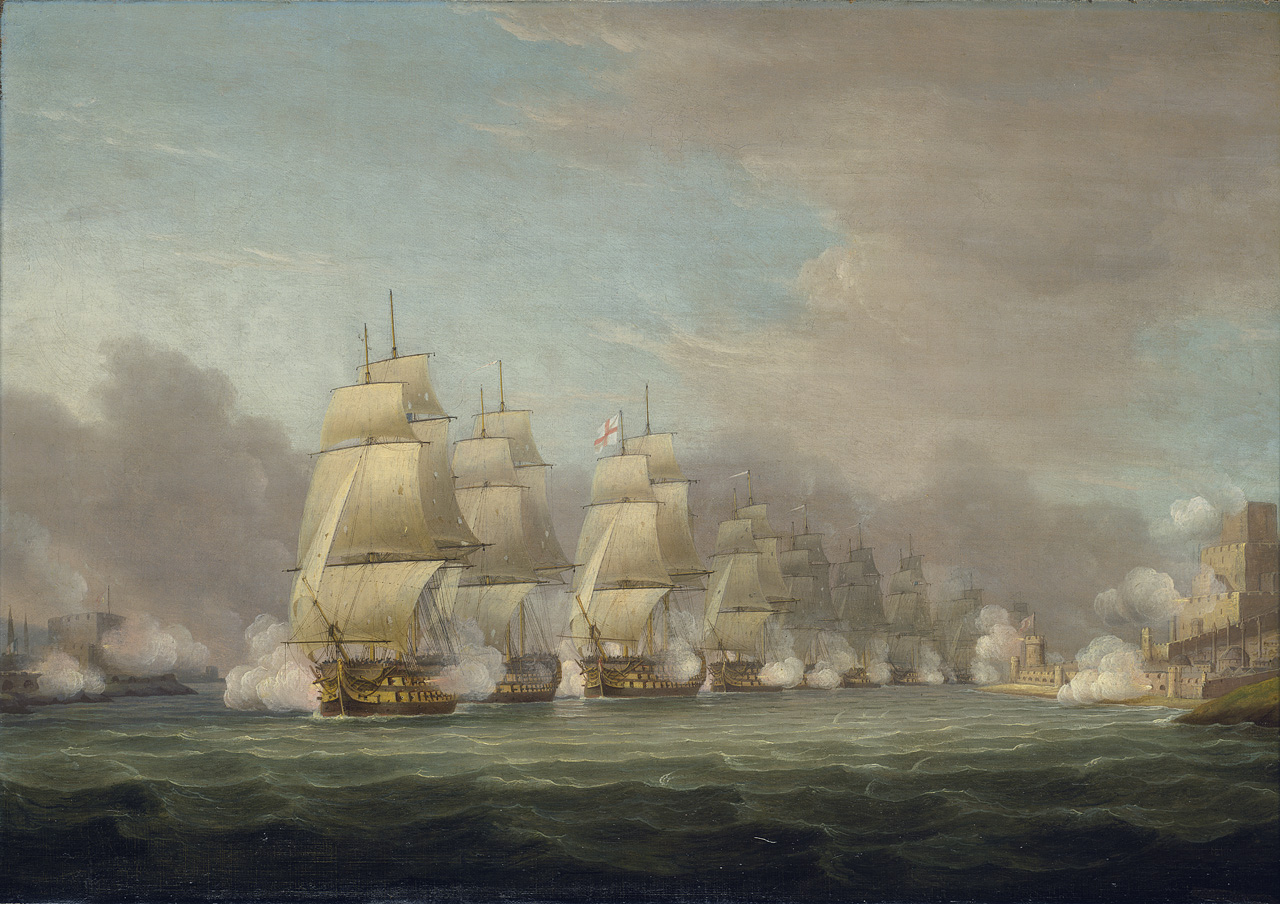
Duckworth

Whitecome

Thomas Whitcombe’s paintings of Duckworth’s action on 19 February 1807. 

Dardanelles

Sidney Smith reduces the Turkish fleet.

The Turkish vessels were immediately burned, while landing parties of seamen and Royal Marines secured the Point Pesquies redoubt and spiked the guns at the cost of four killed and 26 wounded.[113] Sidney Smith detached Active as a rear guard and at 5 pm his division hauled in their anchors, setting sail to rejoin Duckworth’s division.

The whole fleet was eight miles from Constantinople by 8 pm on 20 February. The next morning the Endymion was despatched to the city to deliver Mr. Arbuthnot’s declaration – including a 36 hour ultimatum demanding the surrender of the remaining Turkish fleet and its stores.[114] The Porte simply ignored the attempt to deliver the ultimatum, and despite expiration of the original timeline no consequences were imposed. Ambassador Arbuthnot fell sick on the 22nd and the Turks continued to ignore Duckworth’s demands. The essential dilemma for Duckworth was that his goal ultimately was to arrange a peace settlement, not bombard Constantinople, and although there can be no doubt that Duckworth was a fighting Admiral he was perhaps deficient as a diplomat and negotiator.
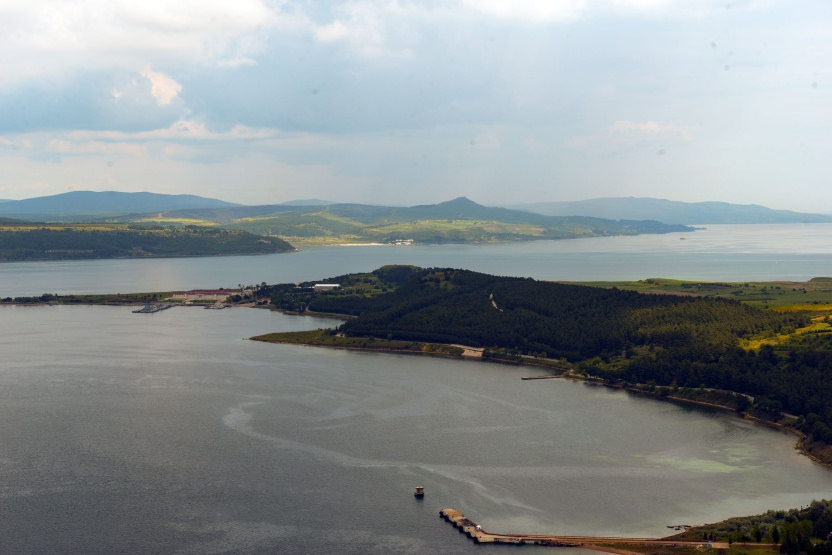
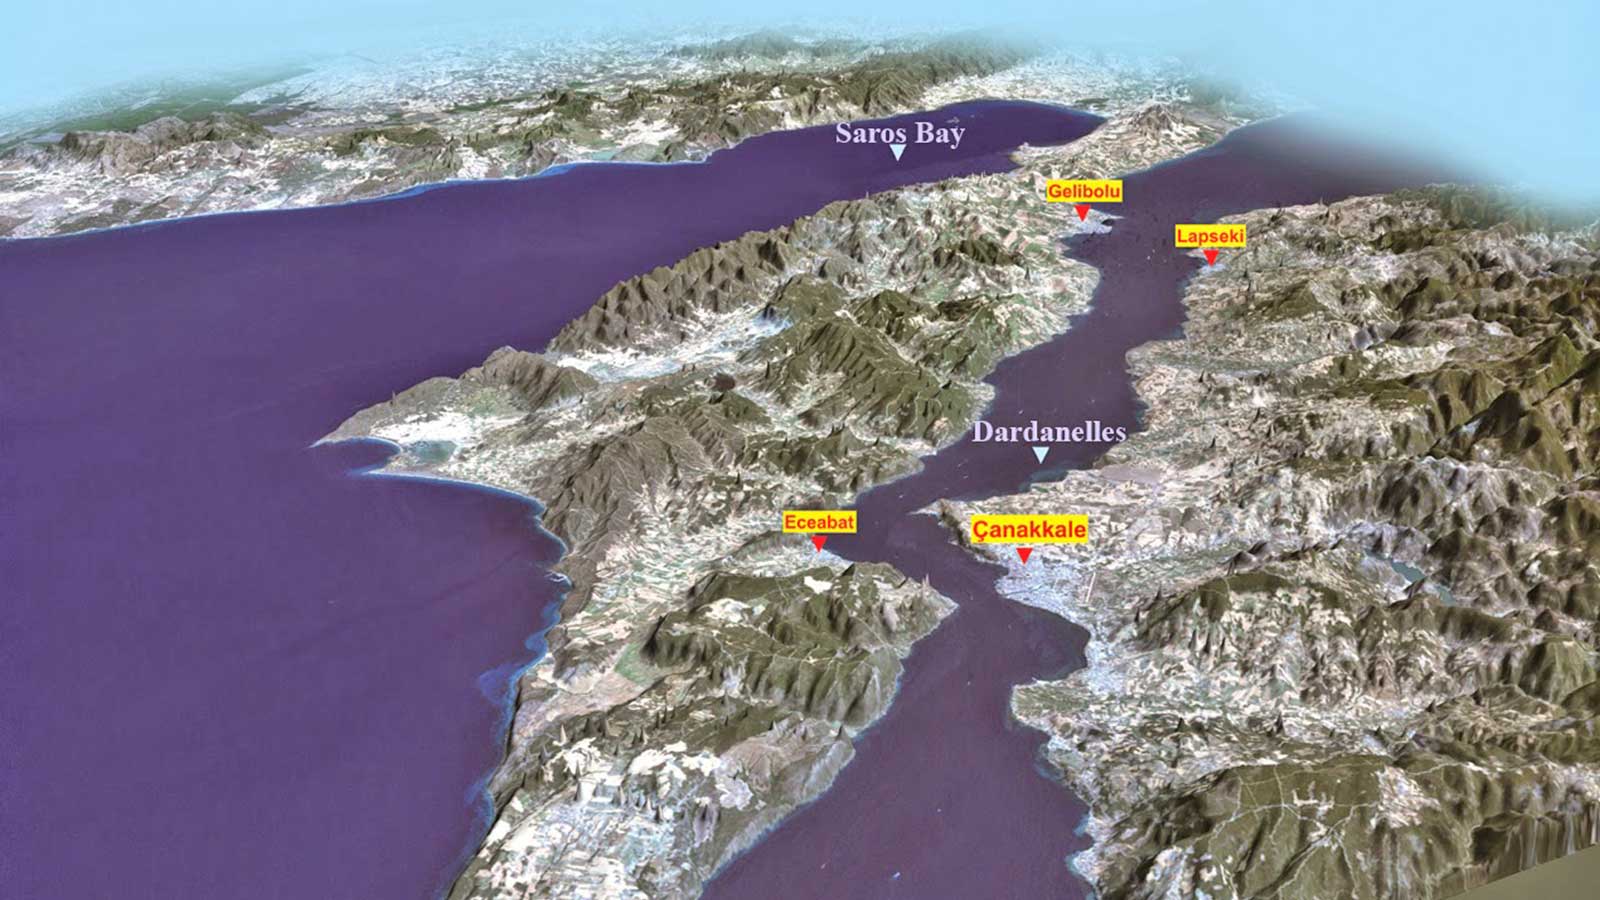
naraburnu

topography

Nara Burnu today, & modern topography of the straits

Lacking a dedicated landing force it was not clear how Duckworth could have convinced the Turks to concede.[115] At any rate, after a series of further shore skirmishes and failed efforts to force negotiations, on 1 March Duckworth gave up. He weighed anchor around 8:30 am and sailed back towards the Mediterranean where he arrived back at Point Pesquies, retrieved the Active at 5 pm on 2 March, and was underway at 7:30 am the next morning. That afternoon Duckworth was engaged by the Turkish redoubt at Point Pesquies, including 800 lb shot from medieval cannons, and it was not until 11:35 pm that the entire fleet had passed the batteries and exited the Dardanelles, the squadron having sustained a further 26 killed and 130 wounded during this withdrawal.[116] It seems evident that the Dardanelles operation, much like the Gallipoli campaign a century later, should have been delayed until a landing force had been assembled – perhaps as little as a month could have made the difference.[117]


Alexandria

Lithograph of Alexandria, c. 1847 by William Delamotte and Charles Chabot


The disjointed planning efforts of the Grenville ministry were demonstrated thoroughly when Duckworth arrived back in the Mediterranean and was shortly thereafter joined by eight Russian battleships under Vice Admiral Seniavine, who was eager to try again, an endeavour Duckworth notably refused to attempt. Worse, the landing force Duckworth actually needed had been arranged and despatched on 6 March in 33 transports, but was not destined for the Dardanelles: escorted by Captain Benjamin Hallowell in the Tigre (74), with the Apollo (38) and the Wizard (16), 5,000 troops under Major General Fraser had departed from Messina bound for Alexandria. The task force arrived off Egypt between the 15th and the 19th, with landings taking place on the 17th and the 18th. Aboukir castle was stormed on the 20th and Alexandria surrendered on the 21st. Duckworth arrived on the 22nd. Major General Fraser attempted to take Rosetta by assault but was repulsed with the loss of 400 men – including the Major General himself.[118]
BHC0589

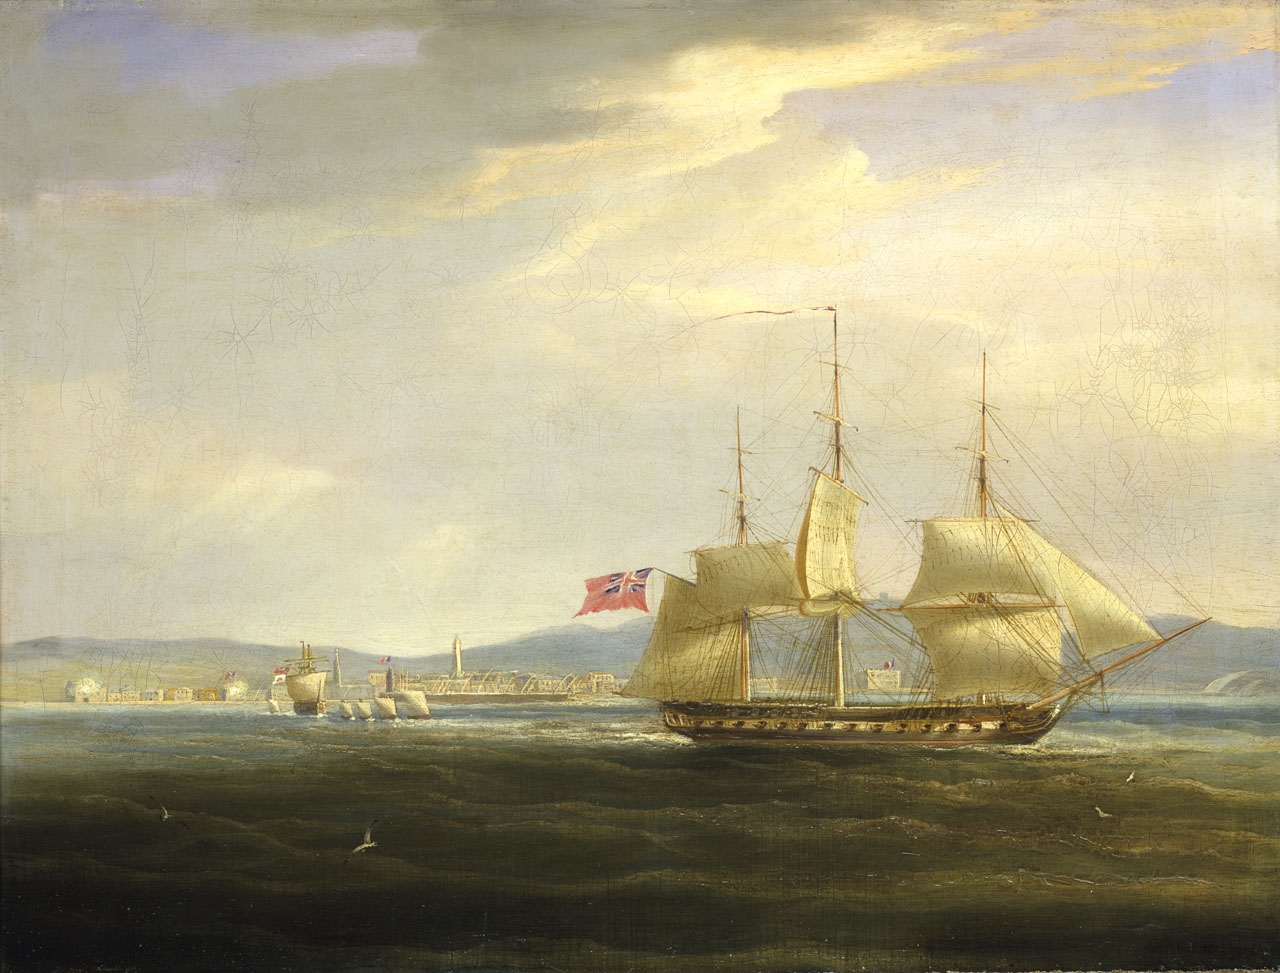
1 April 1809, HMS Mercury (28), Captain Henry Duncan, cut out the French gunboat Leda from Rovigno harbour, south west of Trieste, by William John Huggins


The operation lingered on until September when the entire force was withdrawn. Duckworth had already departed in the Royal George for England, leaving behind Rear Admiral Sir Thomas Louis who died aboard the Canopus on 17 May. The Russians, however, captured Lemnos and Tenedos, defeating a Turkish fleet off Lemnos, until peace was settled by the Treaty of Tilsit and Vice Admiral Seniavine sailed for the strait of Gibraltar, destined, he hoped, for the Baltic. Later in 1808 Collingwood was called away to attempt with diplomacy what Duckworth had failed to achieve with battleships, and successfully convinced the Turks to abandon the war. The Ottoman Empire signed a peace treaty in January 1809.[119]

The 1807 operations against Denmark and Turkey created new enemies. Worse, Napoleon knocked Prussia and Russia out of the war at the battles of Jena and Friedland with the result, as we have seen, of the signing of the treaty of Tilsit on 7 July. Proposed Royal Navy operations against the Spanish colonies in the Caribbean did not materialize, in part the result of the revolt against Napoleon in Spain, leaving the 18,000 men and more than 80 warships garrisoning Jamaica, plus the Leeward and Windward Islands, with little to do. In December Rear Admiral Alexander Cochrane did however capture the Danish Caribbean colonies of St. Croix, St. Thomas and St. Johns (see above).[120]


The Baltic Campaign, 1808

Napoleon’s efforts to diminish Britain’s trade through privateering resulted in the French taking 559 British merchants in 1807.[121]  With the Russian declaration of hostilities on 31 October 1807 the principal theatre of operations for 1808 transitioned to the Baltic, where Britain’s Swedish ally was at risk of attack from the Russians – potentially jeopardizing Britain’s valuable Scandinavian trade.[122]
 

Phipps

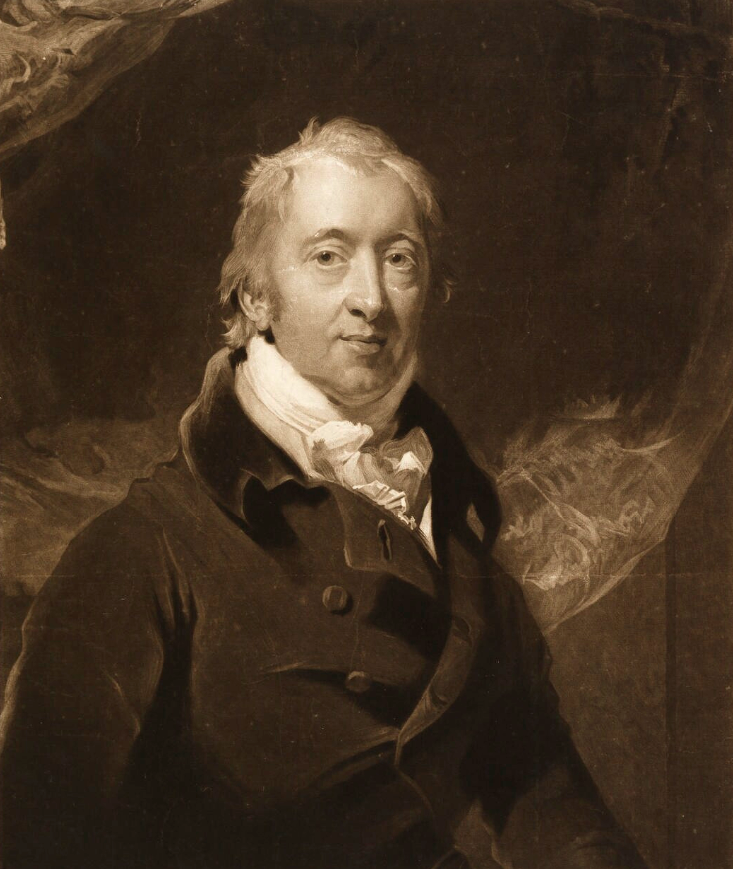
Henry Phipps, Baron Mulgrave, First Lord of the Admiralty in Portland’s ministry, 1807-10, engraving by Charles Turner from 1807 drawing by Sir Thomas Lawrence, published November 1808

First Lord of the Admiralty the Baron Mulgrave selected Vice Admiral James Saumarez for the Baltic mission. Saumarez was to take a fleet, 12 or 13 sail of the line, and supported by Rear Admirals Hood and Keats, destroy the Russian fleet at Cronstadt.[123] Saumarez and Lt. General Sir John Moore were in the course of preparing this expedition when the Czar pre-empted them by invading Finland.[124]
Saumarez

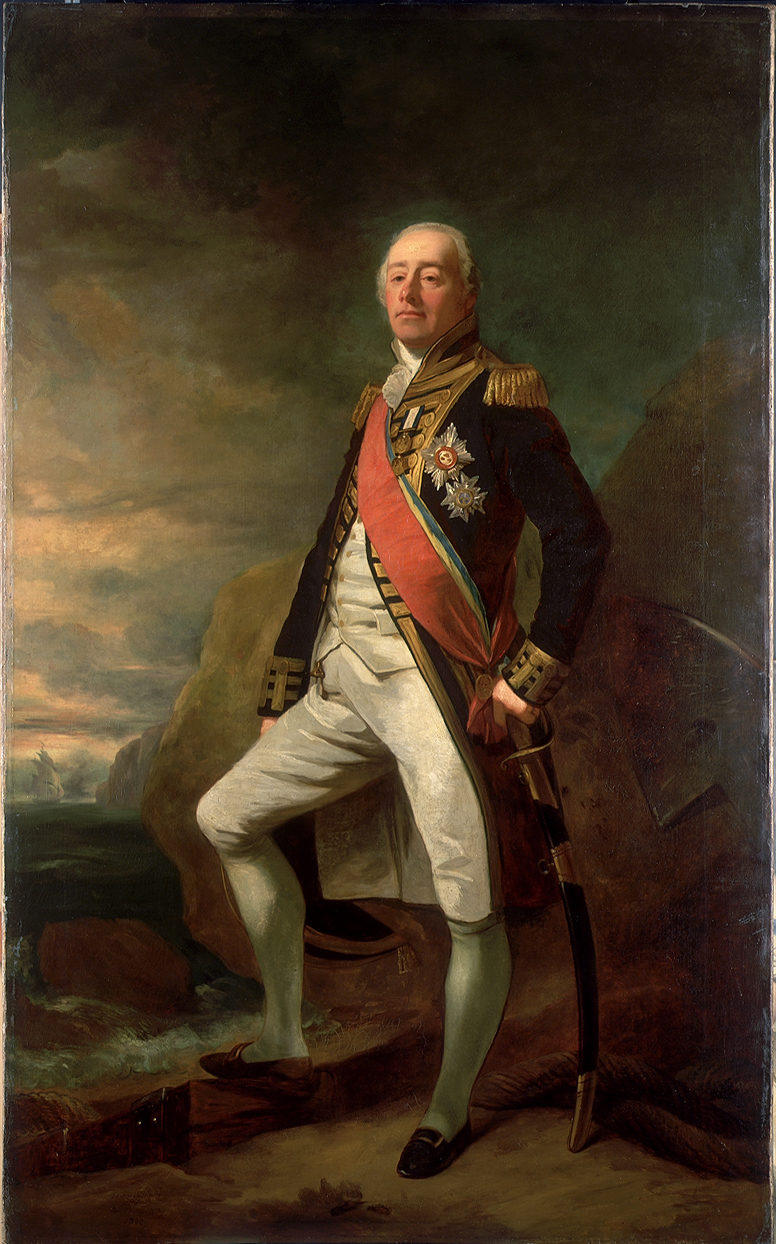
Vice Admiral James Saumarez, copy of Thomas Phillips portrait, made by Edwin Williams in 1862
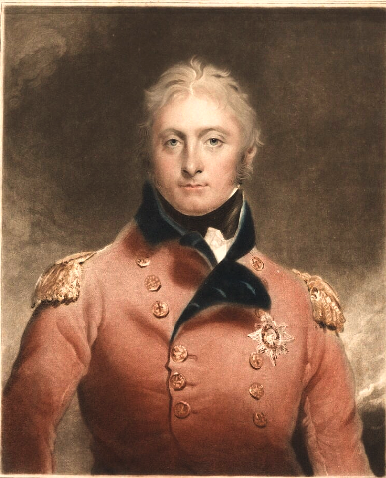
 

Moore

Lieutenant General Sir John Moore, by Thomas Lawrence, engraving by Charles Turner, drawn c. 1805, published April 1809

Saumarez departed with Hood on 21 March 1808 for Gothenburg where he would rendezvous with Captain George Parker in the Stately (64), the officer on station there, and then confer with the British envoy at Stockholm regarding the best measures for protecting Sweden from further Russian or French incursion.[125] Ultimately a force of 62 ships, including 16 line of battleships, plus frigates and transports, capable of delivering 10,000 men, was built up and employed blockading the Russians in harbour and protecting merchant trade.[126]
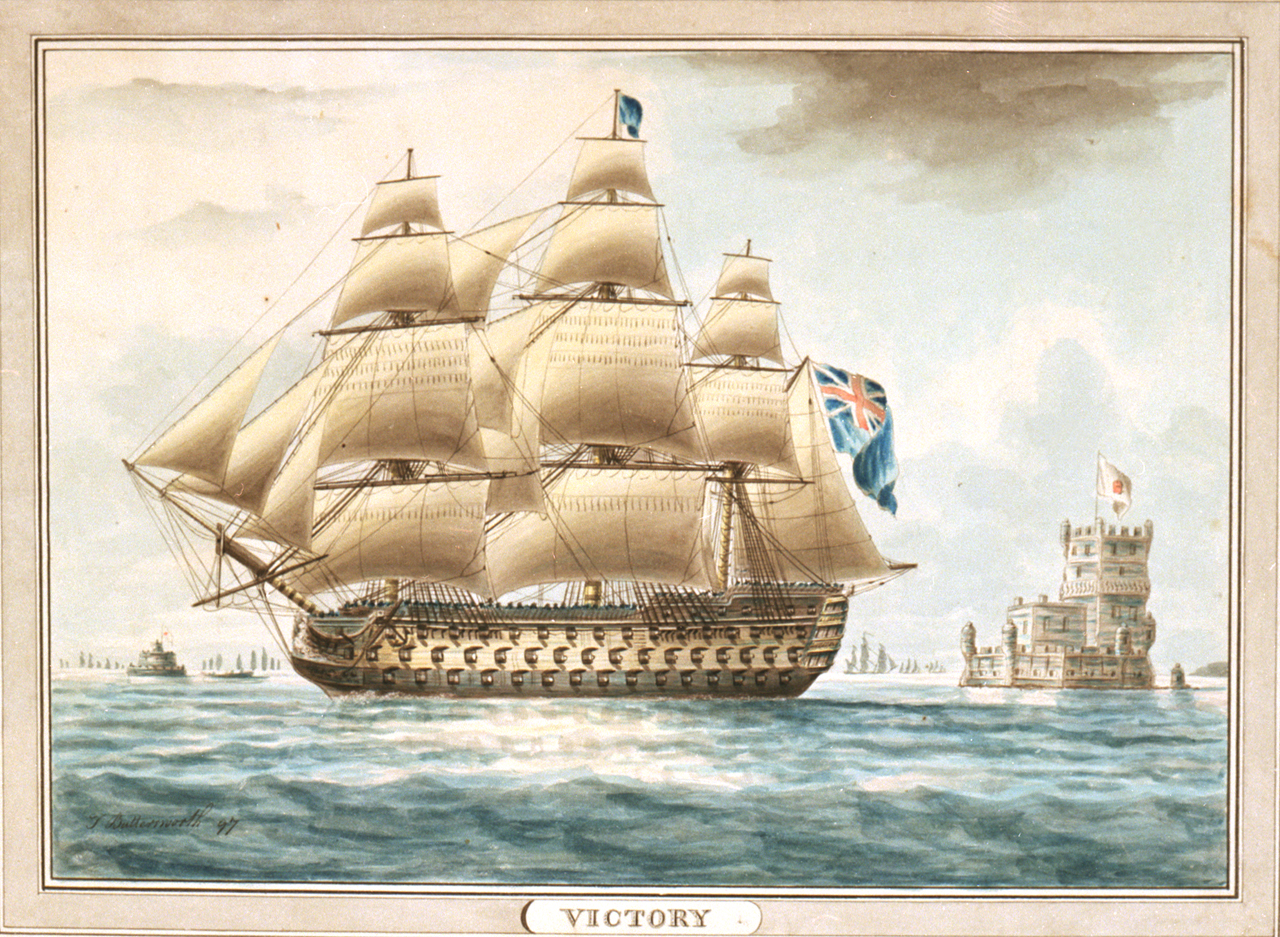
 

Victory

Vice Admiral Saumarez’s flagship during the Baltic campaign of 1808 was HMS Victory, rendered here off Belem Castle, by Thomas Buttersworth in 1797
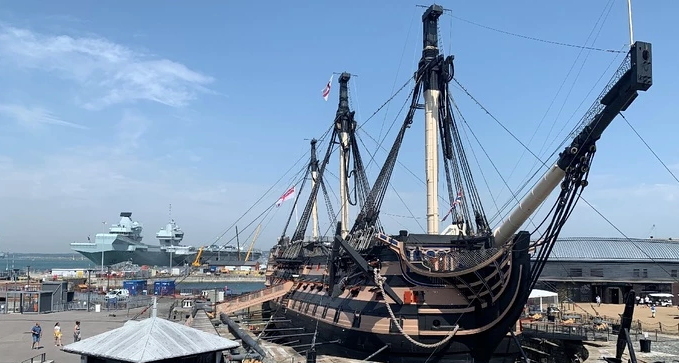
hms victory

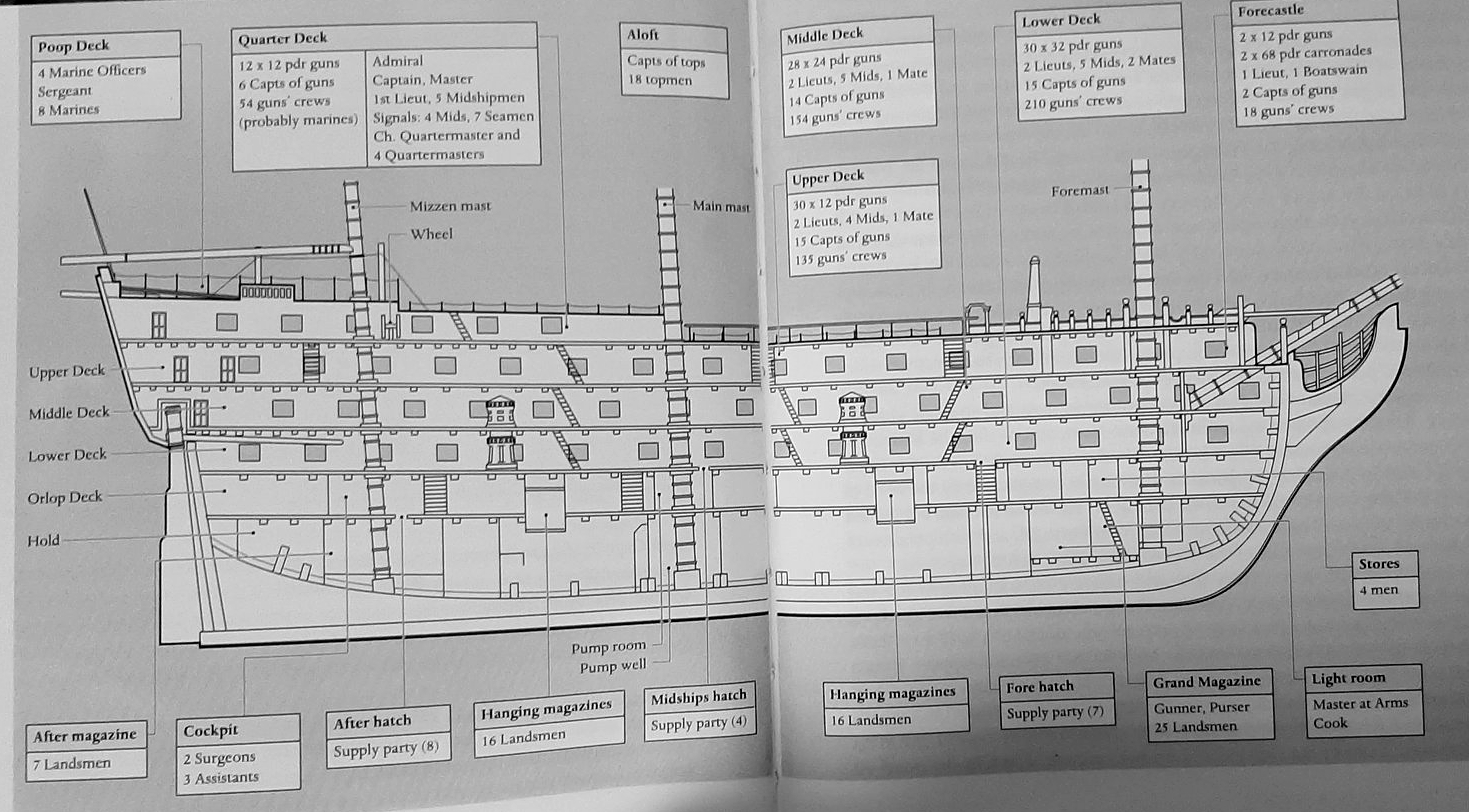
crew

Victory at the Portsmouth historic dockyard in 2020 & Crew composition.

A brief engagement occurred on 22 March when Captain Parker in the Stately with Captain Robert Campbell in the Nassau (64, ex Holstein captured at Copenhagen 1801), having sailed from Gothenburg on the 19th, engaged Denmark’s only remaining ship of the line, the 64 (or 74) gun Prinds Christian Frederik north of Zealand. After a two hour fight the Danish ship surrendered and ran aground. The crew was removed and the ship set afire afterwards.[127]

F9213 003

F9213 004

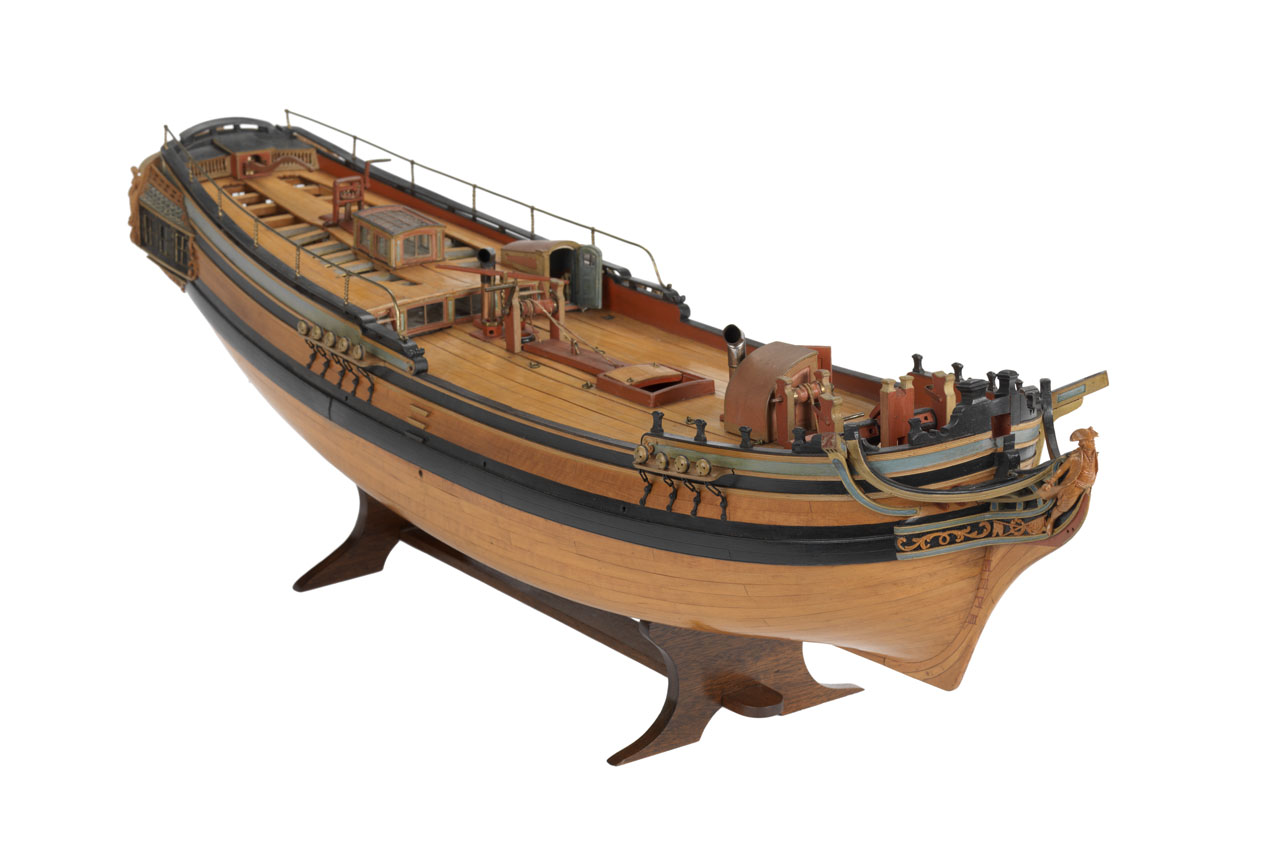
A merchant brig, 100 tons

Normal trade protection and blockade actions continued until the Russians sortied on 25 August, intent on attacking Stockholm. The Royal Navy in the Baltic was by now divided into several components, and it was Rear Admiral Samuel Hood’s command that spotted the Russian fleet at sea off Hango on the 25th. Hood commanded a combined English and Swedish squadron, although a third of the Swedish seaman were incapacitated with scurvy and therefore of doubtful capacity.[128] Hood made to chase the Russians, who fled, until at 6:45 am on the 26th the Sevolod (or Sewolod, 74), appeared and engaged the British, no doubt hoping to delay them while the rest of the Russians escaped.
 

BHC2779

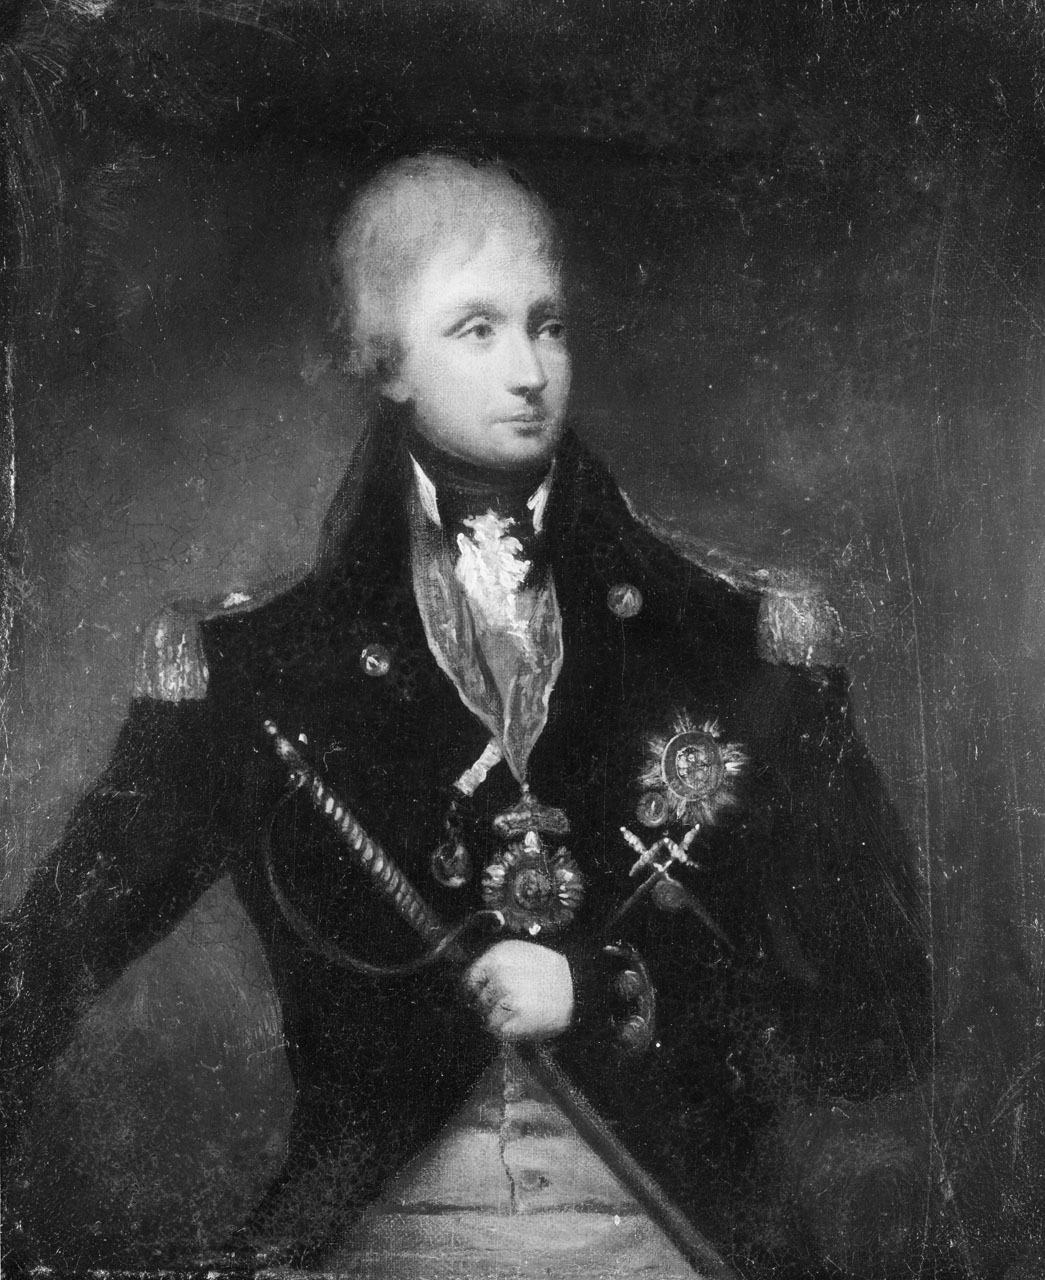
Sir Samuel Hood, c. 1808-1812

During this action the Implacable (74, Captain Byam Martin) and the Centaur (74, Captain William Webley; flag of Rear Admiral Hood), engaged the Sevolod at pistol shot, and by 8 am captured that ship, with six killed and 26 wounded on Implacable, and 48 killed and 80 wounded on the Sevolod. The approach of the rest of the Russian fleet convinced Hood to withdraw. The unmanned Sevolod crashed ashore at Roggersvick, and the Russians were attempting to float her when Hood returned with his two 74s and at 8 pm Captain Webley in the Centaur engaged the Sevolod close, the latter striking for the second time forty minutes later. Centaur had three killed and 27 wounded, the Sevolod 180 killed and wounded. The Russian warship was then burnt, all of which was action enough to convince the Russians not to attempt the crossing to Stockholm, and they were confined to their base at Roggersvik.[129]

Eagles

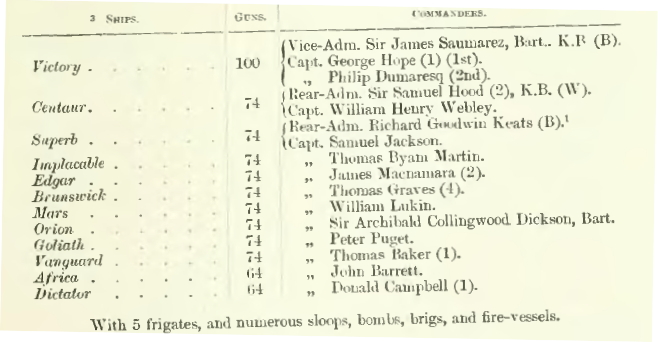
To reduce this place Saumarez, on 30 August, arrived with Victory, Mars, Goliath and Africa and maintained the blockade of Roggersvik until October. Although plans were drawn up to launch a fireship attack against the Russian squadron, as was done at the Basque Roads the following year, it was later determined that the Russian harbour defences prevented any such action. Saumarez was compelled to depart with the arrival of winter, and the Russians returned thence to Cronstadt.[130]
Baltic1808

James Saumarez’s squadron for the 1808 Baltic expedition


The Baltic squadron continued to intercept French and Danish privateers throughout 1809. On 11 May the Melpomene (38), Captain Peter Parker, located a Danish 6-gun cutter ashore at Huilbo, Jutland. Parker anchored, launched his boats, and then fired broadsides at the cutter until his boats arrived and completed the destruction, this handy operation completed at the cost of only six wounded. Four days later the 18-pdr frigate Tartar (32), under Captain Joseph Baker, chased ashore a small 4-gun privateer of 24 crew near Felixberg, Courland. The frigate’s boats were hoisted out and the diminutive Danish warship easily captured 
peter parker

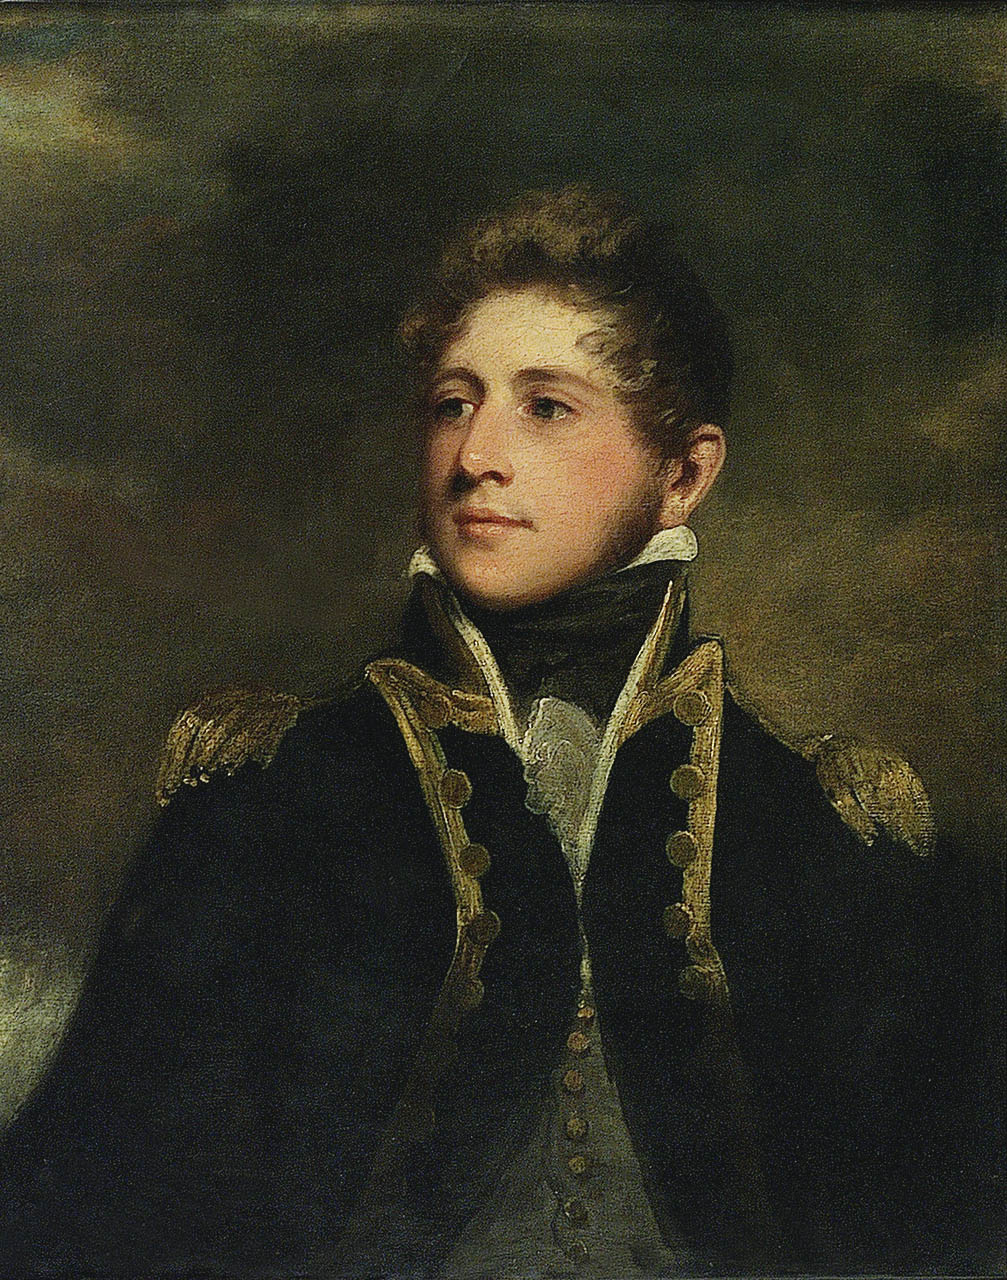
Captain Peter Parker, by John Hoppner, c. 1808-10

On 7 July 1809 the Implacable (74, Captain Samuel Warren), Melpomene (38 – Parker), and the sloop Prometheus (18, Captain Thomas Forrest), while cruising off the coast of Finland, located a Russian gunboat flotilla of eight vessels at Porcola Point. Bellerophon (74) presently arrived and together 17 boats were assembled under Lieutenant Joseph Hawkey of Implacable, with 270 officers and men. The boat team waited until 9 pm and then rowed in under heavy fire and boarded the Russian flotilla at which point Lt. Hawkey was killed by grape shot, but Lt. Charles Allen took over command and completed the task of capturing the Russian gunboats, with 17 killed and 27 wounded, to the Russian’s 63 killed. A similar action was carried out on 25 July by 17 boats from the Princess Caroline (74), Minotaur (74),Cerberus (32) and the sloop Prometheus (18), against four Russian gunboats and a brig at Fredericksham, gulf of Finland. Once again the crew waited until the evening and then rowed into the anchorage and captured the Russian vessels, at cost of 9 killed and 46 wounded, the Russians losing 28 killed and 59 wounded (W. James, Naval History of Great Britain, vol. V, 1859, p. 38, 40-2). 
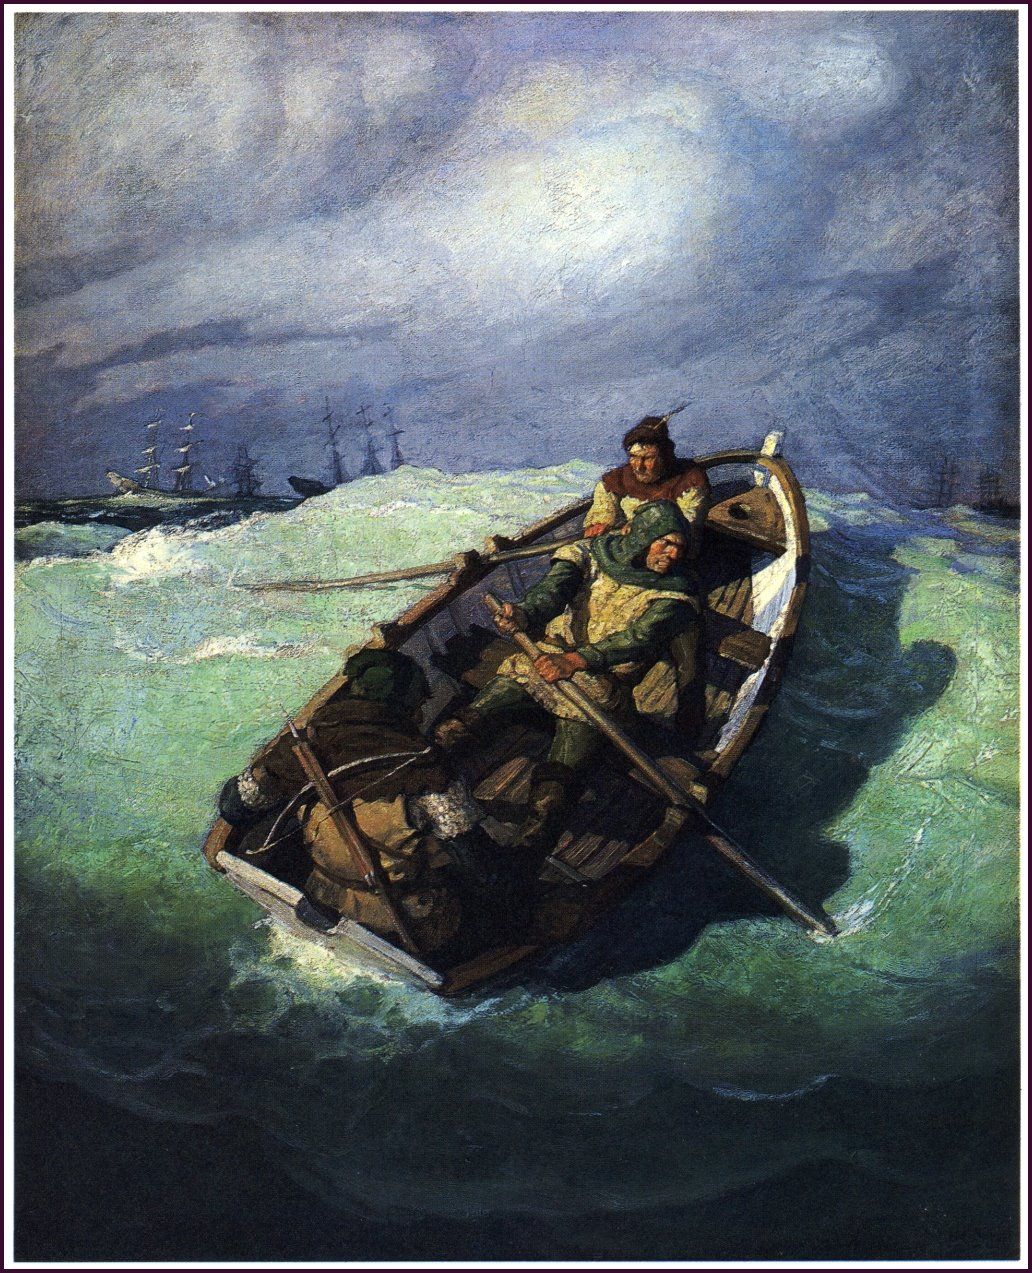
boats

N. C. Wyeth illustration

Although Sweden was protected for now, ultimately the Baltic campaign failed to prevent the Russians from annexing Finland at the Peace of Frederikshamn, 17 September 1809.[131] Saumarez did however effect the capture of the island of Anholt in May,[132] in addition to his sterling work protecting merchant traffic through the Great Belt strait: between June and December 1809 the Royal Navy escorted 2,210 merchants through those confined Danish waters without loss, however, a Norwegian convoy of 47 was taken by Danish Captain Lorentz Fisker with five brigs during a daring sortie in July 1810.[133] The British position in the Baltic was now tenuous as Sweden was then under Napoleon’s thumb, the Emperor having installed Marshal Bernadotte as monarch in October 1810.[134] He was soon induced to declare war against Britain, and did so in November.


The Peninsular Campaign, 1807 – 1809
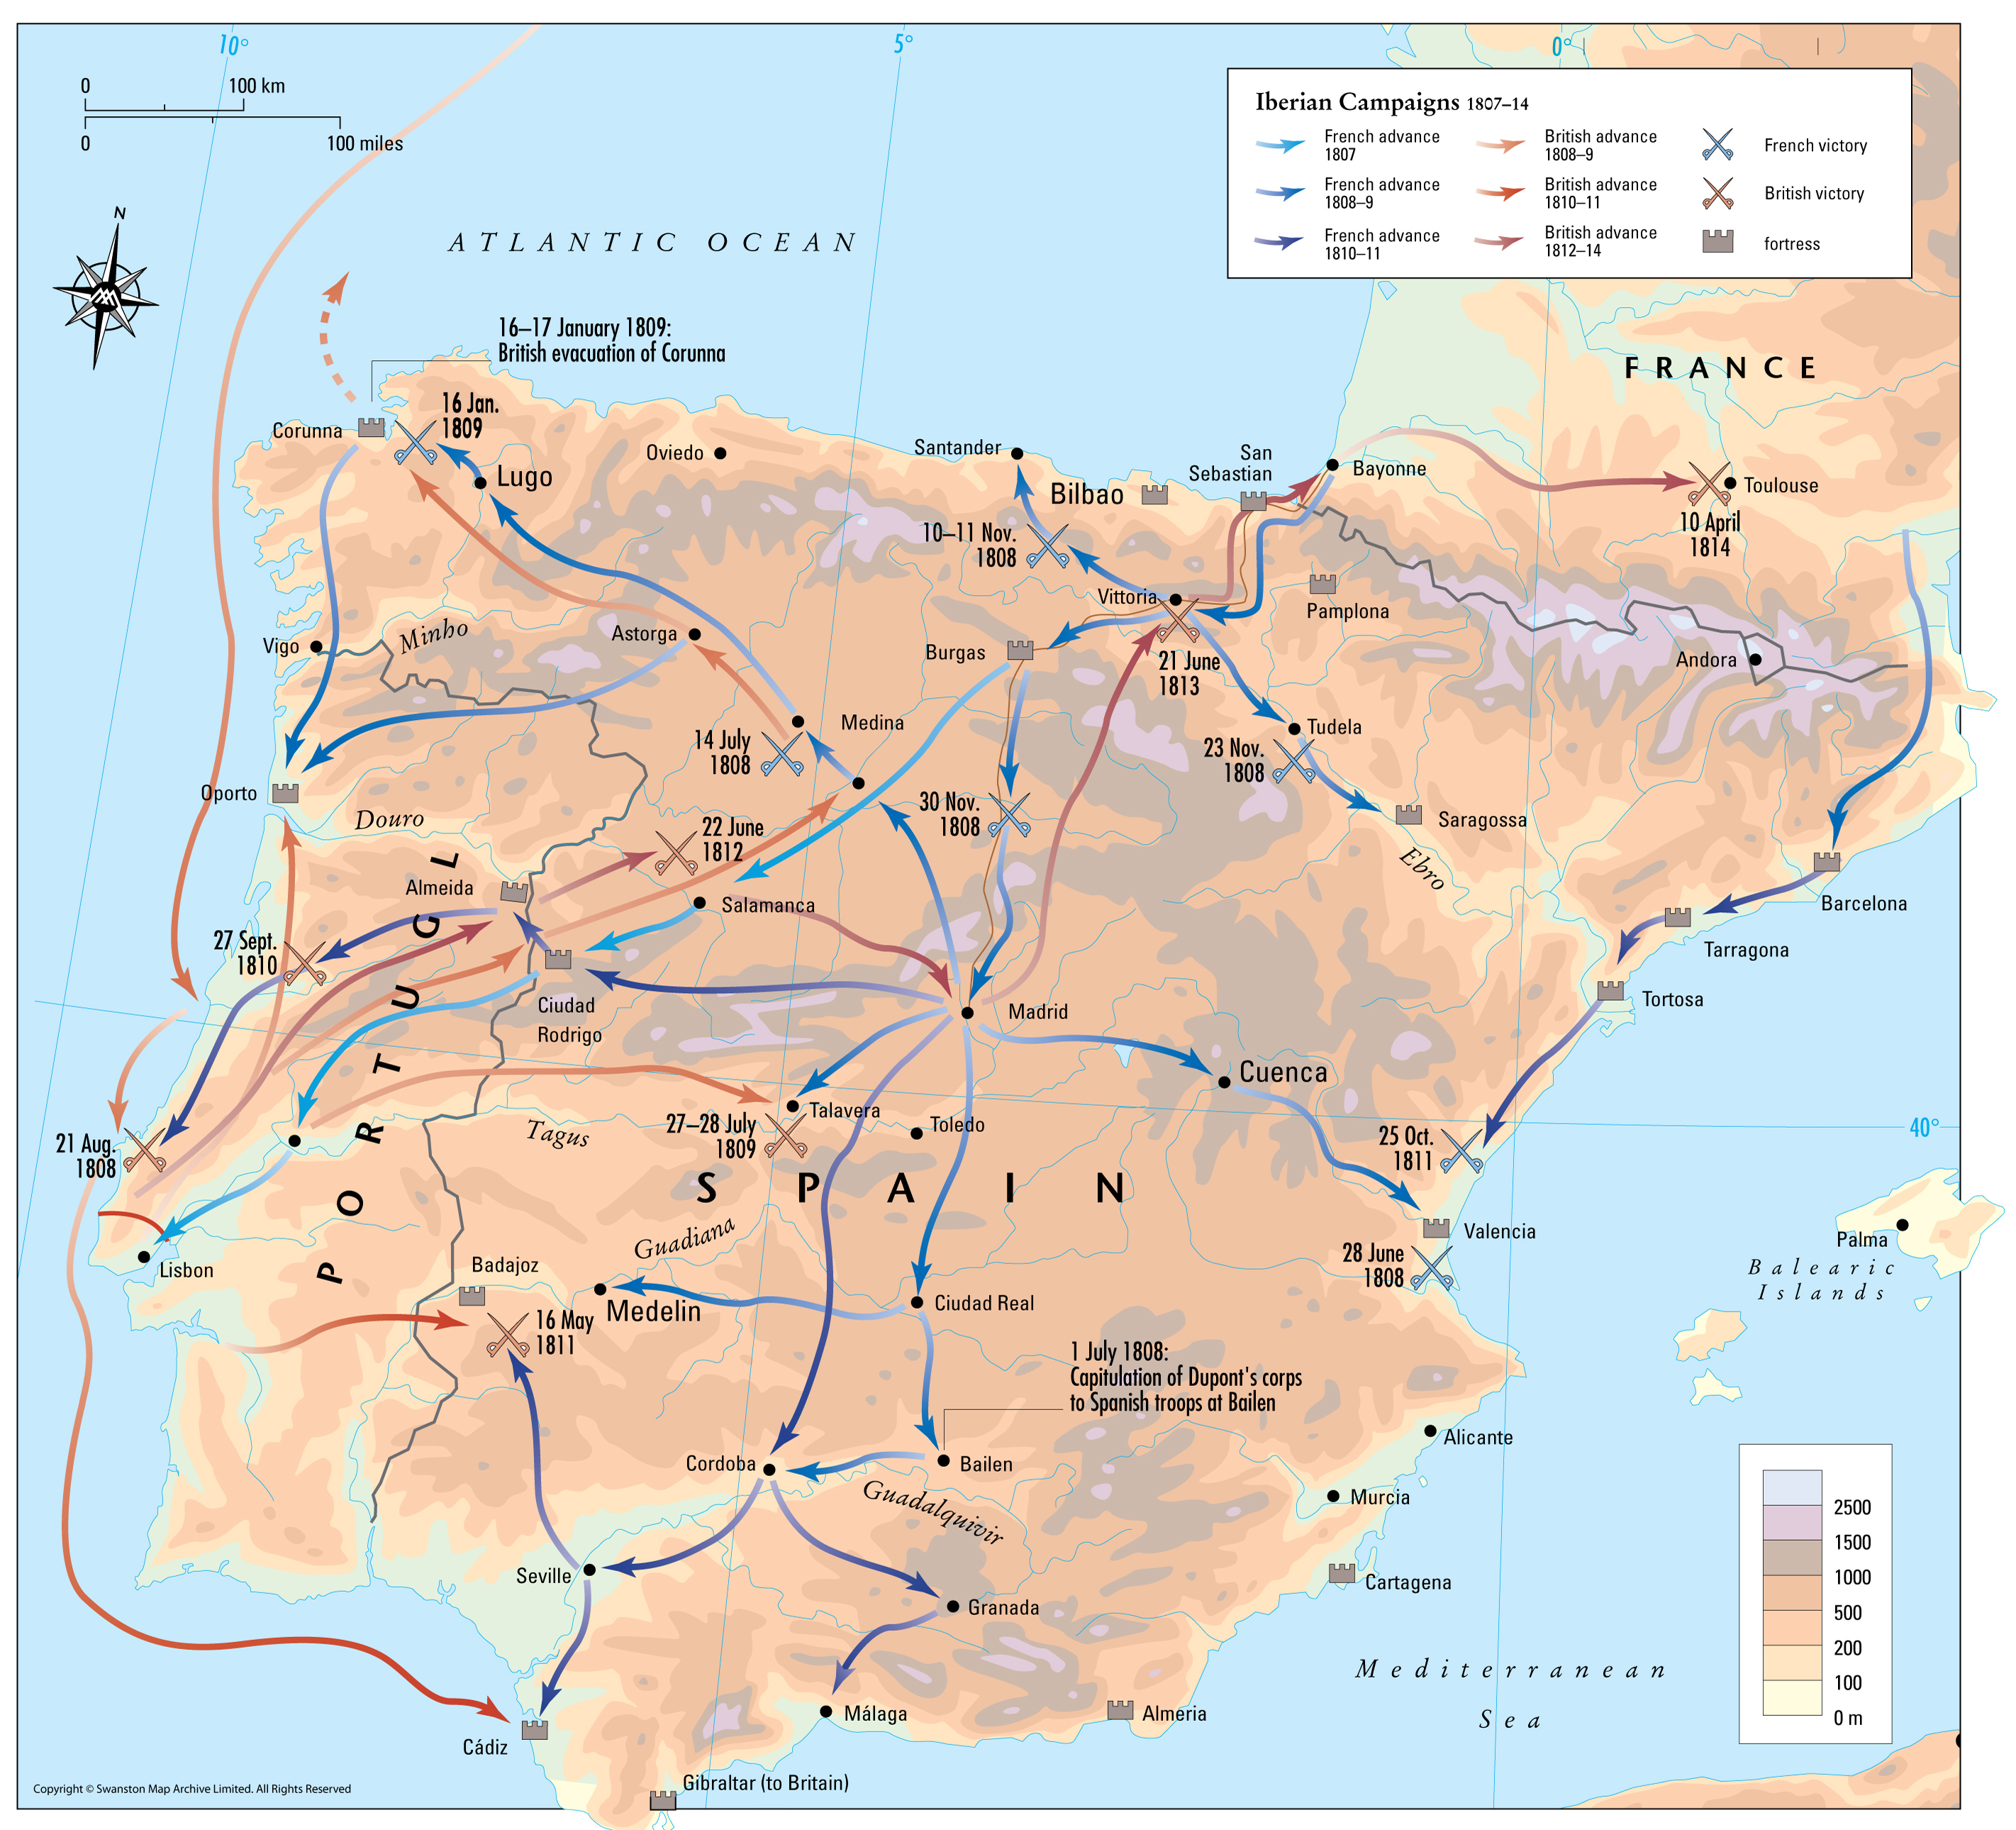
Penninsula

The Iberian Campaign

On 18 October 1807 Napoleon despatched General Jean Junot, with 25,000 men, to secure French interests in Spain and prevent British intervention in Portugal. Within a month of crossing the Spanish frontier the French forces  were built up to 75,000 in three corps.[135] Junot was soon ordered to secure Lisbon, lest the British intervene, which they were in fact preparing to do.
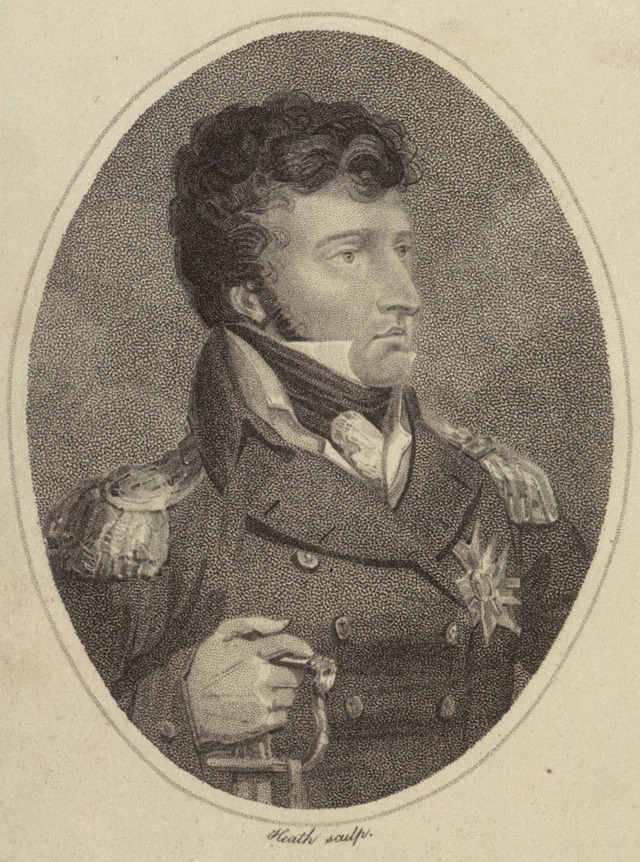
 

PU3508

Rear Admiral Sir William Sidney Smith by Henry Heath, February 1808
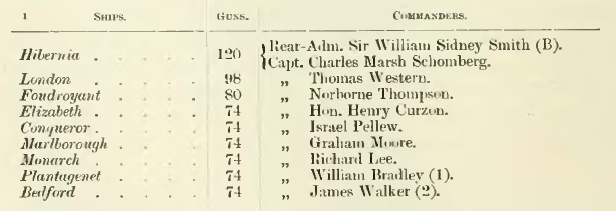
Smith Tagus

 The Tagus expedition, November 1807

Sidney Smith was despatched early in November 1807 with a squadron to the mouth of the Tagus, his flag after the Dardanelles and Egyptian operations now in the new Hibernia (120), [136]
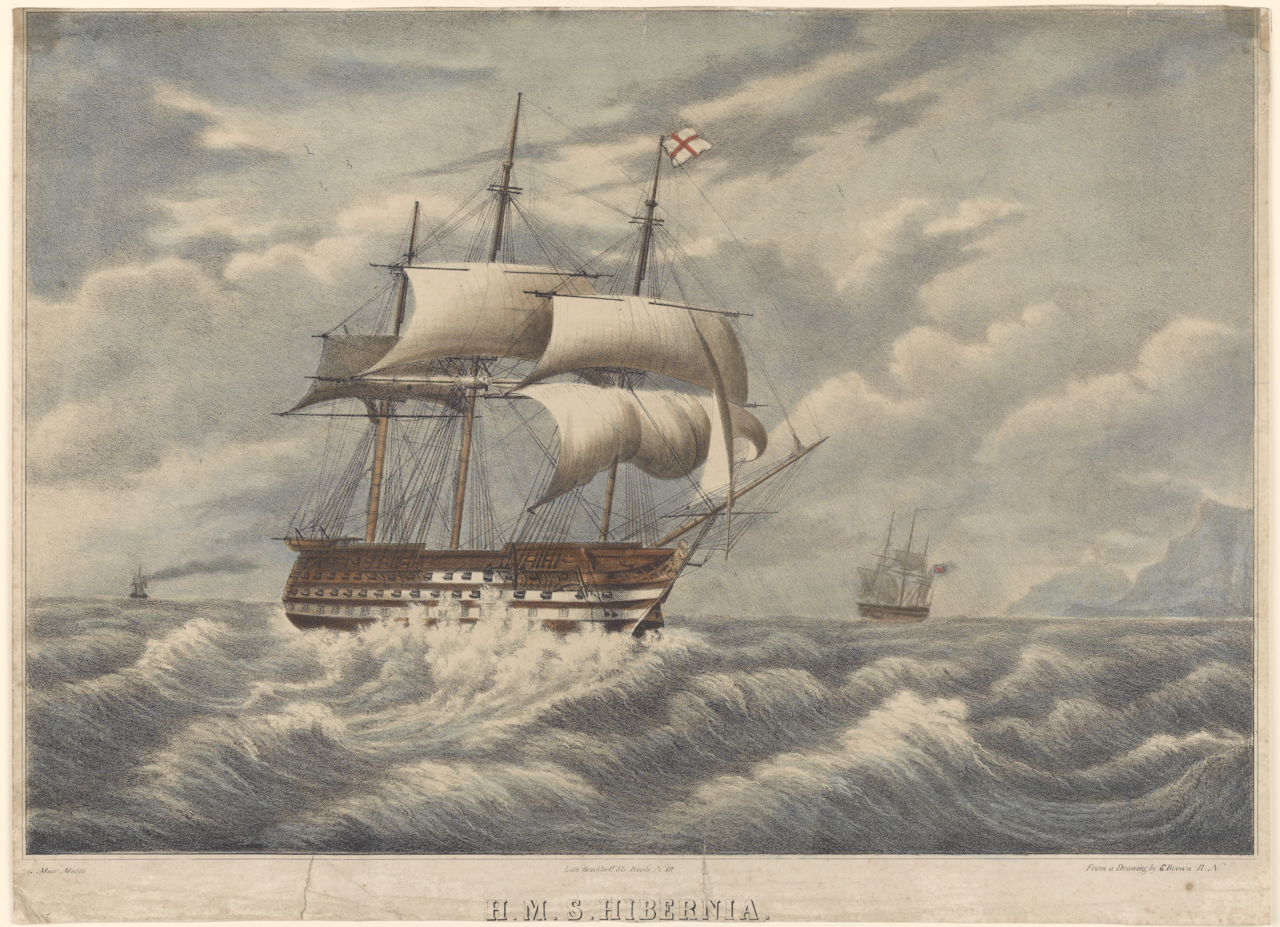
HMS Hibernia, PY0762

HMS Hibernia (120), Sidney Smith’s flagship in 1807-1808

Lord Strangford, the British representative at Lisbon, departed to join Rear Admiral Smith, who was by mid-November blockading Portuguese merchant traffic. Going aboard the Confiance (20), Strangford sailed back to Lisbon on the 27th, under flag of truce, demanding that the Portuguese navy surrender – and if they did so, the blockade would be lifted. The Prince Regent Dom Joao accepted these terms, and on the 29th embarked aboard the Portuguese fleet with Queen Maria II and the rest of the royal family, not to mention the state treasury, for the voyage to Brazil.

John

Dom Joao, the Prince Regent, later John VI of Portugal, painted in 1803 by Domingos Sequeira
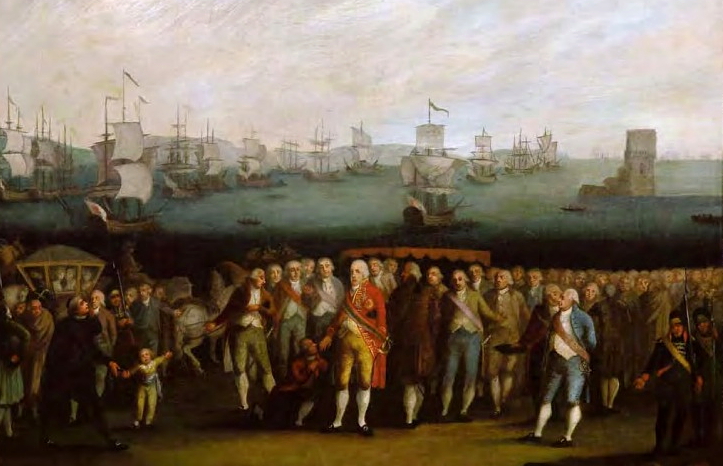
Embarkation

The Embarkation of the Portuguese Royal Family, 29 November 1807
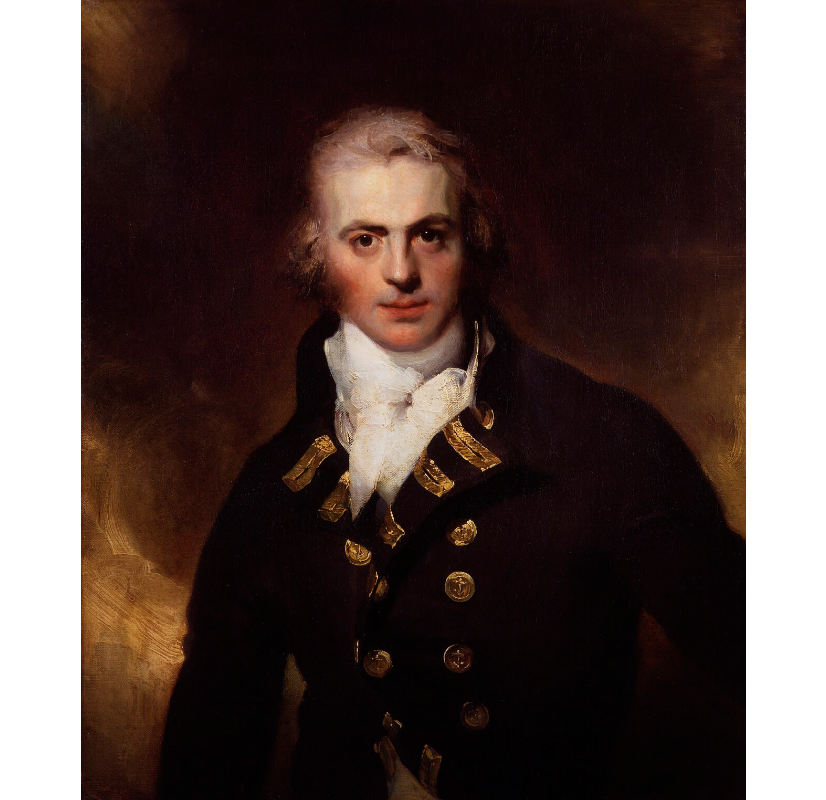
 

GrahamMoore

Captain Sir Graham Moore, painted by Sir Thomas Lawrence in 1792

Rear Admiral Smith detached Captain Graham Moore’s squadron, including the Marlborough, London, Monarch and Bedford, as escort to Rio de Janeiro. The flight of the royal family was not a moment too soon, as General Junot entered Lisbon on 30 November.[137] The Portuguese fleet of eight of the line and its frigates was turned over to the Royal Navy. As Herbert Richmond observed this operation, in conjunction with Copenhagen, put Napoleon’s net warship losses to no less than 25 capital ships.[138]
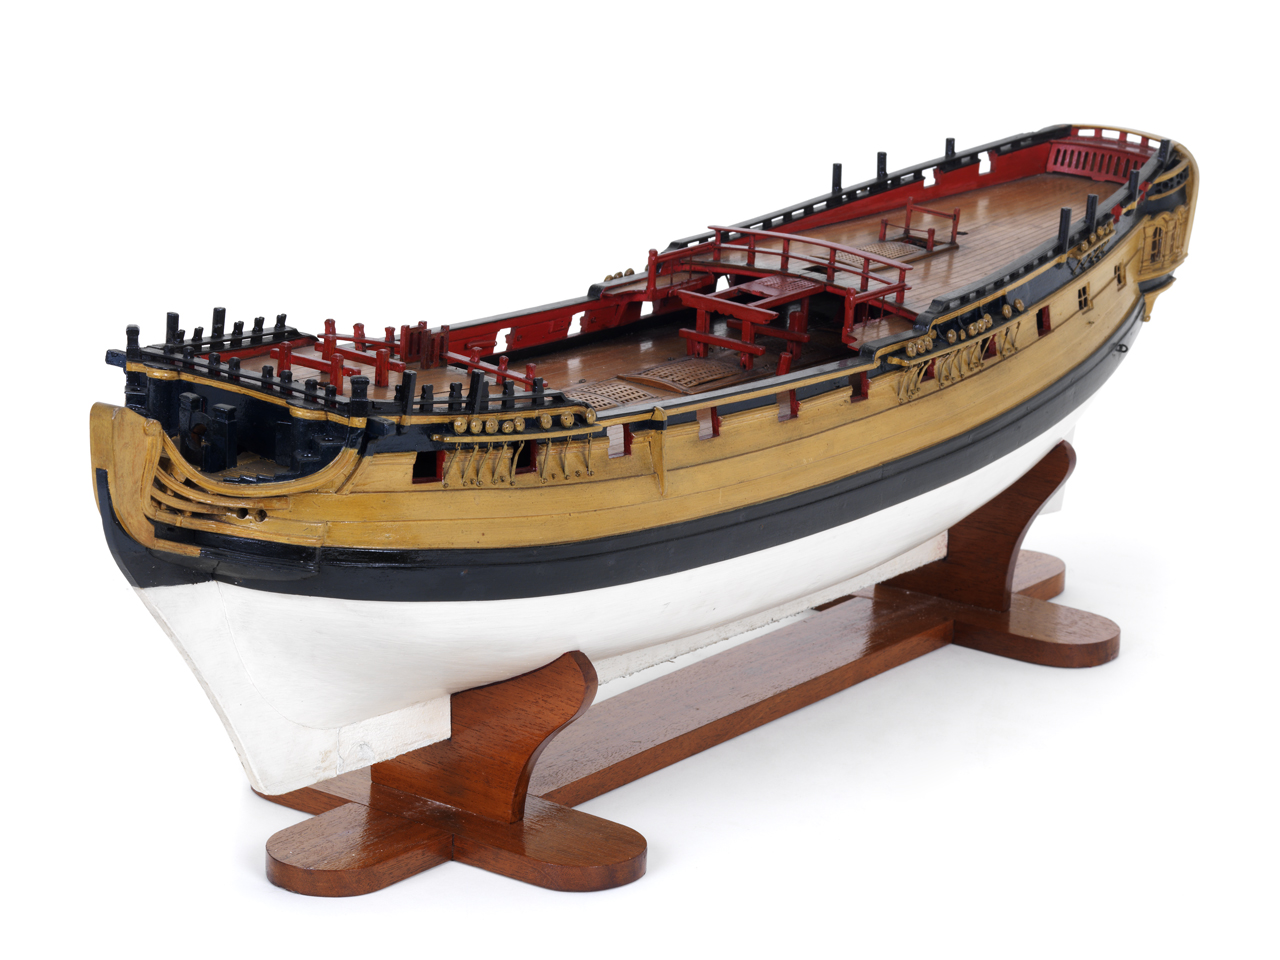
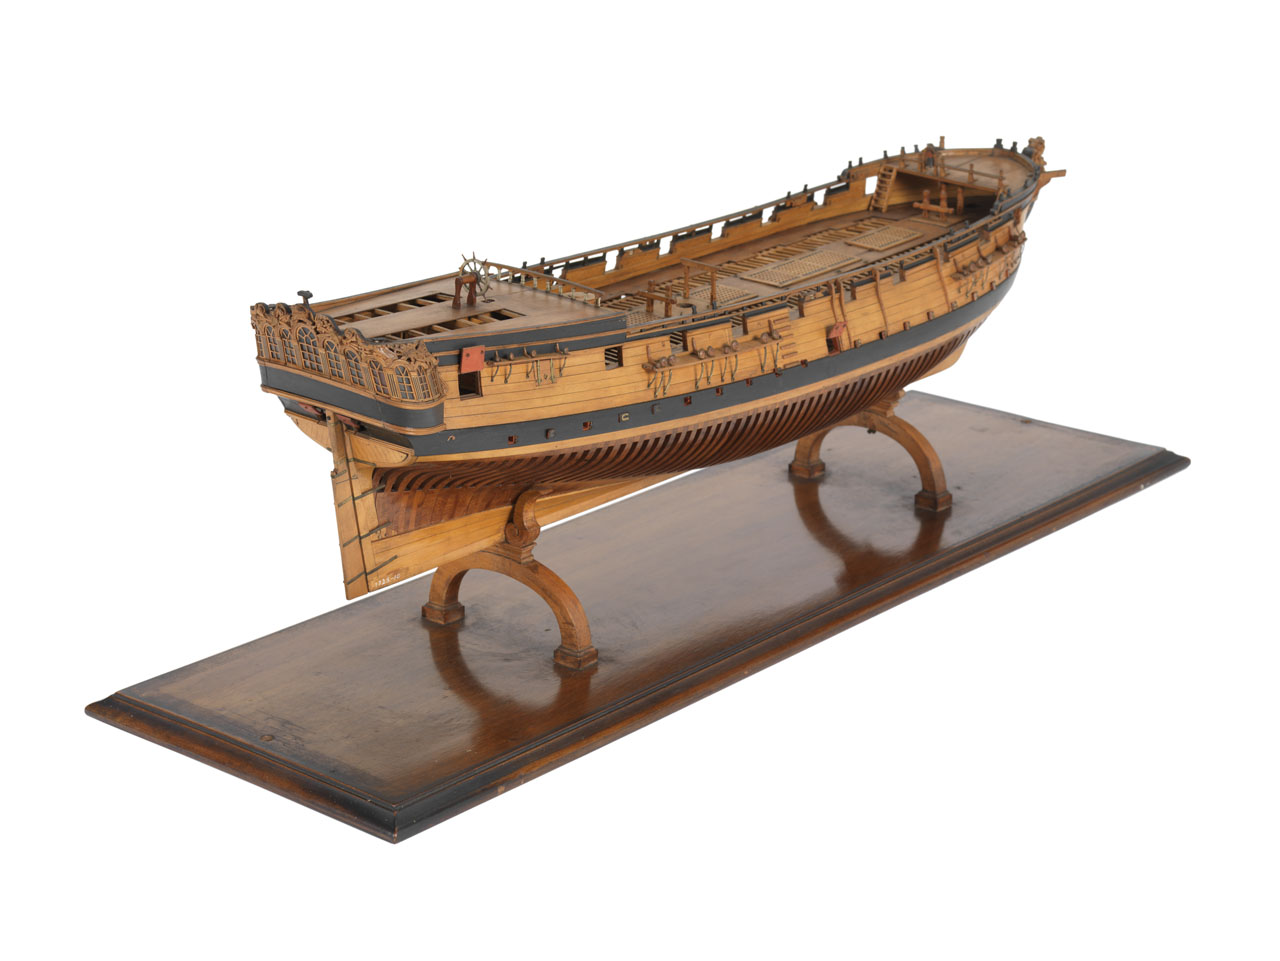
SLR0457

F9201 003

24 gun sixth rate circa 1740, & 22 gun sixth rate c. 1725

As an addendum to this series of events, it should be mentioned that after the British squadron arrived at Rio de Janeiro Captain James Yeo in the Confiance (22, 18-pdrs) was detached to sail to Paraguay where he had orders to consult with the governor there regarding the possibility of an attack upon Cayenne, capital of French Guiana. Yeo in fact landed a small contingent of 400 at Cayenne on 7 January 1809 and carried that place within five weeks despite it being garrisoned by 1,200 men and 200 guns. As a result Yeo received the favours of the prince regent of Portugal and was then knighted by George III on 21 June 1810.[139]
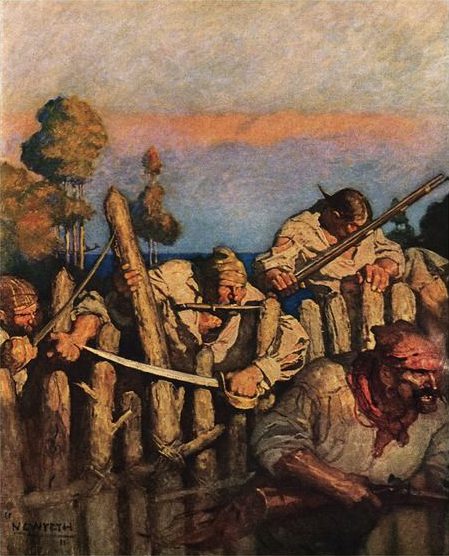
wythe2

N. C. Wyeth illustration for Robert Louis Stevenson’s Treasure Island

Cayenne2

Captain Sir James Yeo captures Cayenne, January 1809: View of Constable Rocks off Cayenne, by T. Conder and Joseph Johnson, 1 December 1791

The other purpose of Rear Admiral Smith off the Portuguese coast was to intercept Vice Admiral Seniavine’s squadron that as we have seen was making for the Baltic after the collapse of the Dardanelles and Alexandrian expeditions, and who Britain was now at war with following the Russian declaration of 31 October. Late in 1807 Smith was reinforced by the arrival of Commodore Peter Halkett in the Ganges (74) who had with him also the Defence (74), Alfred (74) the Ruby (64) and the Agamemnon (64), sailing from Portsmouth on 6 December.[140] While Smith was escorting the Portuguese royals Vice Admiral Seniavine slipped into the Tagus and was there when Smith returned to cruise off Lisbon early in 1808.

CayenneMedal

Medal commemorating the capture of Cayenne, 1809

The Spanish however were engaged in diplomacy with their British counterparts and on 4 July arranged a cessation of hostilities. Rear Admiral Smith maintained his blockade off the Tagus while minor operations continued along the Portuguese coast. Admiral Sir Charles Cotton, who replaced Smith in charge of the Tagus blockade, on September 3rd signed a surrender agreement with Vice Admiral Seniavine by which the Russians conceded to hand over their warships to the British until relations could be normalized – the crews were repatriated.[141]
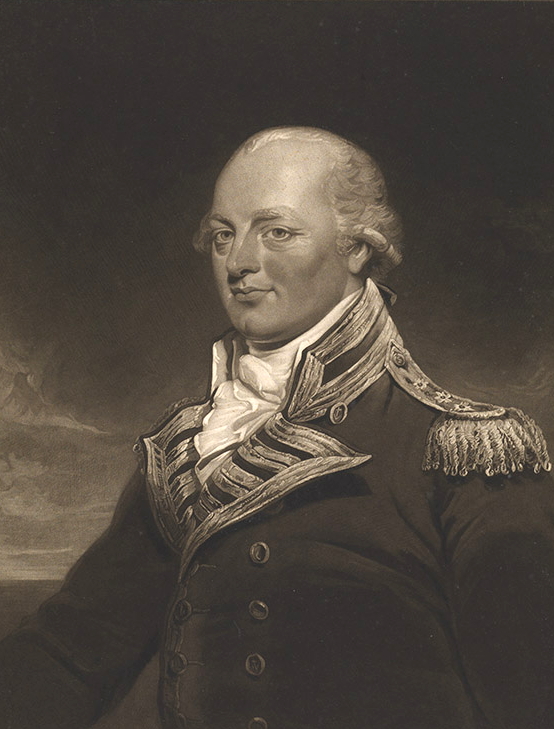
PX9307

Admiral Sir Charles Cotton, c. 1812 by James Ramsay and Henry Meyer

Tagus Squadron

Russian squadron surrendered at the Tagus, 3 September 1808

The situation in Spain had been evolving rapidly since the summer of 1808. In May a Spanish rebellion against French rule broke out in Madrid, and in July 22,000 men of the occupation army were forced to surrender at Baylen. This disaster isolated Junot in Portugal. In June Foreign Secretary Canning stated his intention to support the Portuguese by landing British troops.[142] There were several contingents that could be utilized for this purpose: 9,000 men in Ireland, under Sir Arthur Wellesley, who had been gathering to relieve the South American expedition, and Sir John Moore’s 10,000 with Saumarez in the Baltic, plus another 10,000 Spanish troops who were operating with Rear Admiral Keats against the Danish.[143]

Junot

Jean-Andoche Junot, Napoleon’s general in Portugal during 1807-8, by Vincent-Nicolas Raverat, c. 1834


The first 5,000 of Lt. General Wellesley’s 9,000 strong southern Ireland contingent landed at Corunna on 20 July 1808.[144] On 1 August Lt. General Sir John Moore arrived, having been rerouted from the Baltic, and landed his men to support the Portuguese, bringing the British expeditionary force up to 15,000. With this small army Wellesley defeated General Delaborde’s corps at Rolica on 17 August,[145] and was then engaged by Junot’s 14,000 men at the Battle of Vimeira (Vimeiro) on 21 August, the British having arrived at that place to receive reinforcements in the form of two brigades landed by sea.
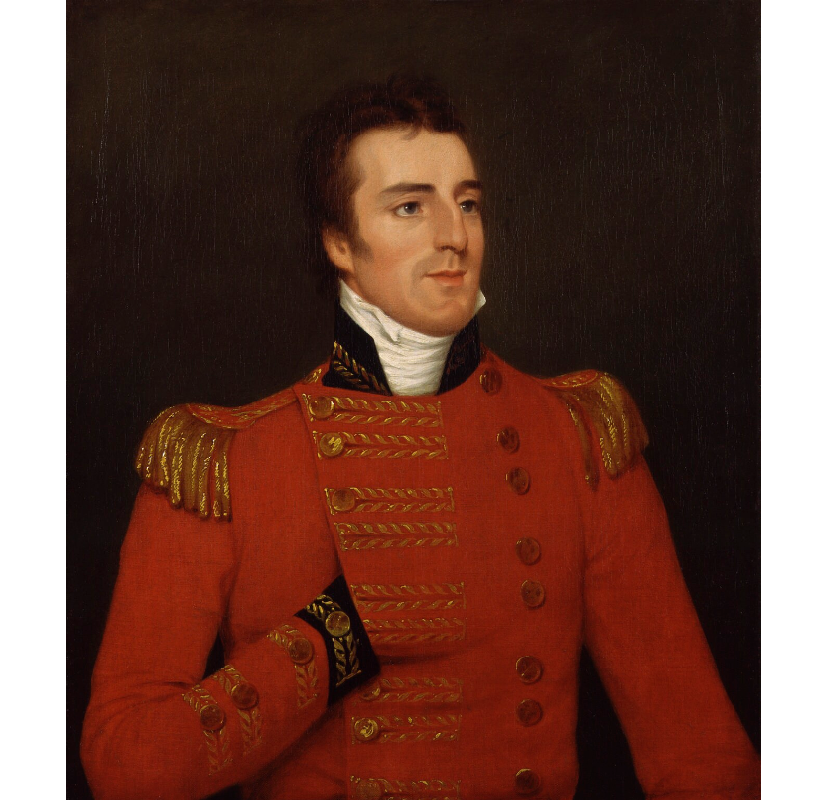
Arthur Wellesley

Sir Arthur Wellesley, who made the initial landing in August 1808 and commanded at Vimeiro on the 21st of August, portrait by Robert Holme, c. 1804
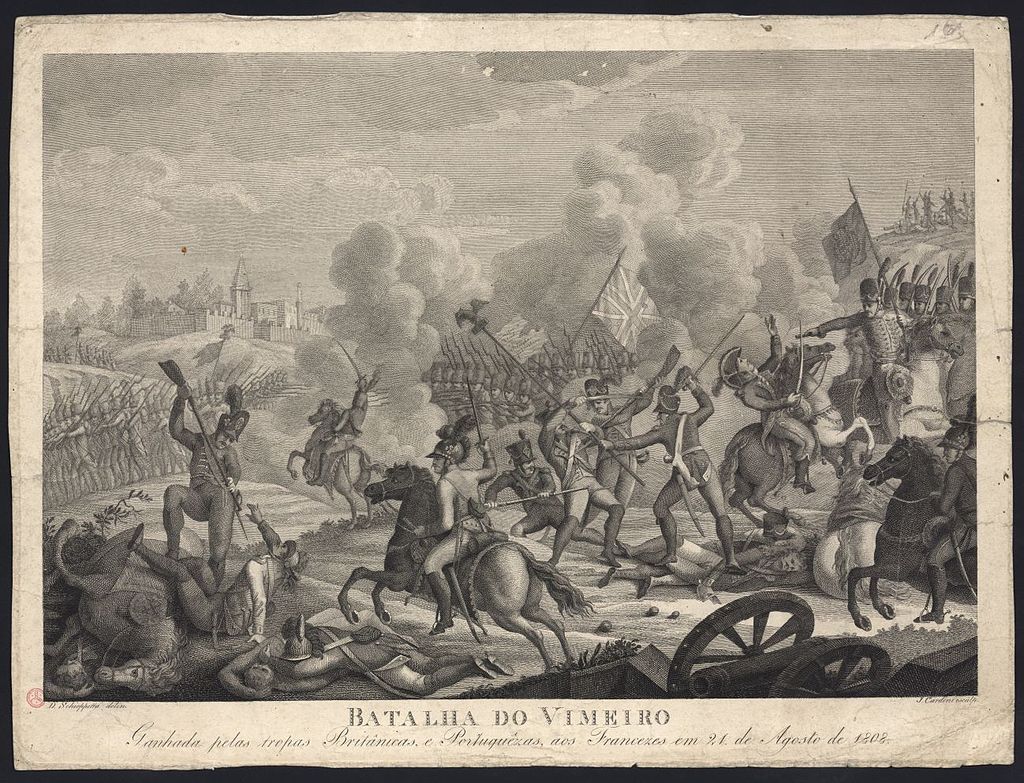
 

1024px-Batalha_do_Vimeiro

Battle of Vimeiro (Vimeira), Wellesley defeats Junot

In the aftermath of Vimeria the Convention of Cintra was signed (30 August 1808) securing Portugal for the Allies. Wellesley returned to Dublin while the expedition in Portugal was built up to the maximum of 40,000, now under the overall command of General Hew Dalrymple who was supported by Lt. Generals Harry Burrard and Sir John Moore, although Burrard and Dalrymple were presently cashiered following popular resentment that Vimeira had not been fully exploited.[146] On 24 December Rear Admiral Sir Samuel Hood, recently arrived from the Baltic, landed Major General Beresford’s troops at Madeira where that naval base was being developed into a staging area in preparation for further operations in Portugal and at the Cape.[147] By Christmas 1808 Napoleon was committing 305,000 men to Spain, and occupying Madrid.[148]
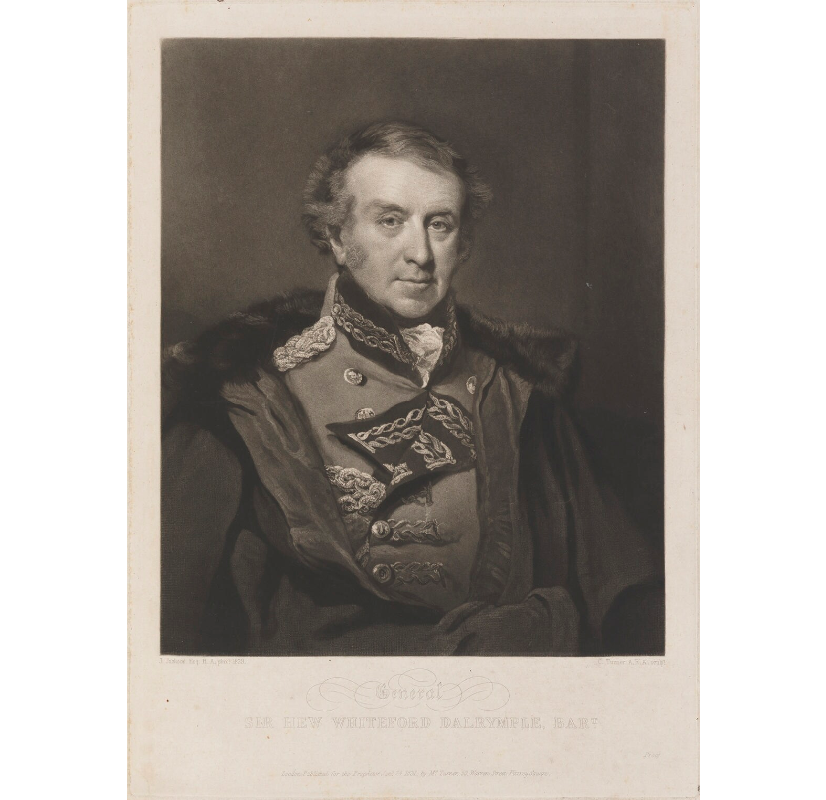
 

hew

General Sir Hew Whitefoord Dalrymple, by John Jackson, published by Charles Turner, 1829-31
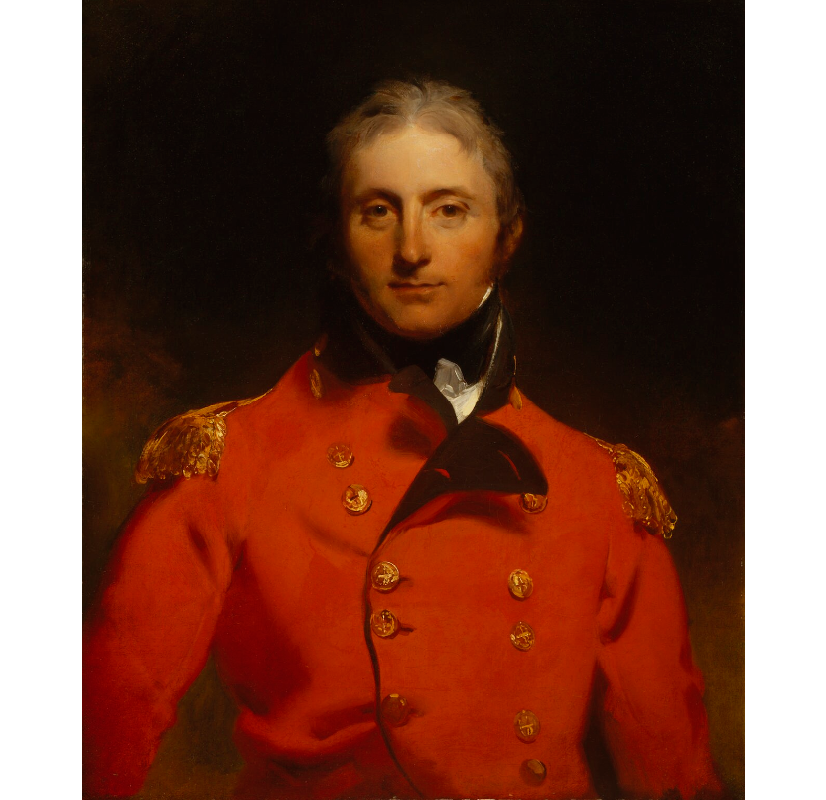
Moore

Lieutenant General Sir John Moore, portrait by Sir Thomas Lawrence

Moore, who had been left in charge while Wellesley, Dalrymple and Burrard were in London answering to government inquiry, marched into Spain and soon found that Madrid had been occupied by the French. His route of retreat was presently cut off by Marshal Soult, and Moore began a punishing withdrawal that terminated at Corunna on 11 January 1809. With French corps converging on his base Moore began preparing for the evacuation by sea during 16/17 January, but was killed on 16 January when he was hit by cannon shot.[149]


Corunna

Battle of Corunna, 16 January 1809. The white dot indicates the location where Sir John Moore was killed


Part III

1810

The Fifth Coalition: Napoleon’s Austrian War, Aspern-Essling, Wagram & Naval Operations: The Basque Roads, Walcheren Expedition, Martinique & Guadeloupe, Dutch East Indies, Capture of Mauritius, the Peninsula Campaign
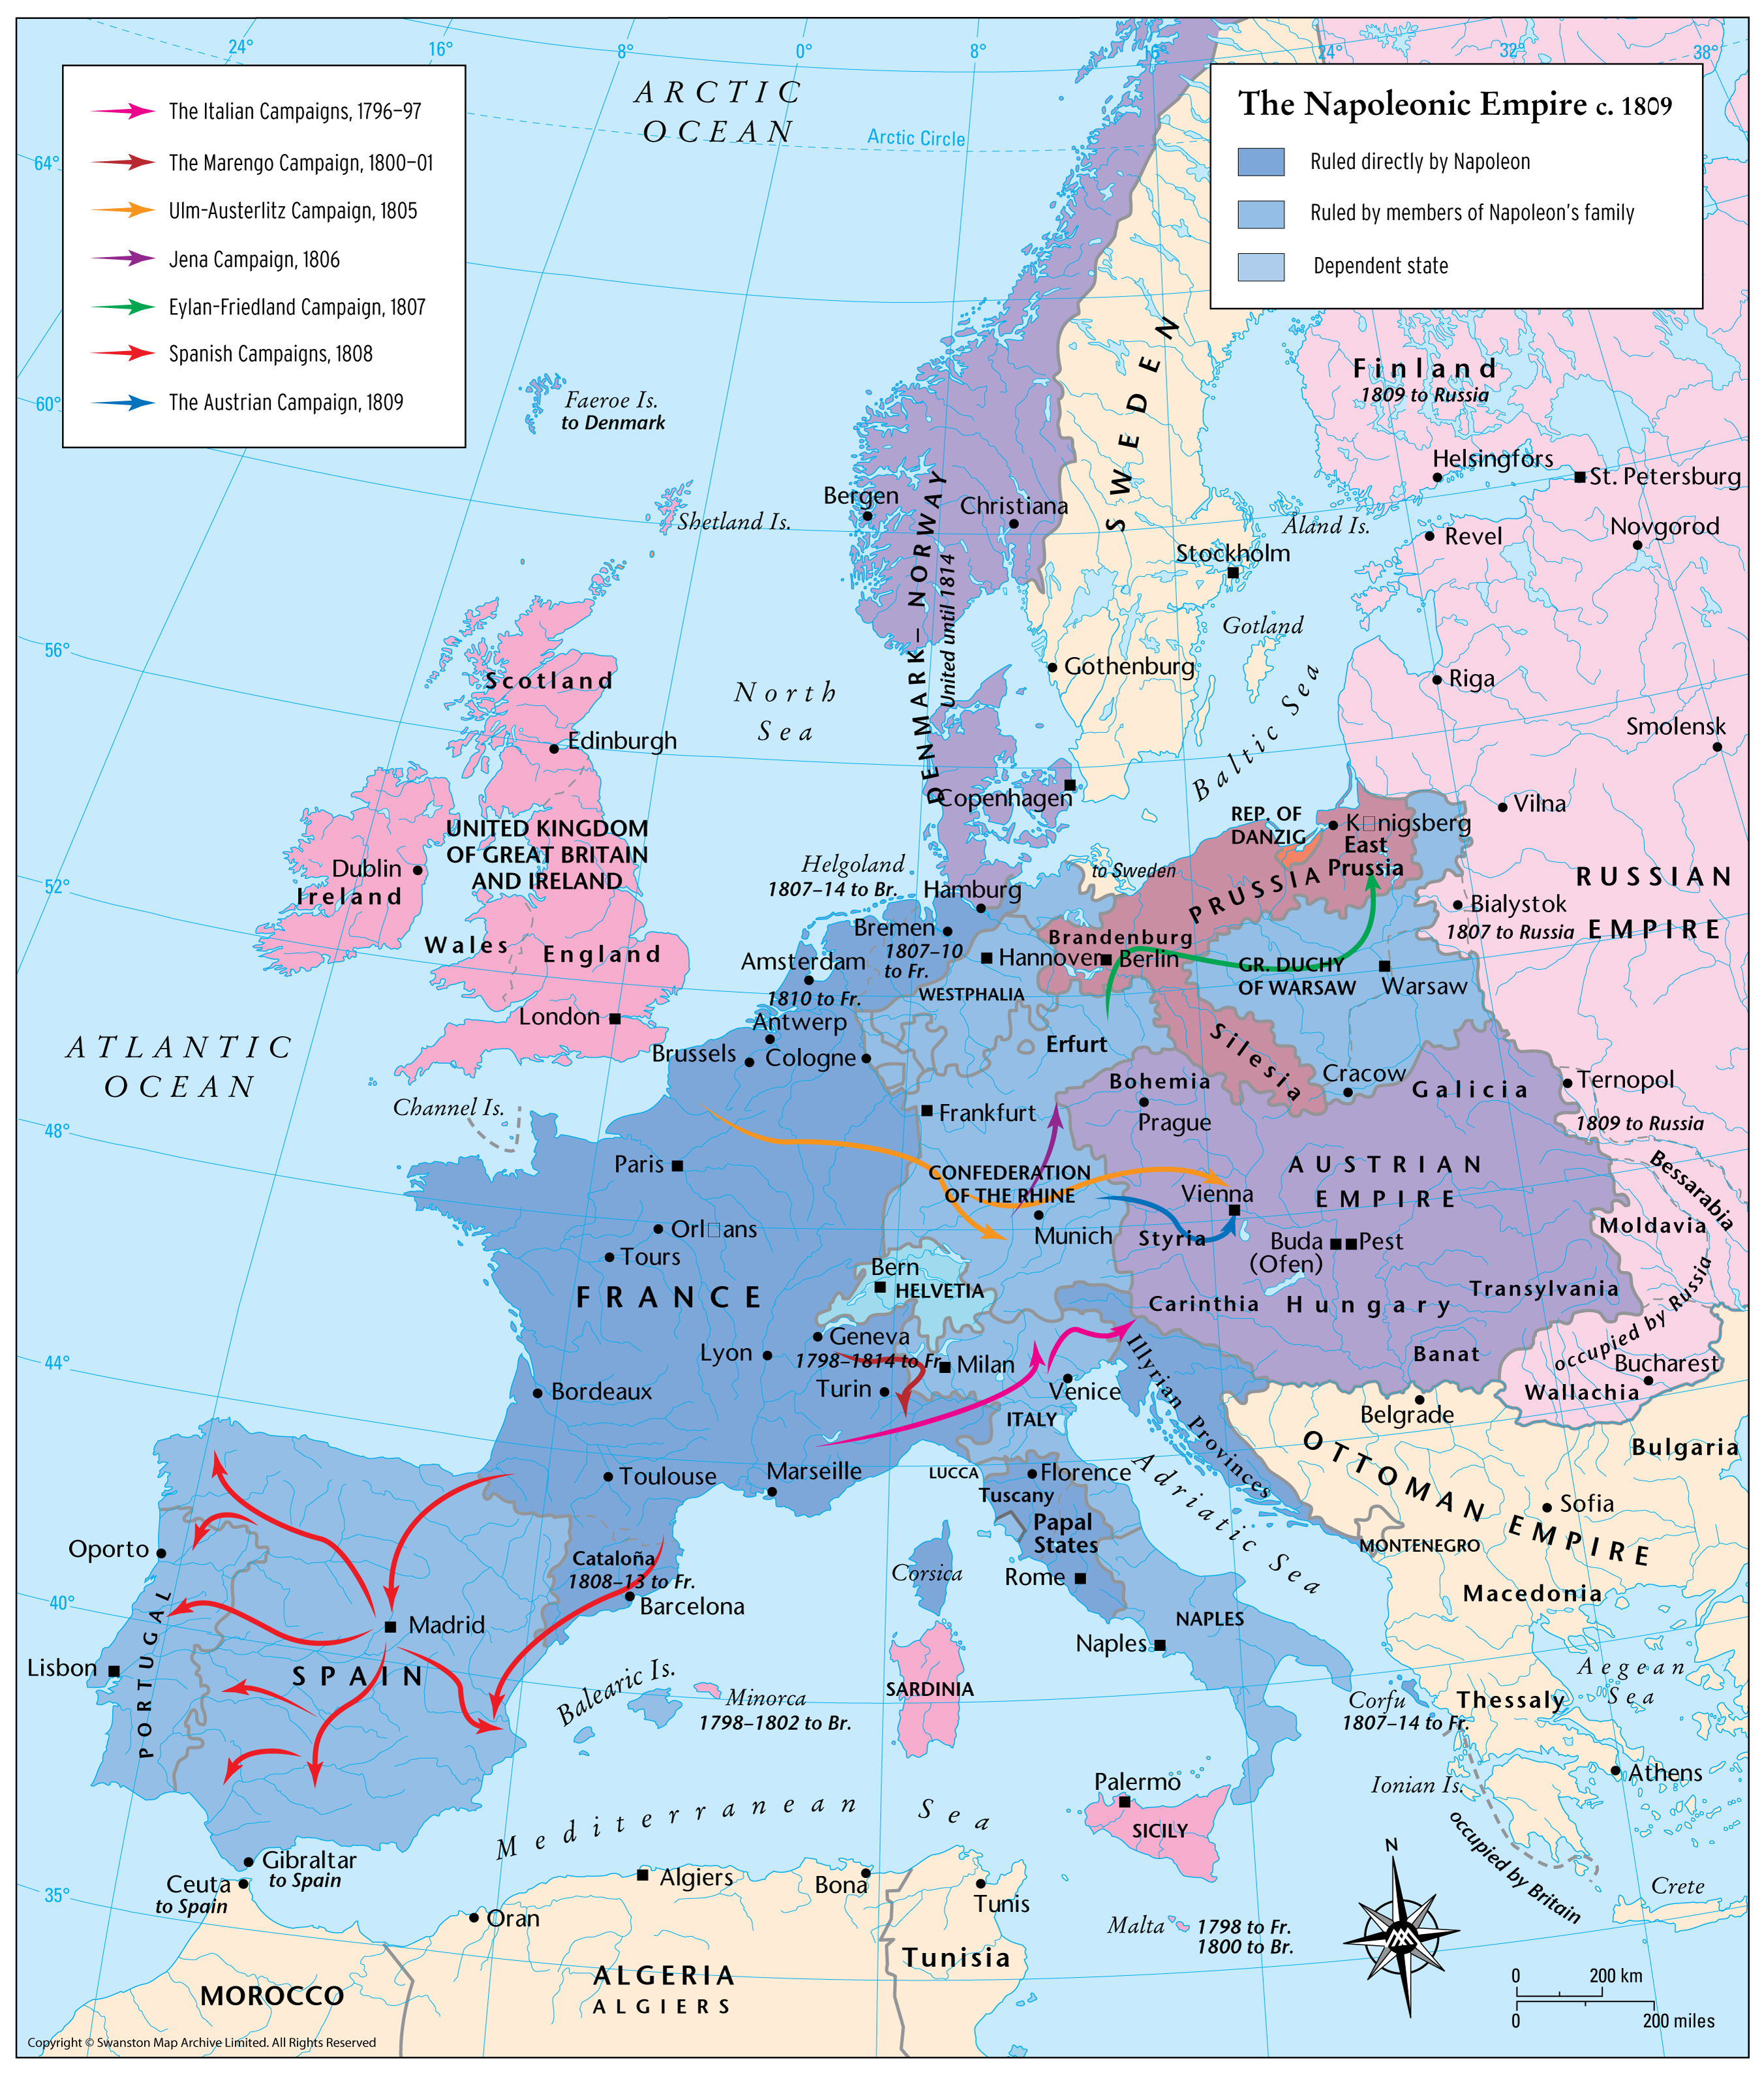
Europe1809

Napoleon expands into Italy, Spain and defeats the Austrians

With Napoleon’s attention split between Germany and Spain Francis was once again encouraged to challenge the French Emperor and on 8 February 1809 resolved on war. Britain was at first hesitant to provide monetary support for this endeavour, but by April had supplied £250,000 in silver, with promises of a further £1,000,000 to come.[150] With most of the French army in Spain, Napoleon’s Army of the Rhine at first amounted to only 60,000-80,000 men, against the far larger Austrian force of 280,000 with 312,000 reserves and 742 guns, spread across the various frontiers. Napoleon recalled his marshals from Spain and despatched Berthier, Lannes, Lefebvre, Bessieres, Davout and Massena to the German front.[151] By 9/10 April Archduke Charles felt his forces ready, and began the march simultaneously into Bavaria and Italy. By this point however Napoleon’s forces had largely assembled.
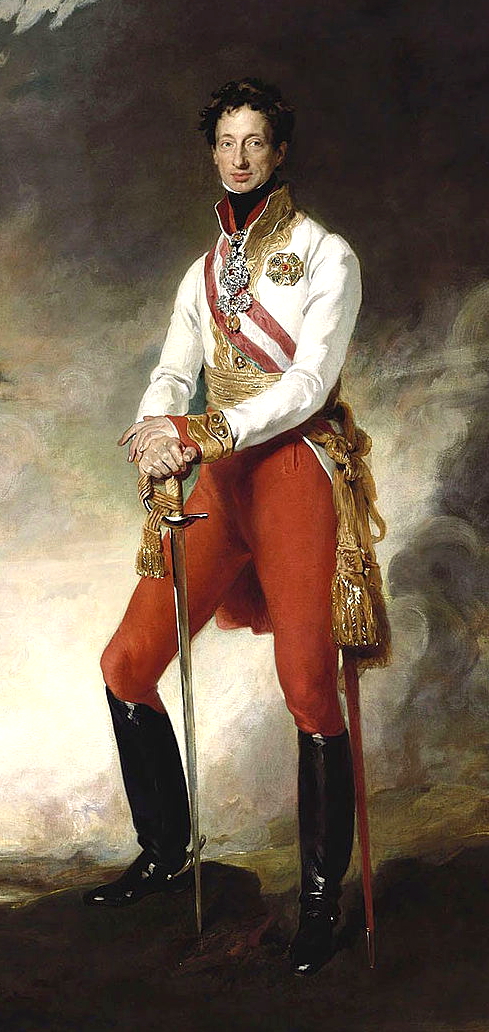
Archduke Charles

The Archduke Charles, by Thomas Lawrence, c. 1819
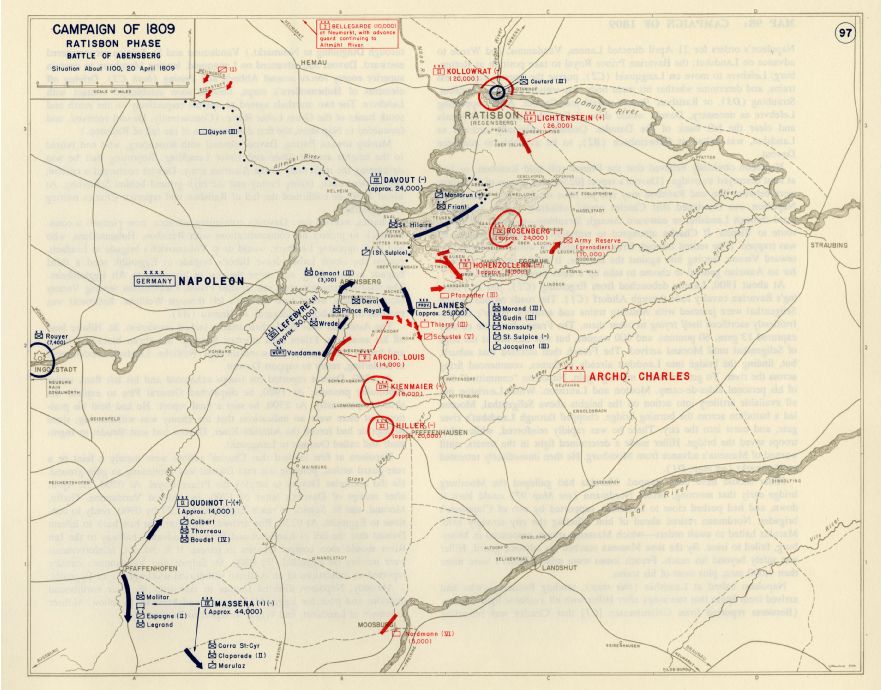
 

Abensberg

Eckmuhl

Battle of Abensberg & Eggmuhl (Eckmuhl), 20-24 April 1809. Napoleon’s center attack shatters the Austrians, but leaves Davout’s flank open to Charles’ main force.

Charles marched to Ratisbon and Napoleon arrived at Abensberg on the morning of the 20th. Here Napoleon determined upon attack: Davout would hold the northern flank while Lannes, Lefebvre and Vandamme led the main assault. This initial attack on the 20th lasted only an hour and succeeded in dividing the Austrians, costing them 7,000 casualties and many prisoners compared to the French losses of 3,500.[152] The Archduke Charles withdrew to Ratisbon, with Davout in pursuit, and was soon supported by Lefebvre, while Napoleon persecuted his attack against what he assumed was the larger force.[153] As a result it required a further three days to develop the attack against Charles and turn him from his position at Ratisbon. This sharp success Napoleon hailed as a second Jena and put the Austrians to route intending to clear the path to Vienna, which was once again occupied without resistance on 12 May.

Abensberg

Napoleon at Abensberg, 20 April 1809, by Jean -Baptiste Debret, c. 1810

Abensberg02

Battle of Abensberg, by Felix Storelli

Charles reached Bisamberg on 15 May and drew up his remaining force (95,800 and 264 guns) east of Vienna on the 17th. Napoleon crossed the Danube at the Island of Lobau, and was beginning to deploy on the east bank with his smaller force of 82,000. On 20 May Charles realized he had an opportunity to destroy an isolated component of Napoleon’s army and the following afternoon attacked Massena’s corps as it was holding the French left flank at Aspern, the Austrians deploying 80,000 men and 300 guns against a force less than half that size.[154] The Austrians took Aspern, but the village soon changed hands as French reinforcements came up, and at 8 pm Legrand relieved Molitor who commanded Massena’s most hard-pressed division. To the south the Austrians assaulted Essling all day, but likewise the French held.[155] On the 22nd the Austrians renewed the assault, but despite sustained fighting again failed to repulse the French.
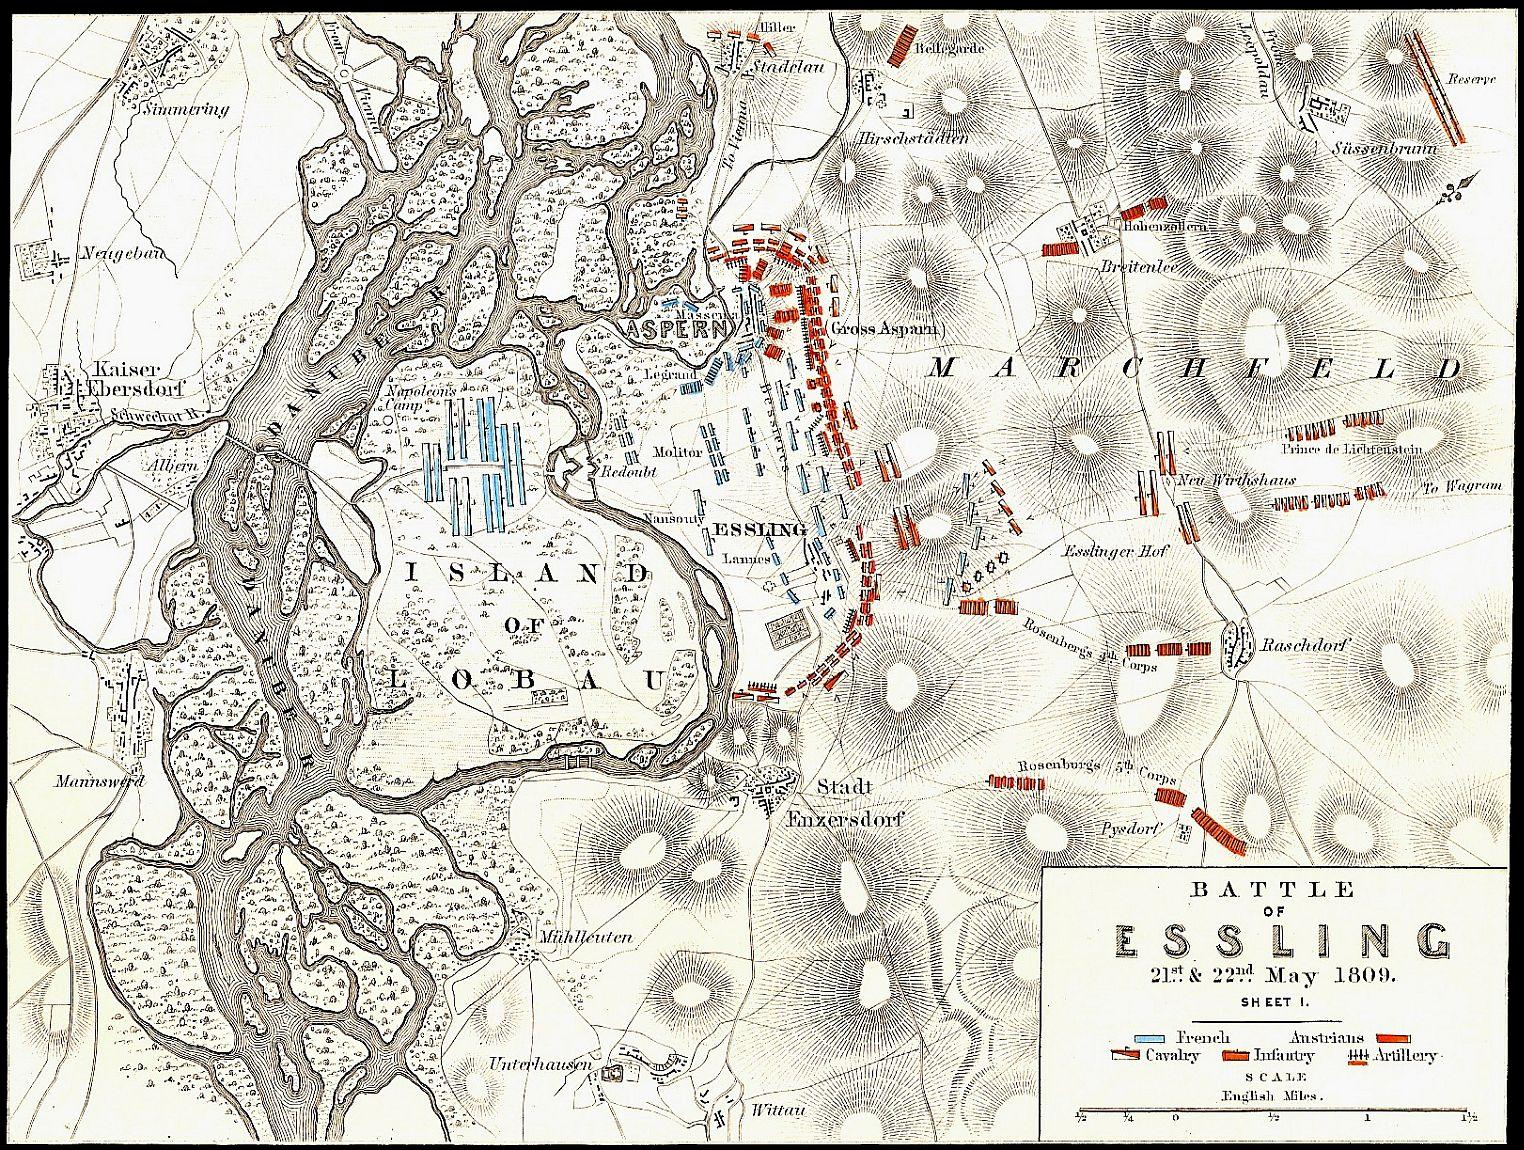
Essling

Battle of Essling, Napoleon’s effort to cross the Danube is checked, resulting in a costly attrition battle
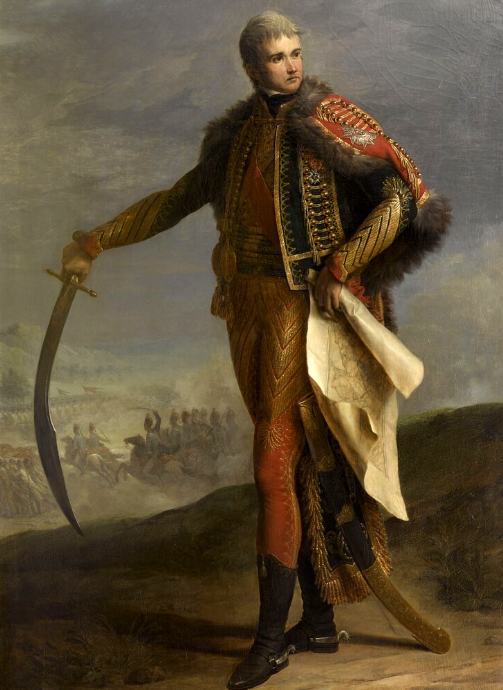
Lannes

Marshal Jean Lannes, mortally wounded at Essling on 22 May 1809, painted by Jean Charles Nicaise Perrin

Aspern

Battle of Aspern-Essling, 21-22 May 1809, by Alexis-Pellegrin-Marie-Vincent Pasquieri
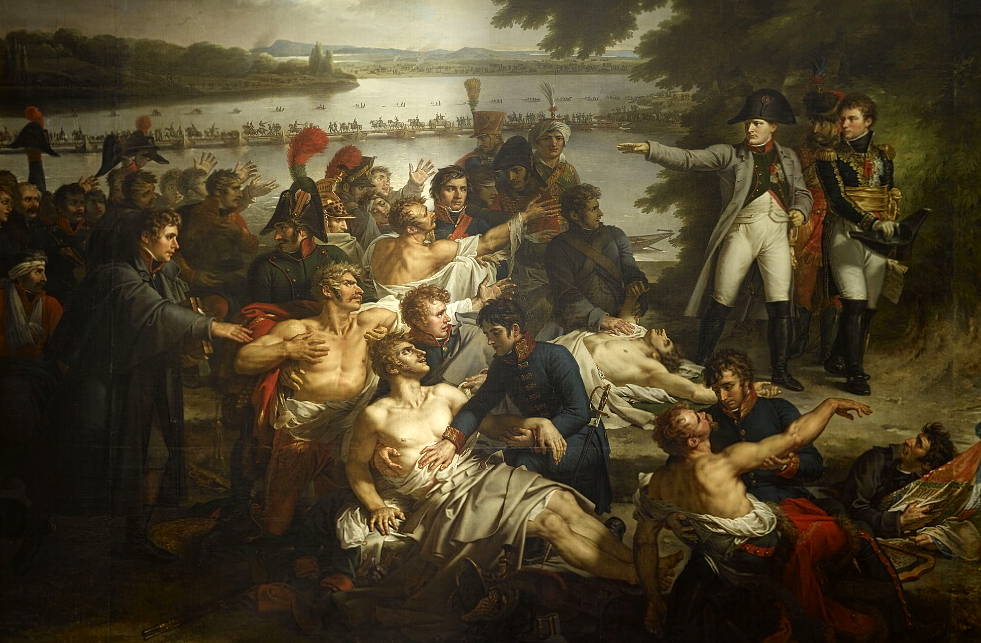
Essling

Napoleon at the Island of Lobau after Essling, 23 May 1809, by Charles Meynier
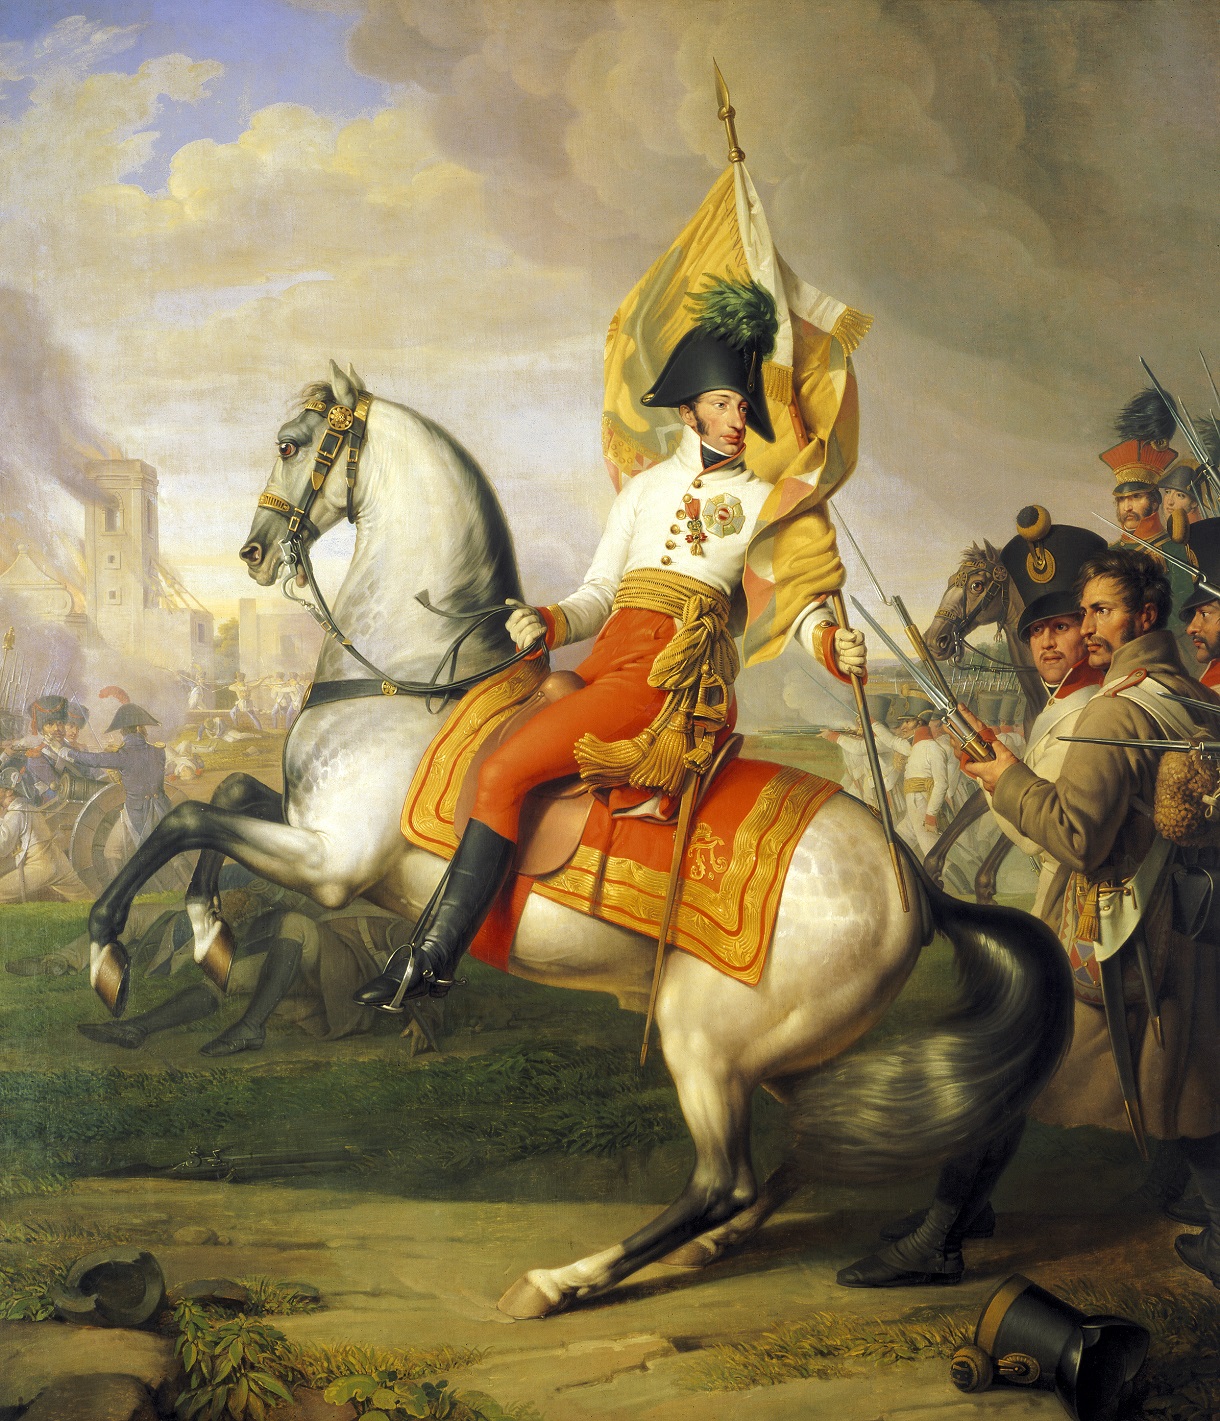
Charles2

Archduke Charles, victorious after Aspern-Essling, by Johann Peter Krafft

Ultimately Charles fought Napoleon to a draw, the Austrians sustaining 22,000 casualties to the French 19,000.[156] With ammunition nearly exhausted Napoleon withdrew to the Island of Lobau to await reinforcements, which upon arrival increased his force level to between 178,000-180,000.[157] Napoleon established pontoon bridges over the Danube in preparation for attacking Charles, whose army had now been reinforced to between 130,000-140,000 men and 414 guns.[158] Here both sides watched each other for the month of June, and on the night of 4/5 July Napoleon shuttled his corps across the Danube.[159]
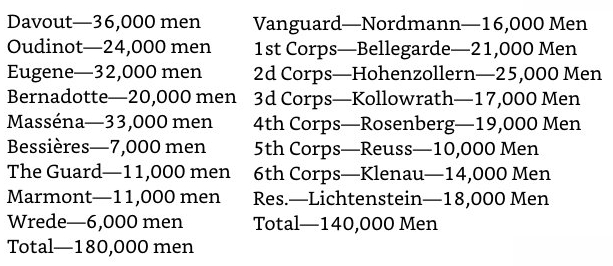
 

WagramFrance01

French and Austrian corps strengths before Wagram
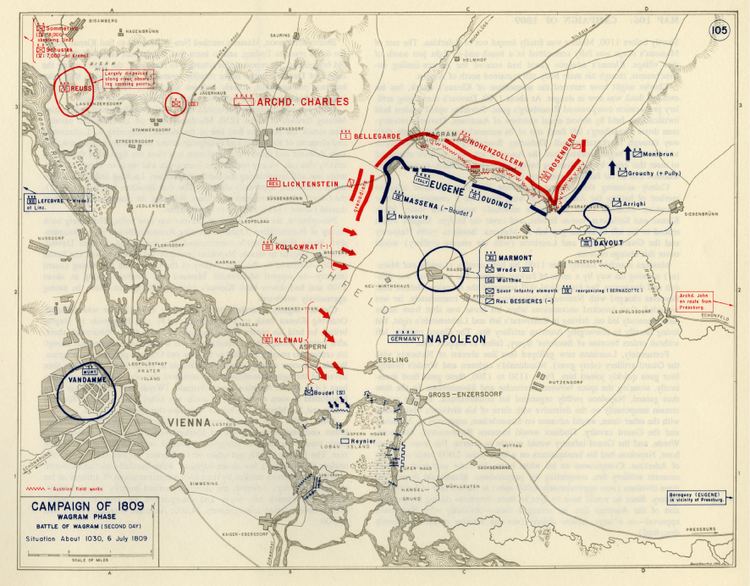
 

Wagram

Wagram. Napoleon halts Archduke Charles’ counteroffensive and claims victory in the Austrian campaign

Wagram03

Opening of Wagram, 5 July 1809, by Alexis-Pellegrin-Marie-Vincent Pasquieri
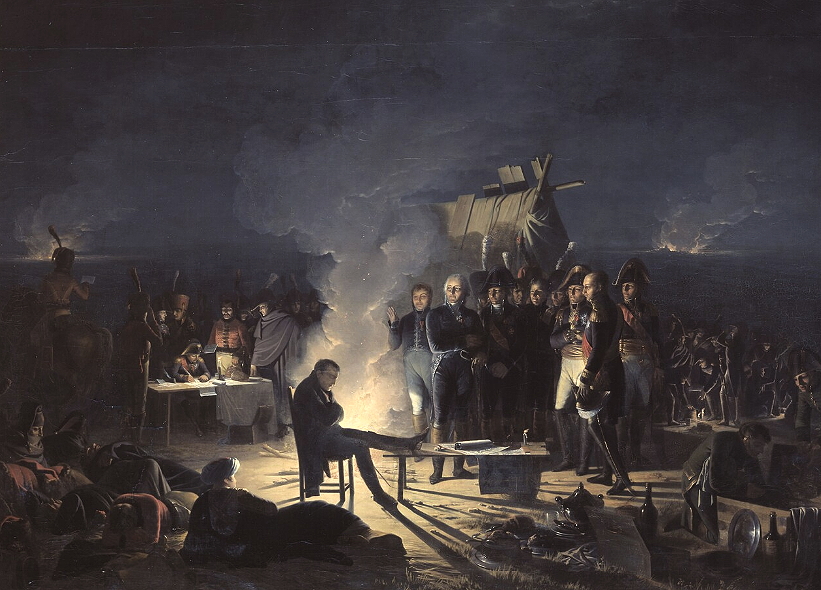
wagram01

Napoleon contemplating deployments at Wagram, night of 5 July 1809, by Adolphe-Eugene-Gabriel Roehen.
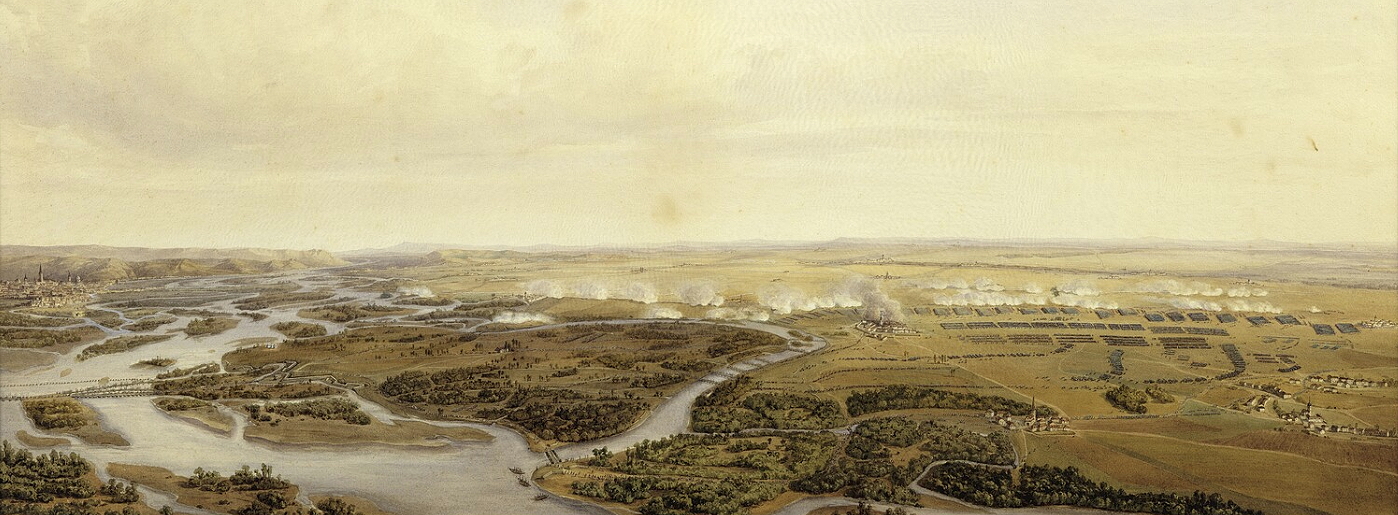
wagram04

Wagram05

Views of Wagram, 6 July 1809, by  Simeon Fort

Wagram02

Napoleon commanding at Wagram, 6 July 1809, by Carle Vernet, c. 1835-6


Napoleon launched his attack about 7 pm the evening of the 5th, with Eugene, Bernadotte and Oudinot leading against Charles’ position at Wagram. This attack was repulsed and Napoleon spent the night planning his next movements.[160] Both sides launched attacks early the following morning and soon a general engagement was underway. By 10 am the Austrians seemed to have the advantage,[161] but Napoleon hurled in his reinforcements and arrested the Austrian advance. Davout and Eugene defeated the Austrian left flank and the Austrians at last withdrew, after both sides had sustained a further 35,000 casualties – the exhausted French were unable to pursue.[162]
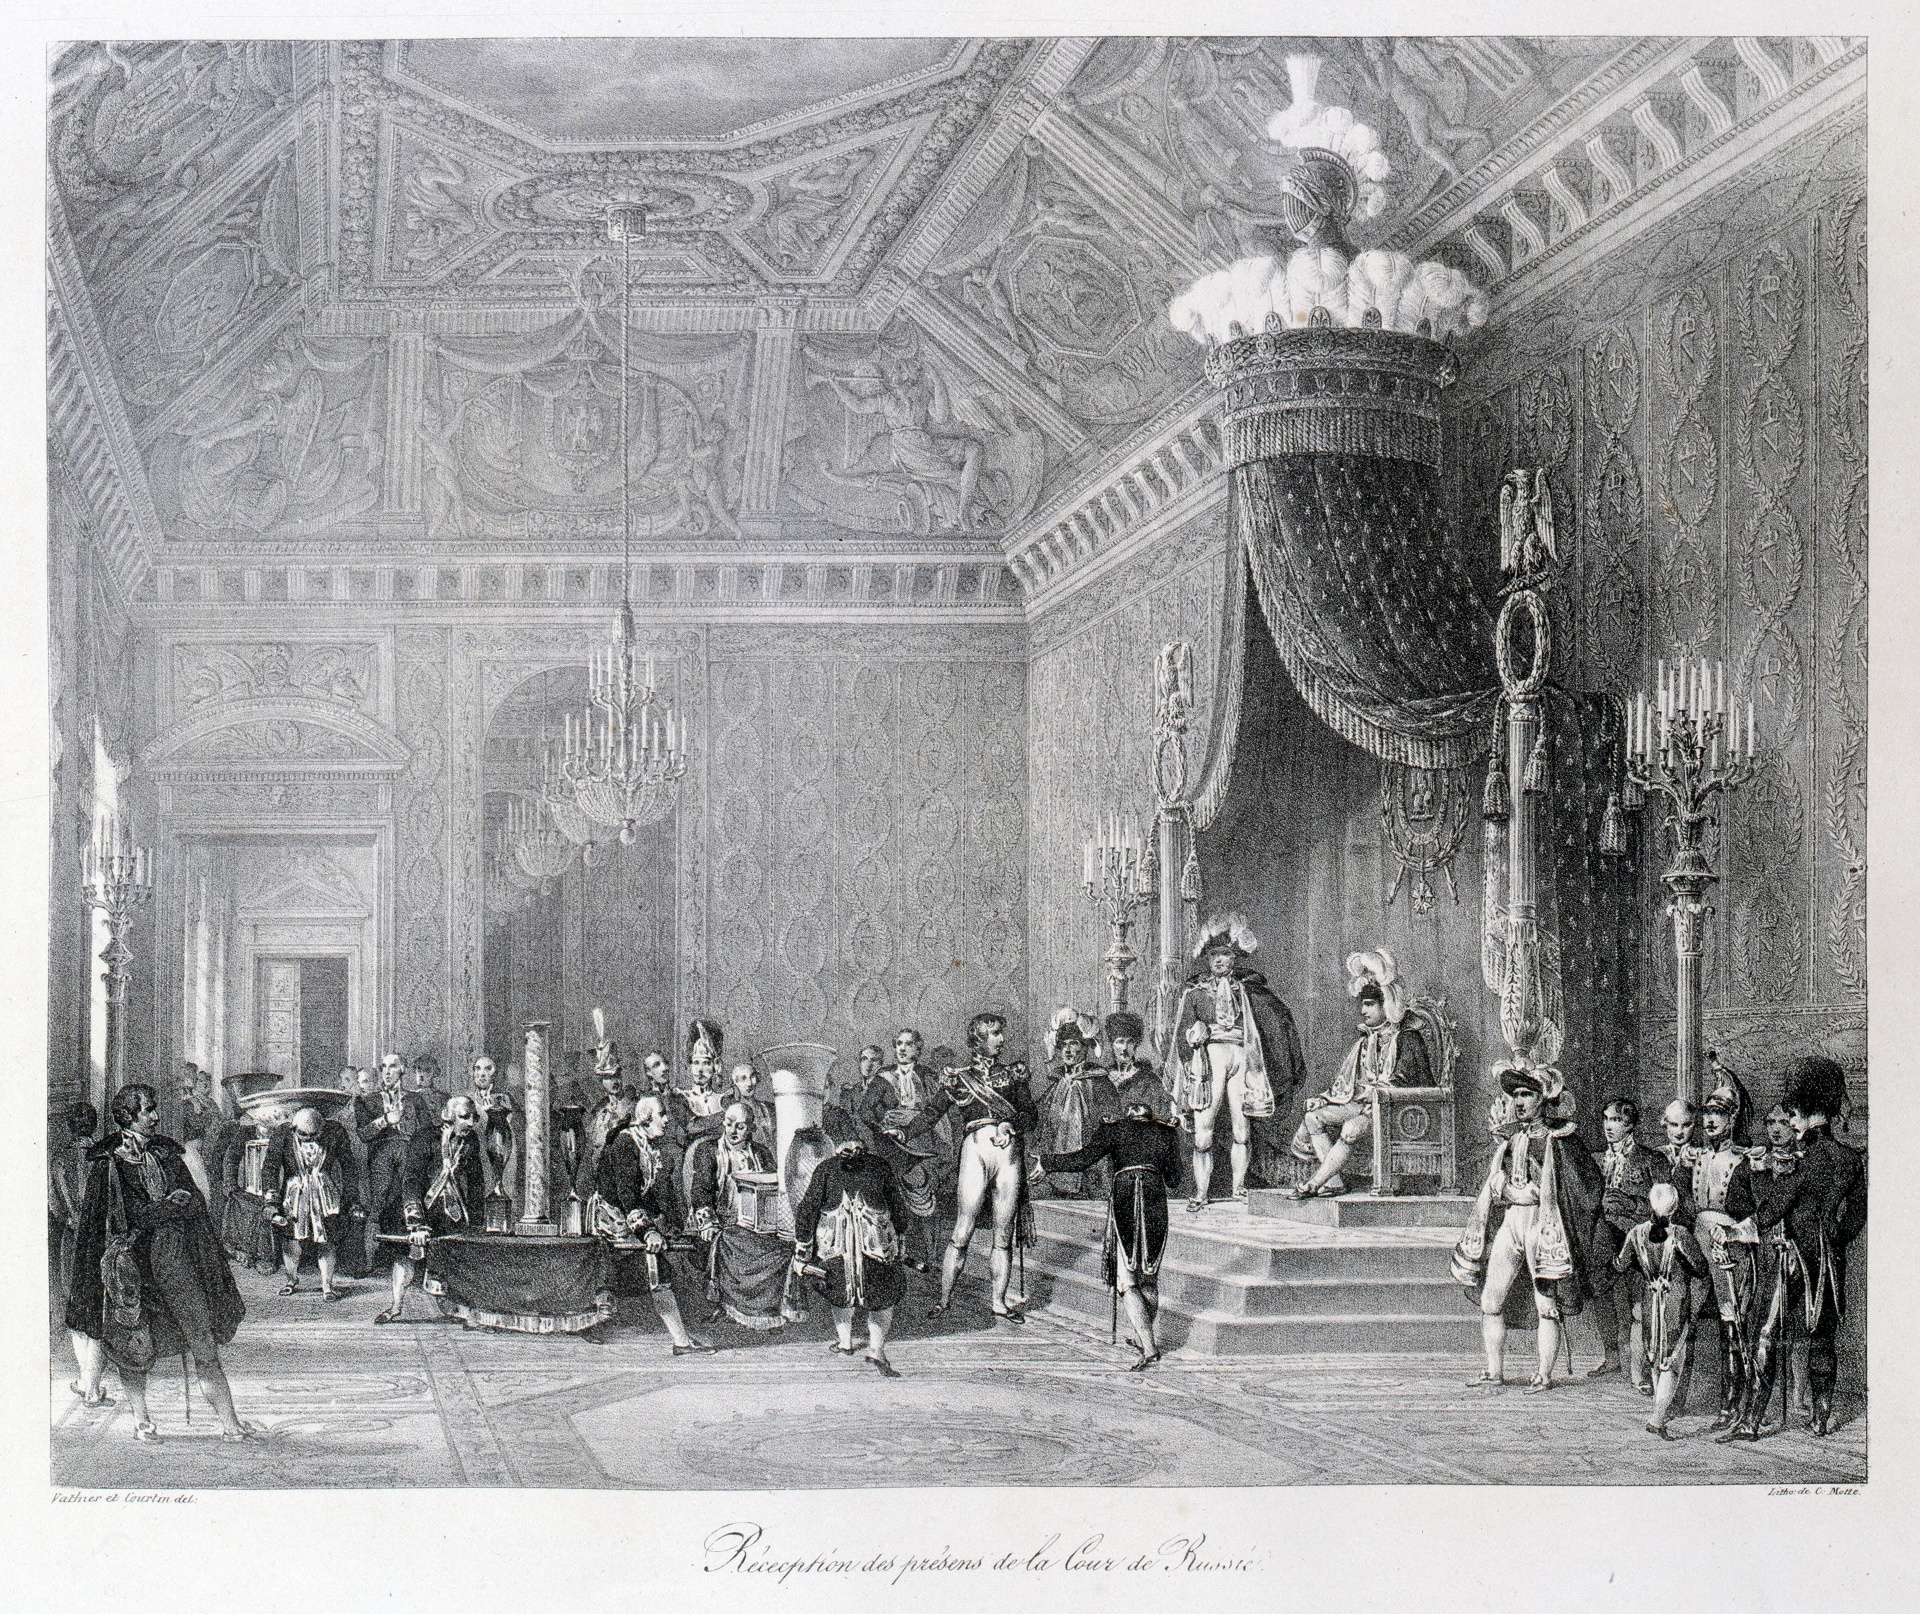
Napolon gifts

Napoleon receives gifts from Alexander I, c. 1809 by Charles-Etienne Motte

Napoleon was content to have won the largest battle in history thus far (320,000 men involved), although demonstrating again the transition from his earlier rapid maneuver victories into what clearly resembled the colossal artillery dominated attritional battles he had fought in 1807, and indeed would become the model for the future. The Peace of Schonbrunn was eventually settled on 14 October, with Austria paying an indemnity of 85 million francs and the army being restricted to a maximum of 150,000 men, thus allowing Napoleon to refocus on Spain.[163] Next, Talleyrand and Napoleon solidified the Emperor’s position as the premier European monarch by arranging his marriage into the Habsburg royal family.
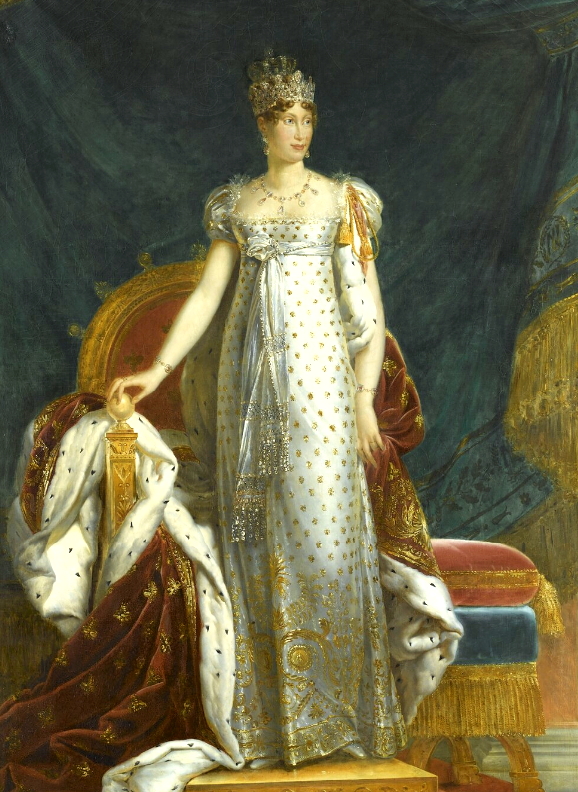
parma

Jean Baptiste Guerin and Francois Gerard’s painting of Marie Louise (1791-1847), who was 19 when she married forty-one year old Napoleon Bonaparte.
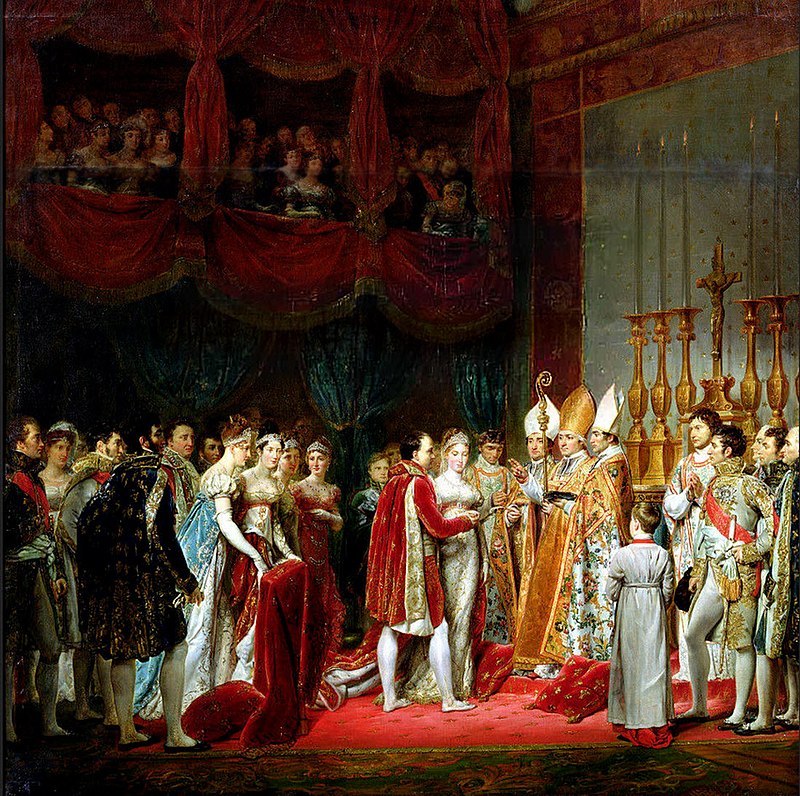
Wedding

Wedding of Napoleon and Marie Louise, 2 April 1810 at the Louvre, painted by Georges Rouget. Josephine had consented to a divorce earlier that year. On 20 March 1811 the new Empress gave birth to Napoleon II (d. 1832 in Vienna)


Amphibious Expeditions: The Basque Roads, the Walcheren Expedition, War in Spain and Portugal
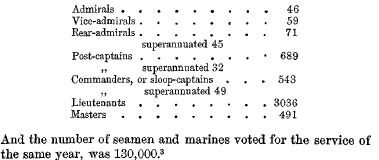
RN 1809

Establishment of the Royal Navy in 1809

By 1809 the Royal Navy had 127 line of battleships in commission, with another 100 building, the total RN establishment including all seaworthy schooners, sloops, frigates and cruisers was close to 700.[164] As Britain tightened its blockade of war supply to the continent, Napoleon was forced by want of tax revenue and as a result of the high cost of his Austrian campaign, to authorize the issuing of licenses for merchant trade, followed by the institution of a high tariff with the Trianon Decree of 5 August 1810.[165] Combined with opening the Spanish and Portuguese markets to the Allies, these measures resulted in the gradual undermining of the continental system.[166]

F8877 003

The Caesar (80), Rear Admiral Strachan’s flagship in 1805-8

Napoleon had been expanding his naval capacity for several years: at Cherbourg the harbour was being deepened to make it a port accessible not only to frigates but also ships of the line, and the port of Spezzia at Venice was also developing. Allemand’s flight from Rochefort was a successful attempt to unite with the French squadrons being assembled around the Mediterranean. There were other squadrons at Cadiz (five sail and a frigate), Toulon (five sail, with three or four building), one 74 at Genoa, and two 74s building at Venice.[167]
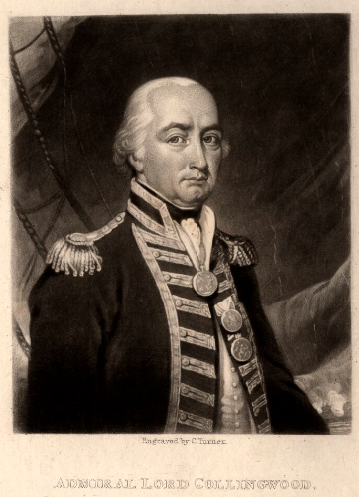
Collingwood

Collingwood remained C-in-C Mediterranean until his death early in 1810, engraving by Charles Turner


The Rochefort Squadron and the Basque Roads

Gambier1813

Baron Gambier is appointed C-in-C Channel Fleet in March 1808, having completed the highly successful Copenhagen operation, portrait drawn here in 1813 by Joseph Slater

Admiral Gambier, newly minted Baron Gambier, was in March 1808 appointed by the once again Tory ministry of William Cavendish, Duke of Portland, to the position of Channel Fleet C-in-C, replacing Rear Admiral Strachan.[168] Gambier’s mission for the spring of 1809 would be to carry off the Brest squadron, eight sail of the line and four frigates. Isle d’Aix was the point of entrance for Rochefort, and from there Rear Admiral Allemand sailed in January with six of the line and additional frigates, eluding Strachan’s blockade.[169]

Allamend

Rear Admiral Zacharia Jacques Theodose Allemand

Rochefort had been blockaded by Rear Admiral Richard Strachan in Caesar (80) since year end 1807. While Strachan was away victualing in January 1808, Admiral Allemand took his squadron, consisting of Majestuenx (120), Ajax (74), Patriote (74), Lion (74), Jemmapes (74), Magnanime (74), Suffren (74), plus a frigate and a brig, out to sea, chasing off the 32-gun frigate and 18-gun brig that Strachan had left behind to observe.[170]
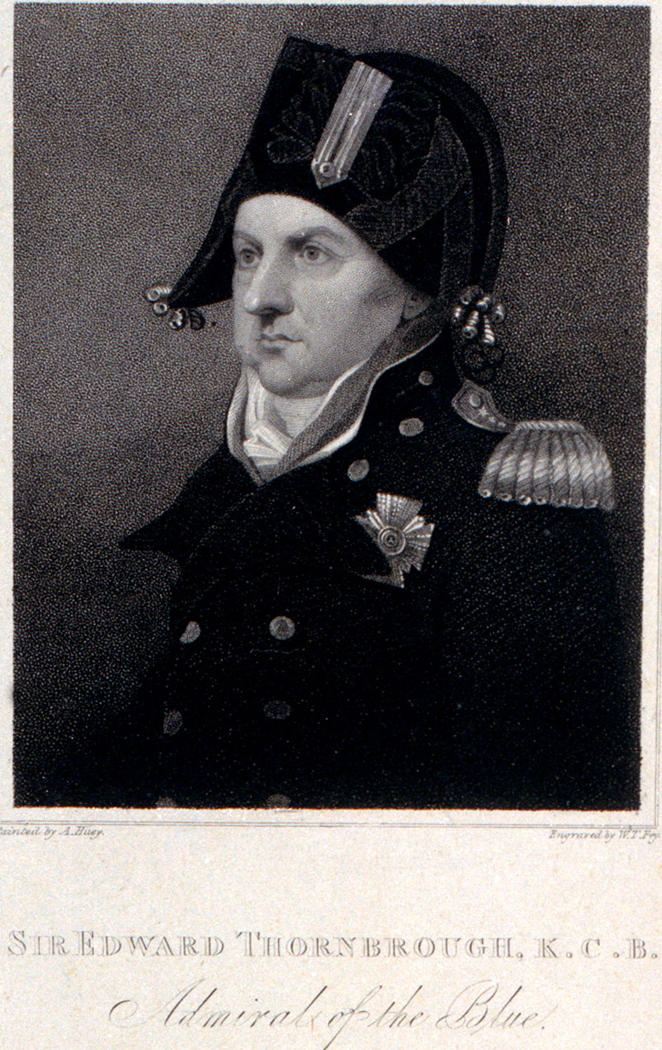
 

Thornbroughport

Vice Admiral Sir Edward Thornbrough, by Alexander Huey and William Fry, c. 1818 when Admiral Thornbrough was C-in-C Portsmouth
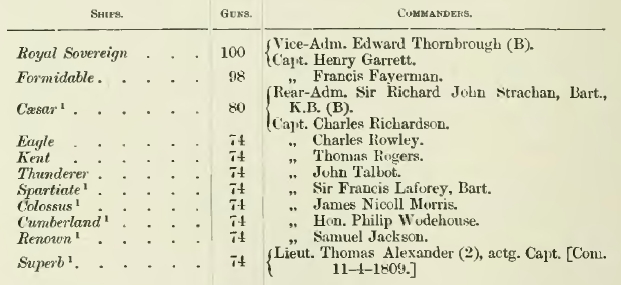
Thornbrough

Vice Admiral Edward Thornbrough and Rear Admiral Richard Strachan’s combined squadron at Palermo, during the chase of Rear Admiral Zacharia Allemand’s Rochefort squadron

On 23 January the 14-gun brig Attack eventually located Strachan with news of the Rochefort squadron’s sailing. Strachan correctly predicted Allemand was heading for the Mediterranean, where in fact Napoleon had sent him as part of a theoretical invasion of Sicily,[171] and so sailed around Gibraltar, arriving at Palermo on 21 February where he joined with Vice Admiral Edward Thornbrough in the Royal Sovereign (100).[172] Allemand for his part had already rounded Gibraltar on 26 January, and then sailed for Toulon to join with Vice Admiral Ganteaume on 6 February.[173] Ganteaume sailed from Toulon the next day with a force destined to reinforce Corfu, where he cruised during the rest of February and March.
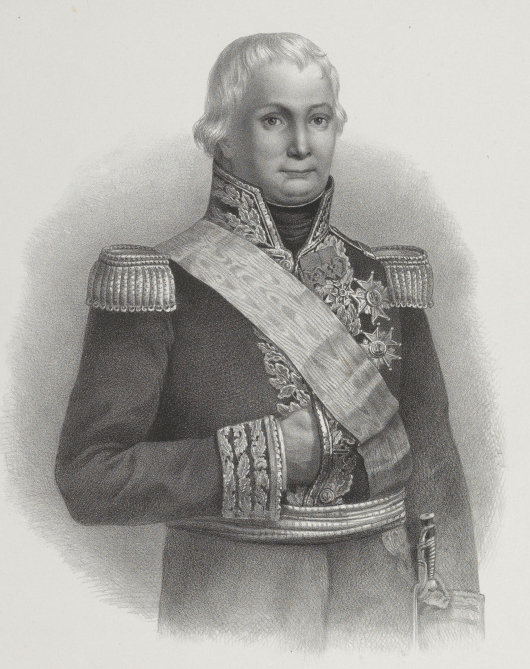
 

Ganteaume

Vice Admiral Honore Joseph Antoine Ganteaume, who eluded Thornbrough and Collingwood in the Mediterranean during February – March 1809

During this time Ganteaume was constantly under observation from British frigates, and Collingwood was being informed at Syracuse. Ganteaume was back at Toulon by 10 April. Collingwood’s reputation was somewhat tarnished by this, although he had narrowly missed being informed of the French maneuvers on several occasions, and had in fact been made aware of developments on 2 March when he joined with Thornbrough and Strachan, but despite sailing around Sicily and into the Adriatic, did not encounter Ganteaume.


Rochefort

The Basque Roads, approach to Rochefort


With Strachan at sea he was replaced as Channel Fleet C-in-C by Baron Gambier. Strachan’s next command was blockading the Dutch coast, where he commanded the Walcheren Expedition (see below).[174] Collingwood was not informed that the French had already sailed back to Toulon until 28 April, and when he reached that place on 3 May Ganteaume no longer had any ideas about leaving harbour.[175] Collingwood detached Thornbrough to maintain the blockade of Toulon, while he sailed to Spain to assist in that theatre, notably employing his diplomatic connections with the pretender government to secure the Spanish fleet at Cadiz for the Allies. RN frigate commanders including Lord Cochrane in the Imperieuse, based at Mahon on the island of Minorca raided the Spanish Mediterranean coast and seized enemy trade. Captain Thomas Lord Cochrane, Earl of Dundonald, was the godson of Admiral Sir Alexander Cochrane and a darling of the Duke of Portland’s government, having been elected MP for Westminster in 1807.

GambierBasque Roads

Lord Gambier’s fleet for the Basque Roads operation


The Basque Roads, April 1809

In February 1809 the Aix Roads anchorage for the Rochefort squadron had been built up to 11 ships of the line by gradually combing the squadrons at Brest and Lorient. Effecting this combination was both dangerous and difficult as each port was variously blockaded by elements of Lord Gambier’s Channel Fleet. Rear Admiral Willaumez, who was at Brest with nine of the line, three frigates, and three corvettes, was to escape from that port, drive off the British blockade squadron at Lorient to free Commodore Troude who had three of the line and five frigates, and together sail for Aix Road where he would unite with the Rochefort squadron, another three of the line, the Calcutta troopship, and several frigates. Once this force was collected he was to sail to Martinique and intercept British forces known to be operating there.[176]
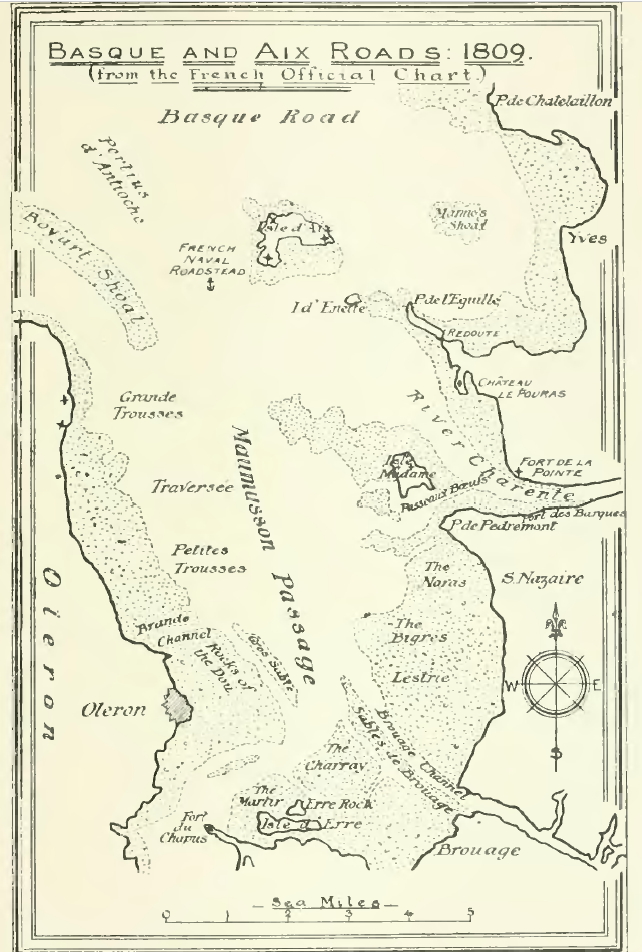
 

Aix ROads2

Aix Roads anchorage from William Clowes, volume V, p. 260-1

Willaumez, in his flagship Ocean (120) with two 80s and five 74s plus two 40 gun frigates, a brig and a schooner, sailed from Brest early in the morning on 21 February 1809. As his line cleared the Passage du Raz they were spotted by HMS Revenge (74, Captain Charles Paget), who then made sail for Lorient to communicate with the nearest British squadron.[177] Captain John Beresford’s Lorient blockaded squadron included the Theseus (74), Triumph (74), and Valiant (74). At 3 pm Captain Pagent signaled to Captain Beresford aboard Theseus, and Beresford made to intercept Willaumez, spotting the French line at about 4:30 pm.[178]

Willaumez

Rear Admiral Jean-Baptiste-Philibert Willaumez


Will's Squad

Rear Admiral Willaumez’ Brest squadron

The next morning Willaumez despatched his schooner to Lorient to inform Commodore Troude that he was now free to sail, while he continued to distract Beresford’s squadron. Beresford chased Willaumez towards Isle d’Yeu, and that night was spotted by the Amethyst (36) a frigate attached to the Rochefort blockade squadron under Rear Admiral Robert Stopford (Caesar, 80, Defiance, 74, Donegal, 74). Amethyst fired a rocket to warn Stopford who then sailed and chased Willaumez until the French squadron entered the Basque Roads on the morning of February 24th.
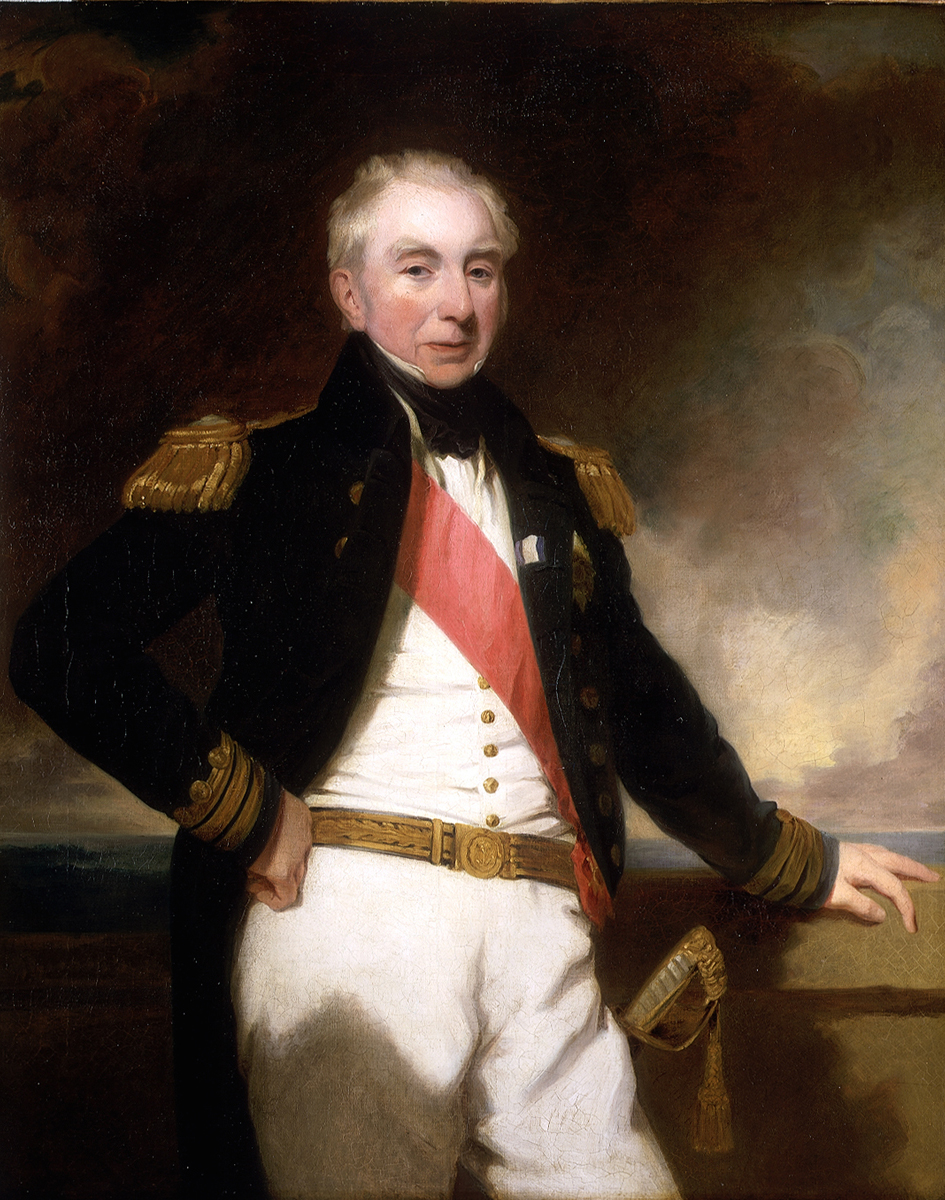
 

Stopford

Rear Admiral Robert Stopford, painted by Frederick Say c. 1840

Stopford detached Naiad (38) to inform Lord Gambier, but immediately after this Naiad located three of Commodore Troude’s frigates (Italienne, Calypso, Cybele – all 40 guns, under Commodore Pierre Jurien) from Lorient that had sailed to join Willaumez while Troude himself waited for the tide to come in so he could move out his heavier ships.[179] When Jurien spotted Stopford’s ships he realized he was cut-off from joining Willaumez at Rochefort, and thus put in at the Sables d’Olonne batteries. Stopford chased Jurien under the guns and engaged him at 11 am. Within 50 minutes he had set Italienne and Cybele on fire; the French frigates then cut their cables and ran aground, followed right after by Calypso. Total British casualties for this brief action were three killed and 31 wounded, as against 24 French killed and 51 wounded.[180] Willaumez had essentially achieved his purpose, joining with Commodore Gilbert Faure’s Rochefort squadron, although he lost the Jean Bart (74) as it grounded off Isle Madame.
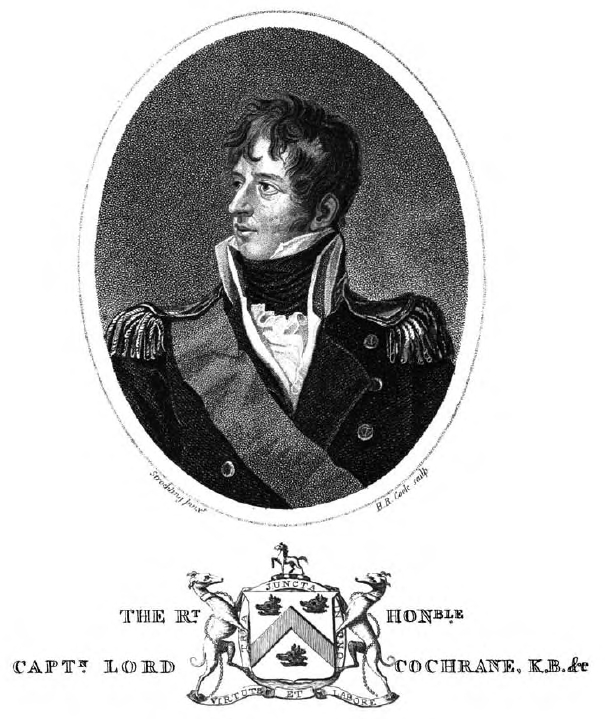
 

Cochrane

Captain Lord Cochrane


Lord Gambier arrived on 7 March and took up the blockade, anchoring in the Basque Road on the 17th.[181] Earlier, on March 11th, Gambier proposed in a letter to Lord Mulgrave at the Admiralty that fireships would likely be useful in an attack against the Aix road. First Lord Mulgrave for his part decided as early as the 7th to carry out a fireship attack and on the 19th wrote back to Gambier that twelve fireships and three explosion vessels were being got ready, along with Congreve’s rocket ships, and five bomb vessels.[182] Captain Cochrane meanwhile arrived at Portsmouth on the 19th of March and reached London on the 21st to meet with Mulgrave who immediately appointed him to carry out the fireship attack at Aix road. Mulgrave informed Gambier that he was sending Cochrane for this purpose in a letter of the 25th, Cochrane sailing in the Imperieuse and delivering the letter to Gambier on 3 April.[183] Cochrane and Gambier began to assemble explosion vessels from what materials were on hand, and on 6 April Congreve arrived in the Aetna followed by twelve fireships on the 10th.[184]
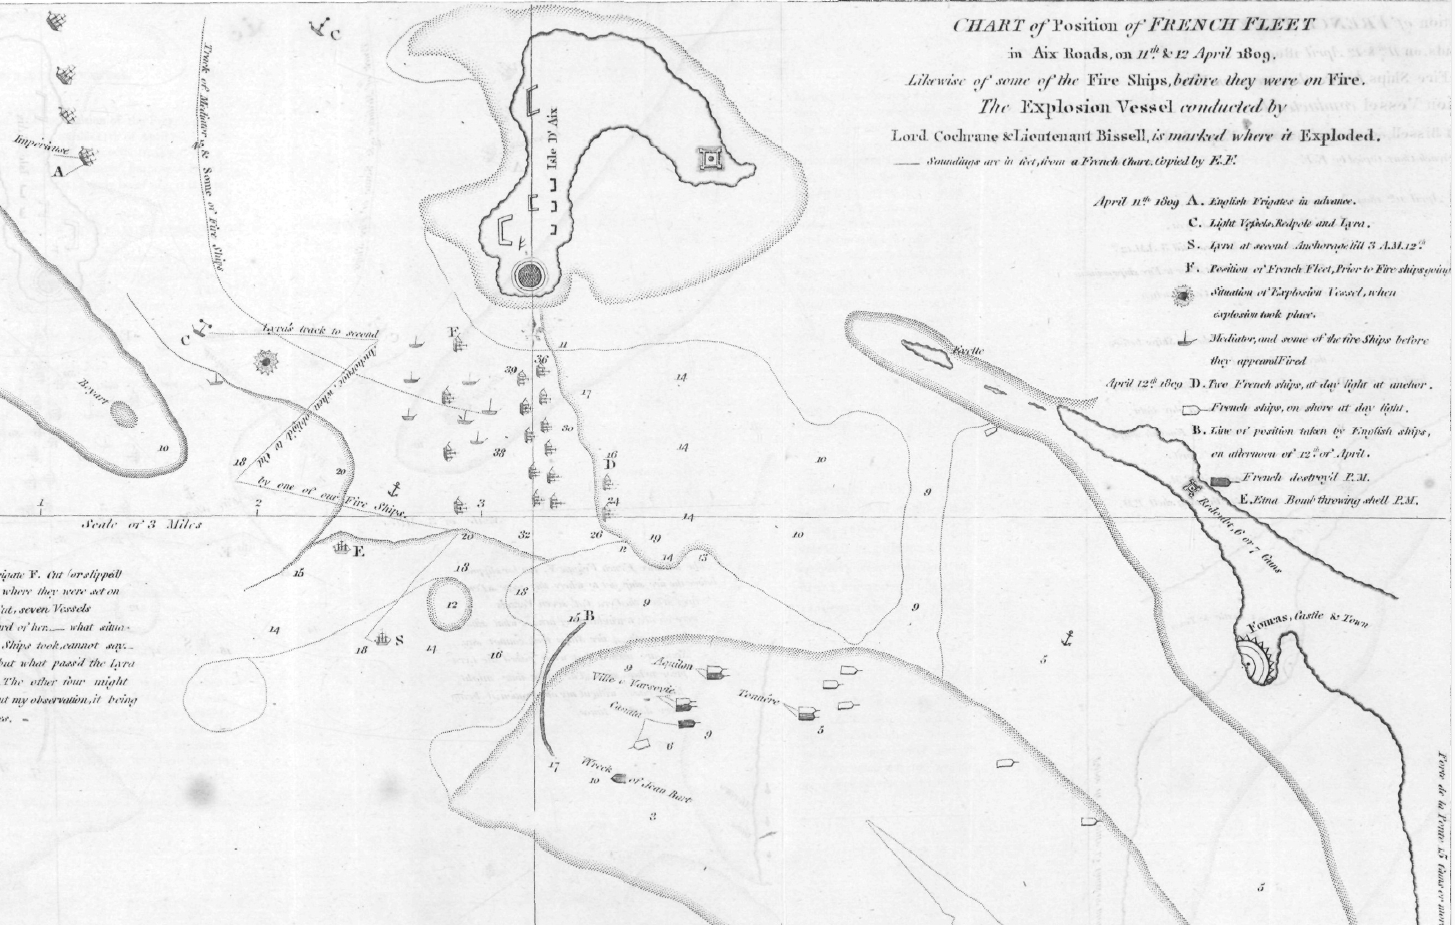
 

Aixroads

The anchorage at Aix Roads, showing positions of French warships on 11/12 April 1809, and Cochrane leading his squadron in the Imperieuse at the upper left.

Meanwhile on 17 March Vice Admiral Allemand superseded Rear Admiral Willaumez as C-in-C of the Rochefort squadron. Allemand’s ships were moored in three parallel lines, two lines of heavy ships and a third of frigates, beyond which lay a long line-boom. The anchorage was covered by 30 guns, mostly on the Isle d’Aix along with 2,000 French conscripts.[185] Allemand had seen the fireships arrive and was under no illusions regarding Gambier’s intentions. Gambier deployed the frigates, bomb and rocket vessels on the 11th, the brigs Redpole and Lyra acted as light vessels, and Gambier kept his heavy ships at anchor about six miles to the north west, behind the fireship screen. At 8:30 pm the fireships and explosion vessels cut their cables and drifted towards the French anchorage. Cochrane himself was aboard one of the explosion vessels containing 1,500 barrels of powder, 350 shells, and some thousands of grenades.[186]
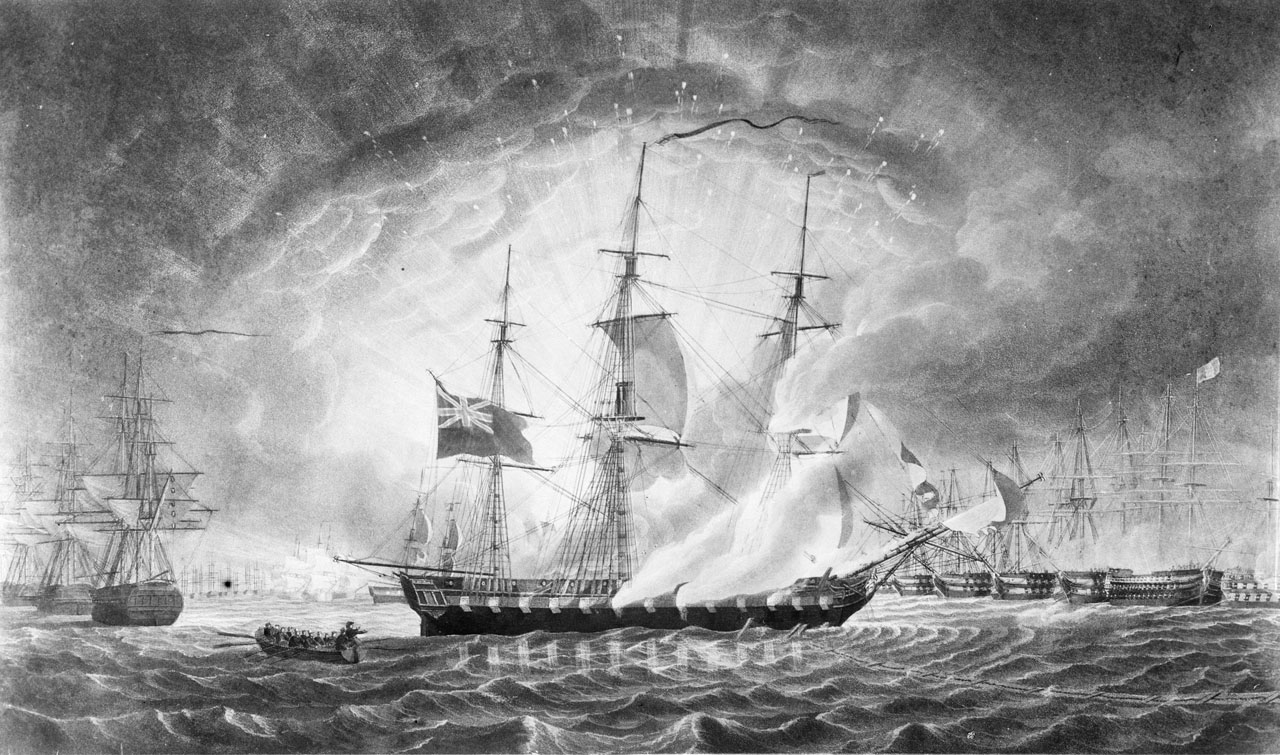
 

Fireships attack

Fireship attack (the Mediator) on the night of 11 April 1809, by Robert Dodd

Two of the explosion vessels blew up on the line-boom itself, but the explosion vessel Mediator (Commander Wooldridge) broke through and exploded amongst the French warships, although doing no real damage. Wooldridge was badly burned and several of his skeleton crew were killed in the process.[187] The fireships mixed in amongst the French frigates, which now cut their cables to escape, and as result the French line was thrown into confusion; the Regulus collided with the Tourville and the Ocean ran around before in turn being rammed by the Tonnerre and Patriote. Only the Foudroyant and the Cassard remained mobile.
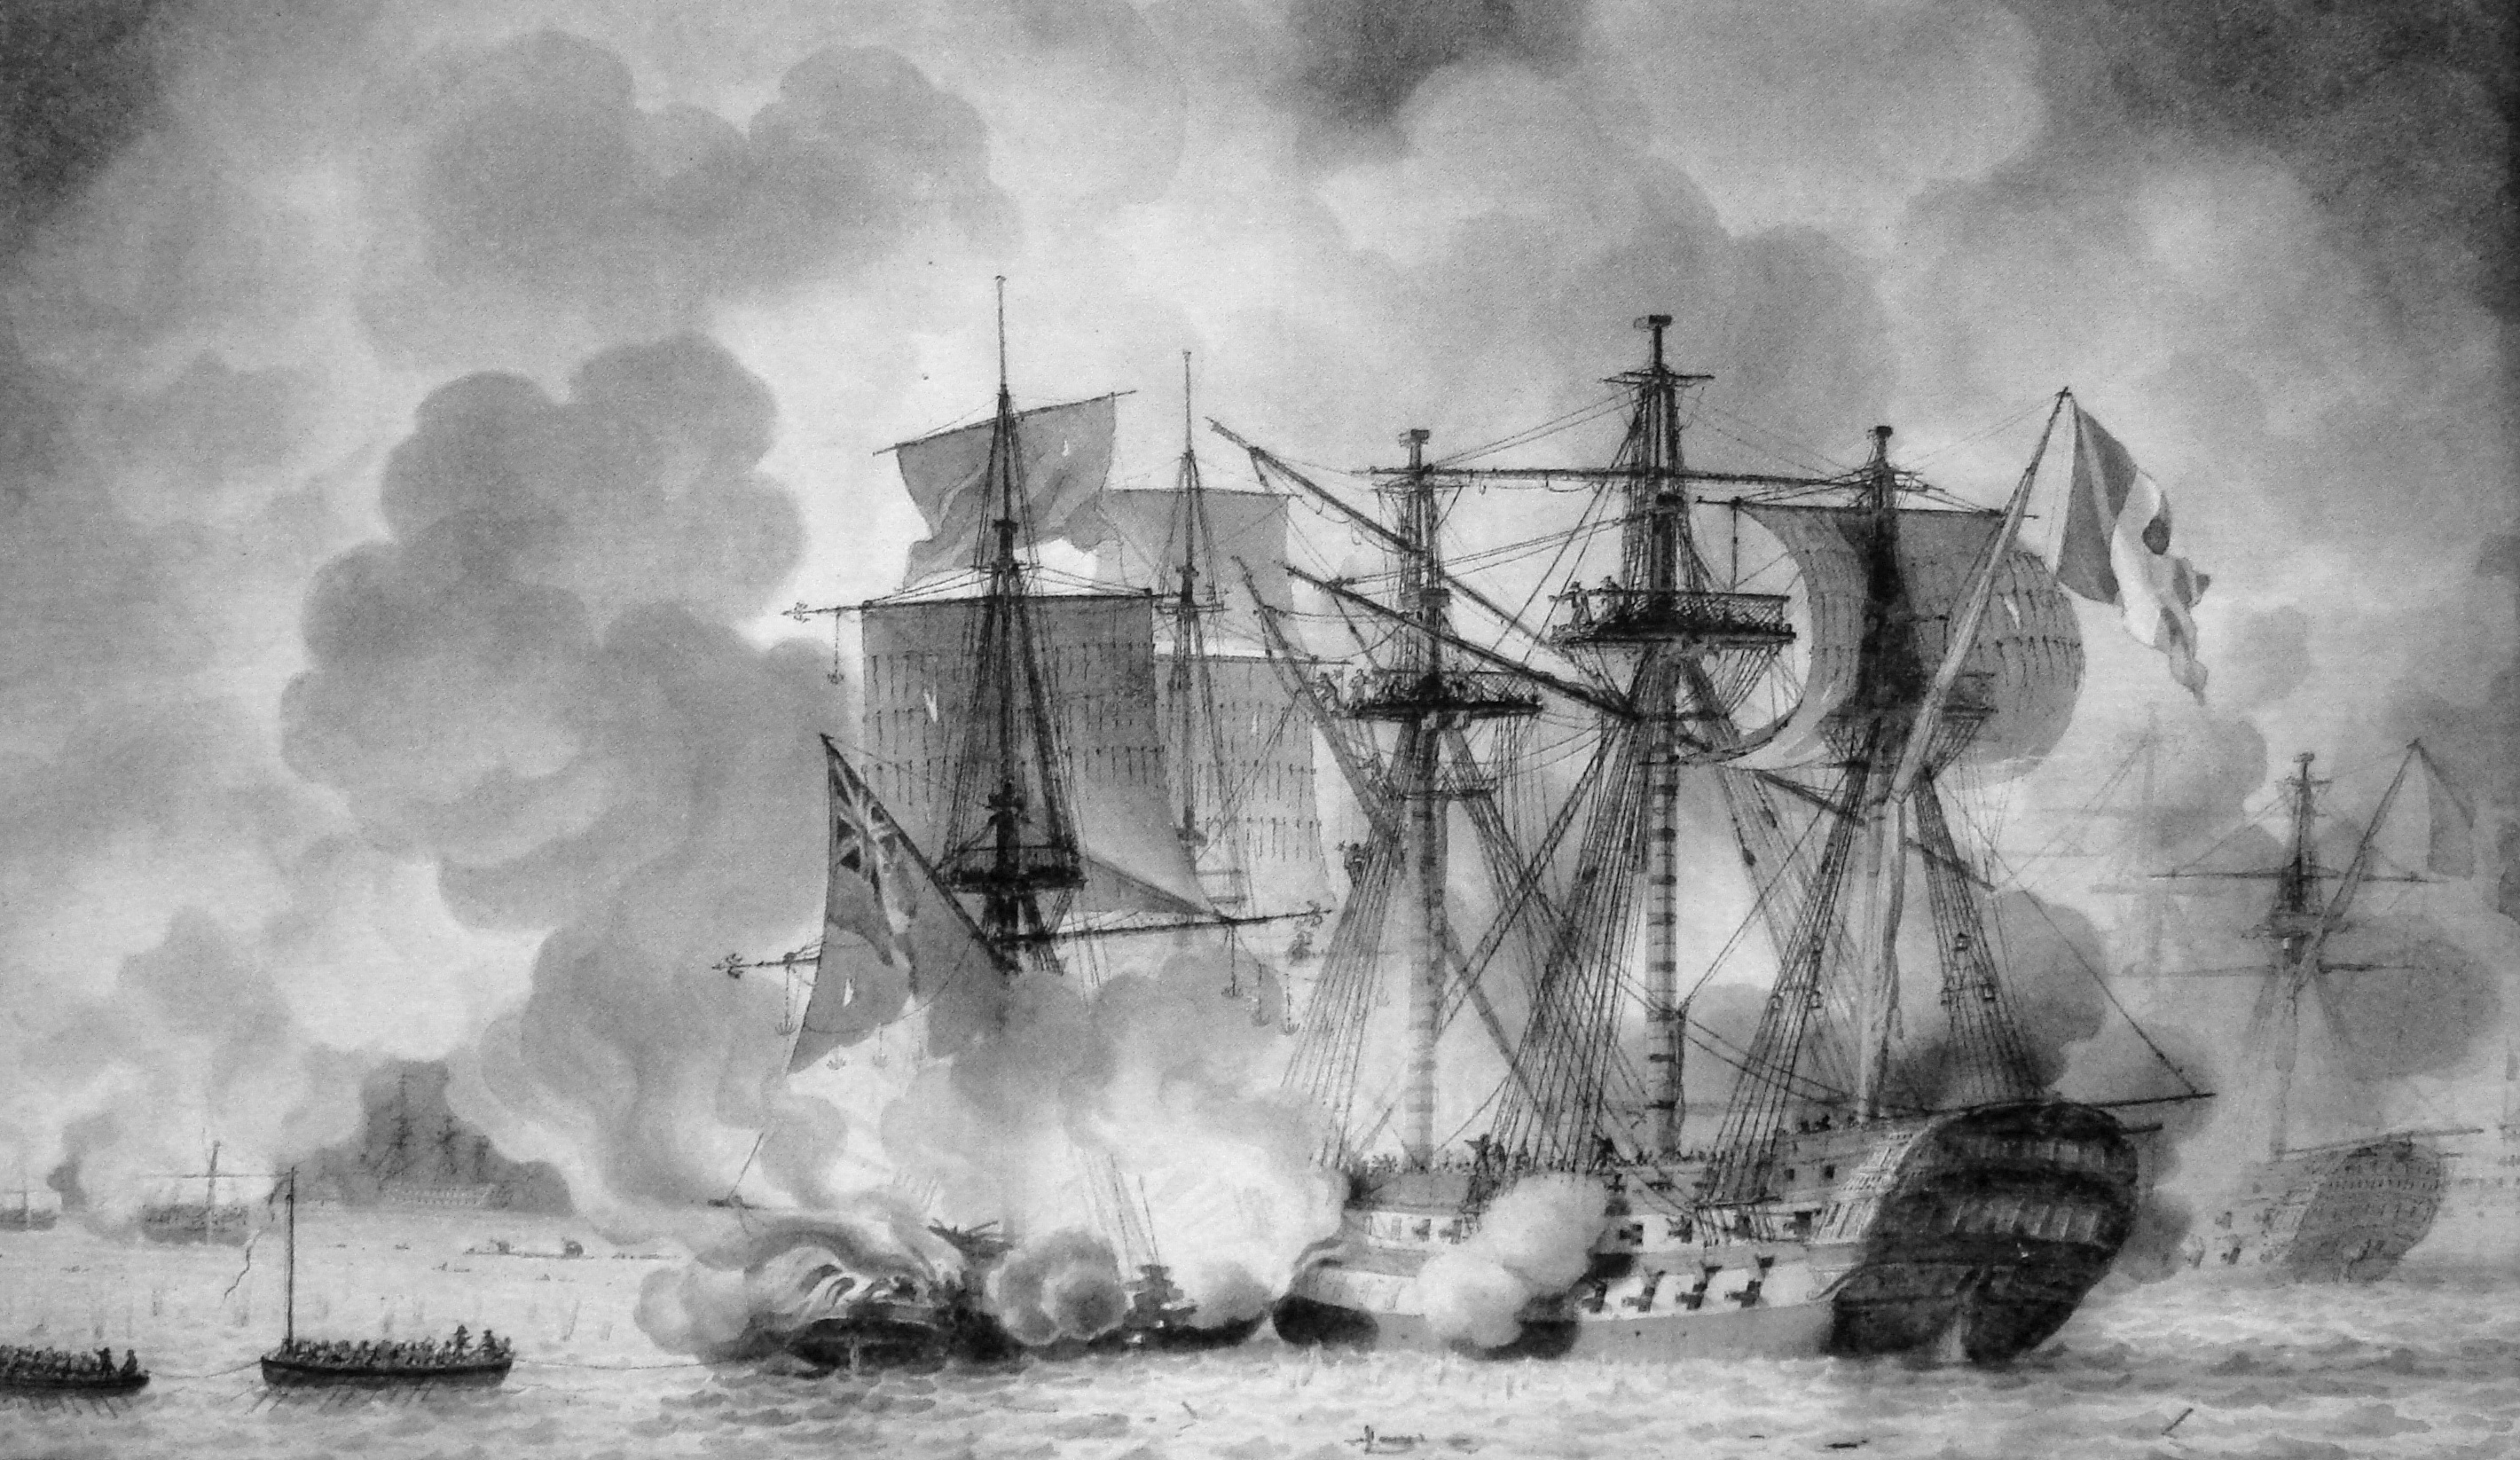
 

fireships

Cochrane returned to the Imperieuse and at 5:48 am the morning of the 12th signaled Caledonia to engage and exploit the confusion, then repeated this signal until 9:30 am. Gambier did not actually weigh anchor until 10:45 am, sailing to within six miles of the Aix anchorage whither he re-anchored at 11:30 am and called his captains to a meeting. Gambier was clearly in no hurry, but did send in his bomb vessels supported by the Valiant, Bellona and Revenge, plus all his frigates.[188] The Foudroyant and Cassard, seeing this squadron approaching, now cut their cables and sailed for the entrance to the Charente river delta, where they both ran aground, followed by the other French battleships as they were re-floated by the rising tide and then grounded again by the river mud.
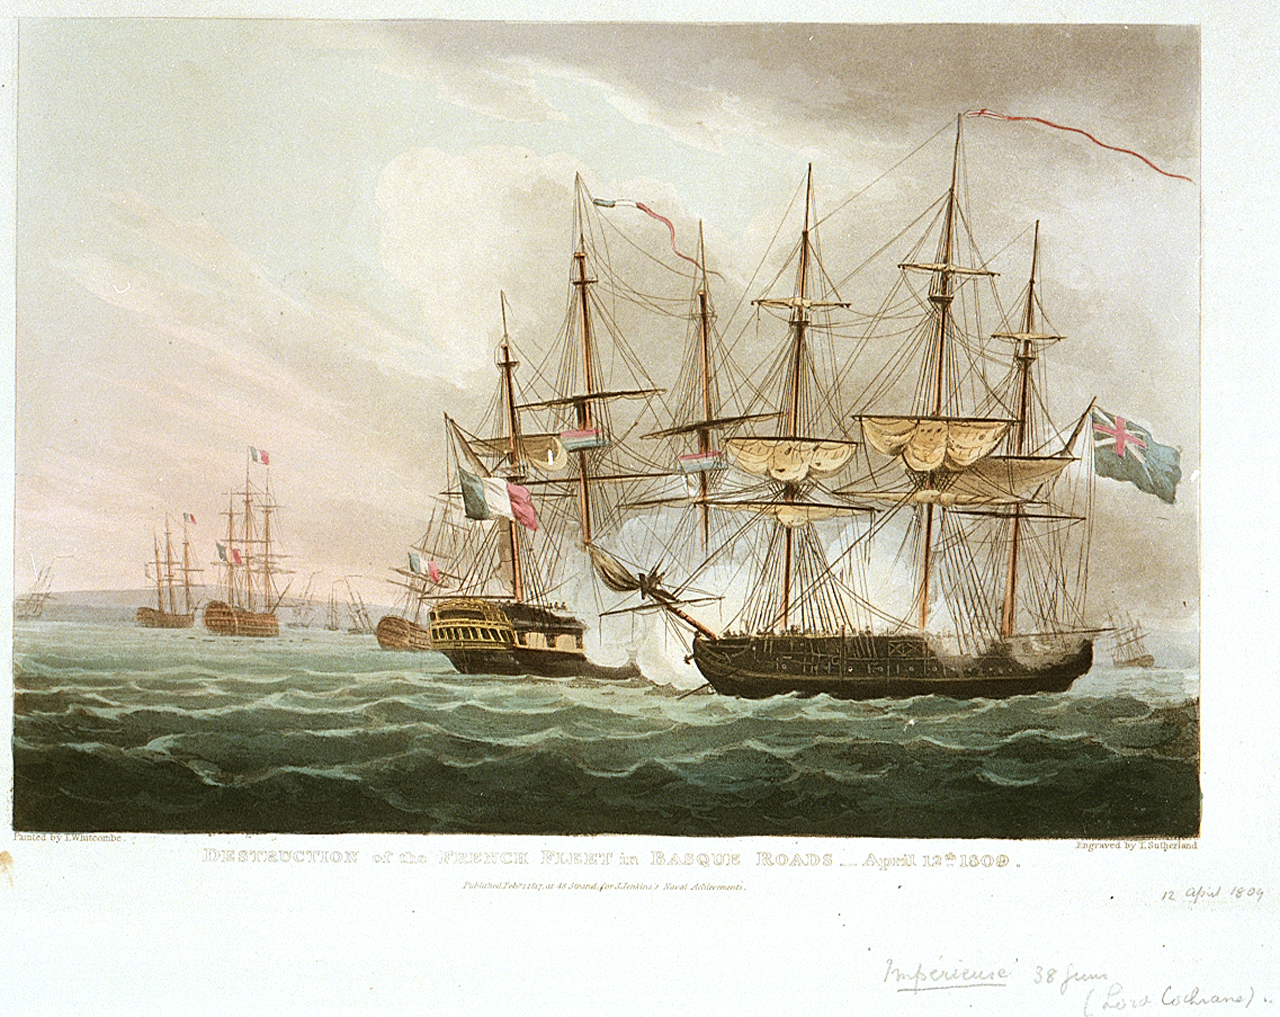
 

Basque Roads

Cochrane engaging the French at the Basque Roads, 12-13 April 1809.

Cochrane, at 1 pm, determined to engage personally and at 2 pm Gambier sent him the Indefatigable with the rest of the frigates and small vessels, then at 2:30 ordered the Valiant and Revenge to follow, although it took until 3:20 pm for these ships to reach Cochrane due to light winds. Cochrane was nevertheless presently joined by the Aigle, Emerald, Unicorn, Valiant, Revenge, Pallas, and Beagle. At 5:30 they were joined by the Theseus, and at about this time the French Varsovie and Aquilon surrendered.[189] Thirty minutes later the Tonnerre’s crew set their ship afire and abandoned it, that warship later exploding at 7:30. The Calcutta troop ship, set aflame by a British boarding party, blew up at 8:30 pm. At this point the Ocean, Cassard, Regulus, Jemmapes, Tourville and Indienne were still engaged but grounded. Rear Admiral Stopford had meanwhile been preparing additional fireships, and at 5:30 pm along with some boats converted into rocket vessels, escorted by the Caesar, maneuvered into position to continue the attack. Stopford’s Caesar however grounded at 7:40 pm – as did the Valiant, Indefatigable and Cochrane’s Imperieuse.[190]

During the early morning of the 13th this confusing situation was somewhat relieved as the Caesar was got free and Captain John Bligh, commanding the fireships, had his men set fire to the captured Varsovie and Aquilon, prompting the French to abandon the Tourville and set it afire in turn, although that warship failed to burn. At 5 am Stopford signaled for Bligh to continue his attack, and the Valiant, Theseus, Revenge, Indefatigable, Unicorn, Aigle and Emerald closed in towards the Little Basque road. Cochrane for his part was intent on attacking the grounded Ocean, having assembled the bombs vessels, the frigate Pallas, the Beagle, and several brigs for this purpose.[191]

Basque Roads Orbat

British and French orders of battle at the Basque Roads, April 1809

At 8 am Cochrane launched his attack on the Charente delta, but his frigates could not close due to the restrictive river draft. His shallow draft flotilla of ten brigs and bomb vessels, soon joined by three more brigs and the two rocket boats, however, began to engage the Ocean, Regulus and Indienne. This went on for ten hours, the gun brigs being unable to seriously damage the grounded ships of the line, while the French were unable to maneuver to respond, until the tide began to fall and the flotilla was forced to withdraw. Gambier meanwhile sent letters to Cochrane commending him on the attack, but ordering him to return to the flagship.[192]
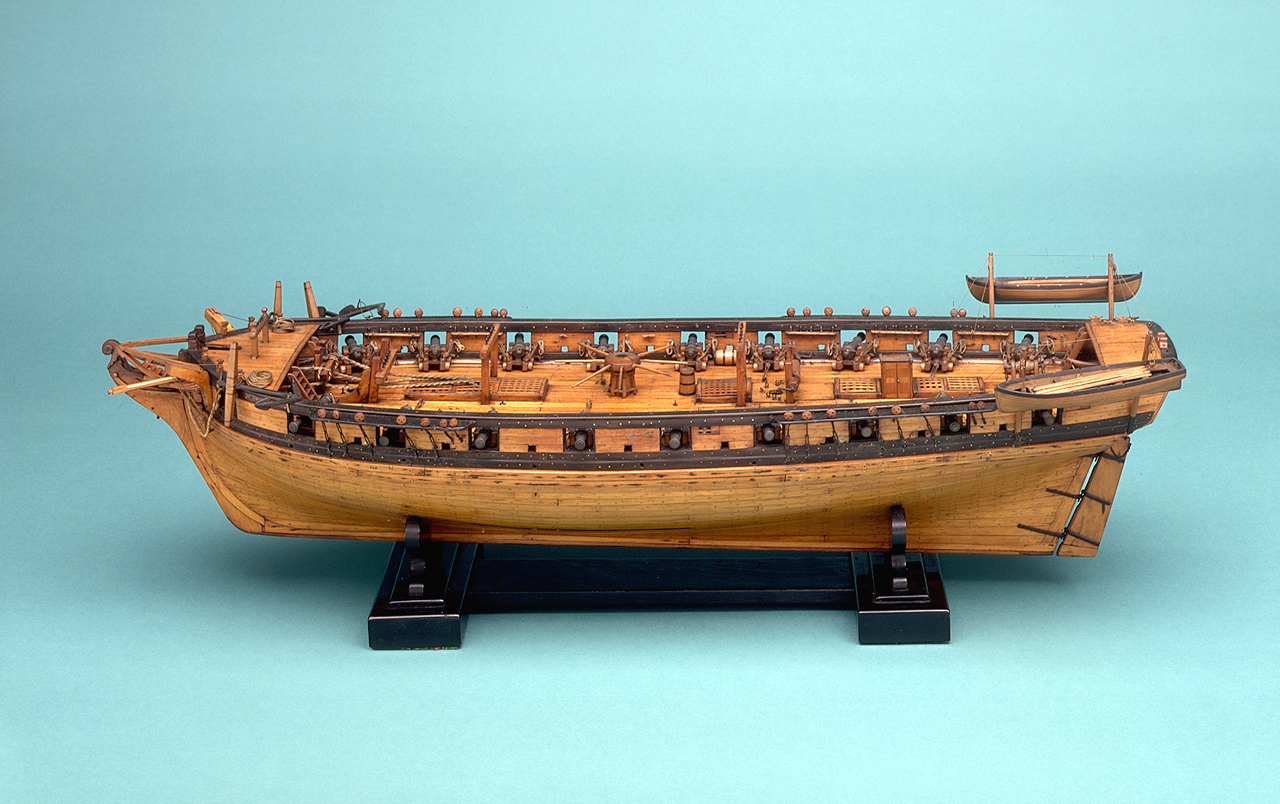
 

brig

384 ton 18-gun RN brig, c. 1810

Gambier seemed to believe Cochrane’s role in the operation was finished, and on the 15th he sent him back to England with his dispatches. Gambier instead placed Captain George Wolfe of the Aigle in charge of the gunboats, who carried on the attack on the 14th but with little effect. Although the French burnt the Indienne, they eventually worked their other ships up the river and into relative safety, where they were then joined by the Regulus on the 29th after further futile attempts to destroy that ship with bombs.[193] In sum, the British had destroyed five sail and rendered the Rochefort squadron militarily irrelevant.
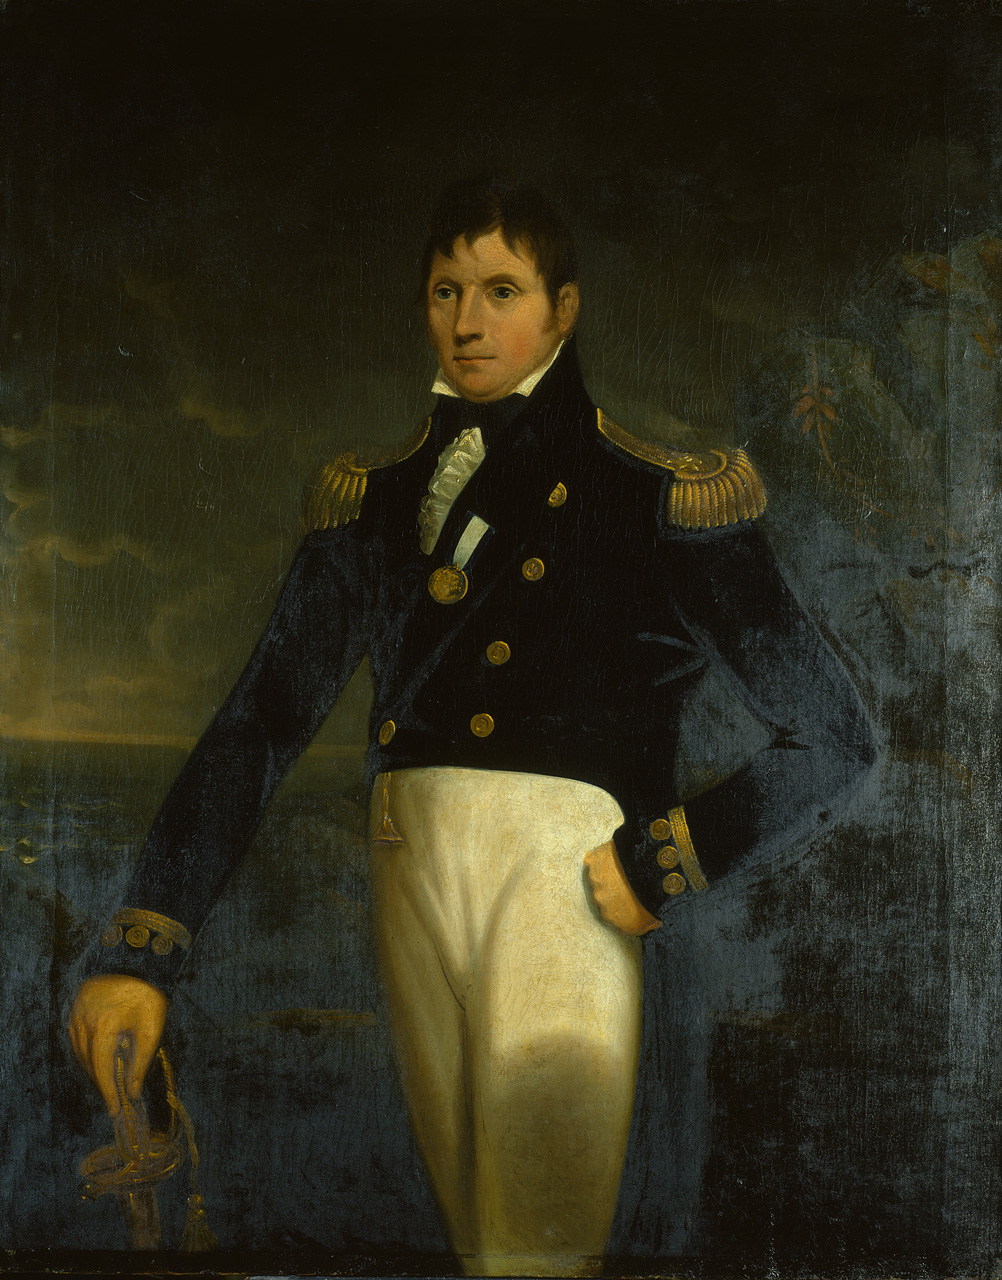
 

BHC2751

Rear Admiral Eliab Harvey, a fierce critic of Cochrane and Gambier, painted by Lemuel Francis Abbott c. 1806

Rear Admiral Eliab Harvey, Gambier’s second in command then aboard the Caledonia, was so aggravated by Cochrane’s role in the attack that he later launched a public campaign to denounce Gambier, whom he held responsible, and as a result Harvey was court martialled and dismissed from the navy.[194]

Cochrane likewise turned against Gambier, criticising him for failing to destroy the entire Rochefort squadron. Gambier demanded a court martial, which was duly arranged on 26 July 1809 and convened until August 4th. In the ensuing deliberations the admiral was honourably acquitted.[195] Cochrane presented evidence from captured French charts that suggested Gambier had over-estimated the strength of the French fortifications, while Gambier in turn pointed to the strategic imperative of preserving the Channel Fleet for future operations.[196] The consensus seems to be that Gambier certainly could have done more, although at increased risk and with little to gain.[197] Cochrane, for his part in planning and executing this sterling example of irregular warfare, was later knighted, although his career in the Royal Navy was near its end.[198]


The Walcheren Expedition
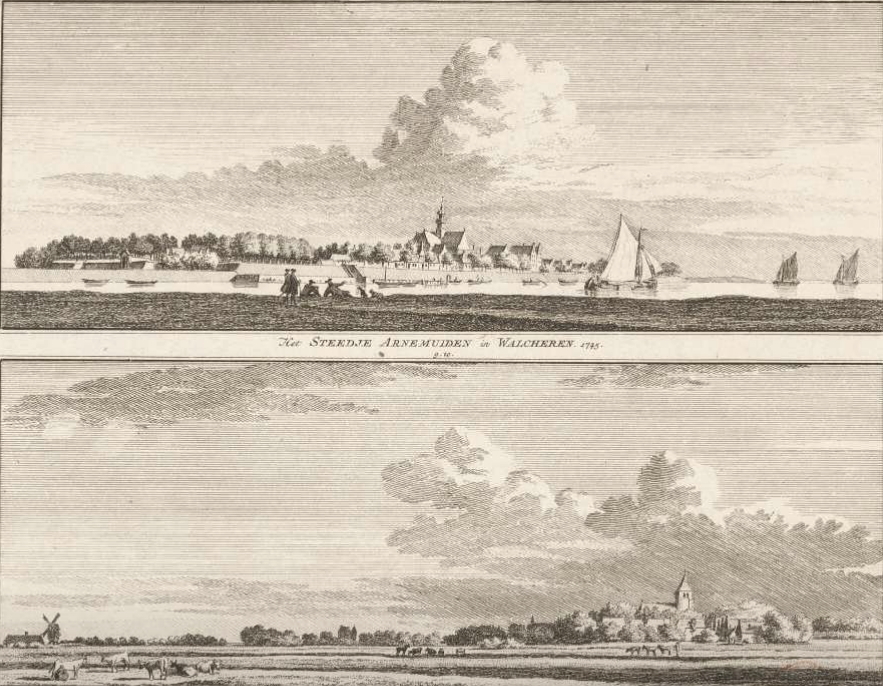
Walcheren5

Walcheren3

Middleburg and Walcheren , in 1745, and in the 19th century.
 

Missiessy

Rear Admiral Edouard-Thomas de Burgues, de Missiessy, painted by Alexandre-Charles Debacq

The other great maritime operation of 1809, and the most complex amphibious operation of the war, was the Walcheren expedition. This operation had the purpose of directly attacking the French fleet in the Scheldt, by the summer of 1809 built up to ten 74s under Rear Admiral Missiessy, with another six 80s and four 74s building at Antwerp and Flushing.[199] The actual threat posed by this fleet was relatively marginal, considering the depletion of French naval stores: it was built with green timbers and even then could not be fully manned, in short, an inviting target for the Royal Navy’s expeditionary warfare.[200] By generating a diversion in Holland furthermore it was hoped by the British government to distract Napoleon from the Austrian campaign then underway.[201]
 

Pitt2

Lieutenant General John Pitt, 2nd Earl of Chatham, engraving by Valentine Green, after 1799 drawing by John Hoppner

Illustrated Battles of the Nineteenth Century. [By Archibald Forbes, Major Arthur Griffiths, and others.]

Sir Eyre Coote, second in command to the Earl of Chatham, engraving by Archibald Forbes, Arthur Griffiths and others.

The audacious combined operation was to be led by Rear Admiral Sir Richard Strachan and Lt. General John Pitt, 2nd Earl of Chatham. Once again it was Captain Sir Home Popham tasked with drawing up the plan, and who also acted as Rear Admiral Strachan’s flag captain aboard Venerable, 74.[202]
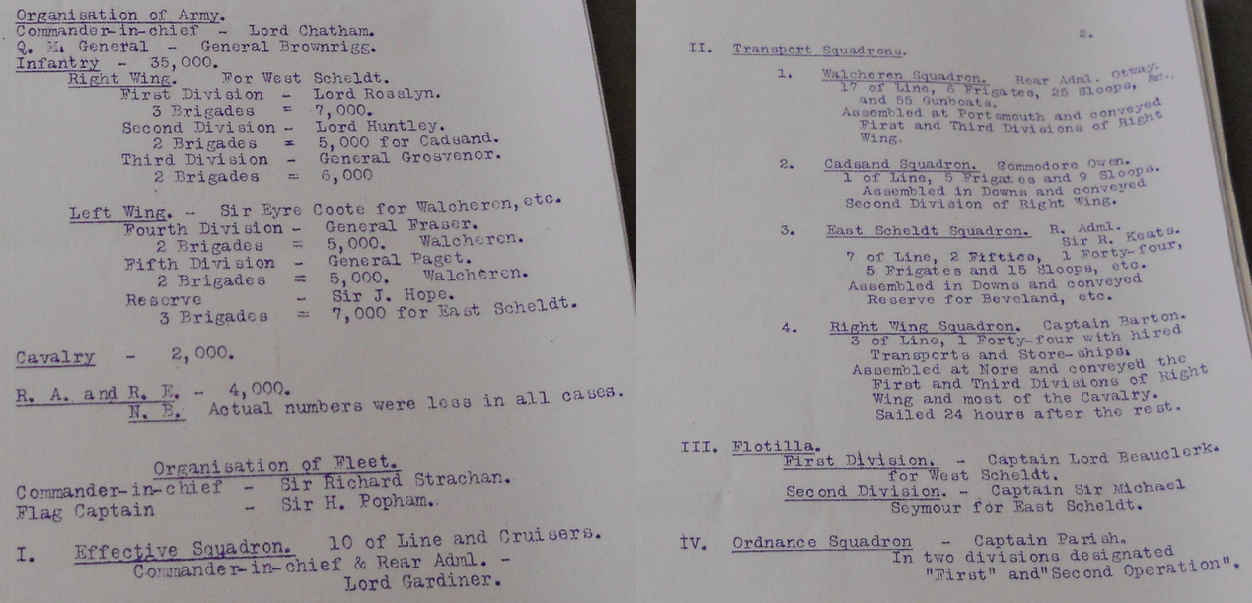
Walcheren

Julian Corbett’s Organization of the Walcheren Expedition

The landing force consisted of approximately 40,000 troops (29,715 infantry, 8,219 cavalry, 5,434 artillerymen) including divisions under Sir John Hope and Sir Eyre Coote, convoyed in as many as 400 transports and escorted by 264 warships of all kinds: including 35 or 37 battleships, two 50s, three 44s, 23 or 24 frigates, 31 sloops, 5 bomb vessels, 23 brigs, and 120 smaller craft, under the 2nd Baron Gardner.[203] 
 

Gardner

Vice Admiral Lord Alan Gardner, C-in-C Channel Fleet, d. 1 January 1809, painting by William Beechey

Gardner2

Henry Edridge and Antoine Cardon’s engraving of Alan Hyde Gardner, Rear Admiral of the Blue, the 2nd Baron Gardner

Alan Hyde Gardner, age 36, had been promoted to Rear Admiral of the Blue on 28 April 1808, and in 1809 inherited the title of Baron Gardner from his late father, Vice Admiral Gardner then C-in-C Channel Fleet, who died on Near Years Day. The younger Rear Admiral Gardner flew his flag in the Bellerophon (74) while blockading the Scheldt.[204]
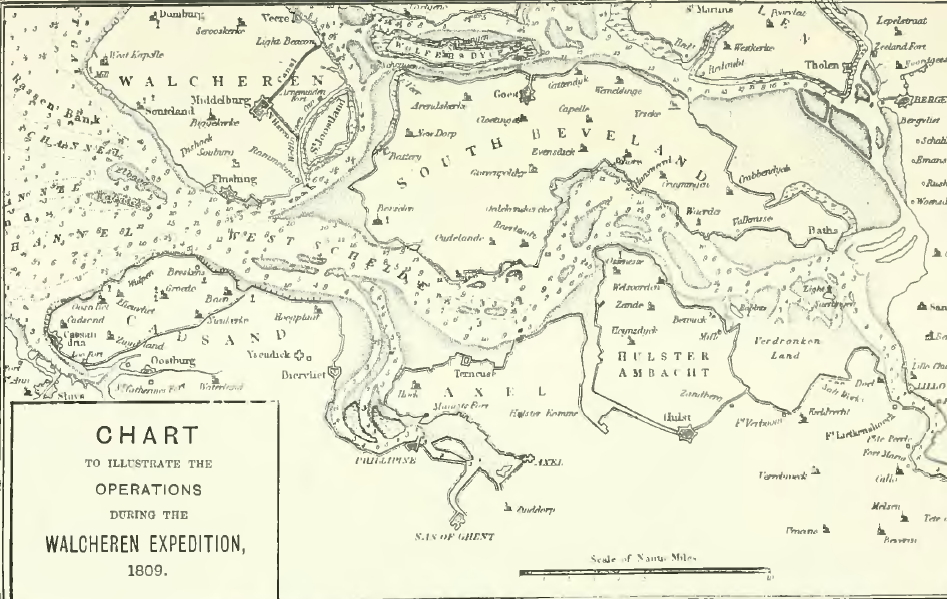
 

Walcheren chart

Chart of the Walcheren theatre of operations

The plan called for the fleet to land Pitt’s expeditionary force, proceed to destroy the naval arsenal at the Scheldt and capture the French fleet there, and then ultimately seize Antwerp and Flushing. The armada departed the morning of 28 July, marked the shoals and sounded the Roompot channel that night, and the following morning the transports were on station. 
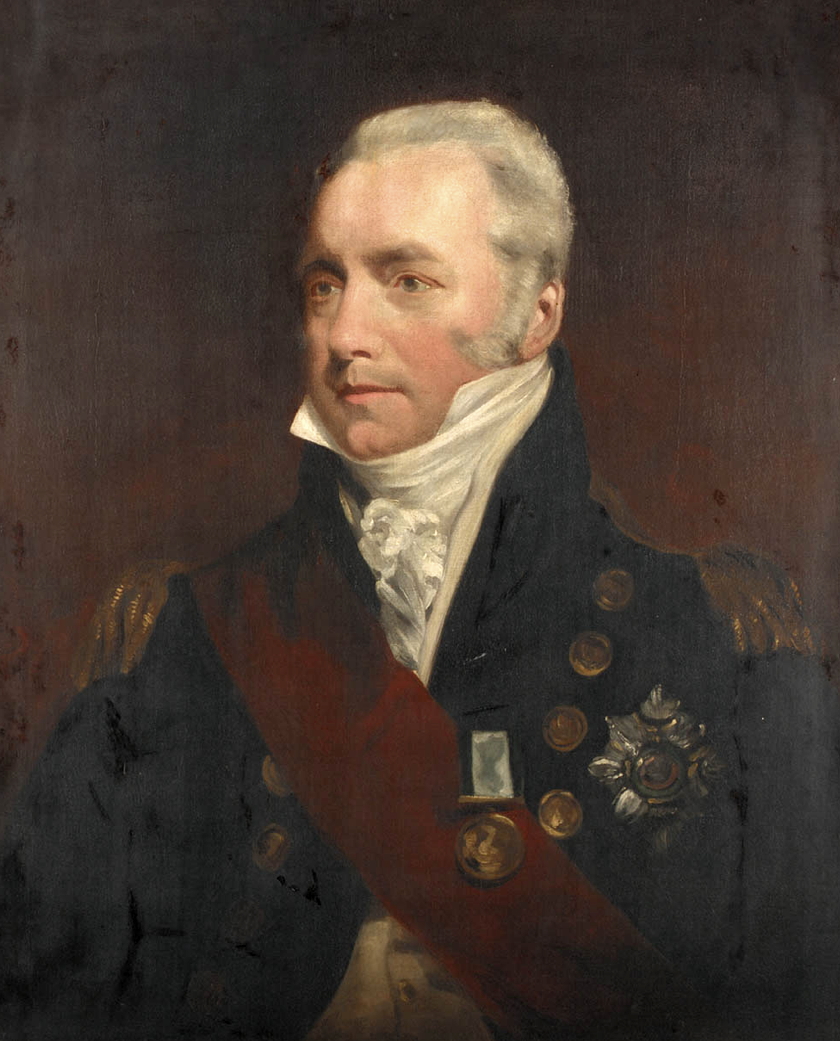
Keats

Vice Admiral Sir Richard Goodwin Keats, painted by John Jackson c. 1817
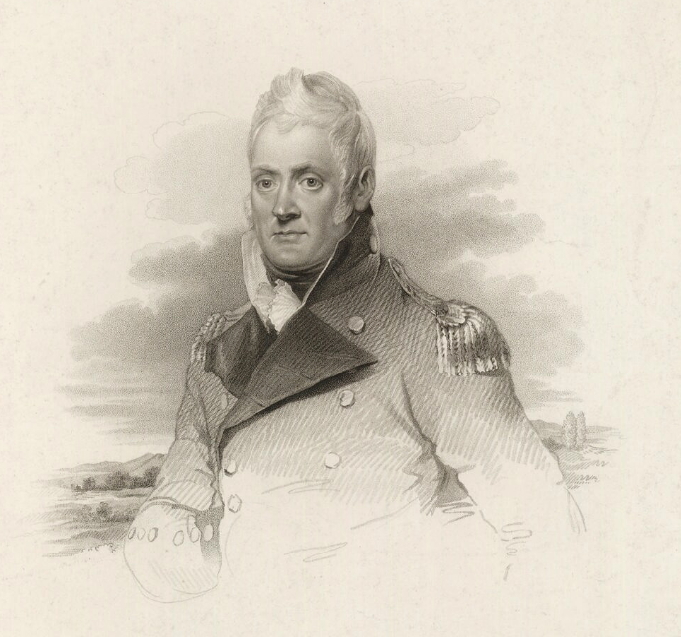
 

Sir John Hope

Sir John Hope, engraving by Giovanni Vendramini after drawing by William Craig, February 1811

Due to poor weather the landings, covered by Rear Admiral William Otway and Admiral Richard Keats, did not begin until 4:30 pm on the 30th: Sir Eyre Coote’s division was in the event the first ashore, followed by Sir John Hope’s division at Zuid Beveland. Some of the bomb vessels moved into position that evening and on the 31st opened bombardment on Veere, although Dutch counter-fire soon sunk three of the gunboats.[205] A naval brigade landed on the 30th under Captain Charles Richardson of the Caesar added to the bombardment of Veere, and that place surrendered on August 1st. General Coote meanwhile quickly surrounded Middleburg and forced its surrender, thus securing Walcheren.[206]
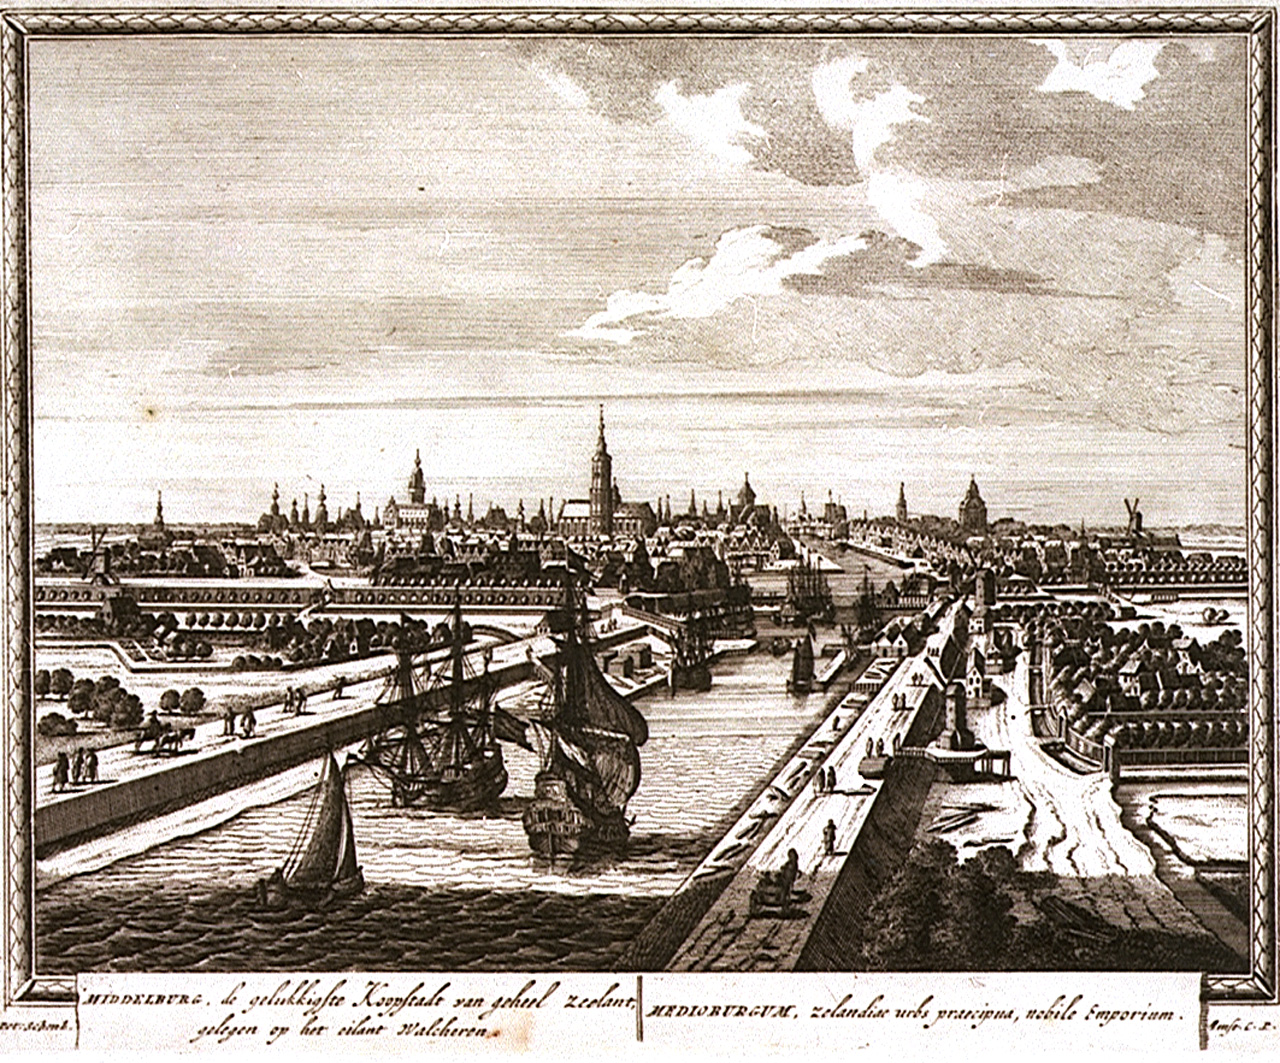
 

middleburg

Middleburg and Walcheren in the 17th century

Fort Rammekens was taken on 3 August and Flushing invested, but despite the siege General Rousseau was able to reinforce his garrison up to 7,000 men.[207] Flushing was blockaded on the 6th, and on the 9th Captain Popham took some smaller ships up the West Schelde to sound Baerlandt channel. On the 11th Captain William Stuart took a frigate squadron through the channel between Flushing and Cadzand.[208]


Walcheren Landing

Landing at Walcheren, engraving by A. Lutz after Johannes Jelgerhuis, 1809

Walcheren Expedition

The Bombardment of Flushing during the Walcheren Expedition of 1809

During all of this action Rear Admiral Missiessy, pressured by Admiral Keats, gradually moved his squadron up the channel and for good measure behind a line-boom.  On 13 August a group of bomb vessels commanded by Captain George Cockburn of the Belleisle (74) opened the bombardment of Flushing, to which weight of cannon the following day was added Rear Admiral Strachan and Rear Admiral Gardner’s fire as their heavy ships moved into position. On 15 August, after 31 hours of shelling, the French at Flushing offered to surrender and that place was captured the next day.[209]

The islands of Schouwen and Duijveland surrendered to Admiral Keats and Lieutenant General the Earl of Rosslyn the next day.[210] Chatham left 10,000 men to hold Walcheren, while he prepared for the next phase of operations leading up to the intended capture of Antwerp.


Captain Stuart's squadron

The squadron Captain William Stuart commanded off Flushing
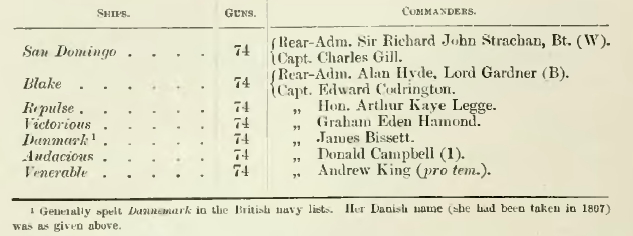
Strachan's squadron

Rear Admiral Strachan and Rear Admiral Gardner’s squadron during the bombardment of Flushing

The French had 35,000 men defending Antwerp. The British however were,  from the 19th of August onwards, as William Clowes puts it, being “daily reduced by malarious sickness” which ultimately incapacitated about 14,000 men, of whom about 3,500 died.[211] Chatham, demoralized at reports of the strength of the Antwerp defences, called a council of war on August 26th, and thereupon determined to abandon the campaign – leaving for England on 14 September – although Walcheren was not finally evacuated until December 23rd.[212]
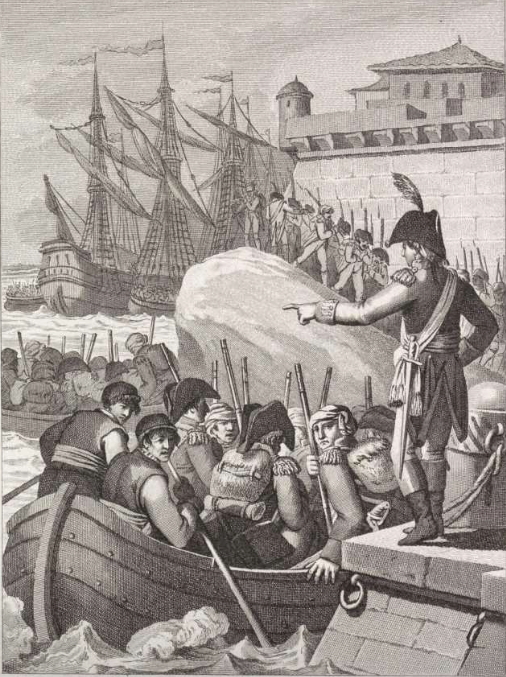
Walcheren4

British withdrawal from Walcheren, engraving by Francois Anne David after Charles Monnet
Spencer Perceval

Spencer Perceval, painted here by George Francis Joseph, succeeded the Duke of Portland, who died on 4 October 1809. Lord Spencer was Prime Minister until his assassination on 11 May 1812.

The death of the Duke of Portland on 4 October 1809 ensured that Chatham foisted responsibility for what Hilton describes as “England’s single biggest disaster in the entire war” off on Strachan, a seaman’s admiral considered the equal to, if not superior of, Pellew.[213] The cabinet itself veritably imploded, with Castlereagh challenging Canning to a duel – in which he wounded him with in the thigh – the two antagonists resigning thereafter. The Tory government was thus reconstituted under Spencer Perceval. So much for the Walcheren expedition.


The Relief of Barcelona
Honoré_Joseph_Antoine_Ganteaume

The Toulon squadron was commanded by Vice Admiral Honore Ganteaume

While Collingwood was blockading Vice Admiral Ganteaume at Toulon, the Mediterranean C-in-C was not able to prevent detached elements from escaping. One such sortie in April 1809 saw Rear Admiral Francois Baudin escape with five sail, two frigates and sixteen smaller vessels to make for Barcelona in a resupply effort. Successful, Baudin was back at Toulon in May.[214]

George Martin

Rear Admiral Sir George Martin by Charles Landseer

Martin Squadron

Rear Admiral Martin’s squadron during the chase of Rear Admiral Francois Baudin, 23 October 1809

To prevent a repeat effort, Collingwood moved to blockade Barcelona, although he then had only 15 sail of the line against the 15 French and six Russian built up at Toulon. Baudin put to sea again on 21 October with one 80, two 74s, and two 40 gun frigates plus transports and smaller craft.[215] He was spotted by Captain Robert Barrie in the Pomone (38), who hastened to inform Collingwood. Collingwood closed to intercept Baudin while he despatched Rear Admiral George Martin to chase. Baudin attempted to draw off Martin by separating from the transports, a gambit that paid off as the convoy escaped, minus a few brigs which were captured by Captain Barrie.[216] Baudin’s warships however variously fled or ran aground, the Robuste and Lion near Frontignan, and their crews set them afire.
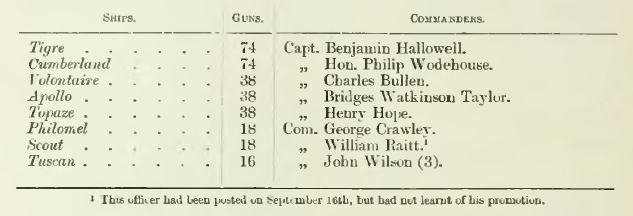
Hallowell

Captain Hallowell’s detached squadron, 31 October 1809

Meanwhile the convoy itself put in at Rosas Bay, and Collingwood soon detached Captain Benjamin Hallowell to destroy it, done on the night of the 31st using their boats to capture or burn every French vessel at anchor. Although costing them 15 killed and 50 wounded, it was worth the price to completely defeat the effort to resupply Barcelona.[217] Ganteaume was then succeeded by Vice Admiral Allemand.[218] Collingwood tragically had been exhausted by his long effort as Mediterranean commander, and died after being granted leave while returning to Britain on February 1810.


West Indies, 1809-1810, Martinique & Guadeloupe

Alexander Cochrane

Admiral Alexander Cochrane, engraving by Charles Turner after a drawing by Sir William Beechey, c. 1815-19

 Martinique and Guadeloupe were traditional frigate and privateer bases, where French warships were frequently encountered. The former was garrisoned by 2,400 regulars with an additional 2,500 militia, controlling 290 guns.

Rear Admiral Alexander Cochrane, with Lieutenant General Beckwith, were selected to command the Martinique reduction force, Guadeloupe to follow.[219] On 30 January 1809 Major General Frederick Maitland was put ashore at Martinique with 3,000 men landing at Pointe Sainte Luce, and another 6,500 men landing under Lt. General Sir George Prevost at Baie Robert, plus  600 ashore at Cape Solomon.[220]

martinique

The Martinique operation force, from William Clowes, volume V


On 22 January the sloop Hazard (18) located the frigate Topaze (40) carrying 1,100 flour barrels bound from Brest for Cayenne, but redirected to the Leeward Islands when Topaze discovered Captain Yeo’s landing at Cayenne underway. Now the frigates Cleopatra (32-gun, 12-pdr, Captain Samuel Pechell) and Jason (38, Captain William Maude) arrived, quickly hounded the Topaze ashore, anchored and then opened a musket-shot cannonade that compelled the French frigate to strike, 12 men were killed and 14 wounded (W. James, Naval History of Great Britain, vol. V, 1859, p. 3/4).

In the face of these sustained amphibious assaults the French retreated to Fort Desaix, while the British bombarded Pigeon Island, capturing that place after 12 hours of shelling and a landing of seamen under Commander George Cockburn.[221] The French on Martinique held out until 24 February, by which time the British had suffered 550 casualties.[222] Rear Admiral Cochrane was promoted Vice Admiral.
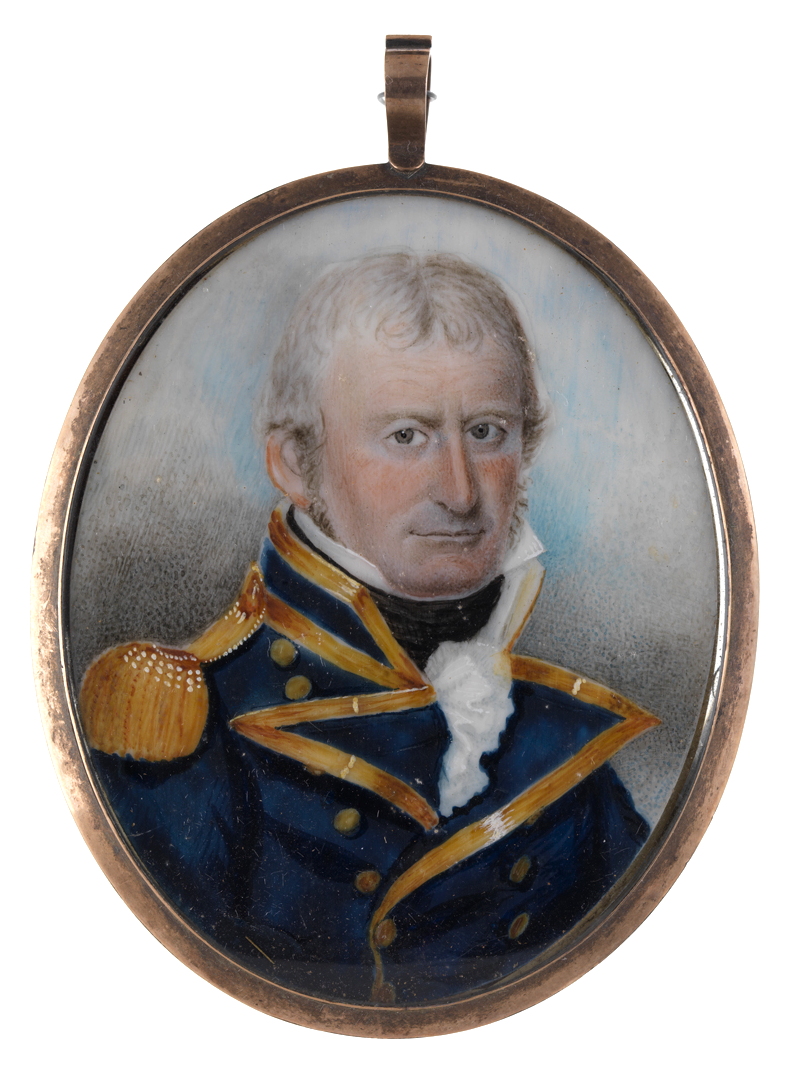
Miniature, MNT0089

The next target was Guadeloupe. Captain John Shortland, painted here c. 1807/8 by Robert Field, in the Junon (58), engaged in a sharp action the French frigates Renommee (40) and Clorinde (40), which were under false Spanish colours escorting troops ships to Guadeloupe on 13 December 1809: Shortland had no choice but to burn the Junon to prevent capture.

Guadeloupe2a

Coastal view of Guadeloupe, by John Everett, 19th c.

Vice Admiral Cochrane arrived off Guadeloupe on 27 January 1810.[223] Landings quickly reduced the island, the French garrison surrendering on 6 February, a success that was followed up by the capture of the Dutch islands of St. Martin, St. Eustatius and Saba, completed on 22 February.[224] This series of captures, which cost the British 300 casualties, left only the East Indies, Senegal and Mauritius in French hands.[225]


Dutch East Indies, 1809-1810
Drury

Rear Admiral William Drury

The Spice Islands, Moluccas (Maluku Islands, Indonesia), were a source of nutmeg, mace and cloves. The operation to secure this Dutch colony was led by Rear Admiral William O’Brien Drury, C-in-C Madras. 
Maluku

Maluku Islands


On 16 February 1810 a force composed of Dover (38, Captain Edward Tucker), Cornwallis (44, Captain William Montagu) and Samarang (18) put 400 men ashore at Amboyna (Ambon) Island in the Moluccas, the Dutch surrendering the island the next day.[226] A series of captures in the Celebes Sea followed, shortly thereafter the Sultan of Gorontale accepted British governance in place of the Dutch.[227]
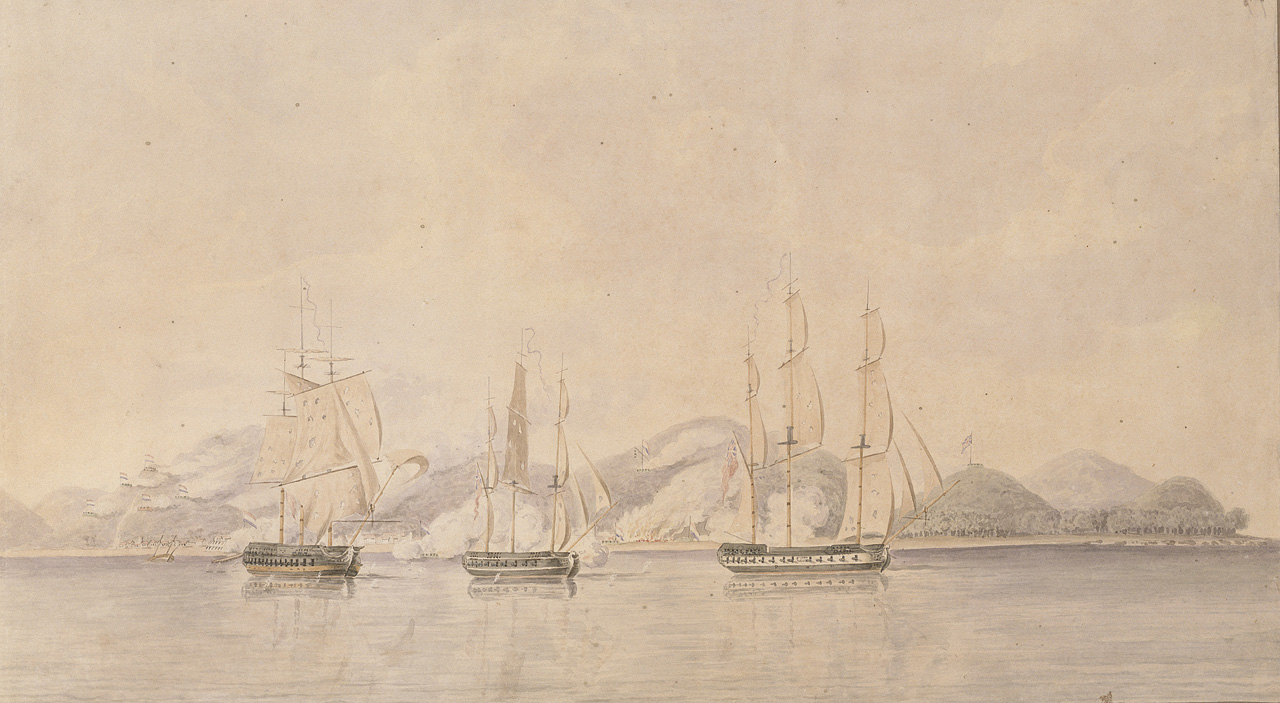
PY4086Amboyna (Ambon) Island, captured by Captain Sir Edward Tucker, 16/17 February 1810, drawing based on art by Lt. Richard Vidal
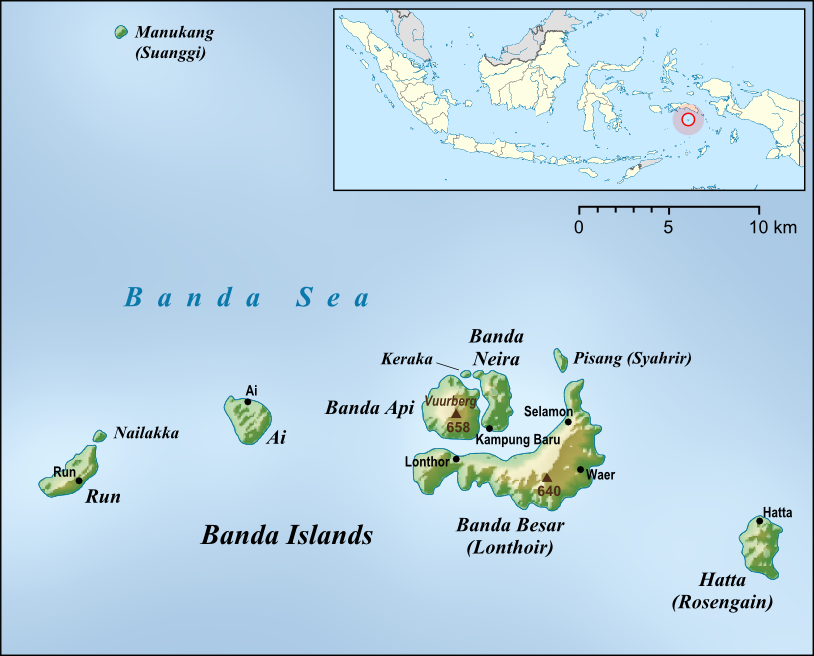
Banda Islands map

Map of the Banda Islands

The Banda Islands were next to fall, the expedition destined for that place under the command of Captain Christopher Cole in the Caroline (36), with Piedmontaise (38, Captain Charles Foote), and the brigs Barraconta (18) and Mandarin (12), sailing from Madras on 10 May, loading artillery at Penang before departing on 10 June and passing through the Strait of Singapore on the 15th.[228] 
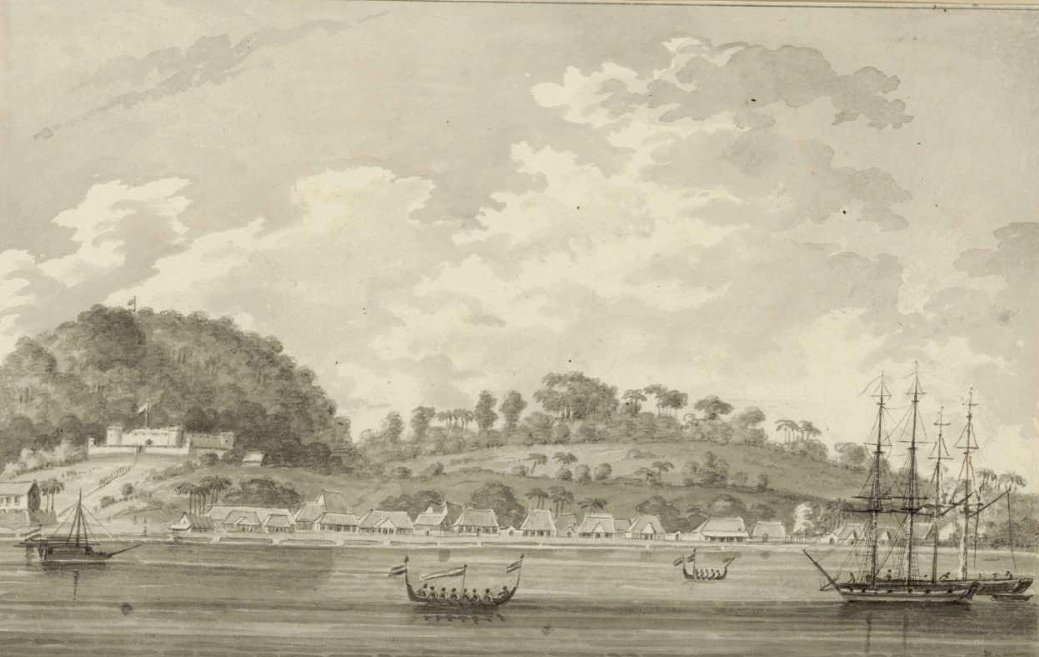
Banda2

Banda Neira in 1821

Fort Belgica

Fort Belgica, Banda Neira, Indonesia.

The Banda Islands were sighted the evening of August 8th, and a landing quickly organized for 11 pm. Poor weather prevented the immediate landing, but 180 men got ashore the next morning and Castle Belgica was taken by storm, after which the Dutch garrison of 1,500 surrendered.[229] Captain Cole was knighted on 29 May 1812 for this fine work.

Banda Neria

Banda Neira under British occupation after its capture on 9 August 1810, painting by Captain Christopher Cole, made by Longman, Hurst, Rees, Orme & Browne

Senegal, 1809

Goree

Goree Island off Senegal, by Charles Randle, 15 November 1815

Captain Edward Columbine in the Solebay (32), senior officer at Goree, launched a combined effort with Major Charles Maxwell to reduce Senegal in the summer of 1809.[230] Their small flotilla consisted of the frigate Solebay, two brigs, seven schooners and sloops, plus several transports carrying a mere 166 officers and men for the landing party.[231] They departed on 4 July, arriving off Senegal on the 7th,[232] and the landing took place the following day. Due to the 400 French soldiers defending Senegal it took until the 13th to convince the enemy to surrender.[233]


Capture of Mauritius, 1809-1810
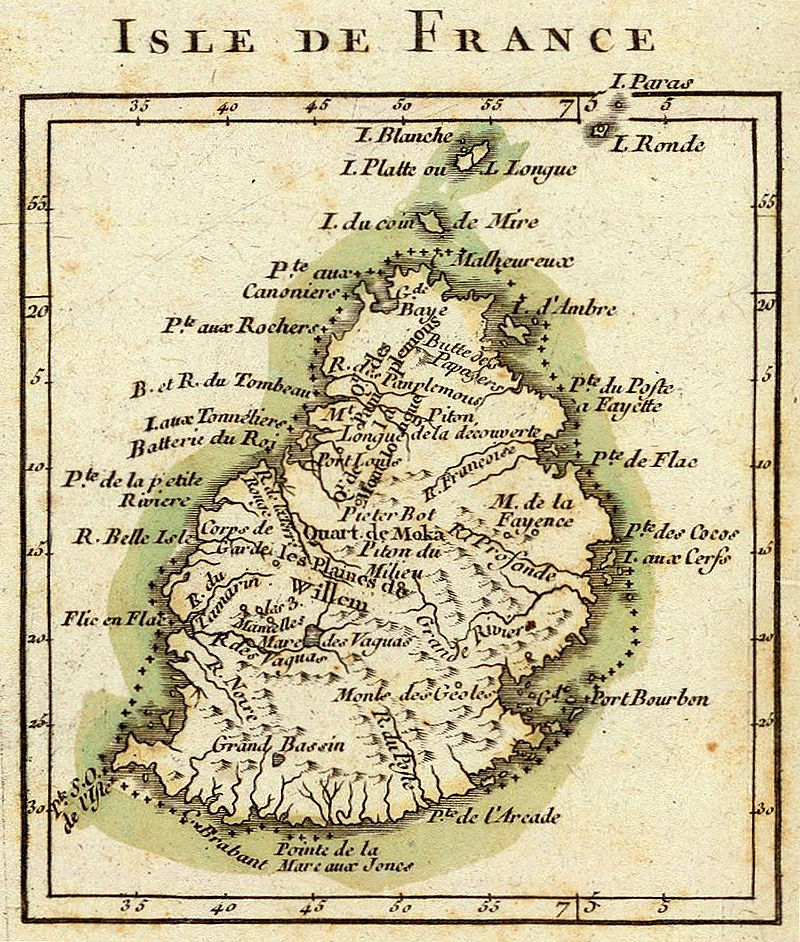
Ilse de France

Isle de France in 1791

Mauritius was a constant source of irritation as it threatened the security of merchant traffic rounding the Cape of Good Hope or sailing in the Indian Ocean. By the fall of 1810 there were five French frigates, a corvette and two brigs at Port Louis. To blockade this force, Vice Admiral Albemarle Bertie, in command at the Cape,[234] had the Boadicea (38), flag of Commodore Josias Rowley, the Nisus (38, Captain Philip Beaver) and the Nereide (38, Commander George Henderson).[235]

Mauritius 2

Mauritius and Reunion relative to  Madagascar

With Bertie engaged in the blockade, Lord Minto, the Governor General of India, and Admiral Drury C-in-C Madras, determined to reduce the islands, encouraged by Castlereagh who was desirous of protecting the British merchant traffic to India and China.[236] Reunion (Bourbon) was the source of food supply for Mauritius (Isle de France), and thus that latter target had to be reduced first. Reunion fell quickly on 8 July.[237]
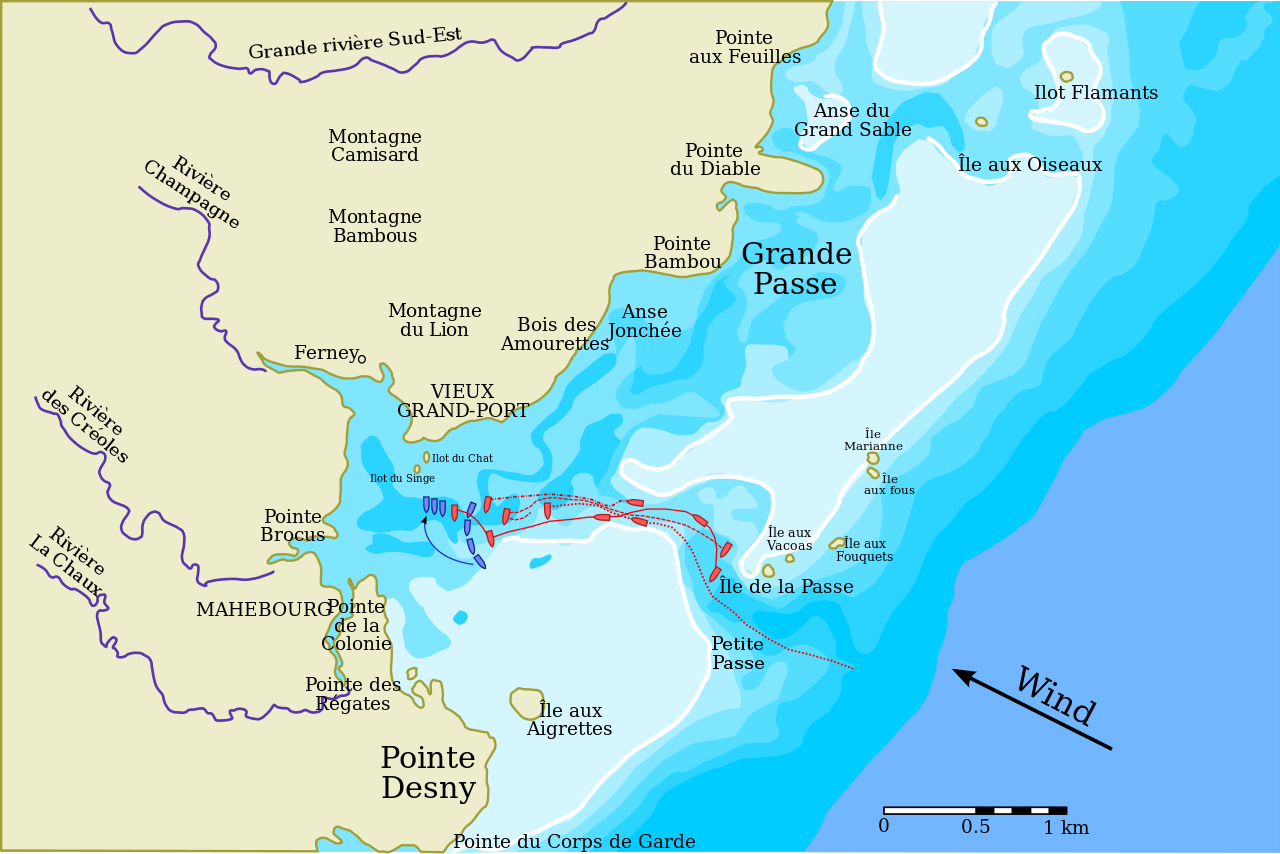
Battle of the Grand Port

Battle of the Grand Port, 23 August 1809

The main invasion force for Mauritius was assembling at Cape Town, and on August 23rd a small British squadron attempted to penetrate the French anchorage at Grand Port, Mauritius. Captain Nesbit Willoughby led the effort in the Nereide, followed by the frigates Sirius, Magicienne, and Iphigenia. Sirius and Magicienne however ran aground on the local coral reefs, with Nereide and Iphigenia than isolated against four French frigates. During the resulting engagement the British frigates were badly damaged and Sirius and Magicienne had to be burnt to prevent capture, while Nereide was captured, followed by Iphigenia four days later, increasing the French squadron to six frigates.[238] This bloody affair produced 2,000 British casualties, the only significant French naval victory of the Napoleonic War.[239]
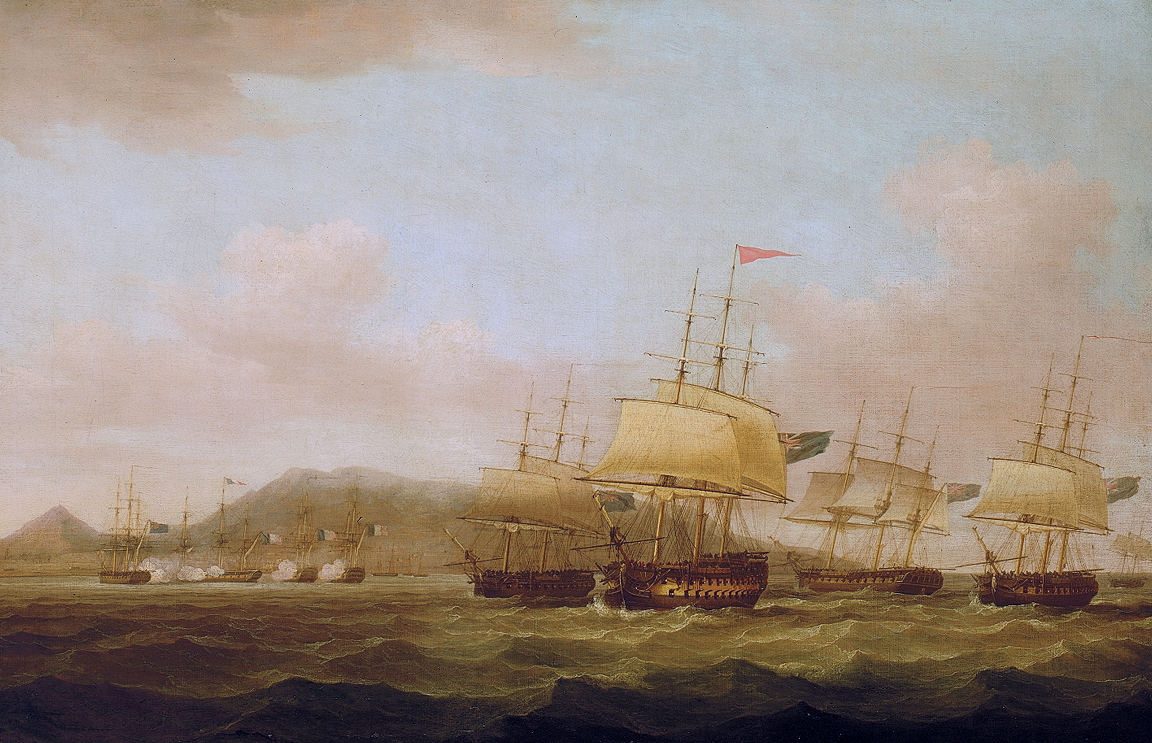
whitcombe

September 1809, landing at St. Paul on Reunion, by Thomas Whitcombe

Mauritius invasion force

The Mauritius invasion force

Although the only major French tactical victory of this phase of the war, the result was of little operational significance as the Mauritius invasion force, composed of between 6,800-7,000 troops from India under Vice Admiral Bertie and Major General John Abercromby, departed Cape Town on 22 November 1810 and arrived at its destination six days later.[240] The landing took place on the 29th, with 50 boats carrying 1,555 men under Captain William Montagu of Cornwallis (44) leading the first shore party. General Decaen’s garrison of 3,000 was fought outside Port Louis on 1st December. Having sustained heavy casualties Decaen offered terms the next day and then formally surrendered his remaining 1,300 men and 290 guns, not to mention 24 French merchants and several captured British vessels, on the 3rd. British casualties were 28 killed, 94 wounded and 45 missing.[241]
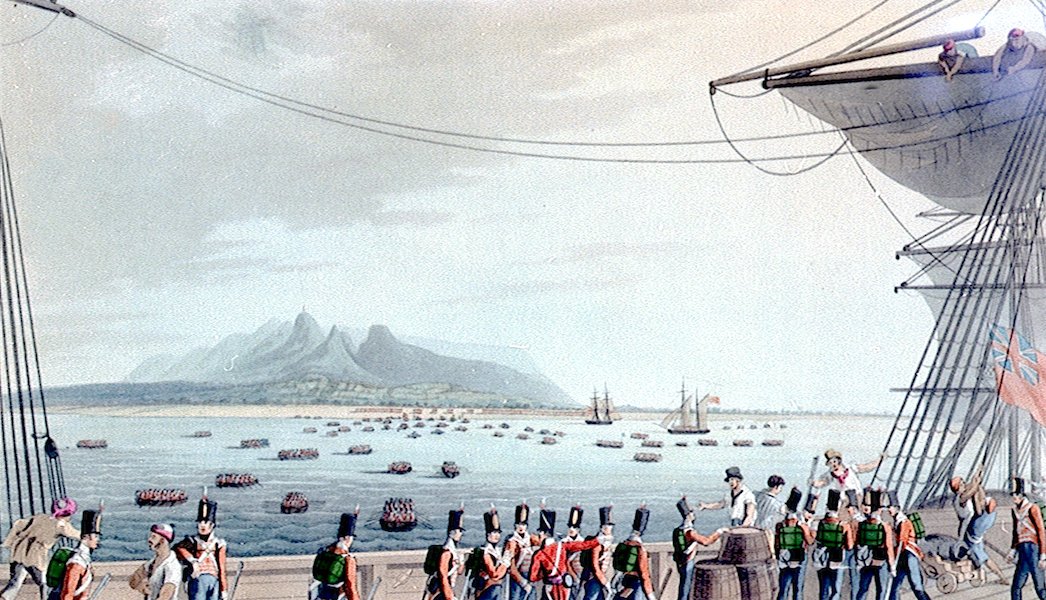
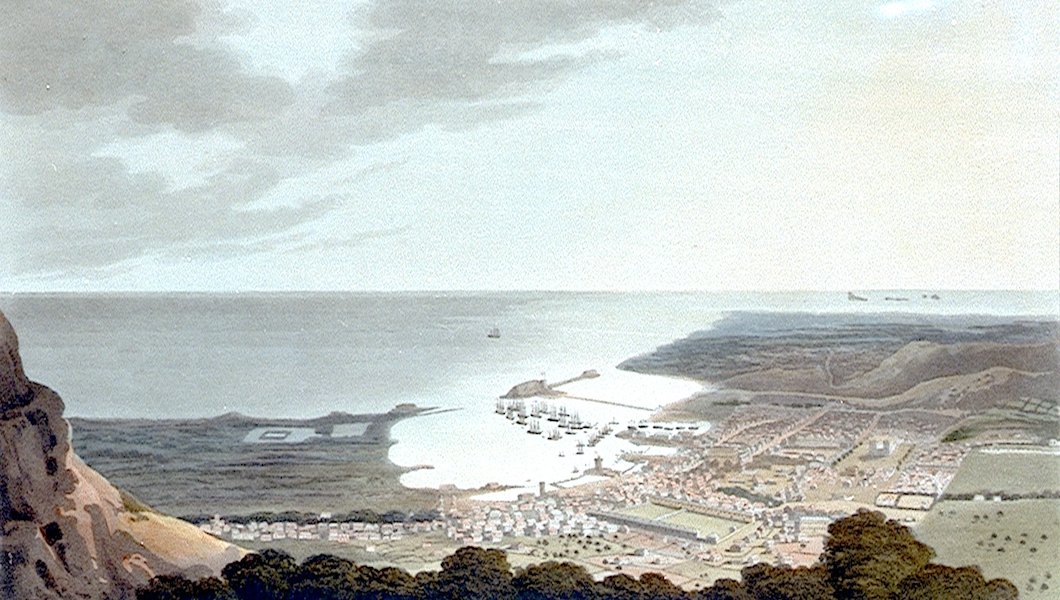
Richard Temple, Landing at MauritiusRichard Temple

Landings at Mauritius by Richard Temple, c. 1810

The small French garrison at Tamatave, Madagascar, was captured by the 18-gun sloop Eclipse on 12 February 1811, but was retaken by three French frigates from the Brest squadron on 19 May. This small French force was defeated during an engagement between 20-25 May and Tamatave was quickly recaptured, at last clearing the French from the Cape route.[242]

The events of 1809-1810 at sea demonstrated the Royal Navy’s mastery of amphibious operations, and a growing willingness to take risks to secure major strategic targets, such as at the Basque roads and at Walcheren. The reduction of France’s overseas naval bases at Martinique, Guadeloupe, and Mauritius, dramatically improved Britain’s trade security.


The Peninsula, 1809-1814

wellington-landing-Lx-1809

Sir Arthur Wellesley returns to Portugal, 22 April 1809

Stepping back now to 1809 to examine the situation on the Peninsula: Lt. General Arthur Wellesley returned to Portugal on 22 April 1809, his army at this time numbering 21,000 or 28,000 British and 16,000 Portuguese. He had a daunting task, Soult had 360,000 men in the French Army of Spain and had already won a crushing victory against the Portuguese at Oporto on 28/29 March.[243] 
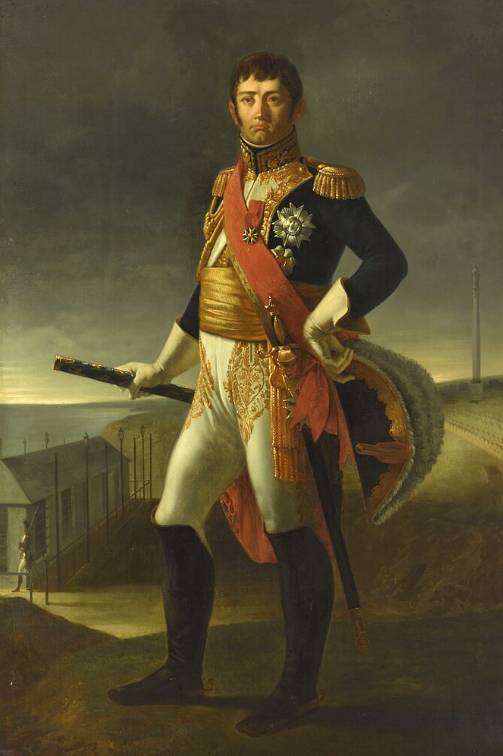
Soult

Marshal Jean de Dieu Soult, by Louis-Henri Rudder & Jean d’apres Broc
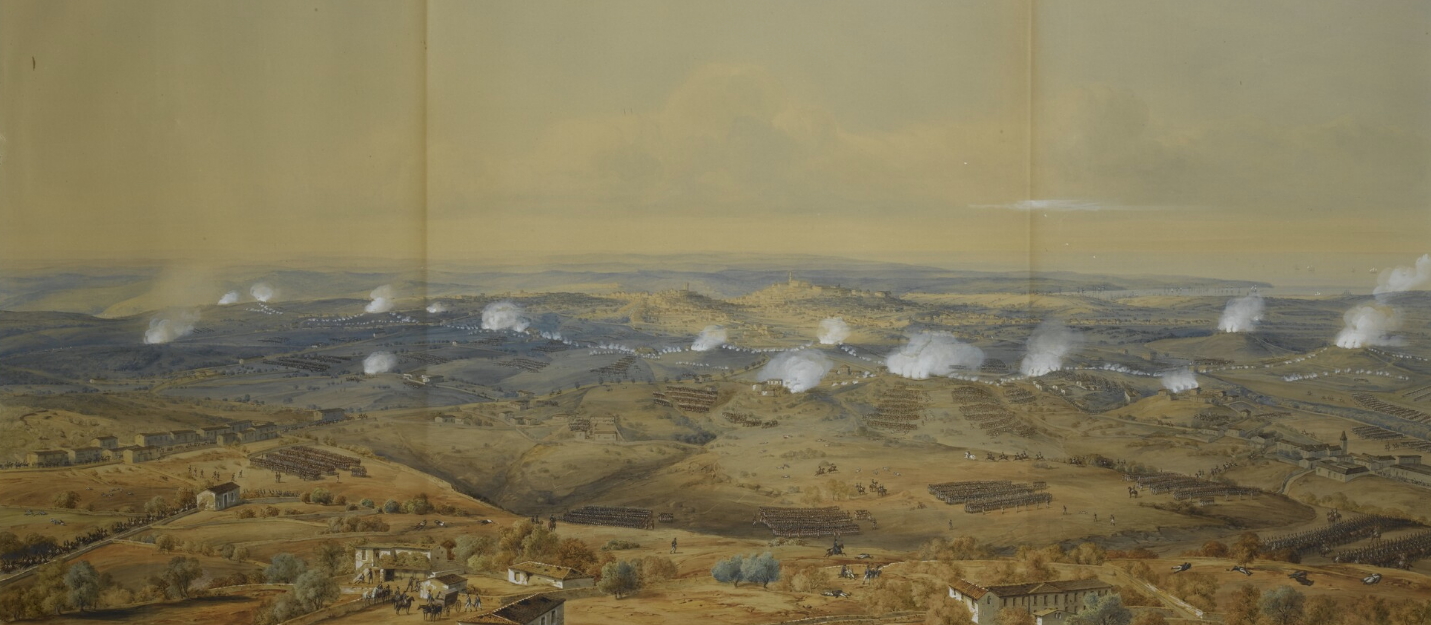
Oporto

The First Battle of Oporto, 28 March 1809 by Simeon Fort
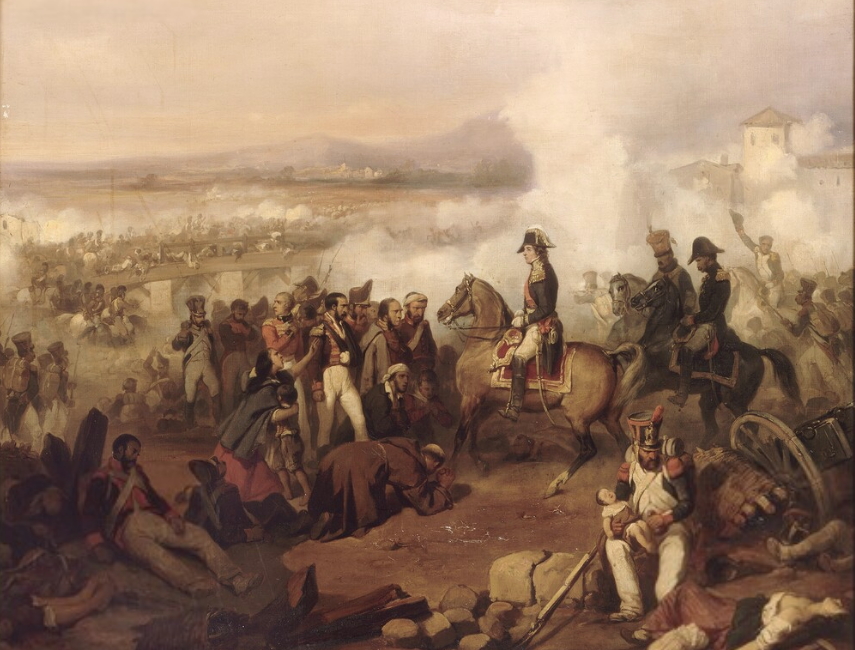
Soult

Marshal Soult commanding at Oporto, 28/29 March 1809, by Joseph Beaume

Wellesley reversed Soult’s victory by crossing the Douro on 12 May, then capturing Oporto, thus forcing Soult to retreat with loss of his baggage and guns.[244]
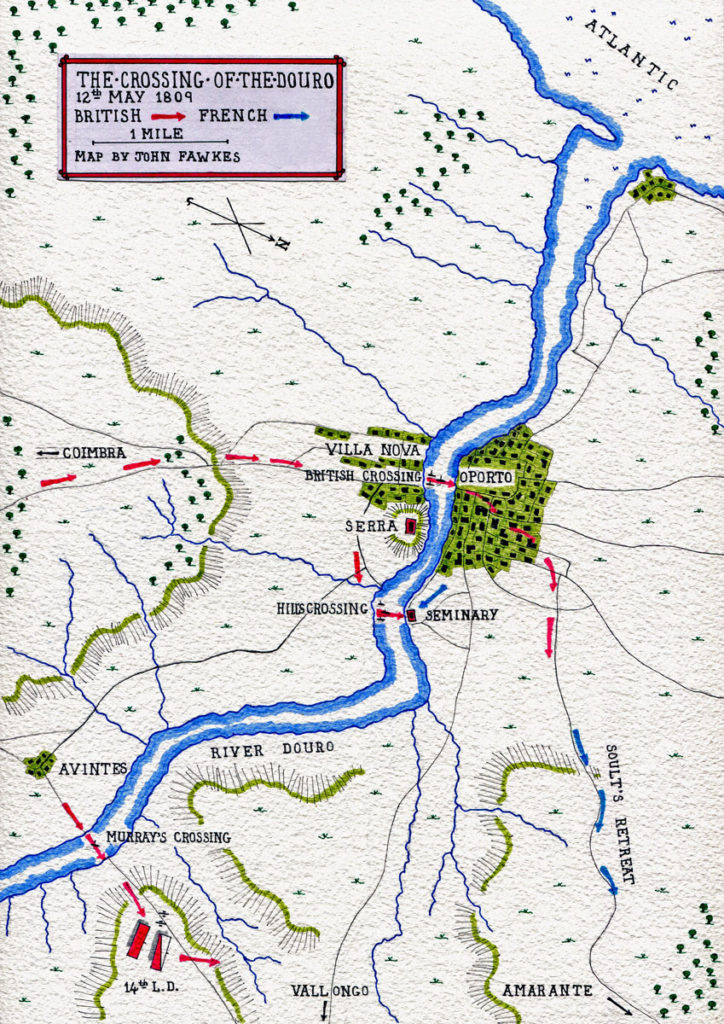
Douro

Wellesley crosses the Douro, 12 May 1809

In June Wellesley advanced into Spain along the Tagus valley, his mission being to locate Victor and bring him to battle while Ney and Soult were distracted in Galicia suppressing partisans.[245] 

talavera

Talavera, 27/28 July 1809

Despite short supplies and lack of Spanish support,[246] Wellesley won the two-day defensive battle at Talavera, 27/28 July, with his combined army of 52,000 against 46,000 French under King Joseph supported by Victor and Jourdan, the French sustaining 7,200 casualties and losing 17 guns, the British 5,300 men. Afterwards Wellesley withdrew to Lisbon, avoiding the approach of Soult’s northern flank and began to fortify the countryside [247] On 4 September Wellington was made Viscount.
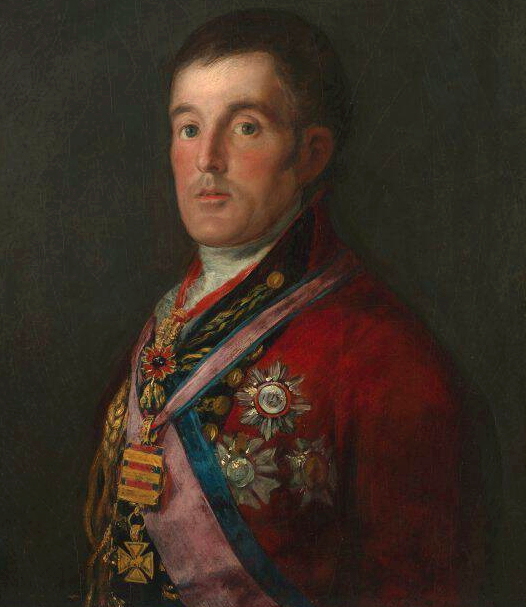
goya2

Wellington, by Francisco de Goya, c. 1812-14
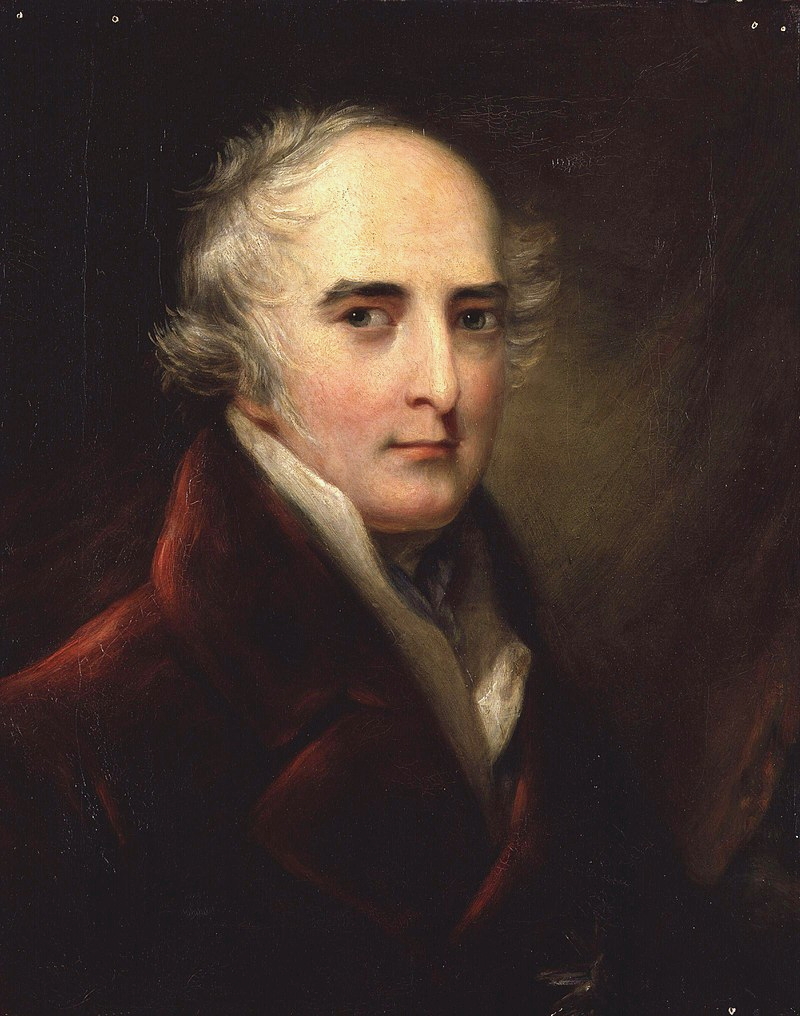
Wellessley2

Marquess Richard Wellesley,  Tory Foreign Secretary 1809-1812, Wellington’s older brother, painted by John Philip Davis 

Napoleon meanwhile flooded reinforcements into Spain, enabling Joseph, Soult and Victor to crush Spanish opposition during 1810.[248] This was temporarily to Britain’s benefit as the operations in southern Spain gave Wellington some breathing space.
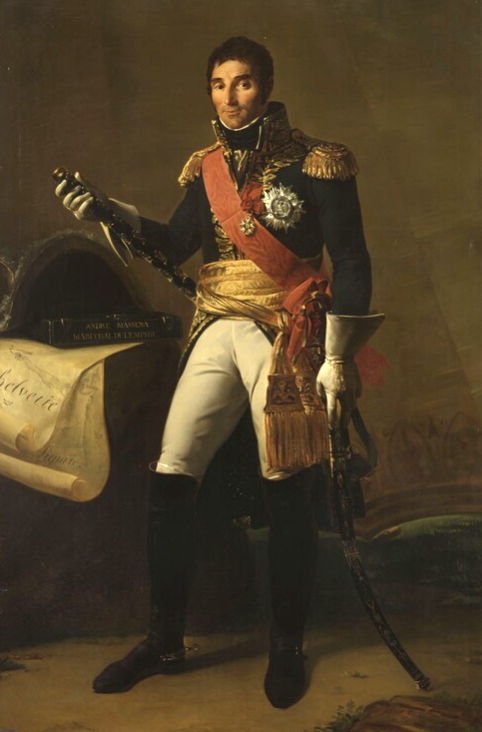
Massena

Andre Massena, who replaced Soult on the Peninsula in 1810

The reprise did not last long however as Massena invaded Portugal that September and forced Wellington, with about 50,000 combined against Massena’s 65,000, to fight a series of defensive battles between 27 September and 10 October. 
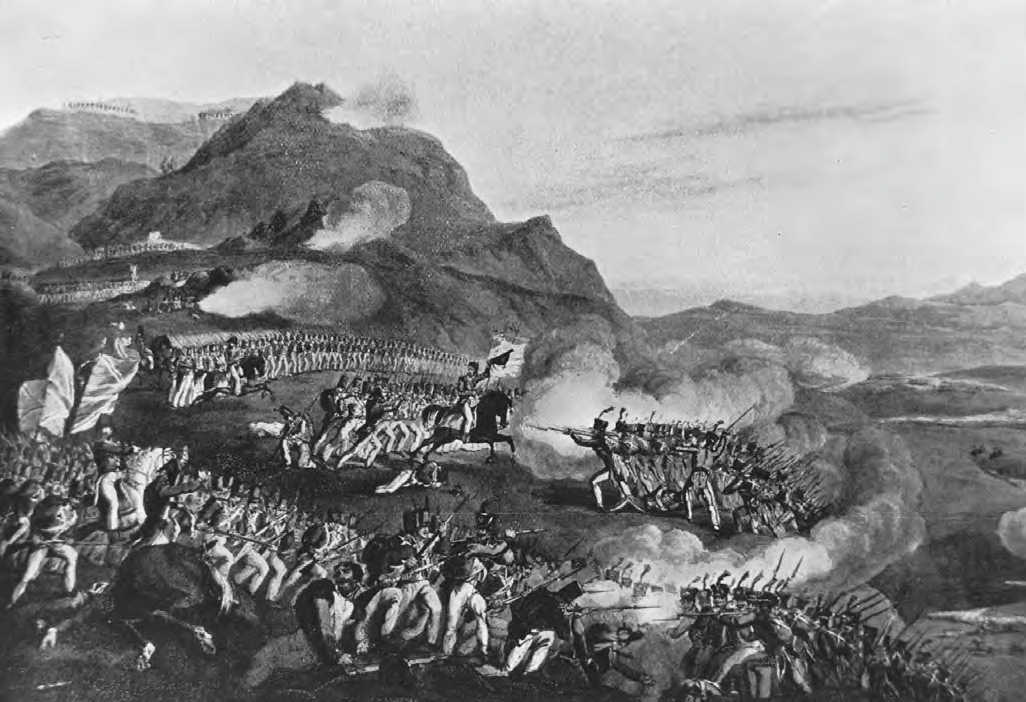
 

St._Clair-Battle_of_Bussaco

Battle of Busaco, 27 September 1810, the first of the defensive battles Massena fought against Wellington during the fall of 1810 as the French attempted to eject the British from Portugal

Wellington was under orders from Liverpool and Percival to husband his resources, and evacuate if necessary.[249] Massena, however, could not turn Wellington out from his defensive lines, but was content to pin the British until March 1811, at which point, having sustained 25,000 losses from partisans, guerillas, and hunger, he withdrew.

Massena was reinforced over the course of the spring and between 3-5 May 1811 with 48,000 men fought Wellington’s 37,000 to a stalemate at Fuentes de Onoro. Wellington’s supply lines were tenuous, in fact requiring Admiral George Berkeley to manage imports of grain from the United States and cattle from North Africa, all lubricated by silver that was obtained from South America.[250] Between 1808-1811, furthermore, the Navy transported 336,000 muskets, 100,000 pistols, 60 million cartridges and 348 artillery pieces to the Peninsula to aid the Portuguese and Spanish. The monetary cost of the Peninsula campaign was £3 million in 1809, £6 million in 1810, and £11 million in 1811.[251]
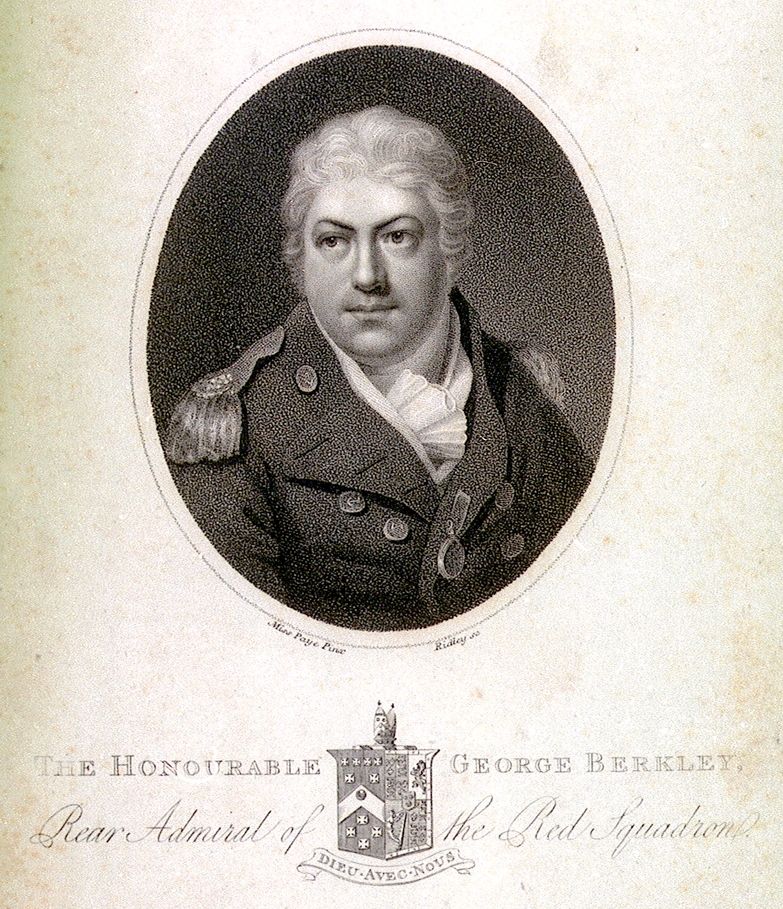
berekely

Admiral George Berkeley, commanding at the Tagus in 1810, engraving by Miss Paye, William Ridley, and Joyce Gold. Incidentally, Berkeley had been responsible for ordering the Leopard to board USS Chesapeake in 1807.

Wellington proceeded to lay siege to Badajoz from 29 May to 19 June, while Napoleon recalled Massena and replaced him with Marmont. At the end of 1811 however Wellington withdrew to Portugal, without capturing Badajoz. He at last succeeded in capturing Badajoz on 6 April 1812.
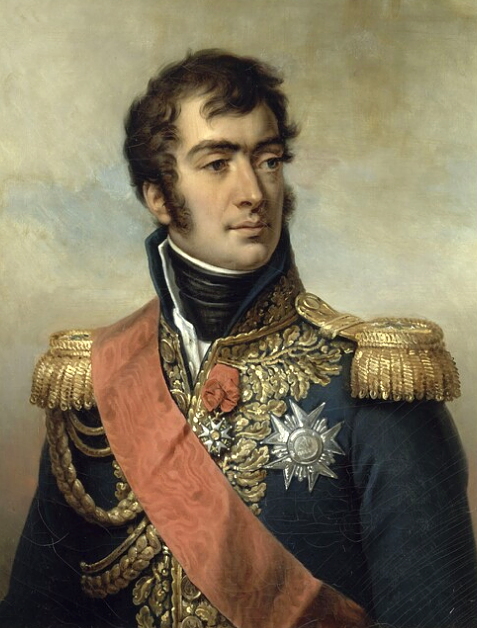
Marmont

Auguste-Frederic-Louis Viesse de Marmont, by Jean-Baptiste-Paulin Guerin 

Wellington now marched into Spain, dividing Soult and Marmont from each other, and entertaining Marmont from June until July when French reinforcements forced Wellington back to Portugal. Marmont attempted to outflank him before he could withdraw, but was instead crushed at Salamanca with the loss of 14,000 men. Joseph, panicking, fled Madrid which Wellington then duly entered on 12 August.[252]
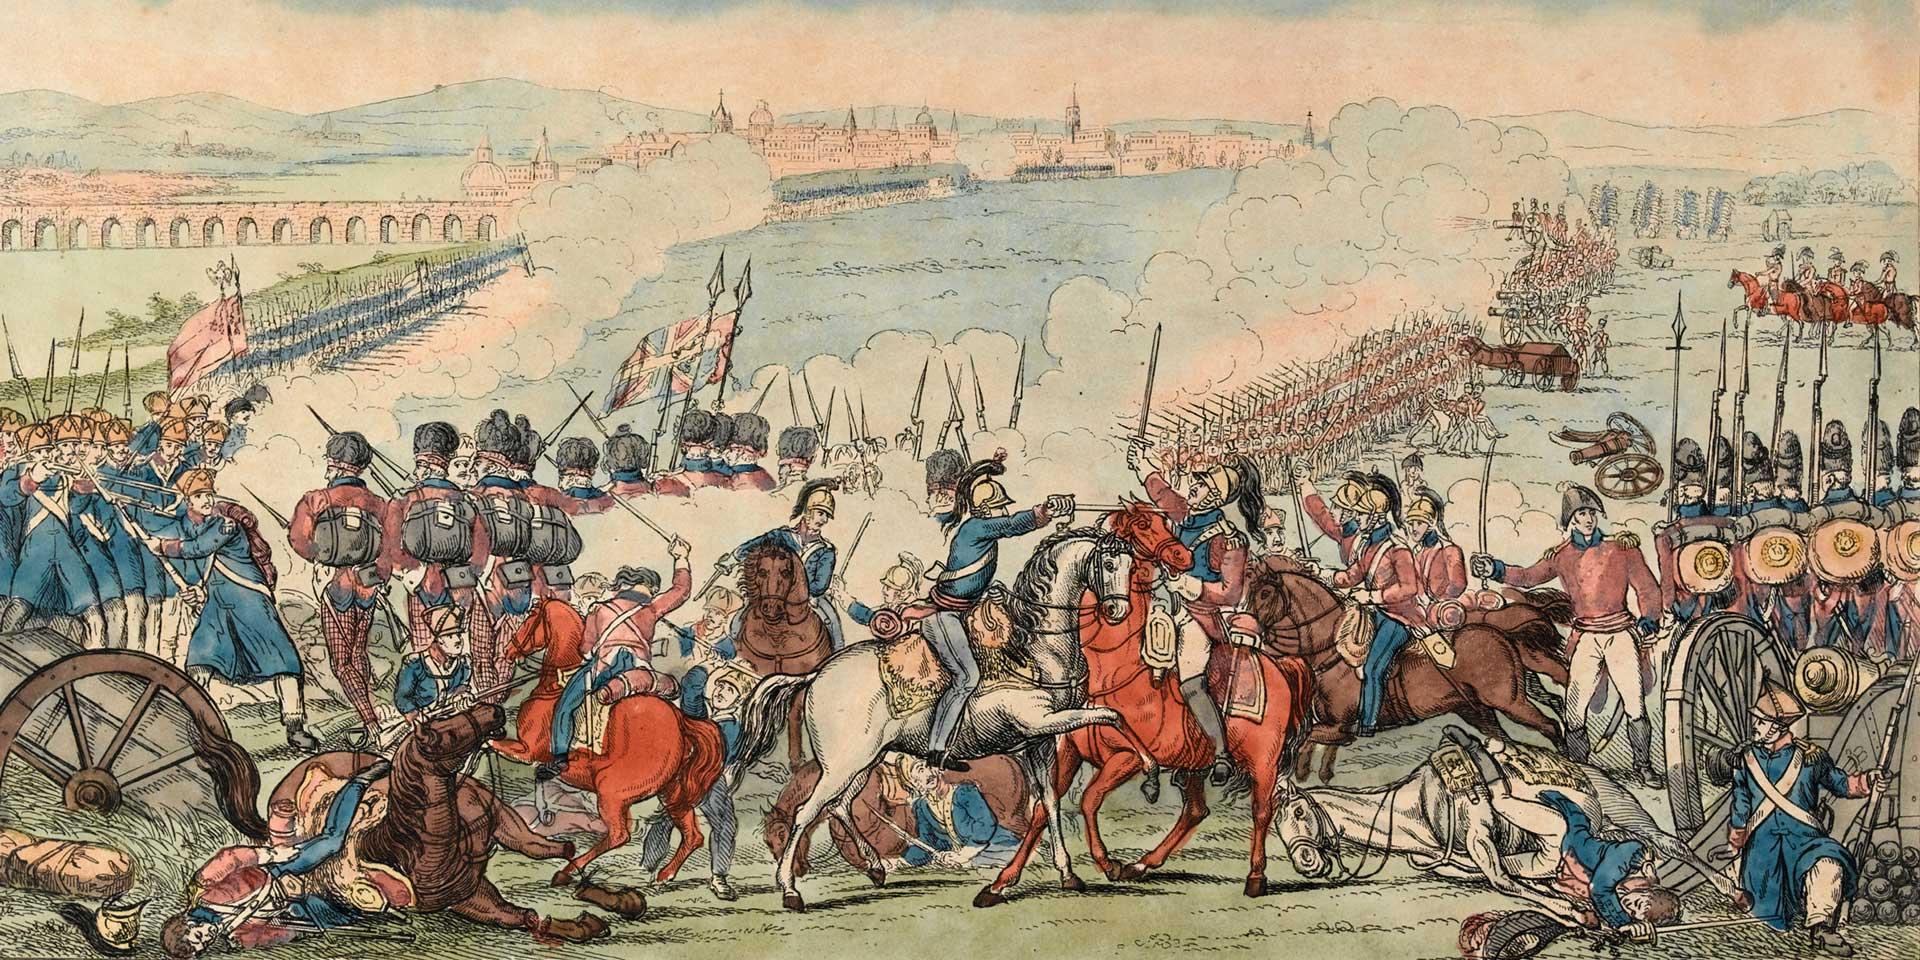
Salamanca

Battle of Salamanca, 22 July 1812

Clauzel

Bertrand Clausel by Georges Rouget

This was all ill news for Napoleon, engaged in his Russian misadventure, and Marmont was recalled and replaced by Clauzel, the French now beginning a concentration under Soult and Joseph. Wellington laid siege to the fortress of Burgos between 9 September and 18 October but was forced to lift the siege when French relief arrived. Nevertheless, the steady pressure in Spain was bleeding the French occupation force as Wellington’s combined force gradually increased to 96,000.[253]
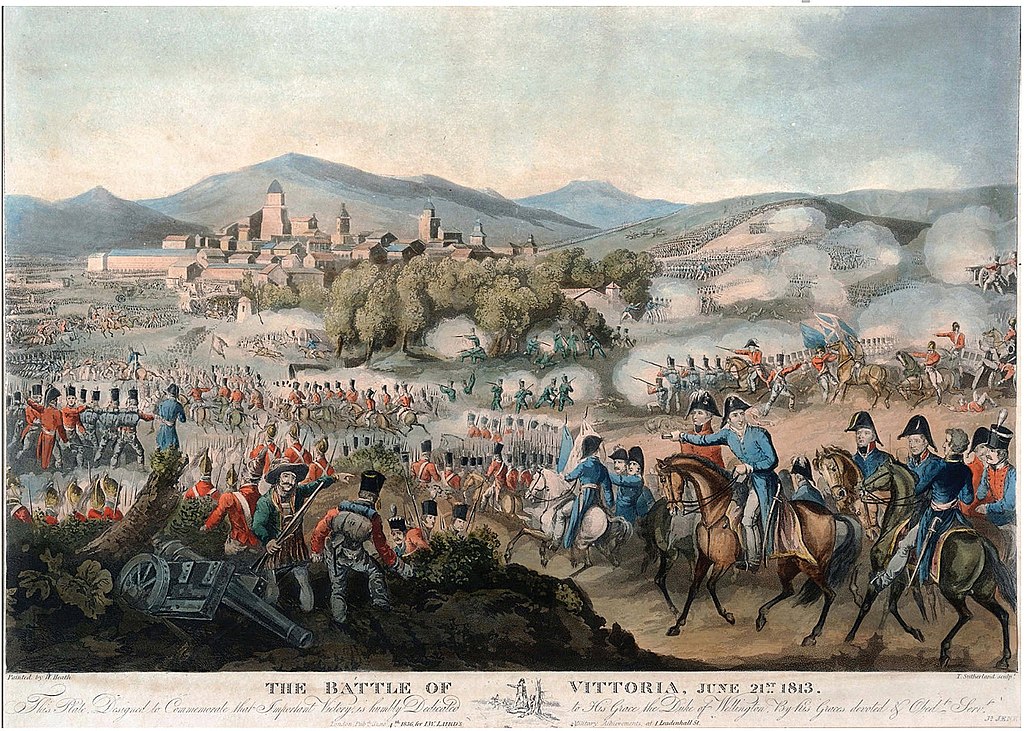
Vittoria

Battle of Vittoria, 21 June 1813

By 1813 the situation was critical. On 21 June Wellington with 70,000 defeated Joseph’s 50,000 at Vitoria, capturing 143 guns and much treasure, at which point Napoleon, given some breathing space during the armistice of Plaswitz, put Soult in overall command. Wellington captured San Sebastian on 31 August, and by 10 December had penetrated into France proper, first capturing Boudreaux and then at last taking Toulouse on 10 April 1814.[254]


Part IV

1812

Naval Operations 1811-1812: Battles of Lissa, Pirano, Capture of Java, the United States’ War & Napoleon’s 1812 campaign
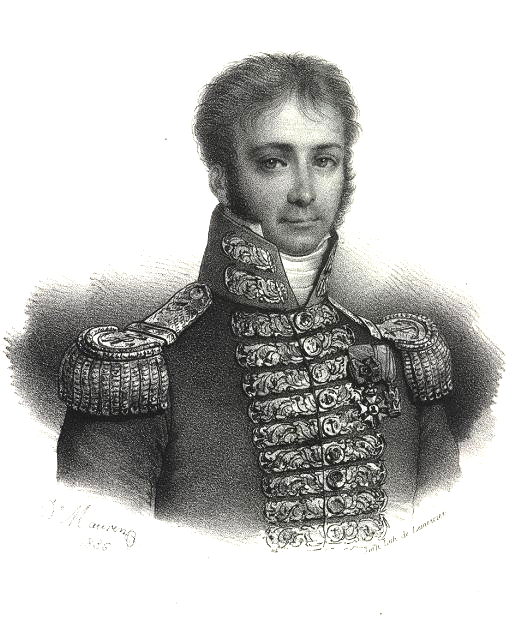
Dubourdieau

Rear Admiral Bernard (Edouard) Dubourdieau

To return now to the east and the situation in the Adriatic. In the spring of 1811 French and Venetian frigates attempted to disrupt Captain William Hoste’s detachment based at Lissa in the Adriatic, hoping to impact supply lines for the Illyrian campaign. On 13 March Rear Admiral Bernard Dubourdieu was killed with loss of four of his 6 frigates (three French, three Venetian, plus two brigs), fighting Captain Hoste’s three frigates and a 22 gun sloop, with Hoste’s flag in the 32 gun Amphion,.[255] The British suffered 45 killed and 145 wounded in this desperate battle but nevertheless defeated the combined Franco-Venetian squadron.[256]
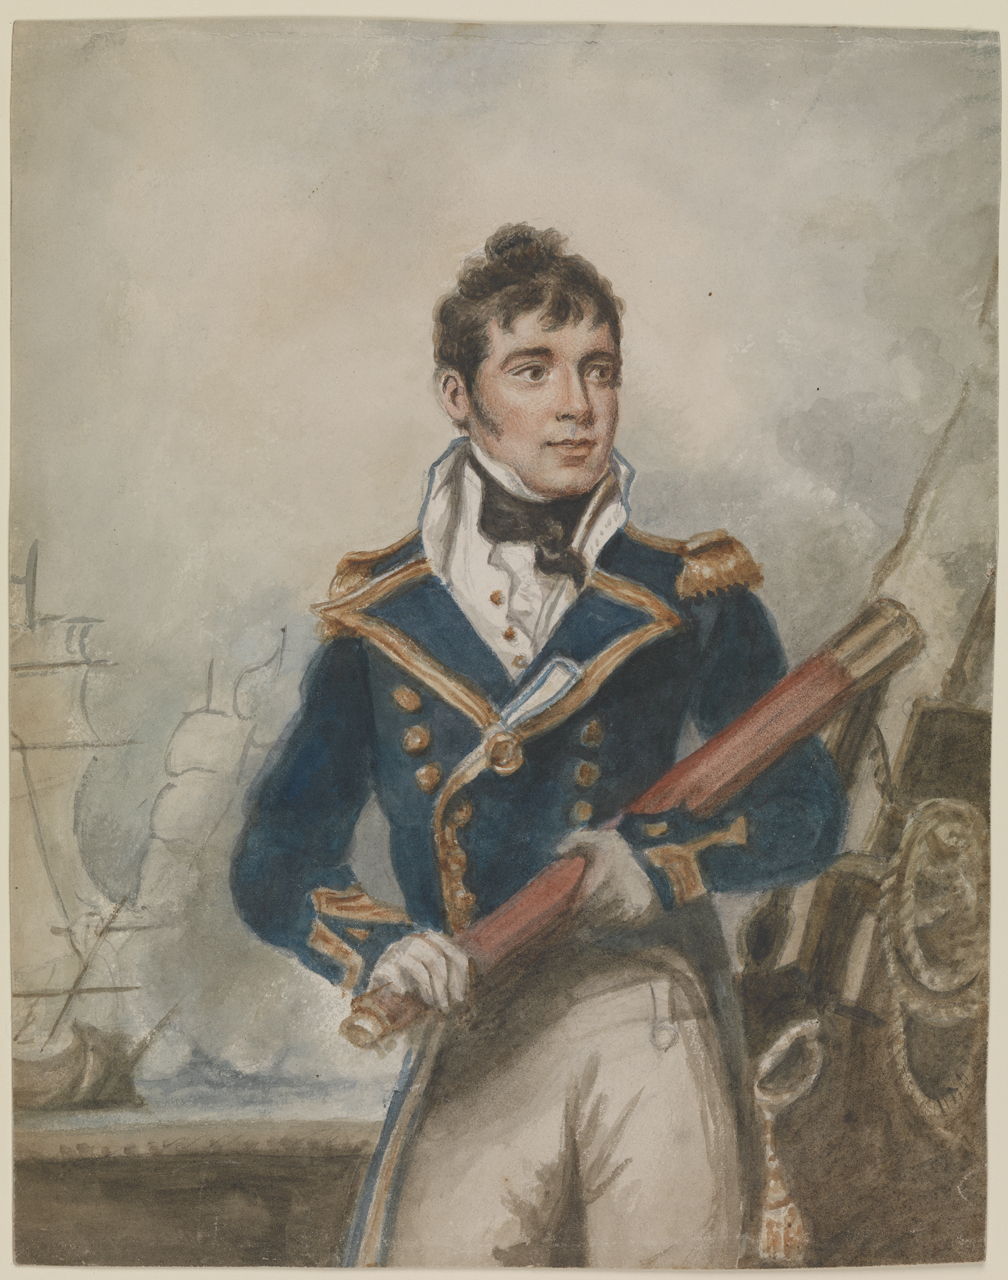
Captain William Hoste

Captain Sir William Hoste, by William Greatbach c. 1833

Lissa

Battle of Lissa, 13 March 1811

Hoste sailed to Malta for repairs. On 25 March two French 40-gun frigates out of Toulon escorted a 20-gun storeship carrying 15,000 rounds of shot and shells and 90 tons of gunpowder to Corfu. Admiral Sir Charles Cotton detached Ajax (74, Robert Waller Otway) and Unite (36, 18-pdrs, Captain Edwin Henry Chamberlayne) in pursuit. Although the French frigates escaped, the 800-ton ammunition storeship was captured (W. James, Naval History of Great Britain, vol. V, 1859, p. 245/6). In July a French grain convoy destined for Ragusa was captured and in November another French frigate and brig were taken. In 1812 the 74-gun Venetian Rivoli was prevented from impacting operations when it was captured by HMS Victorious (74) at the Battle of Pirano, 22 February 1812.[257]
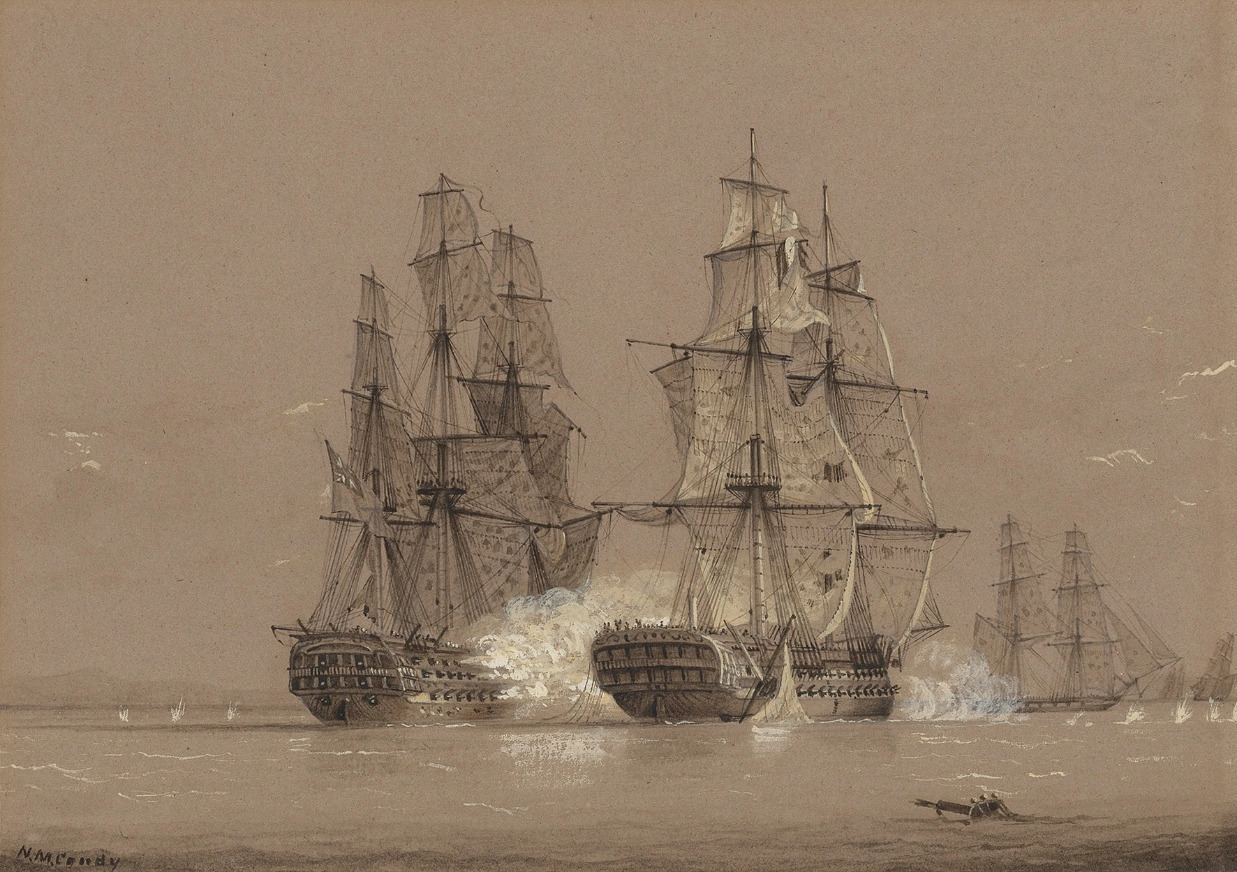
Rivoli

Battle of Pirano, 22 February 1812

Vice Admiral Freemantle

Rear Admiral Thomas Fremantle, commanded in the Adriatic in 1813, engraving by Edmund Bristow and Edward Scriven, c. 1822

Late in 1813 Captain Hoste served under Rear Admiral Thomas Fremantle during the bombardment of Trieste before it was captured by the Austrians on 29 October.[258] On 5 January 1814 Fremantle and Hoste forced Cattaro to surrender and on the 28th they captured Ragusa. By the end of February every French possession in the Adriatic had surrendered.[259] In March they took Spezzia and then Genoa in April before Napoleon abdicated.[260]


Capture of Java
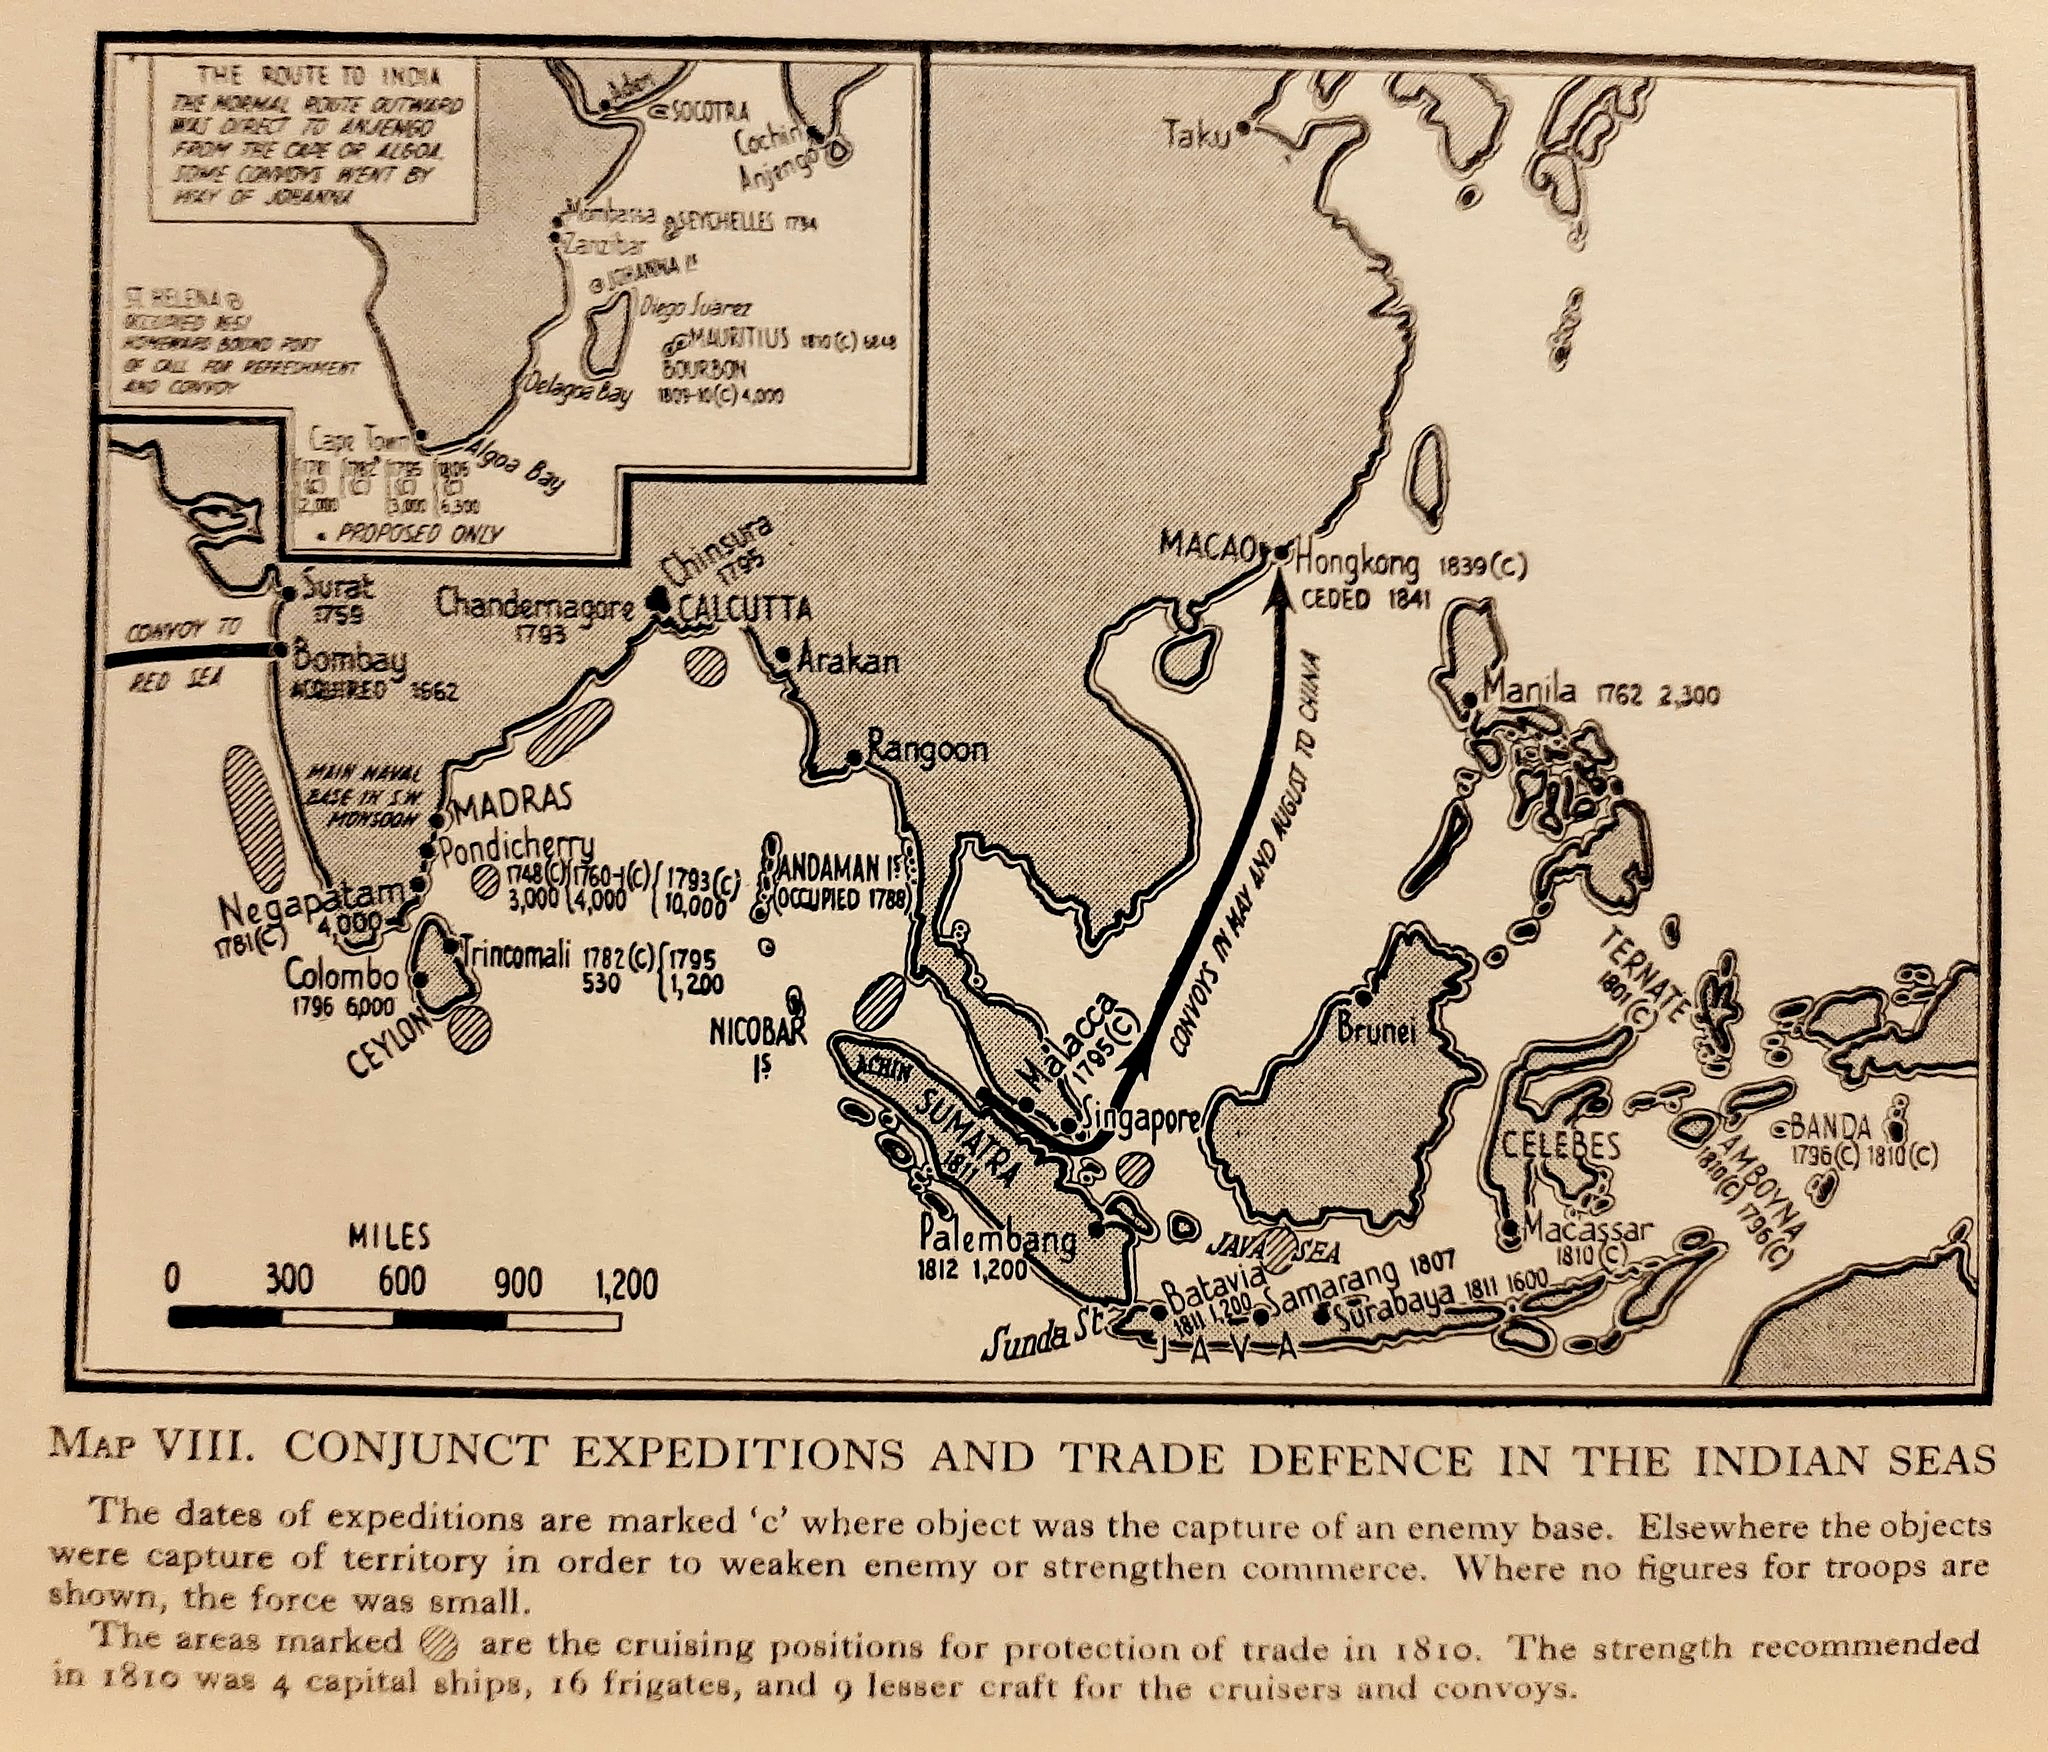
India

Operations in the Indian Ocean and South China Sea, from Richmond, Statesmen and Sea Power (1946)

Christopher COle

Captain Christopher Cole, C-in-C Madras after the death of Vice Admiral William Drury, painted by Margaret Carpenter, c. 1820-1824

By the end of 1809, with operations in the West Indies complete, focus shifted to the East Indies, where the invasion of Java now became a possibility. Java, as we have seen, was an important spice island and base for Dutch merchants and warships. Rear Admiral Pellew had reconnoitered Batavia in 1809 and considered invasion, but the project penultimately became that of Vice Admiral William Drury, who died however on 6 March 1811. Captain Christopher Cole, tasked with carrying out the operation at last, sailed from Madras aboard the Caroline (36) with a landing force under Colonel Robert Gillespie. They anchored at Penang on 18 May, and on the 21st the second force under Captain Fleetwood Pellew arrived in the Phaeton (38), transporting Major General Wetherall.
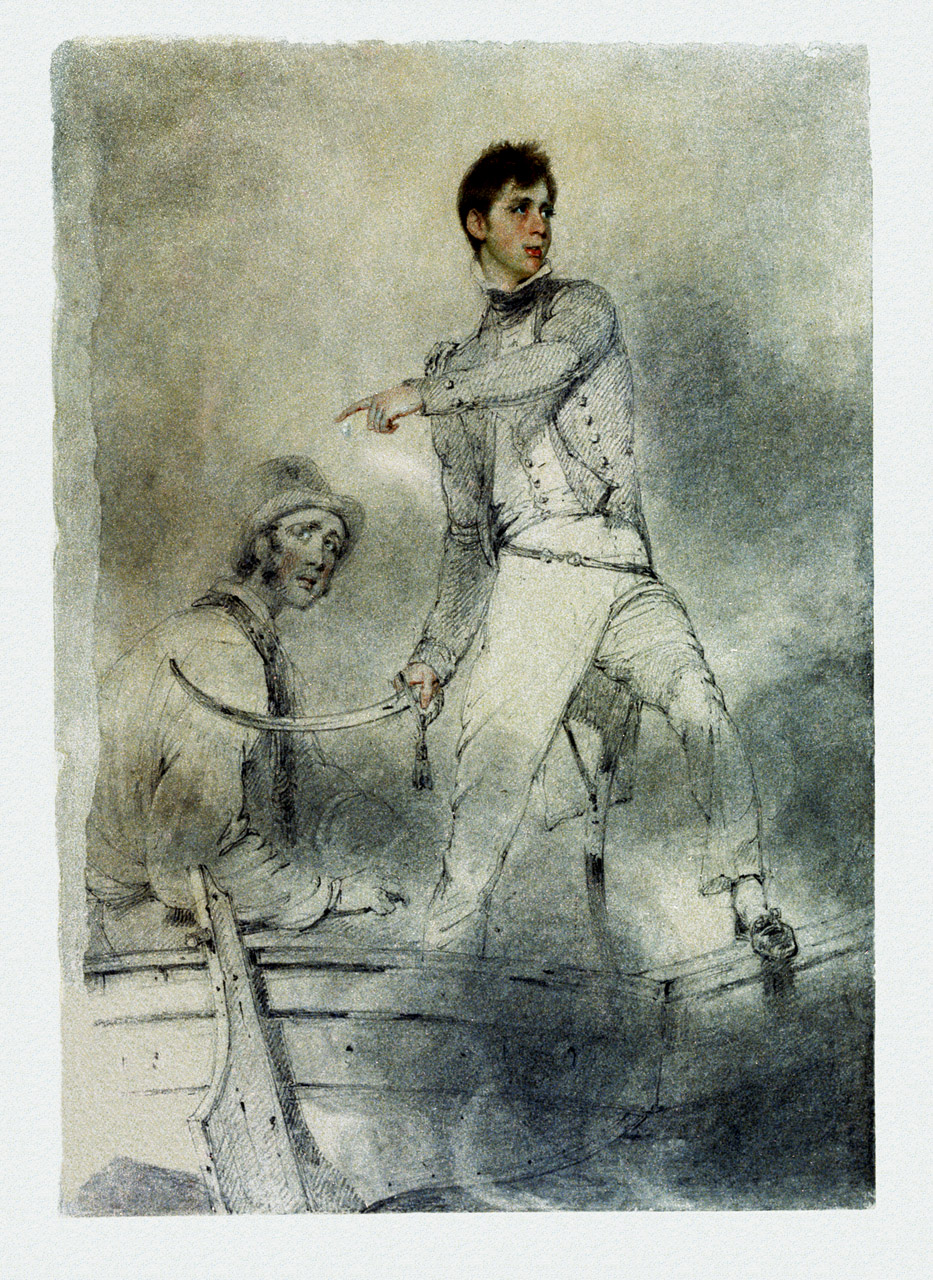
Fleetwood Pellew

Captain Fleetwood Pellew, drawing by George Chinnery, May 1807

Broughton

Commodore William Broughton

The expedition sailed on the 24th the two groups aiming for Malacca, and arriving there on June 1st were they were joined by Commodore William Broughton in the Illustrious (74), and Rear Admiral Robert Stopford in the Scipion (74). The invasion force now constituted 11,960 men, of whom 5,344 were European regulars.[261] (W. James, Naval History of Great Britain, vol. V, 1859, p. 295/6)


Javainvasion

The Java invasion force

Java1811

Java theatre of operations

After disembarking 1,200 sick cases the invasion force departed Malacca on 11 June. In the meantime several reconnaissance operations and raids were carried out, such as on 23 May when Captain Harris in Sir Francis Drake (32, 12 pdrs) located 14 felucca and prow rigged Dutch gunboats (a 7-inch howitzer and one 24 pdr carronade, 30 oars), 13 miles north east of Rembang, and silenced them with two broadsides, and then dispatching four six oar cutter and a gig as a boat attack, carried out by Lieutenants James Bradley and Edward Addis, Lt. Knowles, Lt. George Loch, Royal Marines, three or four midshipman and 12 privates from the 14th Regiment, who captured all nine remaining gunboats [262]. On 27 July Captain Sayer of the Leda (36, 18 pdrs), who along with Captain Edward Hoare in the Minden (74) carried orders for Batavia (the Batavian Republican having been annexed by Napoleon in July 1810), landed 21 year old Lieutenant Edmund Lyons with a small force including 19 prisoners to gather intelligence on the island.

On the 29th Lt. Lyons, who had with him only 35 officers and men, determined to carry out an attack against the local strongpoint, Fort Marrack, a colonial stone fort with a garrison of 180 soldiers mounting 54 cannon variously 18, 24 and 32 pdrs, that Captain Sayer originally believed would require a battalion worth of soldiers to capture. Amazingly, Lyons waited until midnight in his flat boats and when the moon cleared landed his small contingent, stormed the fortress walls with ladders, carried the gun batteries and baffled the defenders to the extent that when his 34 men charged the assembled defenders the garrison fled at Lyons’ claims that he had 400 men. Lyons’ men spiked the guns and snatched the fort’s flag before they withdrew to collect their laurels. Lyons, whose long career included being Black Sea Fleet commander during the Crimean War, was here promoted to Commander on the spot (W. James, Naval History of Great Britain, vol. V, 1859, p. 296-300), see also Andrew Lambert, “Lyons, Edmunds, first Baron Lyons” in The Oxford Dictionary of National Biography (Oxford University Press, 2008).
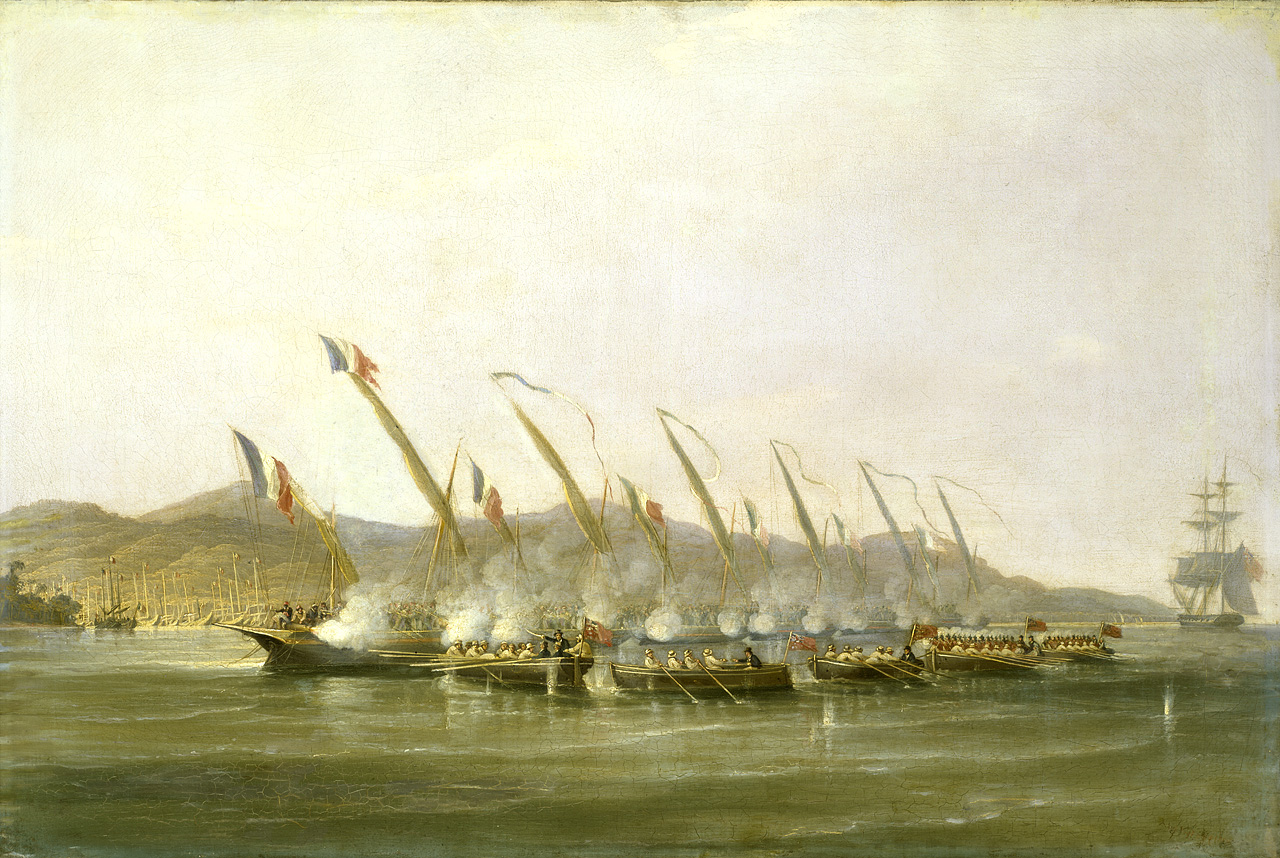
Boats Maunsell

Captain Robert Maunsell cutting out the Dutch gunboats, 30/31 July 1811, painting by John Huggins

Likewise on 30/31 July Captain Robert Maunsell of the Procris (18) anchored at the Indramayo river delta, had located six gunboats (two 32 pdr carronades and one long 18 pdr each), which were protecting a Dutch convoy of about 50 sails. On the night of the 31st a boat assault was carried out, led by Lieutenants Henry Heyland and Oliver Brush with forty soldiers from the 14th and 89th regiments. The gunboat crews fired grapeshot and threw spears at the British before leaping overboard; five of the enemy gunboats were captured as the sixth caught fire and exploded, the only casualties being 11 wounded seamen and soldiers. [263] (W. James, Naval History of Great Britain, vol. V, 1859, p. 300-1)

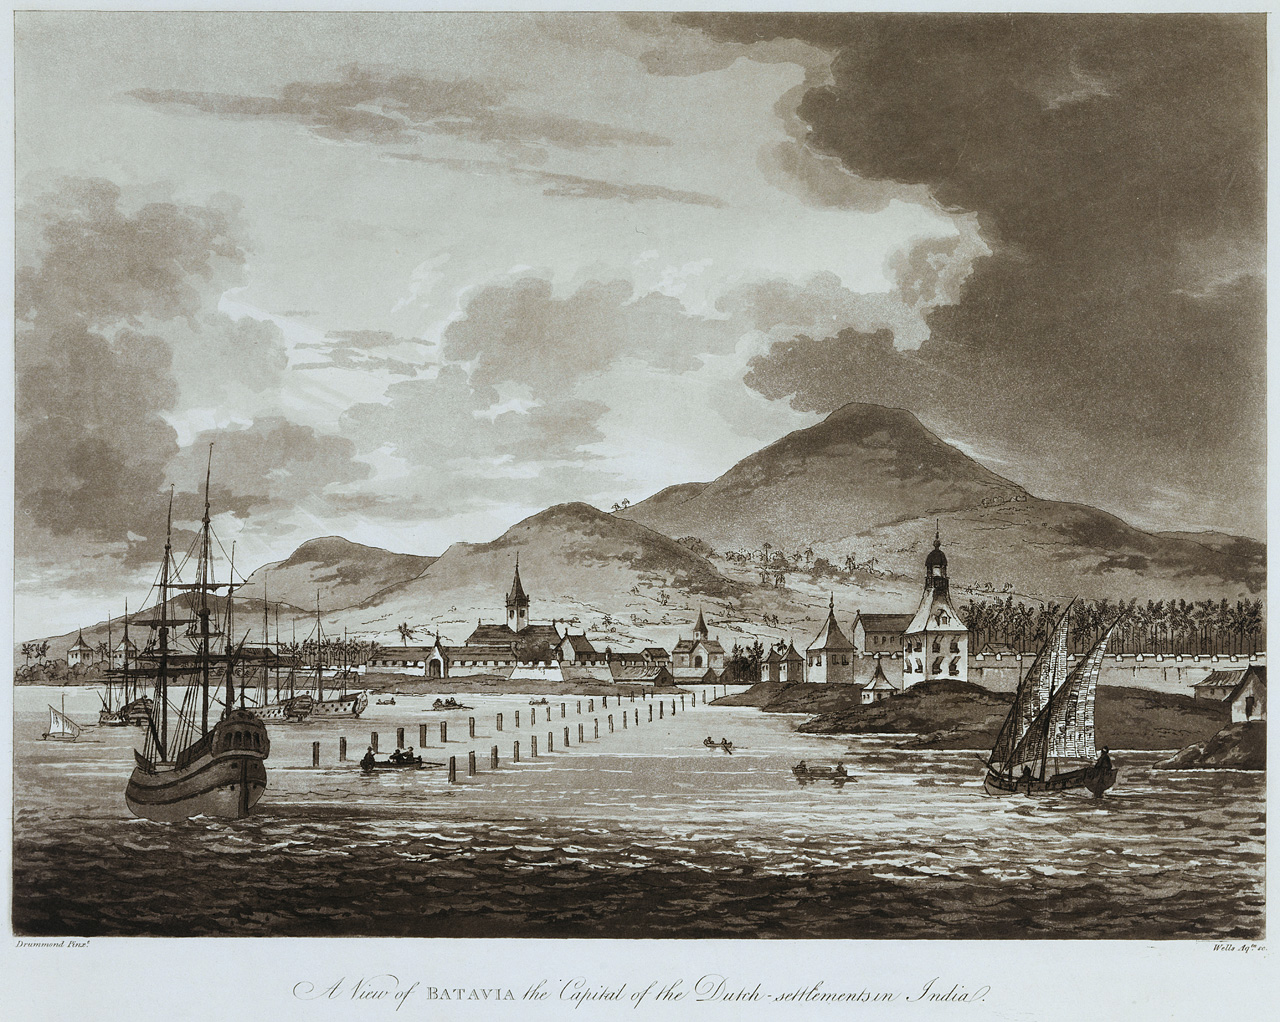
 

Batavia 1780

Batavia

Batavia, c. 1780, & 1796

The Java invasion force, destined for Batavia/Jakarta included the 36 gun frigates Leda, Caroline, Modeste, Bucephalus, plus brigs, sloops and schooners, arrived at Chillingching, 12 miles east of Batavia, on the afternoon of August 4th and began to disembark. Before nightfall 8,000 men were ashore. Batavia’s governor General Jansens had 10,000 men garrisoning Java, mostly encamped at the Meester Cornelis fortification (280 guns) outside Batavia. On the 7th the army advanced, with frigates sailing offshore as Colonel Gillespie’s men crossed the Anjole river. They were outside Batavia at dawn on the 8th, when a request for parlay was received and the port surrendered. The next day Rear Admiral Robert Stopford arrived in the Scipion (74) and took charge of operations, the foremost being to exploit the successful capture of the port by taking the colonial works: Fort Cornelis.[264] 20 long 18s, plus eight howitzers and mortars were brought on shore by 500 seaman during the 10th and a small skirmish was fought, with the Dutch withdrawing into the fort.
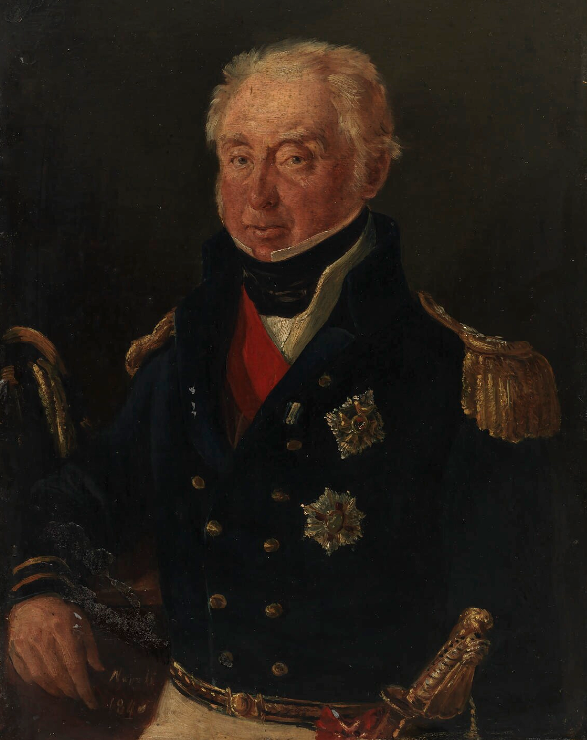
 

Stopford

Rear Admiral Robert Stopford, c. 1840

Java TF 2

Stopford’s Java task force, September 1811 (W. James, Naval History of Great Britain, vol. V, 1859, p. 303)

Over the next ten days a detachment of Royal Marines was landed and the naval guns were gradually moved in land, gaining range on the fortifications on the 21st. On the 22nd the Dutch sortied and temporarily captured a British battery, but were then repulsed, and a cannonade was opened from the fort’s 34 18, 24, and 32 pdrs. During the day there was a pause, and on the 24th both sides opened an artillery duel that lasted the all day and expended plenty of ammunition such that at midnight the fort was carried by main assault with 5,000 Dutch prisoners taken, including three generals, 34 field officers, 70 captains and 150 subalterns. During the course of the campaign, 4-27 August, the British suffered 141/156 KIA, 733/788 WIA and 13/16 missing. The Royal Navy’s part was 15 killed, 55 wounded and 3 missing.[265] Robert Stopford was promoted to Vice Admiral almost exactly a year later.
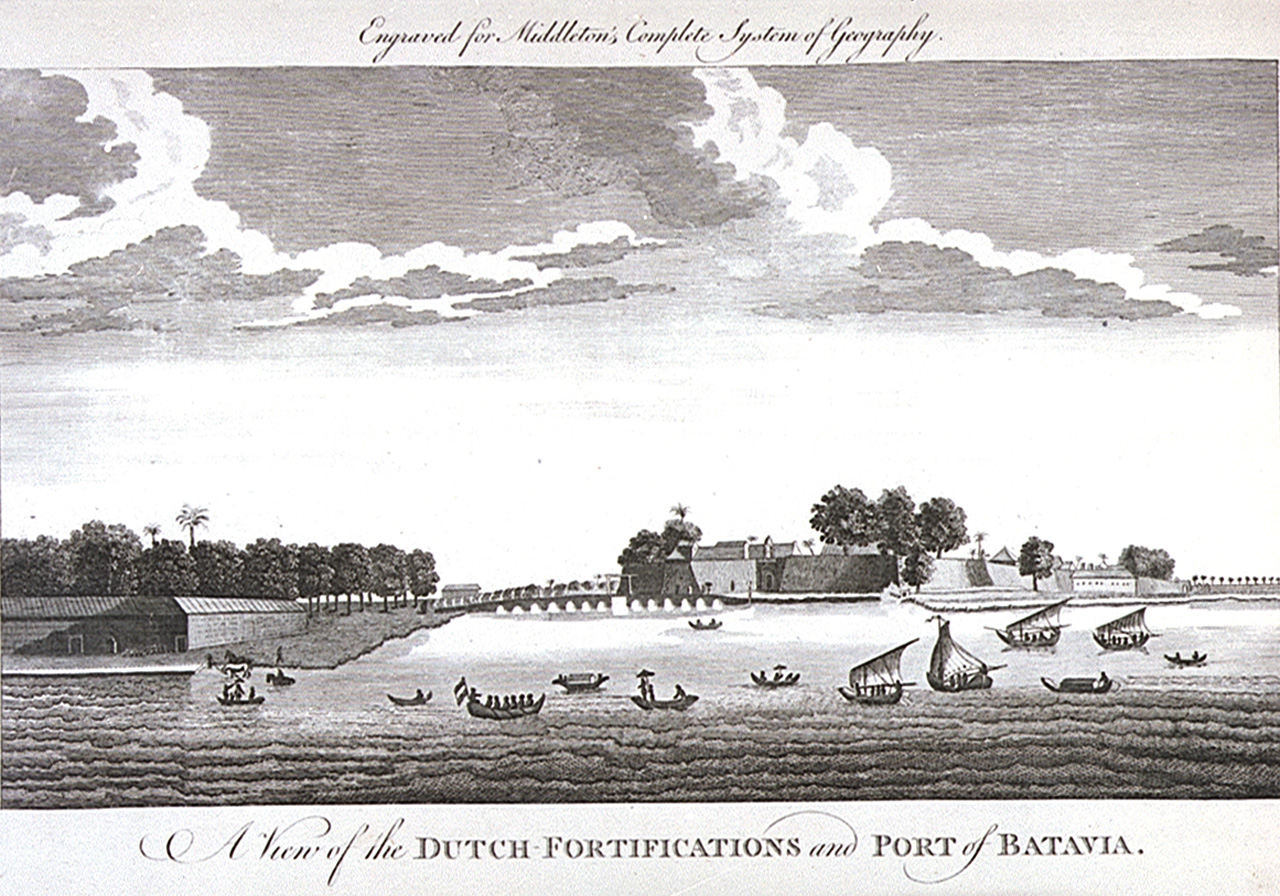
Dutch Fort

rach_-_fort_meester_cornelis

 The Harbour defences on Batavia, & the garrison at Meester Cornelis Fort  

While the siege operations were underway Rear Admiral Stopford tasked Lieutenant Henry Drury in Akbar (44), Captain Fleetwood Pellew in Phaeton (38), plus Bucephalus (36), and Captain George Harris in Sir Francis Drake (32) to guard against French Commodore Francois Raoul, with Nymphe (40) and Meduse (40), based at Sourabaya on the eastern end of the island. On the 3rd however the Commodore took aboard several of Governor Jansen’s staff and aides-de-camp and then fled to sea, but was spotted by Captain Charles Pelly in Bucephalus (36) and the brig Barracouta (18, Commander William Owen) who immediately set to chase. Pelly’s frigate out sailed the brig and closed with the French who steered north and west and then escaped on the 12th, arriving eventually at Brest on 22 December 1811.[266]   

wythe3

Meanwhile Captains Pellew and Harris landed on the island of Madura, east of Java, and took the fort of Sumenap by coup de main on August 31st. In this operation 190 British induced 2,000 Franco-Dutch to surrender at cost of only three killed and 28 wounded. Although a few additional landings were required, by 18 September Java and all the surrounding islands had been captured.[267]


Napoleon Invades Russia

1812

Europe in 1812

In December 1810 Czar Alexander I determined to abandon the ruinous continental system. For Napoleon the Russians represented the last empire that could challenge his military supremacy, and if the Tilsit agreement no longer stood then the Emperor believed it was necessary to bring Russia back into the Napoleonic fold through force. 
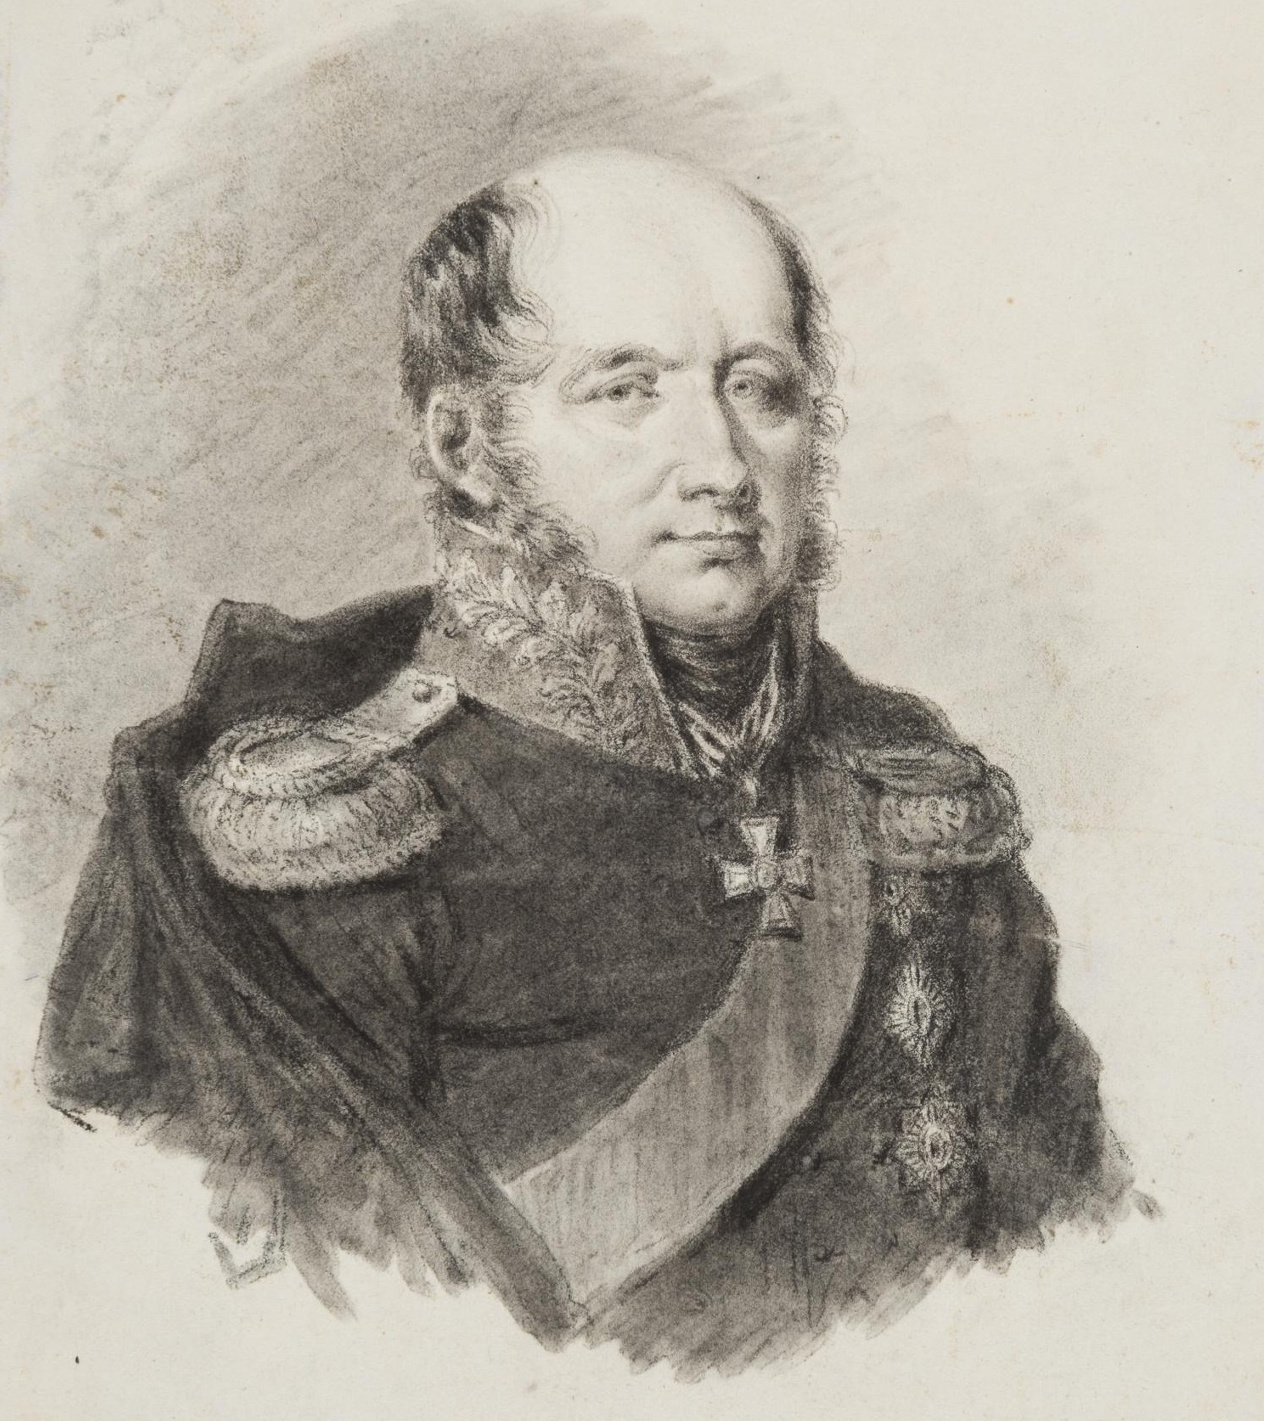
Barclay

Portrait of General of the Infantry, Minister of War, Barclay de Tolly, by Louis de Saint-Aubin, 1813

The Czar, realizing Napoleon’s intent, acted quickly to secure peace agreements with Sweden and the Ottomans, freeing up forces to assemble two armies on the Polish frontier totally approximately 220,000 under Minister of War Barclay and Prince Bagration, while a third army of 40,000 under Tormassov assembled to the south.[268] The frontline force thus consisted of at least 175,000 infantry, 18,000 Cossacks and 938 cannon, with reinforcements gradually bringing the total up to 400,000 infantry.[269]


Bagration

Prince Pyotr Bagration by George Dawe

On 19 March 1812 Russia declared war on France and Napoleon departed Paris in May, taking command of an army of 680,000 men including 100,000 cavalry, 1,242 pieces of artillery and 130 siege guns. The frontline force of between 450,000-500,000 soldiers in eleven corps was drawn from across the Empire and assembled in Germany for the Russian campaign.[270] 
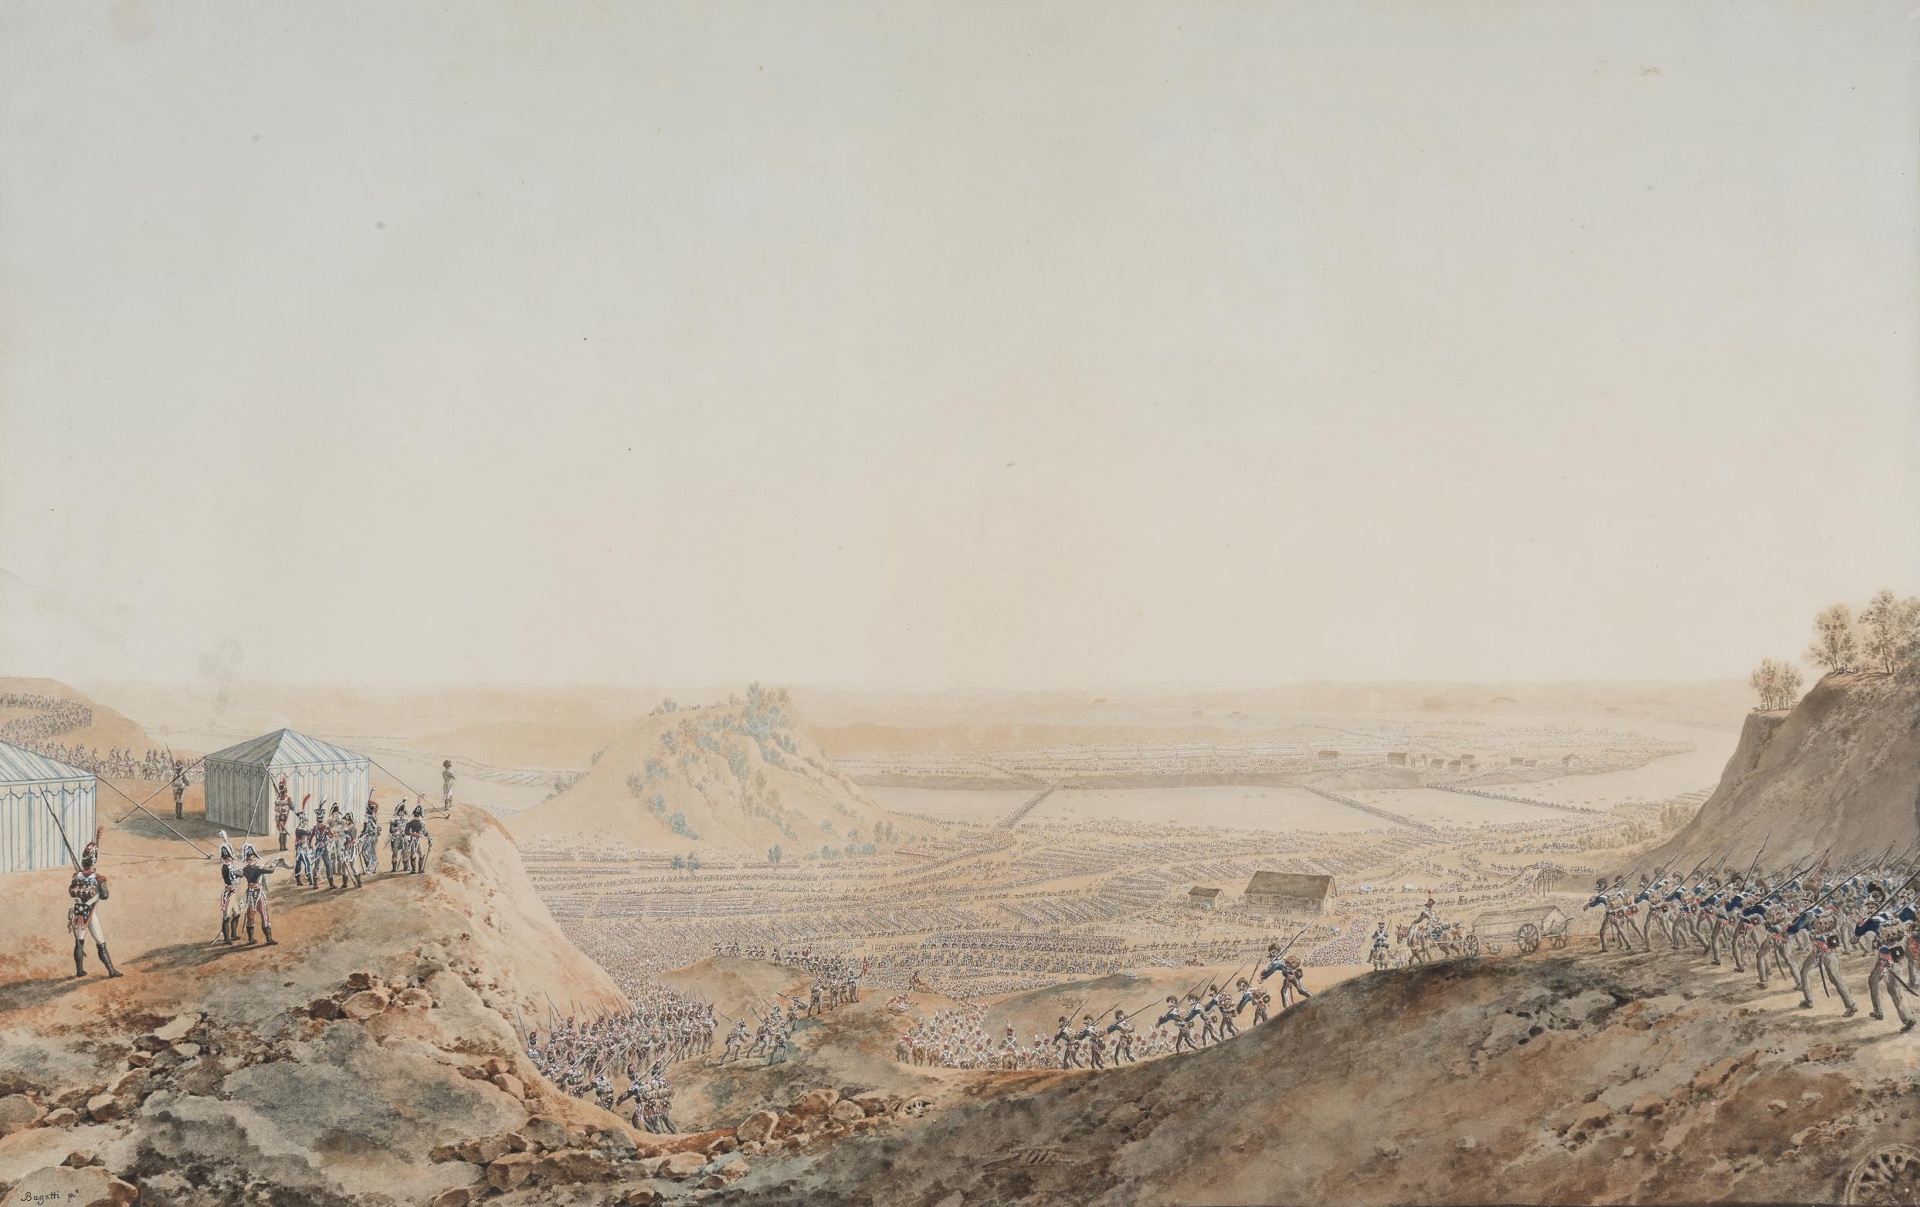
Neman

Grande Armee crossing the Neiman, 24 June 1812, by Giuseppe-Pietro Bagetti, c. 1814

Napoleon crossed the Russian frontier on 4 June 1812, intending to draw the Russians in and destroy them in a series of envelopments. Not surprisingly Barclay and Bagration refused to be so lured and presently withdrew to Smolensk where they combined on 2 August.[271] Due to the punishing heat and his long supply lines, Napoleon was forced to halt entirely at Vitebsk where he resupplied and rested between 29 July and 12 August. 

Smolensk

Napoleon enters Smolensk, 18 August 1812, by Albrecht Adam, c. 1815-25

With Murat and Ney now leading, the French set out for Smolensk on 13 August and approached the Russian armies there on the 16th. Napoleon prepared for battle but Barclay refused to be drawn, and with Bagration arranging a withdrawal corridor the Russians again slipped away to arrive at Borodino not much more than 100 km from Moscow. So far Alexander had evaded every effort by Napoleon, Murat and Davout to force a decisive battle.[272]
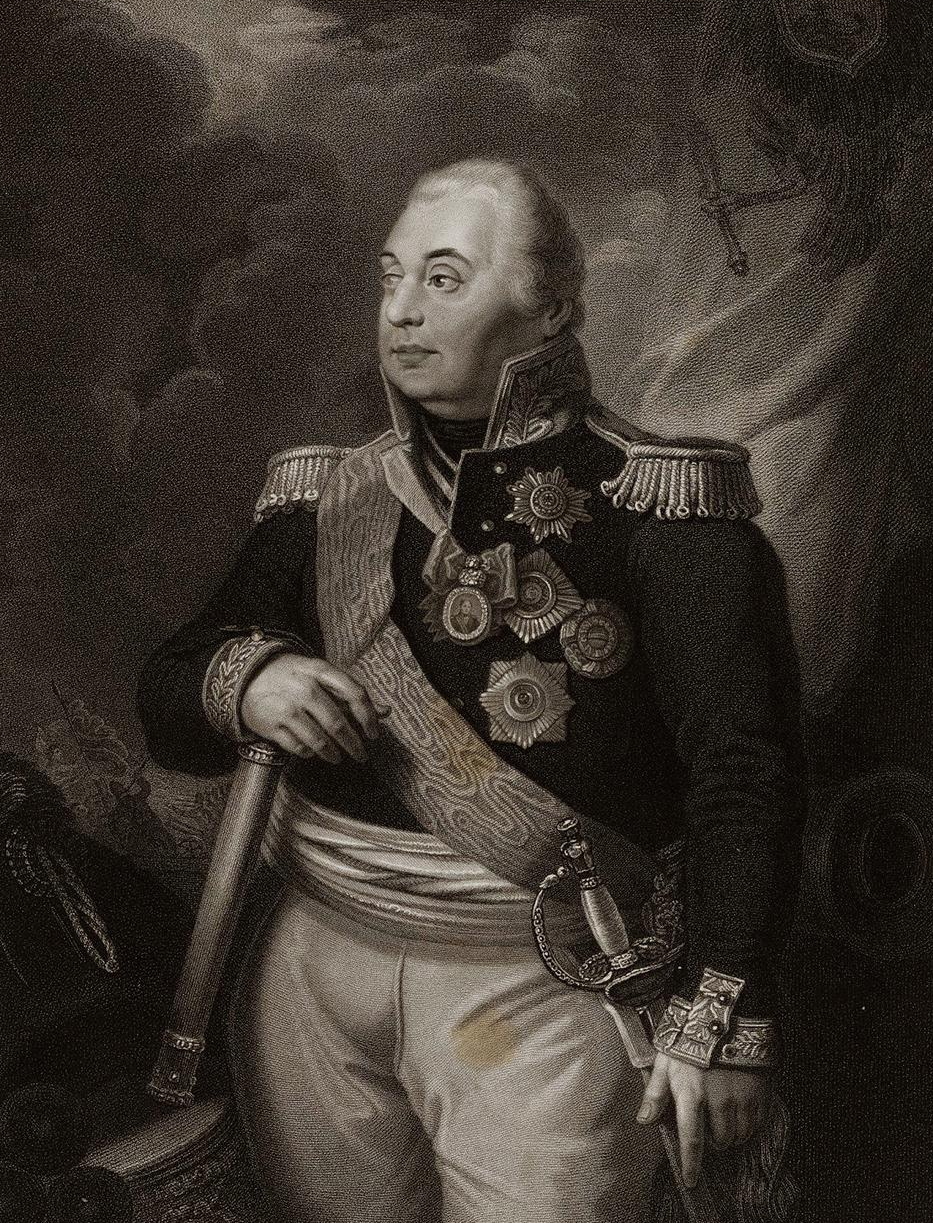
Kutuzov2

Portrait of Kutuzov by James Godby, early 19th century

By this point Napoleon’s main force been reduced to not more than 130,000 effective troops. The 67 year old Kutuzov meanwhile was appointed by Alexander to the supreme command, with Tormassov continuing operations against Napoleon’s supply lines.[273] Stchepkin believes that Napoleon should have now established a base at Smolensk and continued the campaign the following spring, but the Emperor’s overriding desire to force a decisive battle that year was “perhaps the gravest error of the whole war.”[274] At any rate the Grand Armee crossed the Dnieper on the 19th, with Ney, Murat, Davout and Junot leading, and Napoleon followed on the 25th – the Emperor believing that if he approached Moscow the Russians would be forced to fight, giving him the opportunity he desperately sought to encircle them.
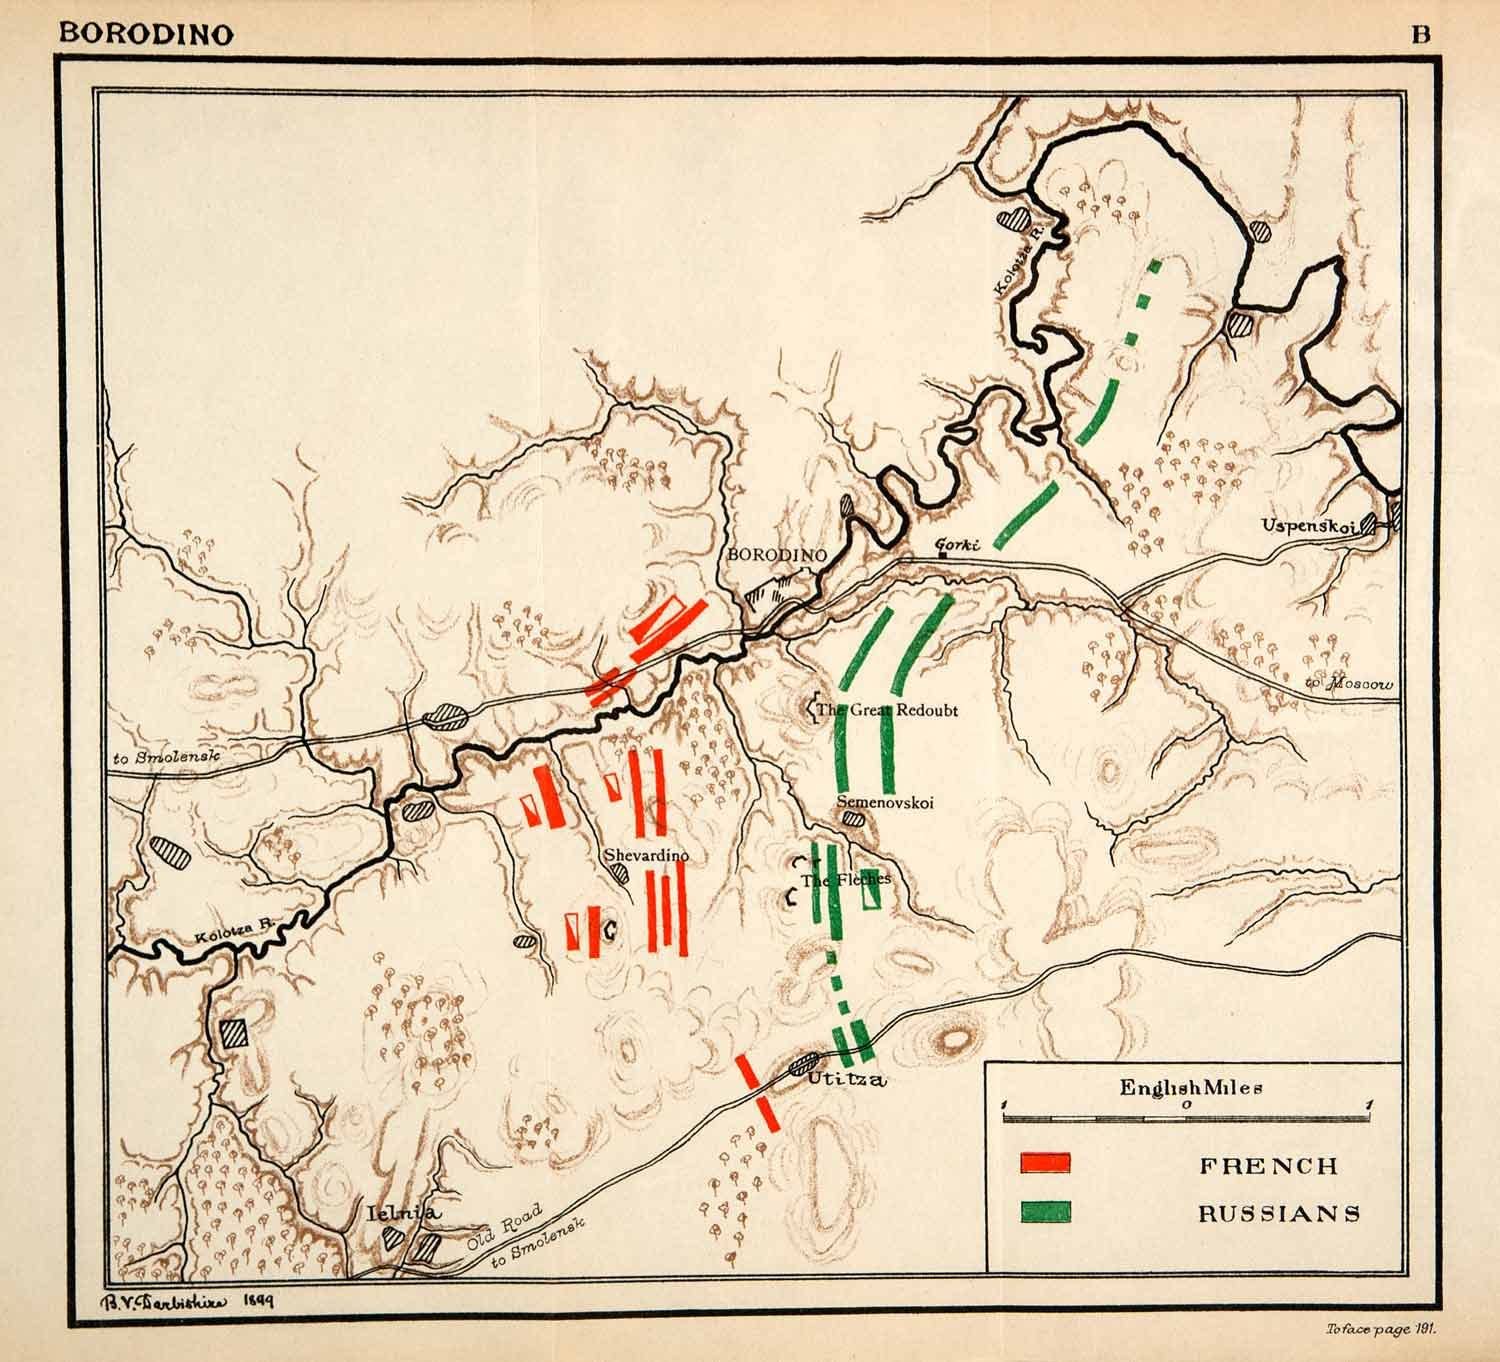
 

Borodino

Map of Borodino, 7 September 1812

Kutuzov dropped Barclay (who advocated for an attritional strategy) and prepared for a defensive battle at Borodino. The forces opposed to each other were at this time 103,800 in two Russian armies with 640 guns against 130,000 French infantry with 587 guns.[275] 
 

Borodino2

Battle of Borodino, by Adam Albrecht

At 6 am on 7 September Napoleon ordered a frontal attack, despite Davout’s recommendations for a flanking movement, but ultimately cleared the Russian positions nevertheless after sustaining 28,000-30,000 casualties.[276] On the Russian side Bagration had been badly wounded during the fighting and later died on September 24th. The heavy fighting had exhausted Murat, Ney and Davout’s corps, and Napoleon was unwilling to release their reserves, thus Kutuzov with his remaining 90,000 men retreated, and Napoleon was free to approach Moscow.


Bagration

Pyotr Bagration wounded during fighting at Borodino, 5 September 1812, by Jean Gerin
Borodino

Napoleon at Borodino, by Joseph Louis Hippolyte Bellange, c. 1847

Napoleon entered Moscow on 14 September, after nearly the entire population of 250,000 had been evacuated.[277] The Emperor now had only 95,000 soldiers still combat effective, although the Russians had not much more.[278] Napoleon established himself in the Kremlin on 15 September but was forced to withdraw for several days as fires destroyed much of the city.[279] The Emperor remained in the ruins of Moscow for a month, despatching diplomats to entreat for peace on 5 October – and thereby revealing the weakness of his hand – and when this effort proved futile departed on 19 October for the long march back to the frontier. The next day Tormasov arrived at the Russian lines and assumed command of the united army.

Tormasov

Alexander Tormasov, by George Dawe, before 1825

Snow fell on 4 November and Napoleon arrived at Smolensk on the 9th, where he was able to reform his now decimated army up to 49,000 men.[280] Napoleon continued the withdrawal on the 14th, with Kutuzov close on his heels with 90,000 men. The Russian commander was soon joined by Wittgenstein and Tshitshagov, bringing the combined army up to 144,000 while Napoleon sent his marshals ahead of him so that he could make a demonstration of attack with his remaining corps sized force of 37,000.[281]
 

Retreat from Moscow

Napoleon’s retreat from Moscow

With encirclement a real possibility Napoleon had to find some way out, and he eventually did on 26 November by crossing the Beresina river,[282] Oudinot first, followed by Ney, Victor, Junot, Davout and Murat after which the wooden pontoons the French had built were blown up to prevent Russian pursuit.

Napoleon departed for Paris on 5 December, arriving there on the 18th to begin reforming his armies, while Murat managed the last of the retreat from Russia, the Grande Armee now little more than rags; on 2 December it numbered only a pitiful total of 8,800 men, further reduced to 4,300 by the 10th.[283] Ney, commanding the final rearguard, crossed back over the Niemen on 14 December.[284] The campaign had cost Napoleon between 500,000 – 570,000 men, 150,000 horses and 1,000 guns, with anther 150,000 men prisoners in Russia.[285] The Russian losses for the campaign numbered perhaps 200,000.[286] Napoleon and his marshals had escaped the trap in Russia, and a complete debacle had been narrowly avoided, although at enormous cost in manpower and treasure.

YorckKonvention-Tauroggen

General Yorck von Wartenburg, painted by Ernst Gebauer, commander of the Prussian forces sent to Russia, signed the Convention of Tauroggen, 30 December 1812, a preliminary to the formation of the Sixth Coalition; in part negotiated by Carl von Clausewitz

By 1812, despite Napoleon’s reversals on land, he had built the fleet back up to 100 ships of the line with another 42 in the fleets of the Baltic countries, including Russia.[287] Of course, following the treaty of Orebro signed 12 July 1812, the Russians and Swedes were now aligned with the British, making these latter warships inaccessible to Napoleon. Napoleon’s hastily constructed ships, built of green unseasoned timber, were of doubtful quality, with perhaps 55 being actually fit for sea, and of these, only 30 of real value in 1811.[288]

Vice Admiral Allemande at Lorient however did succeed in making to sea the night of 8 March with four of the line, Eylau (80), Guilemar (74), Marengo (74), and Veteran (74) with a pair of corvettes.[289] As was the case with previous efforts to elude the Royal Navy’s blockade the French were soon located, this time within 24 hours by the frigate Diana (38), followed shortly by several 74s of Captain John Gore’s squadron, led by Tonnant (80), with Northumberland (Captain Henry Hotham), Colossus (Cpt. Thomas Alexander) and Bulwark (Cpt. Thomas Browne), who reconnoitred Lorient on the evening of 9 March and found that Allemande was gone and was then joined by his outriders, Pompee (74), Tremendous (74) and Poictiers (74), Captain Gore’s squadron now constituting seven warships. In the event, however, Allemande managed to extricate his squadron from the Royal Navy’s effort to intercept by slipping through a fog bank and returning to Brest on the 29th.[290] Likewise Toulon, base of Vice Admiral Emeriau’s squadron, was blockaded by Vice Admiral Pellew, but with equally little effort from the French that year (W. James, Naval History of Great Britain, vol. V, 1859, p. 312). 

War with the United States
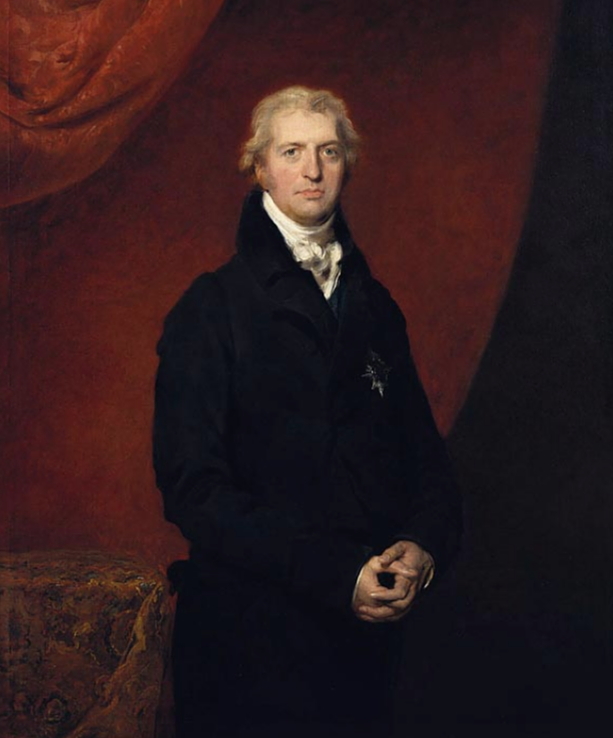
Liverpool

After Spencer Perceval’s assassination on 11 May 1812, in June Robert Jenkinson, the 2nd Earl of Liverpool (painted here by Sir Thomas Lawrence, c. 1820) became Prime Minister. He held the office for the next 15 years, until his succession by George Canning in 1827.

The United States Congress declared war upon Britain on 18 June 1812 but the British scored the first success on 17 July when Major General Isaac Brock ordered the capture of Fort Michilimackinac between the Huron and Michigan Great Lakes.[291] 
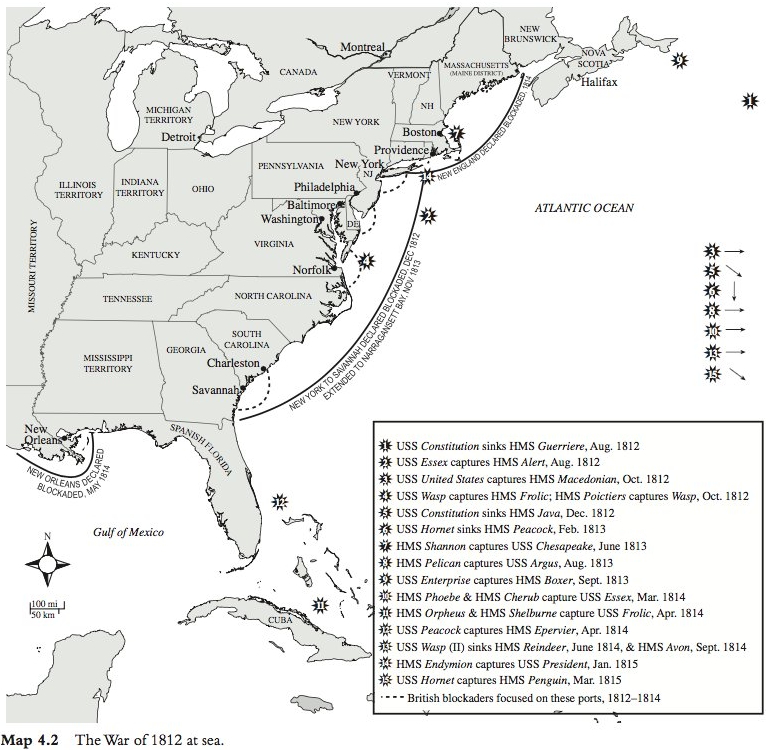
Frigates

Opening naval actions of the War of 1812, various frigate engagements of the war, from James Bradford, ed., America, Sea Power, and the World (2016), see also, from Andrew Lambert, The Challenge, Britain Against America in the Naval War of 1812 (2012)
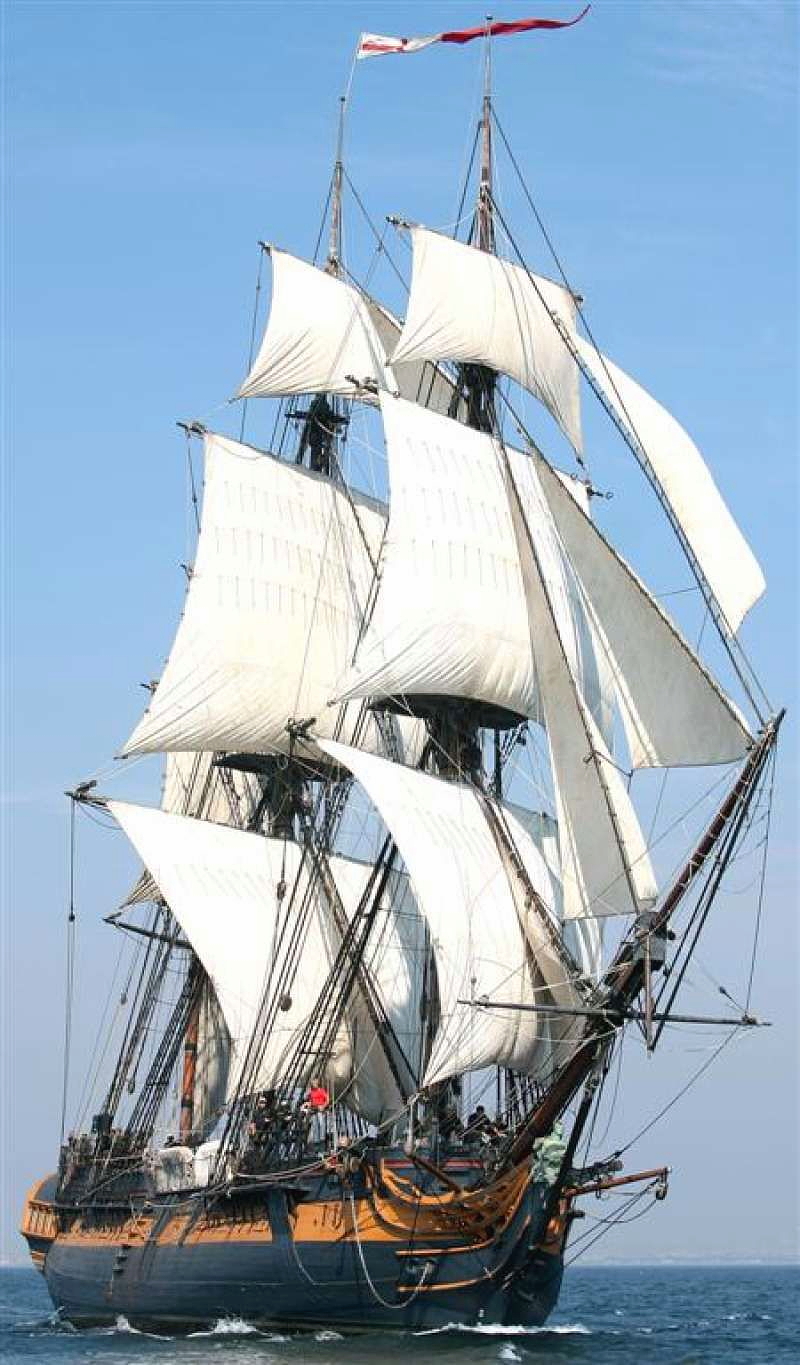
rose2

HMS Rose replica, 24-guns, 1757 pattern

It was no small concern then that the Royal Navy would be distracted by operations in North America that year. The Americans, however, had chosen war with the United Kingdom precisely when British arms were at their height after a decade of socio-economic mobilization amidst incessant coalition warfare. The small United States Navy (USN) would be hard pressed to prevent the Royal Navy from implementing a punishing blockade: with 92% of federal government income derived from customs revenue, the American coast was particularly susceptible to economic blockade.[294]
 

Campaign in the North

Campaign in the North, from Tindall & Shi, America, A Narrative History, vol. I (2004)
GenIsaacBrock

Lieutenant Governor of Upper Canada, Major General Sir Isaac Brock, by George Theodore Berthon, c. 1883

US General William Hull’s 2,000 militia initially advanced into Canada but then withdrew to Detroit where Brock attacked him with 350 regulars, 600 Canadian militia, and 400 volunteers, successfully forcing Hull’s surrender on 16/17 August.[292]
Queenstown01

Battle of Queenstown (Queenstown) Heights, from Pierre Berton, Flames Across the Border (1981)
Queenston Heights

Battle of Queenstown Heights, 13 October 1812, Major General Brock is killed. Painting by John David Kelly, c. 1896

When Major General Stephen van Rensselaer brought his 600 militia into Upper Canada Major General Brock stopped the American advance but was killed on 13 October at Queenstown Heights. Major General Henry Dearborn’s effort to advance on Montreal in November likewise stalled when the American militia refused to advance.[293]
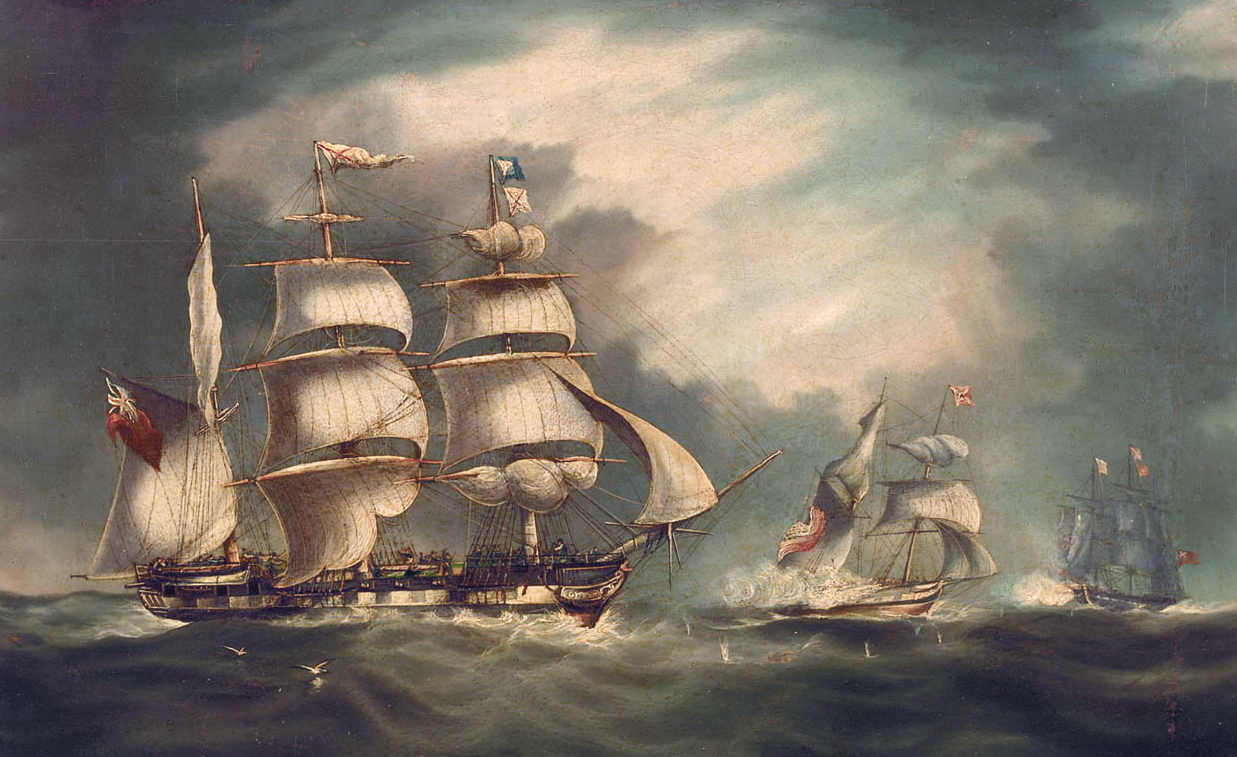
gipsy

30 April 1812, 38-gun Belle Poule captures the American privateer Gipsy
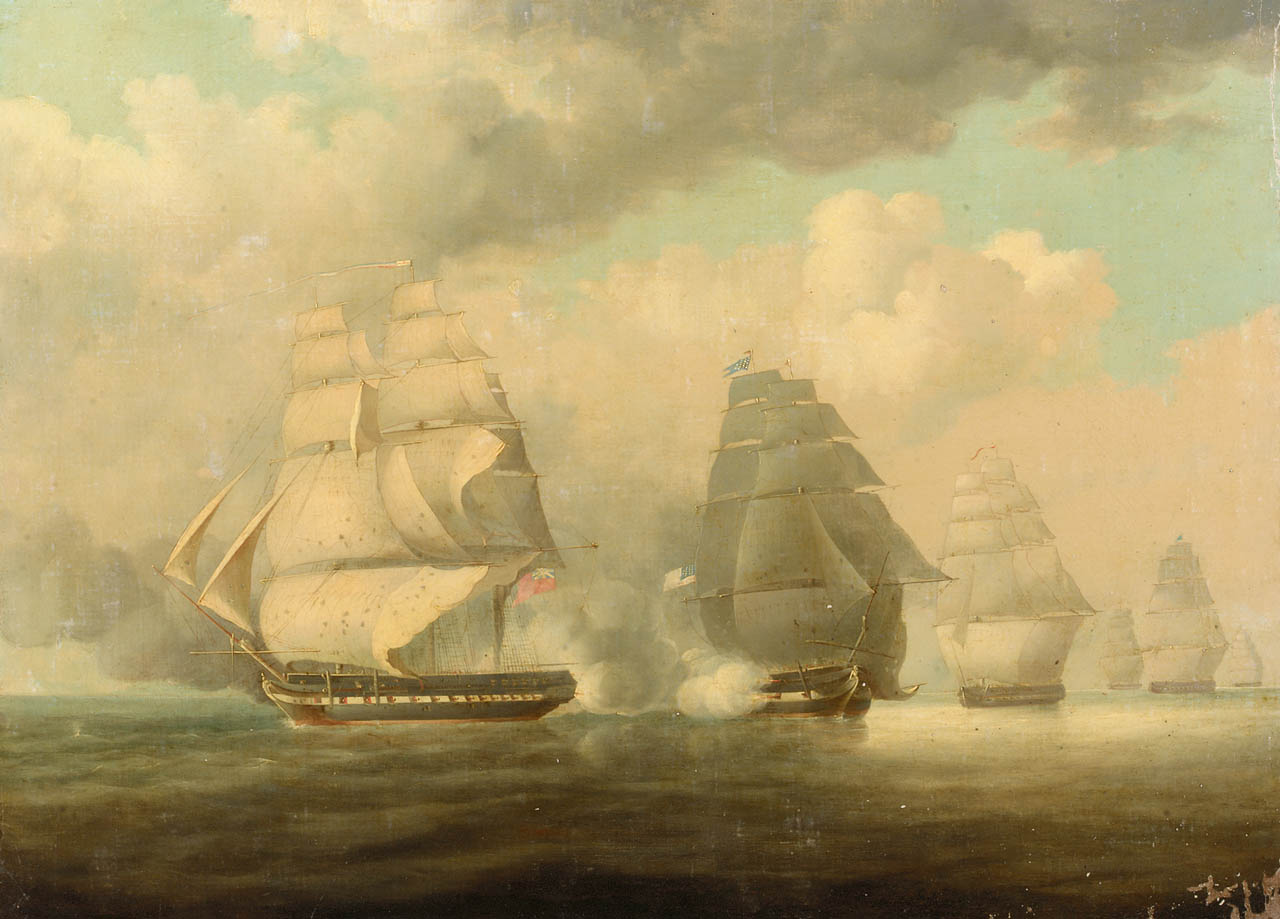
Belvidera

23 June 1812, John William Huggins painting of HMS Belvidera being chased by American frigates

The war had only just broken out when on 23 June Commodore John Rodger’s frigate squadron attacked Captain Richard Byron’s 36-gun frigate Belvidera. The three US frigates, USS President (44), USS Congress (36), and USS United States, plus the sloops Hornet and Argus, attempted to intercept the British Jamaican convoy while sailing east from New York found instead Captain Byron, who was engaged searching for the French privateer Marengo 100 miles south west of Nantucket Shoals, offshore of New London, Connecticut. Byron avoided the American cannon fire and led the Americans away from the West Indies convoy route while Belvidera slipped into Halifax.[295]
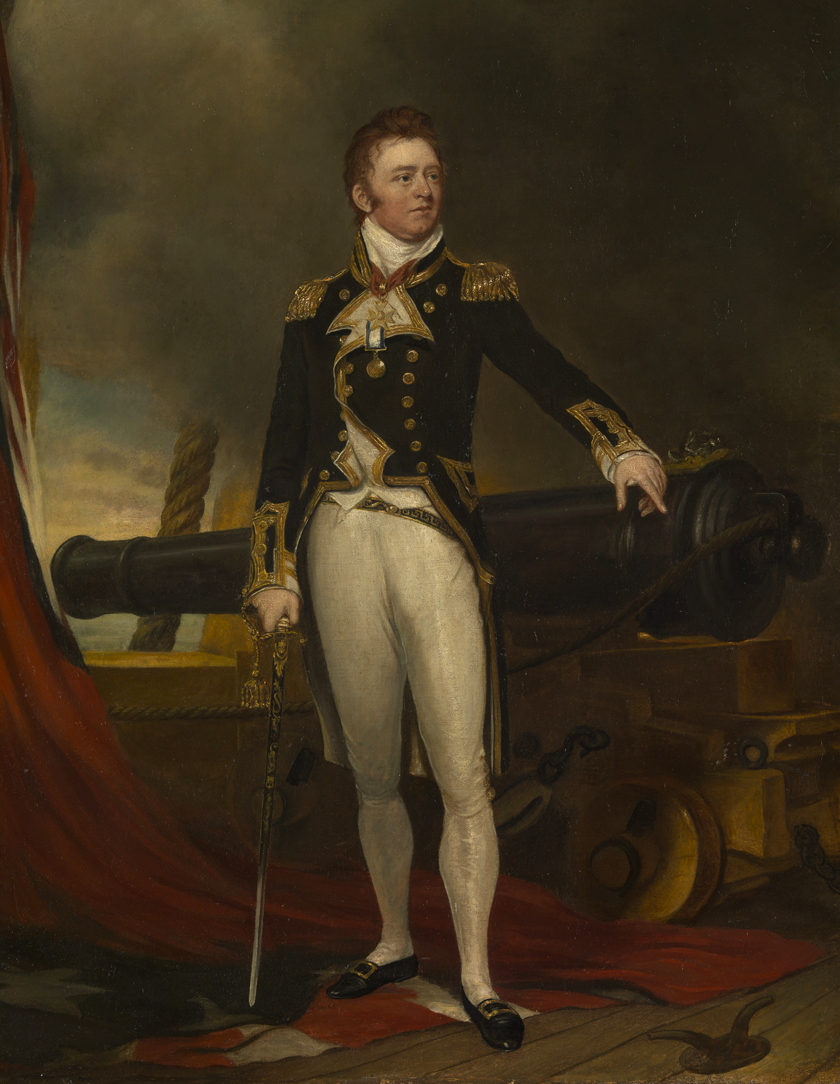
 

Portrait of Captain Vere De Broke by Samuel Lake BHC2575

Captain Sir Philip Broke, by Samuel Lane. Captain Broke as Commodore assumed command of the RN forces at Halifax, with the aim of confronting Rodgers’ squadron and destroying it. Broke’s command included HMS Africa (64), and frigates Shannon, Aeolus, Belvidera and Guerriere. Rodgers was still at sea off the Grand Banks seeking the West Indies convoy.

brig Nautilus

Schooner USS Nautilus (14 guns), captured by HMS Shannon on 15 July 1812

On 15 July HMS Shannon captured the schooner USS Nautilus (14) under Lieutenant William Crane, and on 17 July Broke located but was unable to catch USS Constitution (44, Captain Isaac Hull), which managed to escape on 21 July by sticking close to the shoreline in waters too shallow for the Shannon to pursue.[296] Broke meanwhile sailed for the West Indies convoy, 60 merchants being escorted by HMS Thetis, located them on the 29th and informed Captain Byam that they were now at war with the Americans.[297]
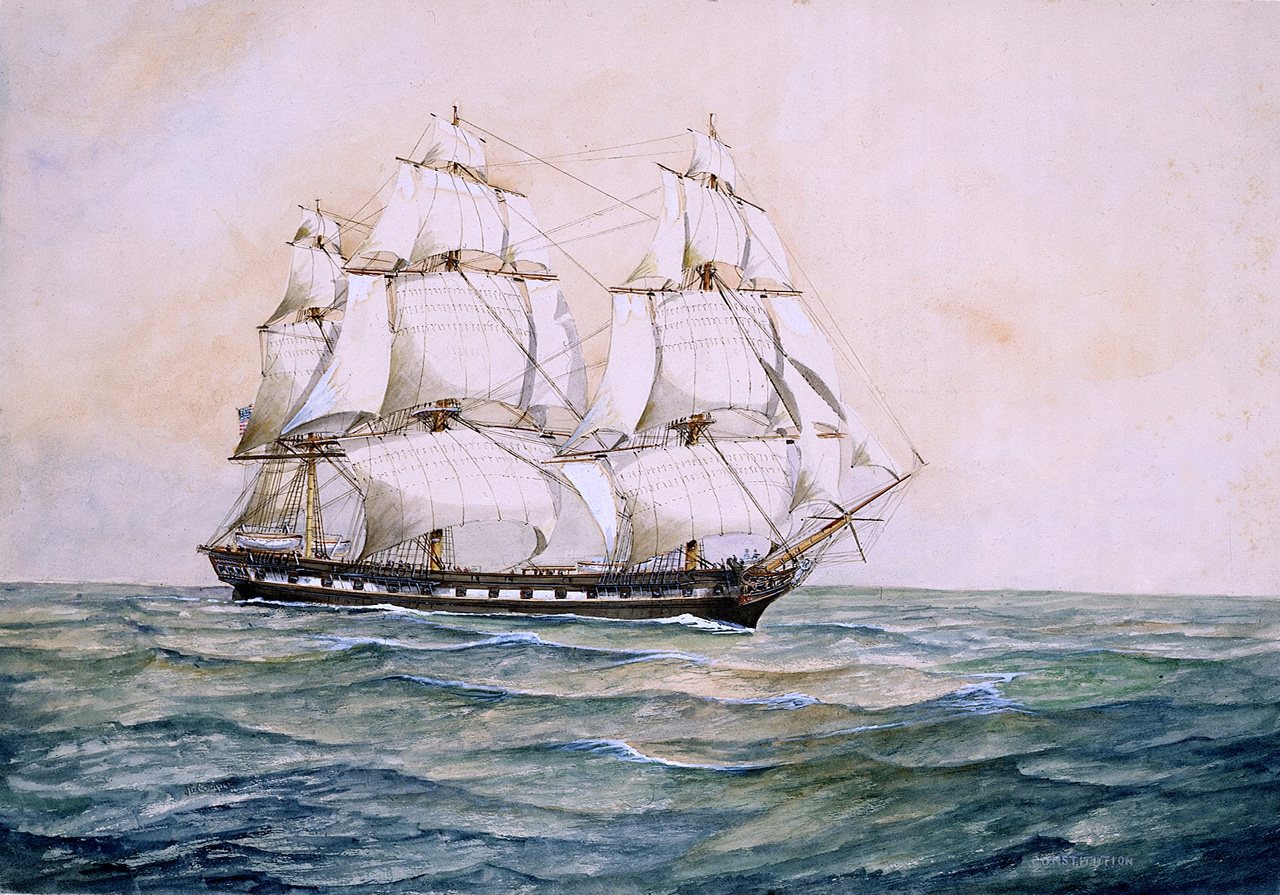
 

USS Constitution

Captain Isaac Hull in USS Constitution, eluded Broke’s squadron between 17-21 July 1812
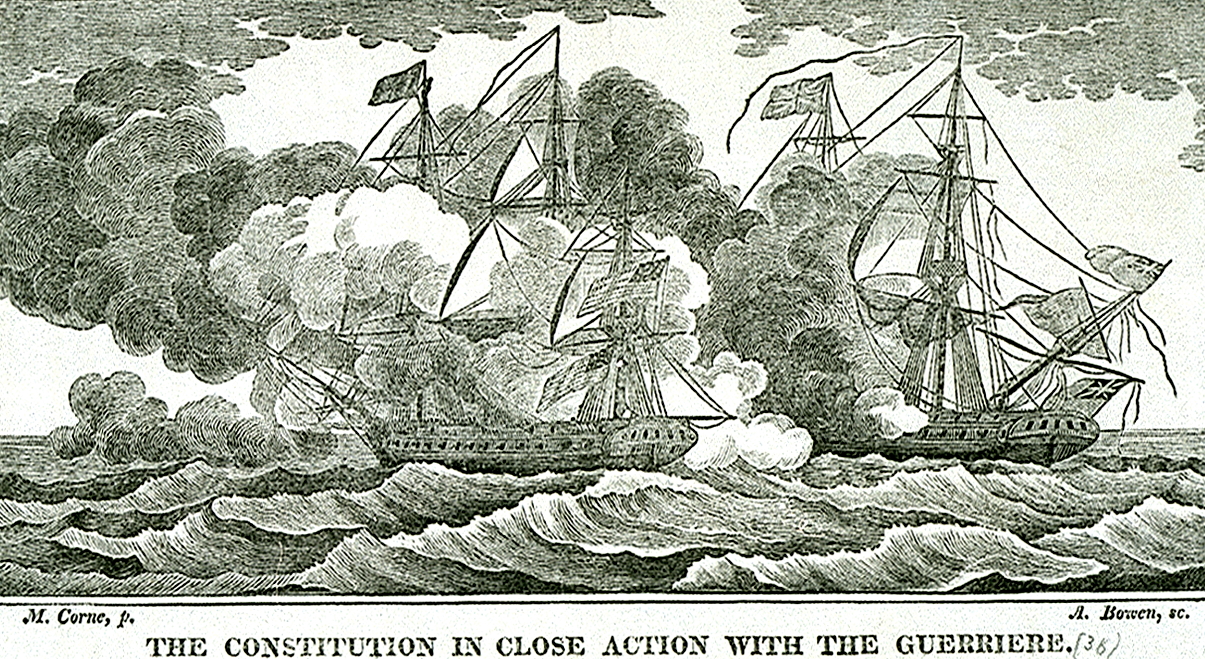
Constitution Guerrier

19 August 1812, USS Constitution captured HMS Guerriere, engraving by Michaele Corne & Abel Bowen

On 19 August Constitution located HMS Guerriere (38, Captain James Dacres), who Broke had detached from his squadron – still escorting the Jamaica convoy – to return to Halifax to replace a badly damaged mast. Outgunned by Constitution, Captain Dacres surrendered after a two hour fight.[298] This minor naval setback however was more than offset when on 16 August General William Hull, Isaac Hull’s uncle, surrendered to the Canadian militia under Brock at Detroit, as we have seen.[299]
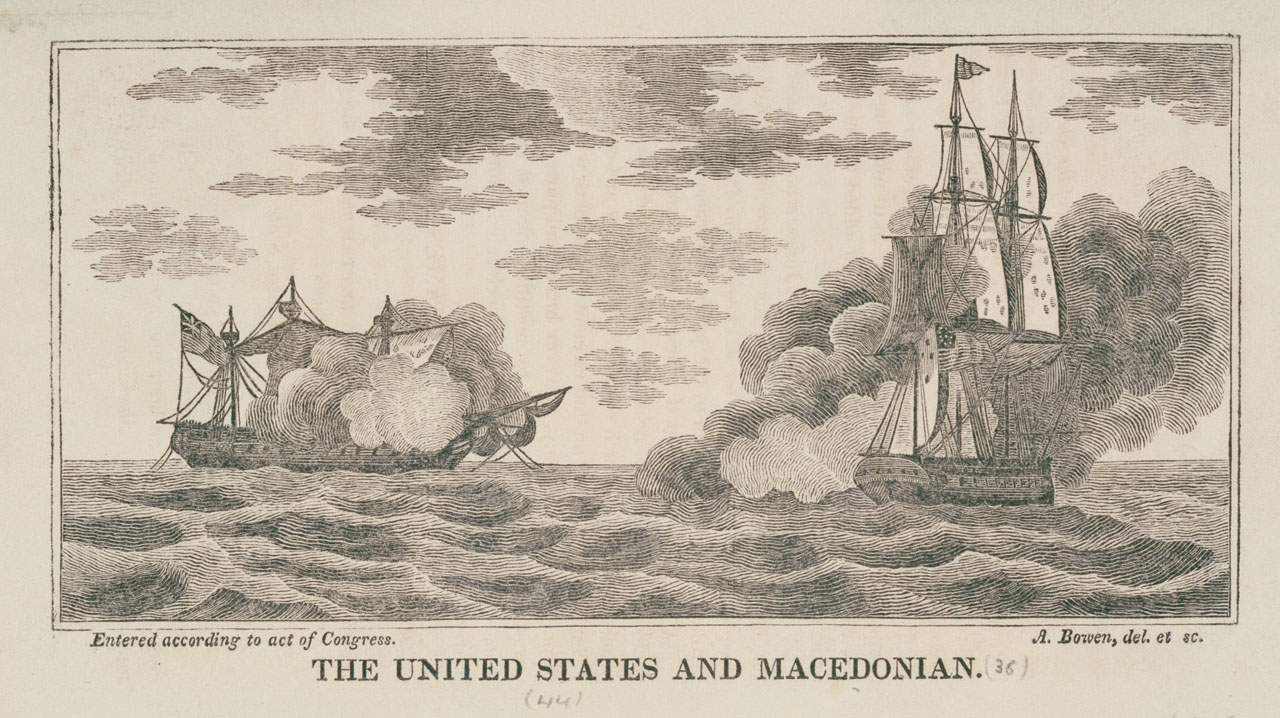
 

The 'United States' and "Macedonian' in action

HMS Macedonian captured by USS United States, October 1812 engraving by Abel Bowen. On 25 October 1812 Stephen Decatur in the USS United States (44) took HMS Macedonian (38, Captain John Carden),[300] and on 29 December Constitution took HMS Java (38, Captain Henry Lambert), in the latter engagement the Americans suffering 36 casualties to 124 British.[301]
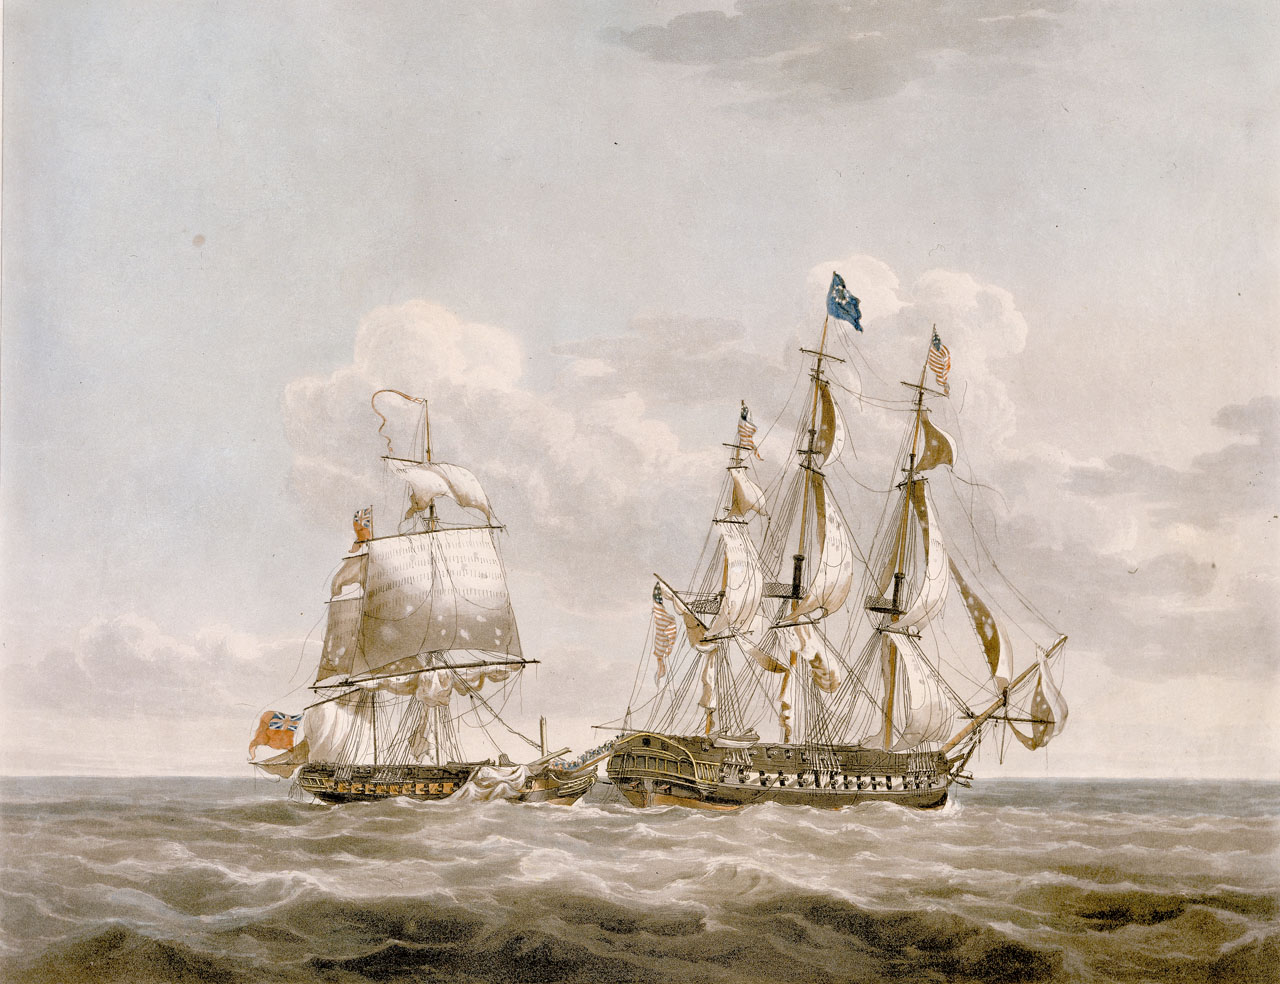
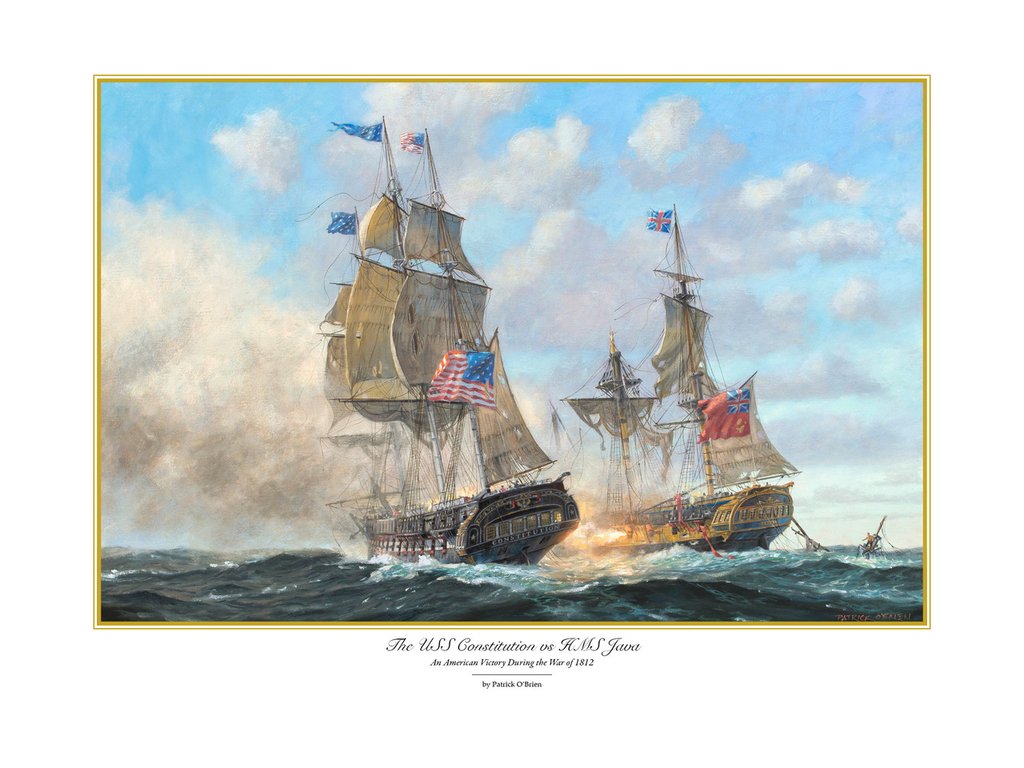
Java Constitution

Java

29 December 1812, Constitution takes the Java, & the same by Patrick O’Brien

This series of dramatic losses caused Lord Melville to pressure Admiral Warren to refocus on the blockade at the expense of engaging the heavy American frigates. Although wary of being micromanaged from London, Warren was relieved when three more battleships, a 50-gun cruiser, and five frigates were sent to his command during the winter of 1812-13.[302]


Miniature, MNT0093

Admiral John Warren, c. 1820. C-in-C North America 1813-1814. Enforced the blockade of mid-Atlantic states, provided escorts to Britain’s merchant convoys, supplied Commodore Yeo on the Great Lakes, and intercepted American privateers during the initial defensive phase of the North American war. By July 1813 Warren was able to deploy 57 vessels on blockade, up from 19 the year before.[303]
 

convoy

A frigate escorting a convoy off St. John’s Newfoundland
Shannon Do

HMS Shannon captures USS Chesapeake, 1 June 1813, painted by Robert Dodd

The next major duel took place in the summer of 1813 when on 1 June Captain Broke in Shannon, armed with 18-pdr guns, challenged Captain James Lawrence of Chesapeake to fight a singular ship to ship combat. Lawrence agreed and they fought off Boston, with Broke taking Chesapeake although being badly wounded in the process. James Lawrence was killed by a sniper’s ball, along with 70 others KIA and 100 WIA.[304] Although heroic, these frigate actions were hardly significant when compared to the overall blockade effort, in fact expanded in 1813 to include Virginia and New England.[305]
 

Enterprise_and_Boxer

Brig USS Enterprise captures the 12-gun brig HMS Boxer off the coast of Maine, September 1813, by Frederick Hill


Part V

1815

North American Theatre & The Wars of the Sixth and Seventh Coalitions
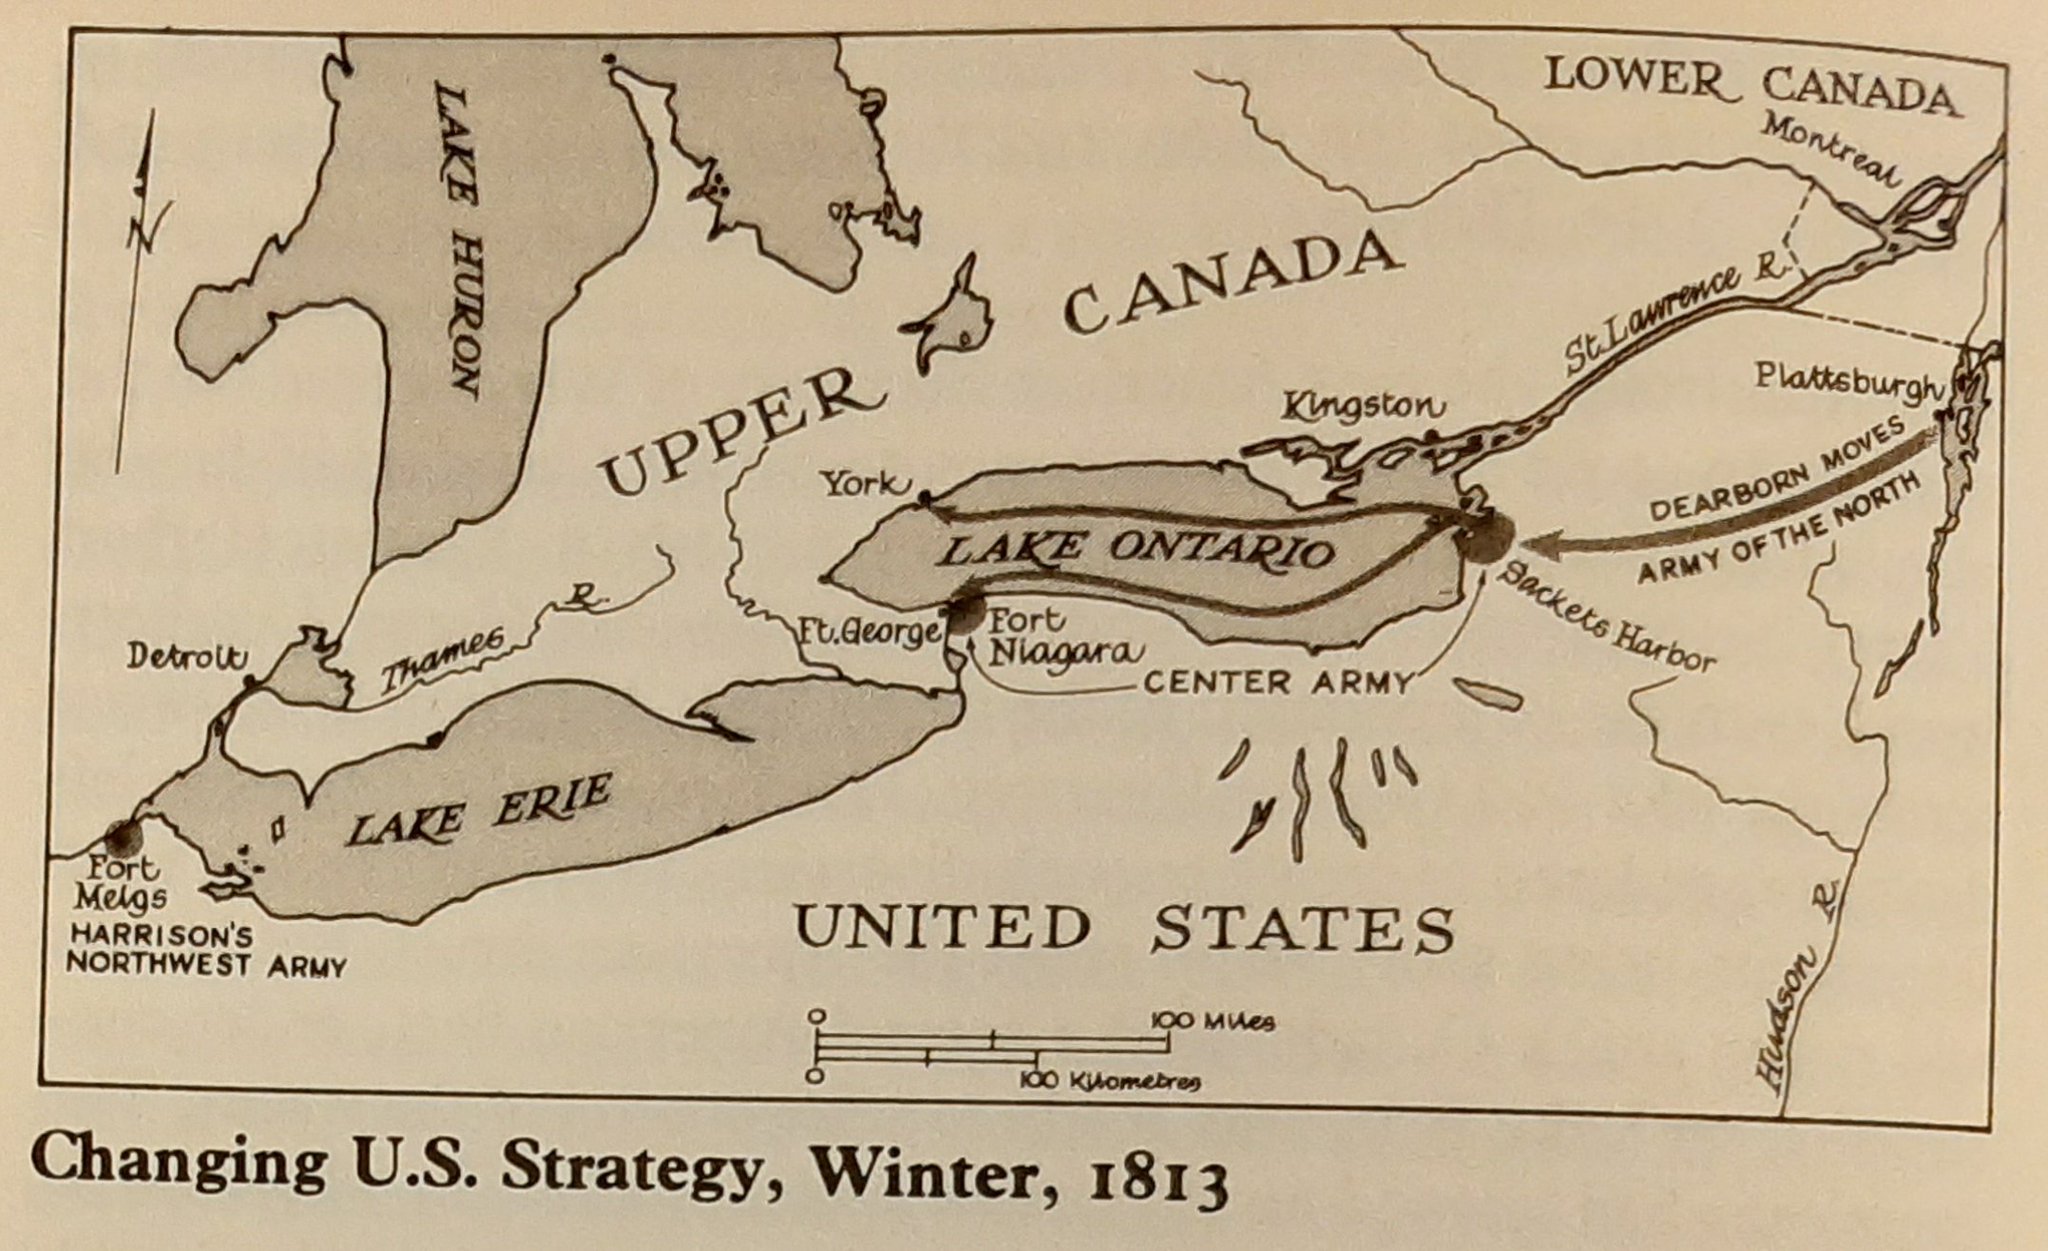
Warof1812 Theatre

Lakes

US campaign plan for 1813, from Pierre Berton, Flames Across the Border (1981), & operations on the Great Lakes, from James Bradford, ed., America, Sea Power, and the World (2016)


The Great Lakes

For President Madison the campaign in Upper Canada in 1813 was the decisive theatre of the war, revolved around sea control on the Great Lakes, in particular Lake Ontario.[306] Towards this end the British were building warships at Kingston, York, and Amherstburg, while the Americans were building ships at Sacketts Harbor, Black Rock and Presque Isle. Major General Dearborn moved camp from Plattsburgh to Sackets, where he waited with Commodore Isaac Chauncey for the opportunity to capture Kingston, the gateway to the St. Lawrence and Montreal. Concern that there were overwhelming forces at Kingston, however, waylaid the Americans into attacking the less well protected shipbuilding facilities at York instead, which they captured in April 1813 after the British blew up the fort’s magazine.[307]
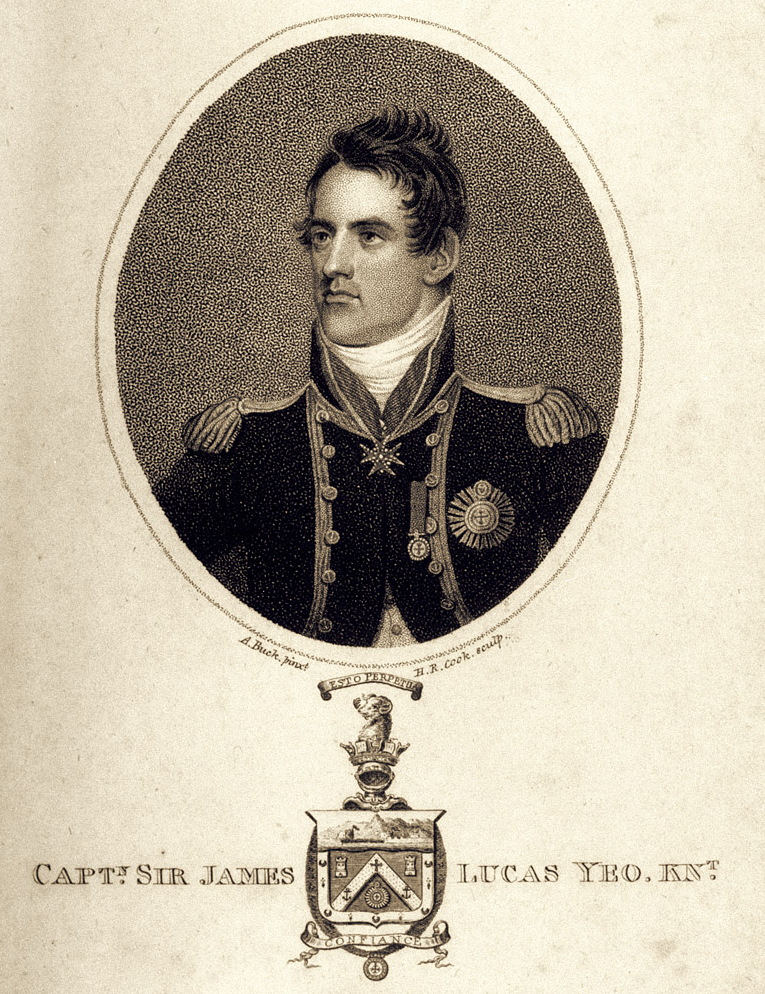
PU3283

Captain Sir James Yeo c. 1810, engraving by Adam Buck, Henry R. Cook, & Joyce Gold

In March Commodore Sir James Yeo was appointed C-in-C Great Lakes and given the objective of securing Lake Ontario. While the Americans were engaged looting York, Yeo conducted raids along the coast attempting to burn or capture the enemy’s naval stores and shipbuilding facilities. He raided Sackets Harbor on 29 May,[308] and captured two American schooners near Niagara on 10 August.[309] These operations, in conjunction with the defensive-minded Governor General Prevost, were a drain on the resources of Admiral Warren’s North American command at Bermuda, but were vital to for the defence of Kingston; to prevent the frontier from collapsing into American hands.[310]

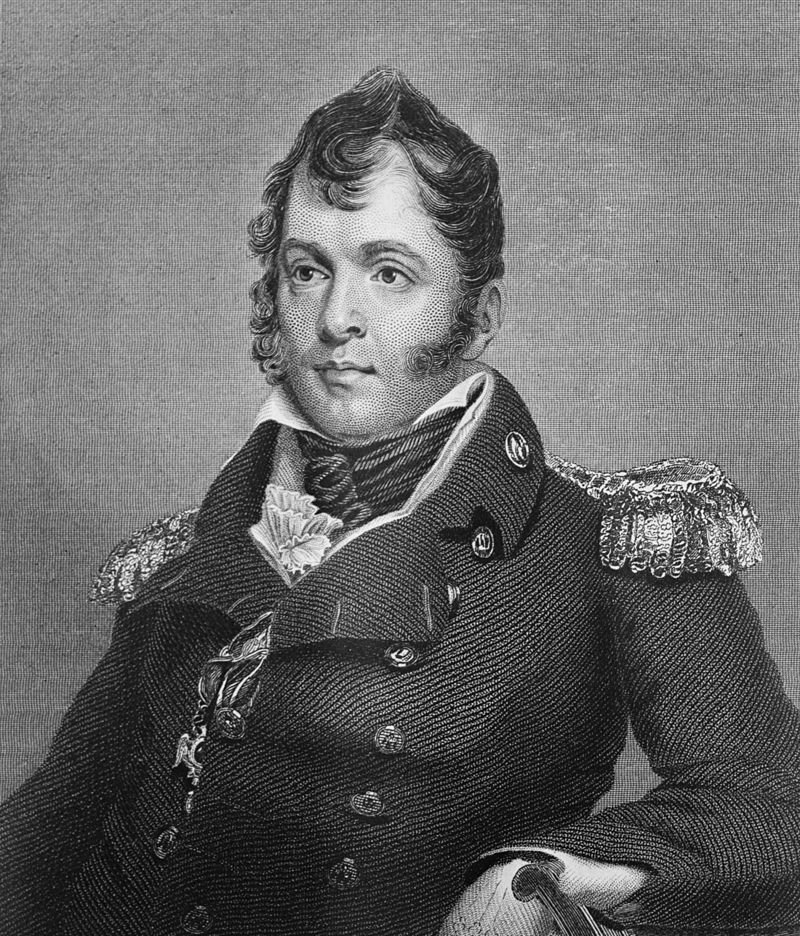
 

RobertHeriotBarclay

Commander Robert Barlcay

Oliver Hazard Perry

Commodore Oliver Hazard Perry

On Lake Erie USN Commander Oliver Hazard Perry with a squadron of nine small ships, his flag in the 20-gun Lawrence, supported by the 20-gun Niagara, won a victory on 10 September 1813 against Commander Robert Barclay’s squadron of six sloops (the largest being Queen Charlotte, 16, and Detroit, 12), corvettes and schooners, and suffered 123 American casualties to 135 British.[311]
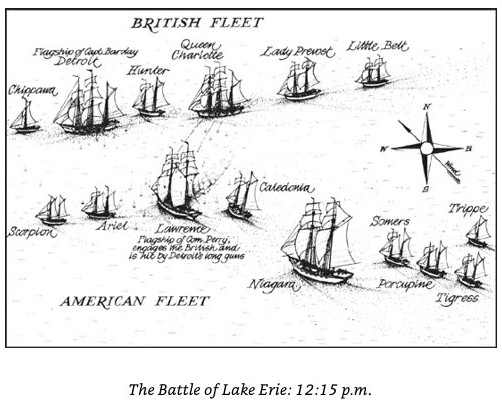
Lakeerie2

lakeerie03

Battle of Lake Erie, 10 September 1813, from Pierre Berton, Flames Across the Border (1981)

This battle secured the lake for the Americans and isolated Britain from reinforcing its Indian allies to the west.[312] As a result the Americans were able to recapture Detroit and Major General William Harrison then advanced into Upper Canada, confronting the British at the Battle of the Thames, 5 October 1813, where Tecumseh was killed.
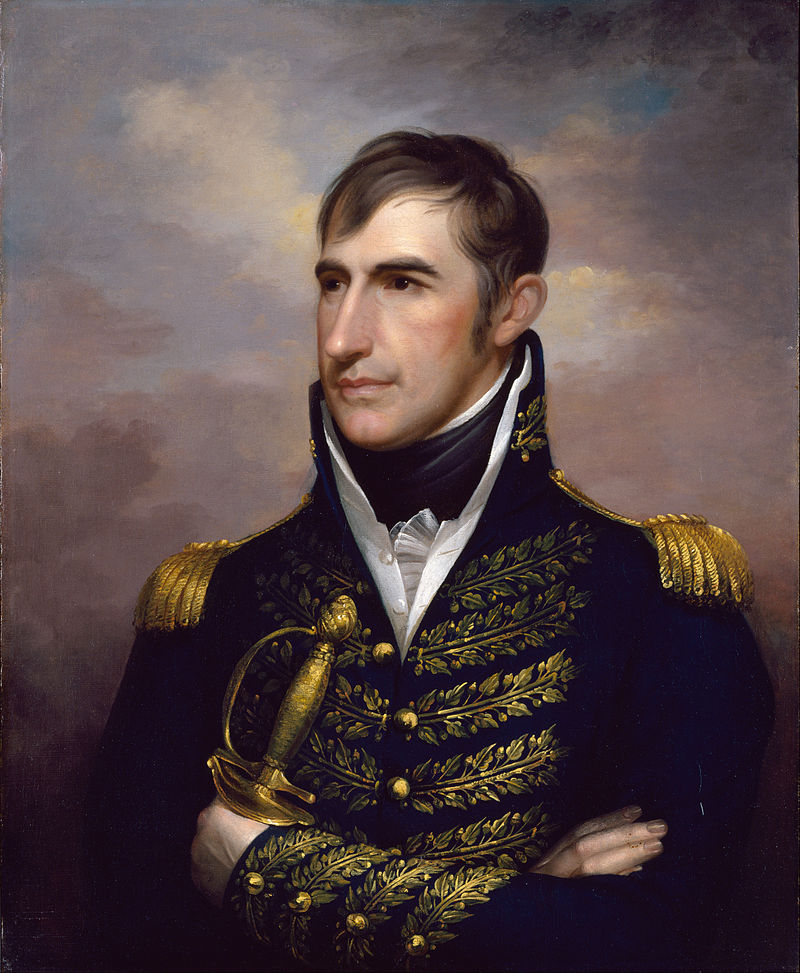
William Henry Harrison

William Henry Harrison, by Rembrandt Peale, c. 1813
 

Tecumseh

Shawnee Chief Tecumseh, attributed to Owen Staples, based on Lossing’s engraving
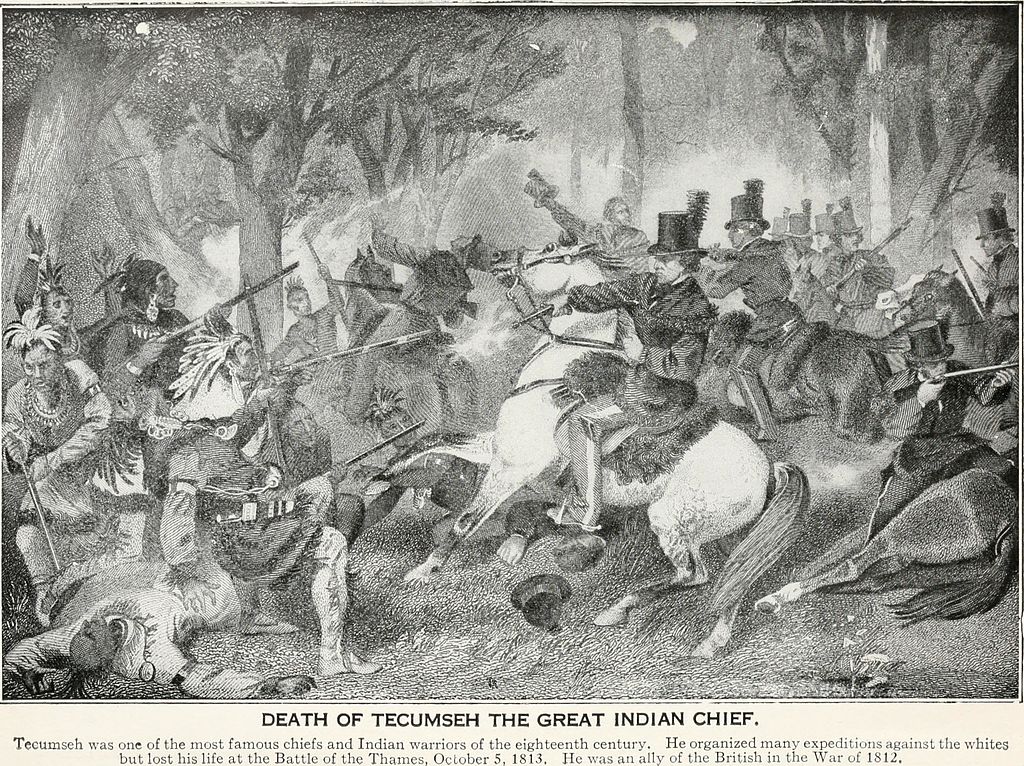
Tecumseh2

Battle of the Thames, 5 October 1813, death of Tecumseh

Operations on the Great Lakes continued in 1814. On 6 May on Lake Ontario Commodore Yeo led a raid against Fort Oswego (Fort Ontario), burning a quantity of naval stores, and then proceeded to blockade Sackett’s Harbor until the end of July at which point the Americans drove him back to Kingston with a superior naval force. On 15 October however Yeo at last launched the 110-gun St Lawrence, while the USN heavy ships were still under construction, and put the Americans back under blockade.[313]
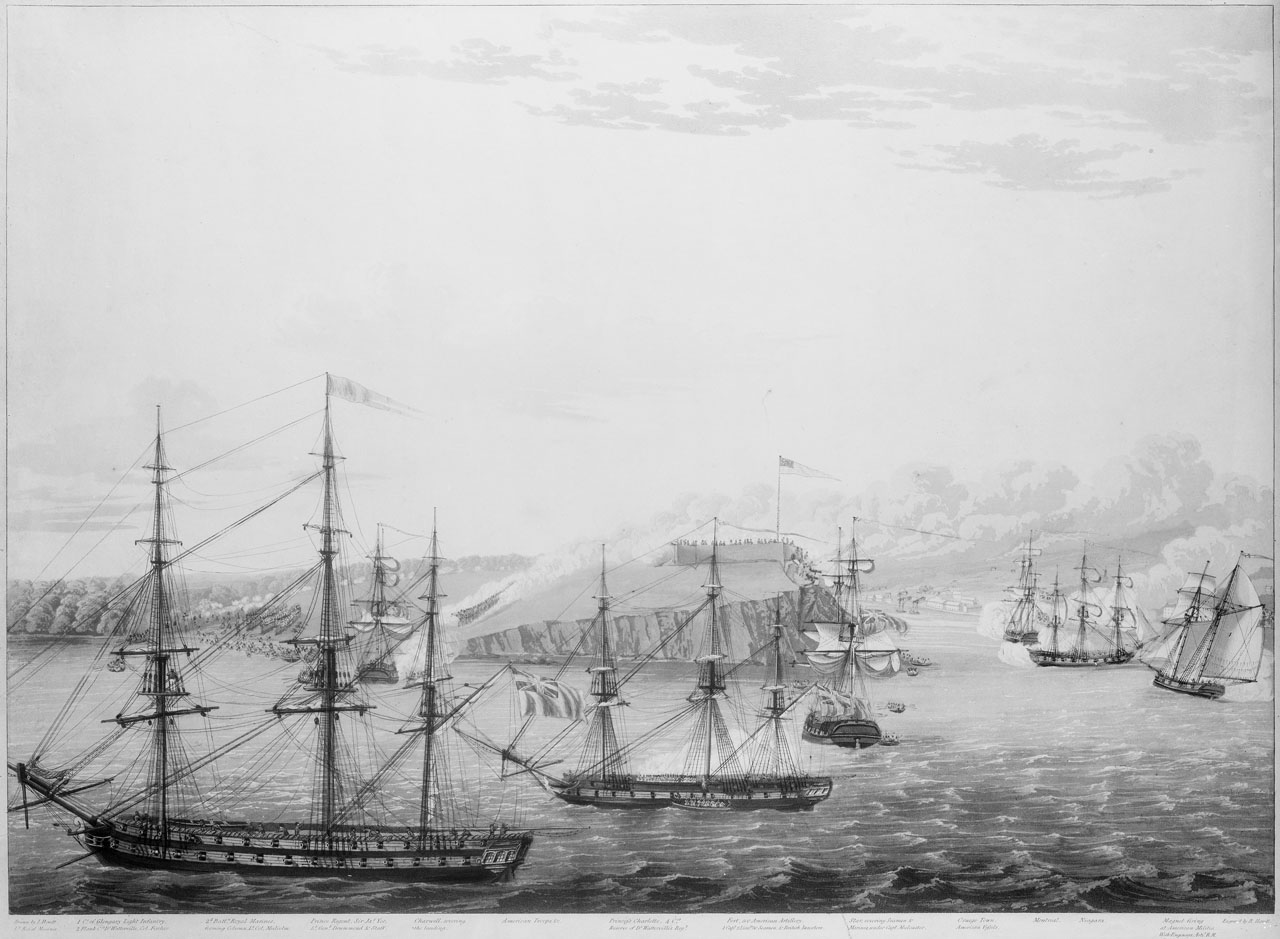
A3914

Commodore Yeo’s raid on Raid at Fort Oswego, 6 May 1814, engraving by I Hewett and Robert Havell

Meanwhile on 11 September on Lake Champlain the USN won a significant victory at the Battle of Plattsburgh in which Commodore Thomas Macdonough destroyed the squadron of Captain George Downie. Captain Downie’s squadron, composed of the frigate Confiance (36 – launched 25 August), plus a brig, two sloops and between 12 and 14 gunboats, was supporting the 8,000-11,000 strong army of Peninsular campaign veterans commanded by Governor General Sir George Prevost who was attempting to seize Plattsburgh and reduce the American naval base there.[314] 
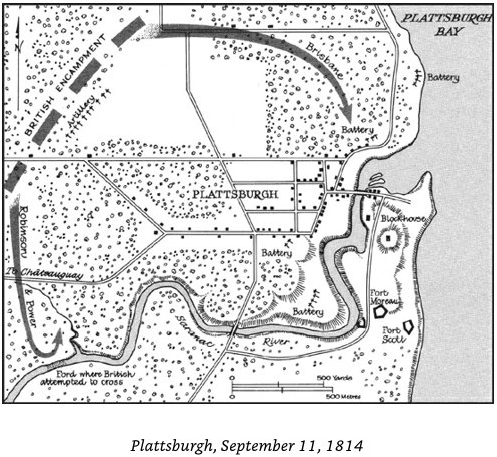
Attackon Plattsburgh

Prevost’s advance on Plattsburgh, from Pierre Berton, Flames Across the Border (1981)
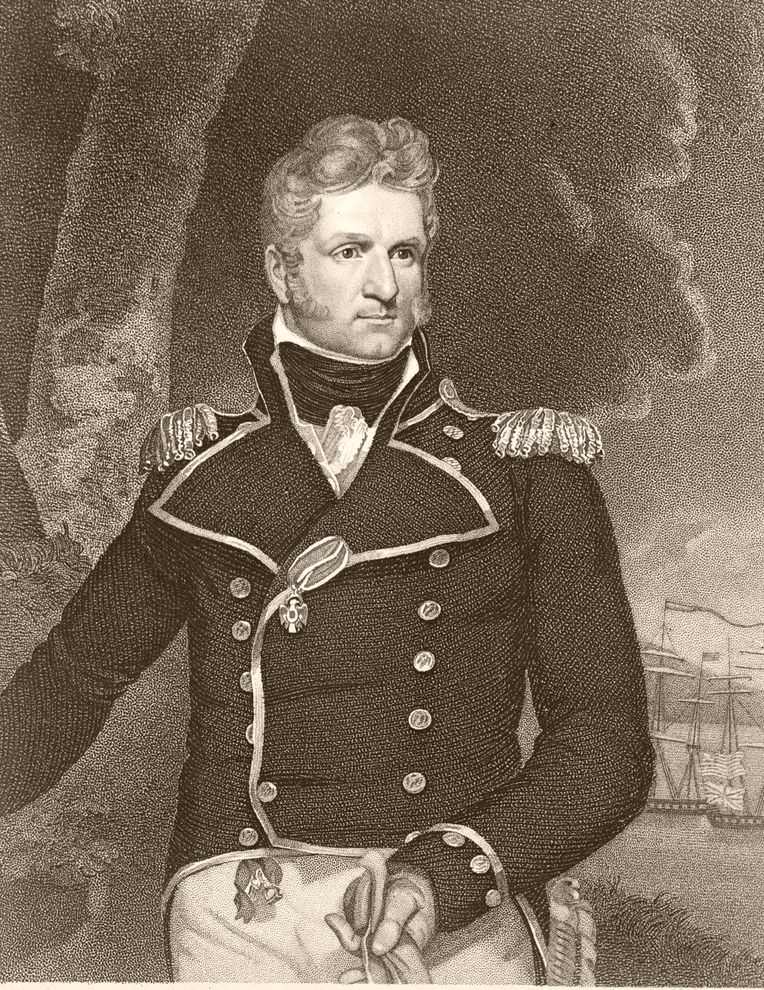
Macdonough3

Commodore Thomas Macdonough, USN, engraving by John Wesley Jarvis

Captain Macdonough, acting in the capacity of Commodore for the USN forces at Plattsburgh, had under his command the Saratoga (26), a heavy corvette, a schooner, a sloop and about 10 gunboats, plus the brig Eagle (20) the latter having just been launched on 16 August.[315]

Plattsburgh03

Macdonough’s anchorage at Plattsburgh, and Downie’s failed attack, from Pierre Berton, Flames Across the Border (1981)

As Prevost moved against Plattsburgh, where General Macomb had less than 2,000 Americans, Downie sailed from Isle-aux-Noix on 8 September and entered the Plattsburgh harbor on the 11th, where Captain Macdonough was waiting for him. Downie lined up Confiance to engage Saratoga but was killed early in the battle and the Americans gradually out-gunned the remaining British warships, which were all taken.[316] After this disaster Prevost retreated back into Canada, ending the British land offensive for that year.
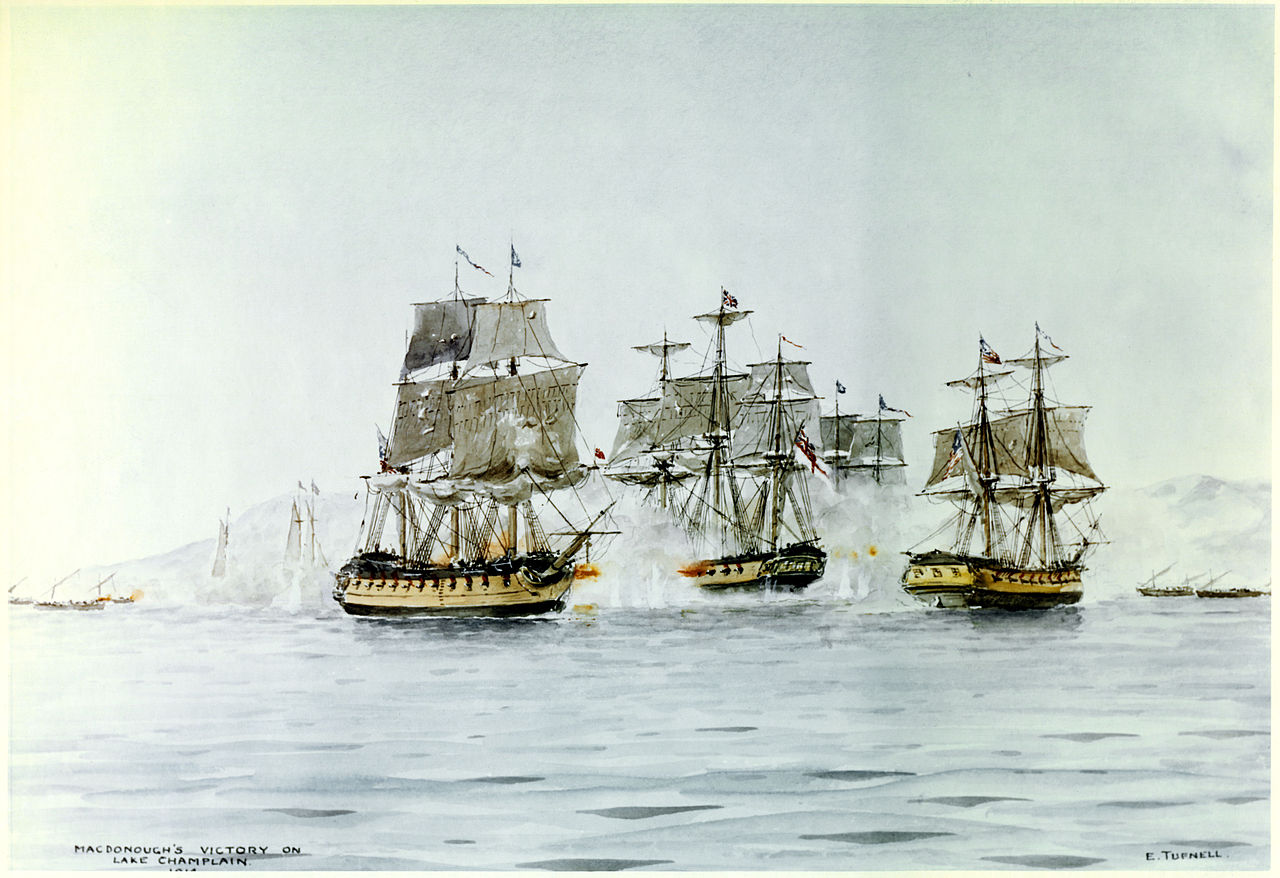
Lake Champlain

Battle of Lake Champlain (Battle of Plattsburgh), 11 September 1814, painted by Commander Eric Tufnell, RN.
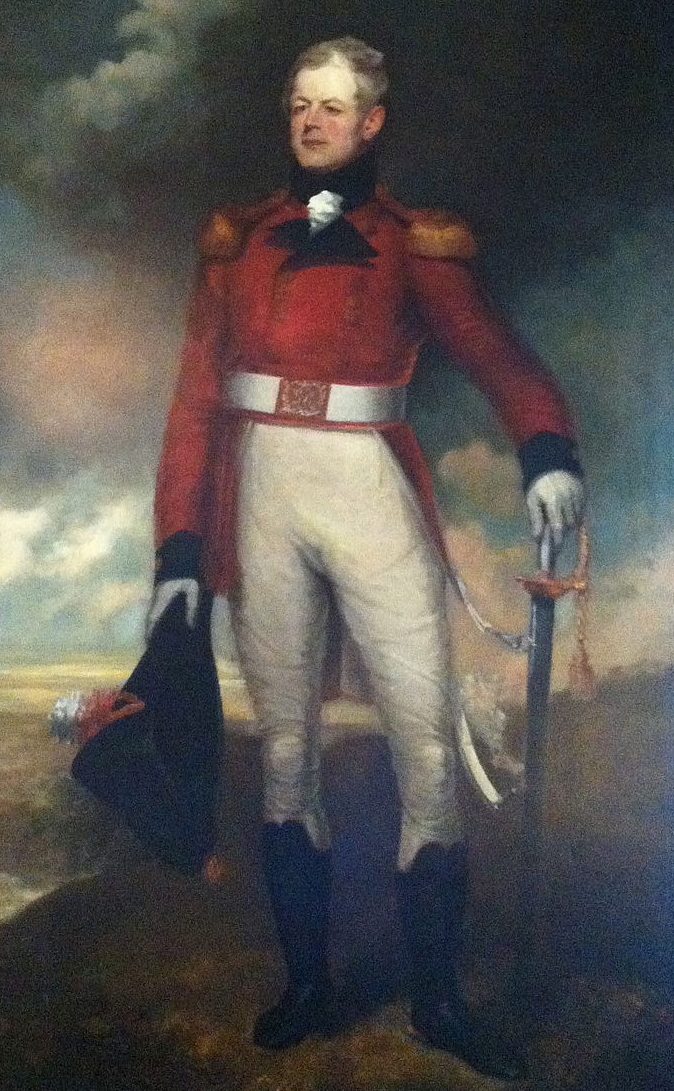
 

Prevost2a

Lieutenant General Sir George Prevost, Governor General of Canada, painted by Robert Field 

On 24 December the Treaty of Ghent was signed, ending the war based on the status quo ante bellum, although it took several months for this news to reach the various theatres of operation.[317] On 2 March 1815 Lieutenant General Sir George Murray arrived in Canada and ordered Prevost to return to London to explain the failure of the Plattsburgh campaign, but Prevost died on 5 January 1816 before his court martial took place.[318]
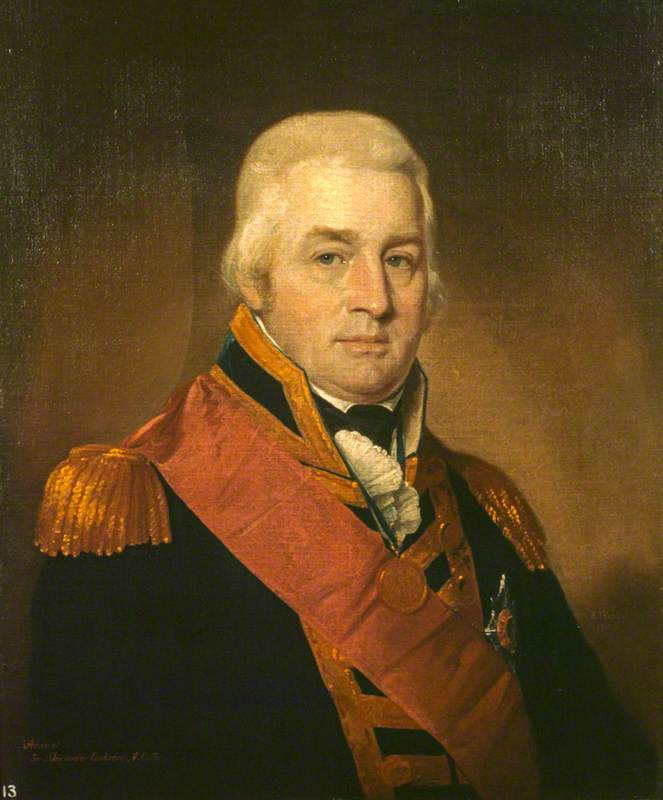
Field, Robert, 1769-1819; Admiral Sir Alexander Inglis Cochrane (1758-1832), Governor of Guadeloupe

Vice Admiral Sir Thomas Alexander Cochrane, C-in-C North American, 1814, painted by Robert Field in 1809

On the Atlantic seaboard meanwhile Rear Admiral Sir Alexander Cochrane, who had been aboard HMS Northumberland in Duckworth’s squadron at the Battle of San Domingo and then governor of Guadeloupe from 1810-1813, was promoted to Vice Admiral as C-in-C North America, replacing Warren at the beginning of 1814. With Napoleon exiled to Elba, Cochrane was soon supported by 2,500 of Wellington’s troops under Major General Ross for operations in the Chesapeake.
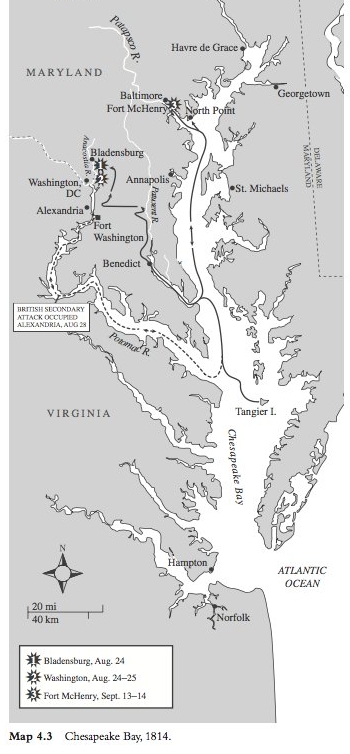
 

Chesapeake02

The Chesapeake Campaign, August-September 1814, from James Bradford, ed., America, Sea Power, and the World (2016)
4.2-3.-Bladensburg-Final-flat-1

Battle of Bladensburg, 24 August 1814
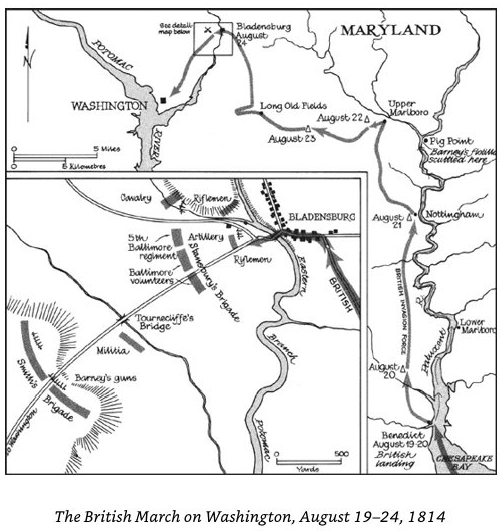
washington01

Advance on Washington, from Pierre Berton, Flames Across the Border (1981)

Cockburn 1817

Rear Admiral Sir George Cockburn, painting by John Halls c. 1817. Note burning Washington, D.C., in background

Rear Admiral Sir George Cockburn (who later escorted Napoleon to St. Helena in 1815), and Major General Ross won the battle of Bladensburg, 24 August, and then seized Washington – almost capturing President Madison in the process – before burning the city.[319] Ross however was killed on 12 September when the army advanced to Baltimore, being replaced by Major General Edward Pakenham, and on the 13th Cochrane shelled Fort McHenry, before withdrawing.[320]
Pakenham

Major General Sir Edward Pakenham, by Thomas Heaphy, c. 1813-1814


The Pacific, 1814 & New Orleans, 1815

Pacific

Map of the Pacific North West, 1818-1846, from Barry Gough’s Britannia’s Navy (2016)

In the Pacific Captain James Hillyar in the frigate Phoebe (36: 26 18-pdr, four 9-pdr and 14 32-pdr carronades), along with the sloop Cherub (28, Captain Thomas Tucker) was despatched to intercept the carronade frigate USS Essex (rated 32 but actually carrying 40 32-pdr carronades and six 12-pdrs), commanded by Captain David Porter, USN. In September 1812 Porter had narrowly avoided being engaged by Broke in the Shannon (W. James, Naval History of Great Britain, vol. V, 1859, p. 367-8).  
Miniature, MNT0004

Captain James Hillyar of HMS Phoebe (36), despatched to the Pacific in 1813 to intercept USS Essex (40)

Essex, now operating in the Pacific, seized 12 out of the 20 British whalers operating around the Galapagos Islands between April – October 1813.[321] USS Essex was eventually captured, with 58 dead and 66 wounded, on 28 March 1814 at the Battle of Valparaiso Bay.[322]
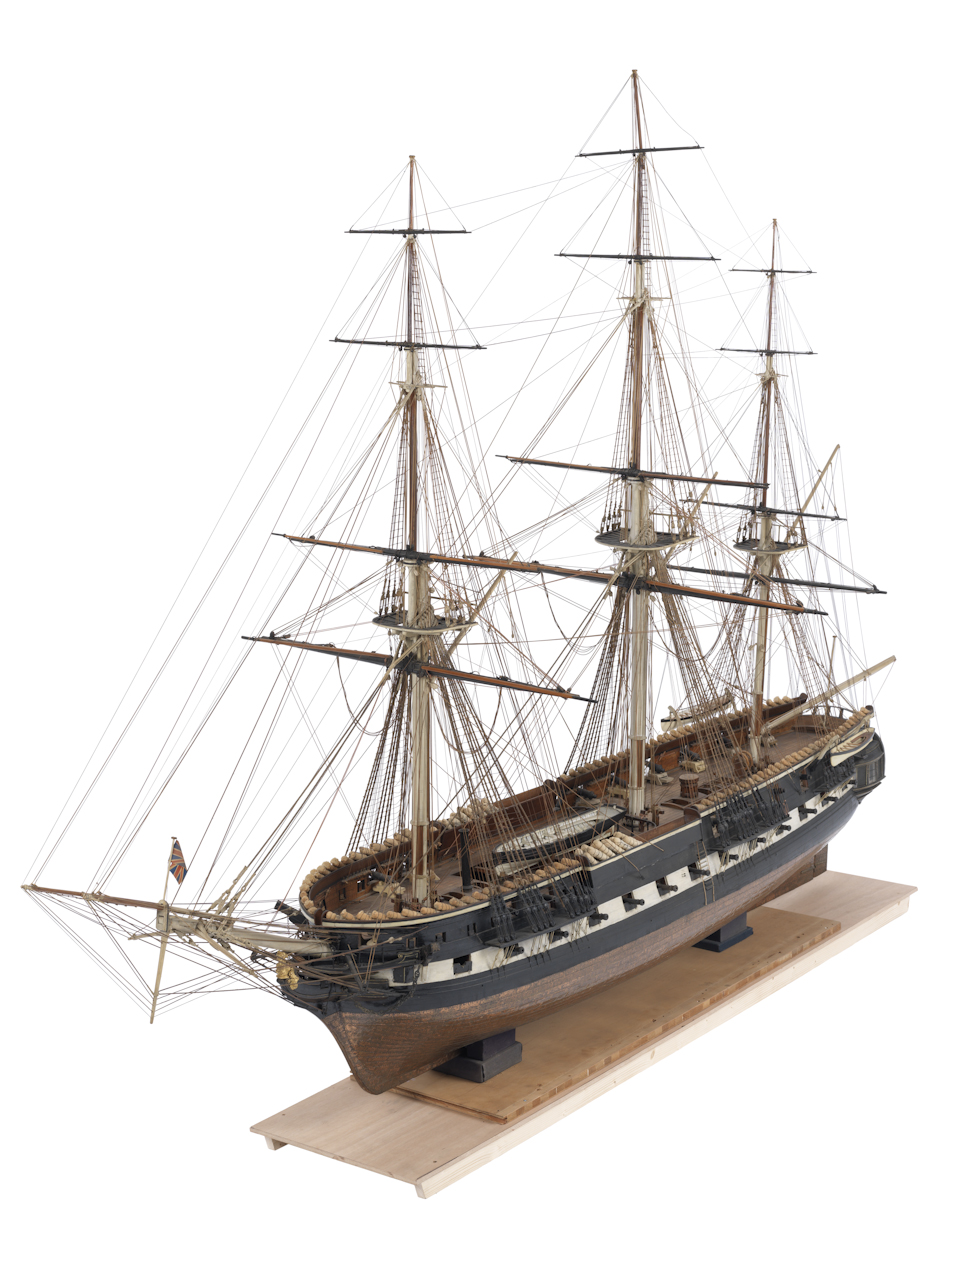
Phoebe

36-gun frigate HMS Phoebe


1920px-Battle_of_Valparaiso

Capture of the USS Essex by HMS Phoebe & Cherub, 28 March 1814, Battle of Valparaiso, engraving based on Abel Bowen.
pirates

N. C. Wyeth illustration

Vice Admiral Cochrane meanwhile redeployed his forces to the southern United States and in preparation for operations against New Orleans landed 7,500 men under General Pakenham at Lake Borgne, where RN gunboats destroyed a smaller USN gunboat detachment under Lieutenant Thomas ap Catesby Jones.[323] 
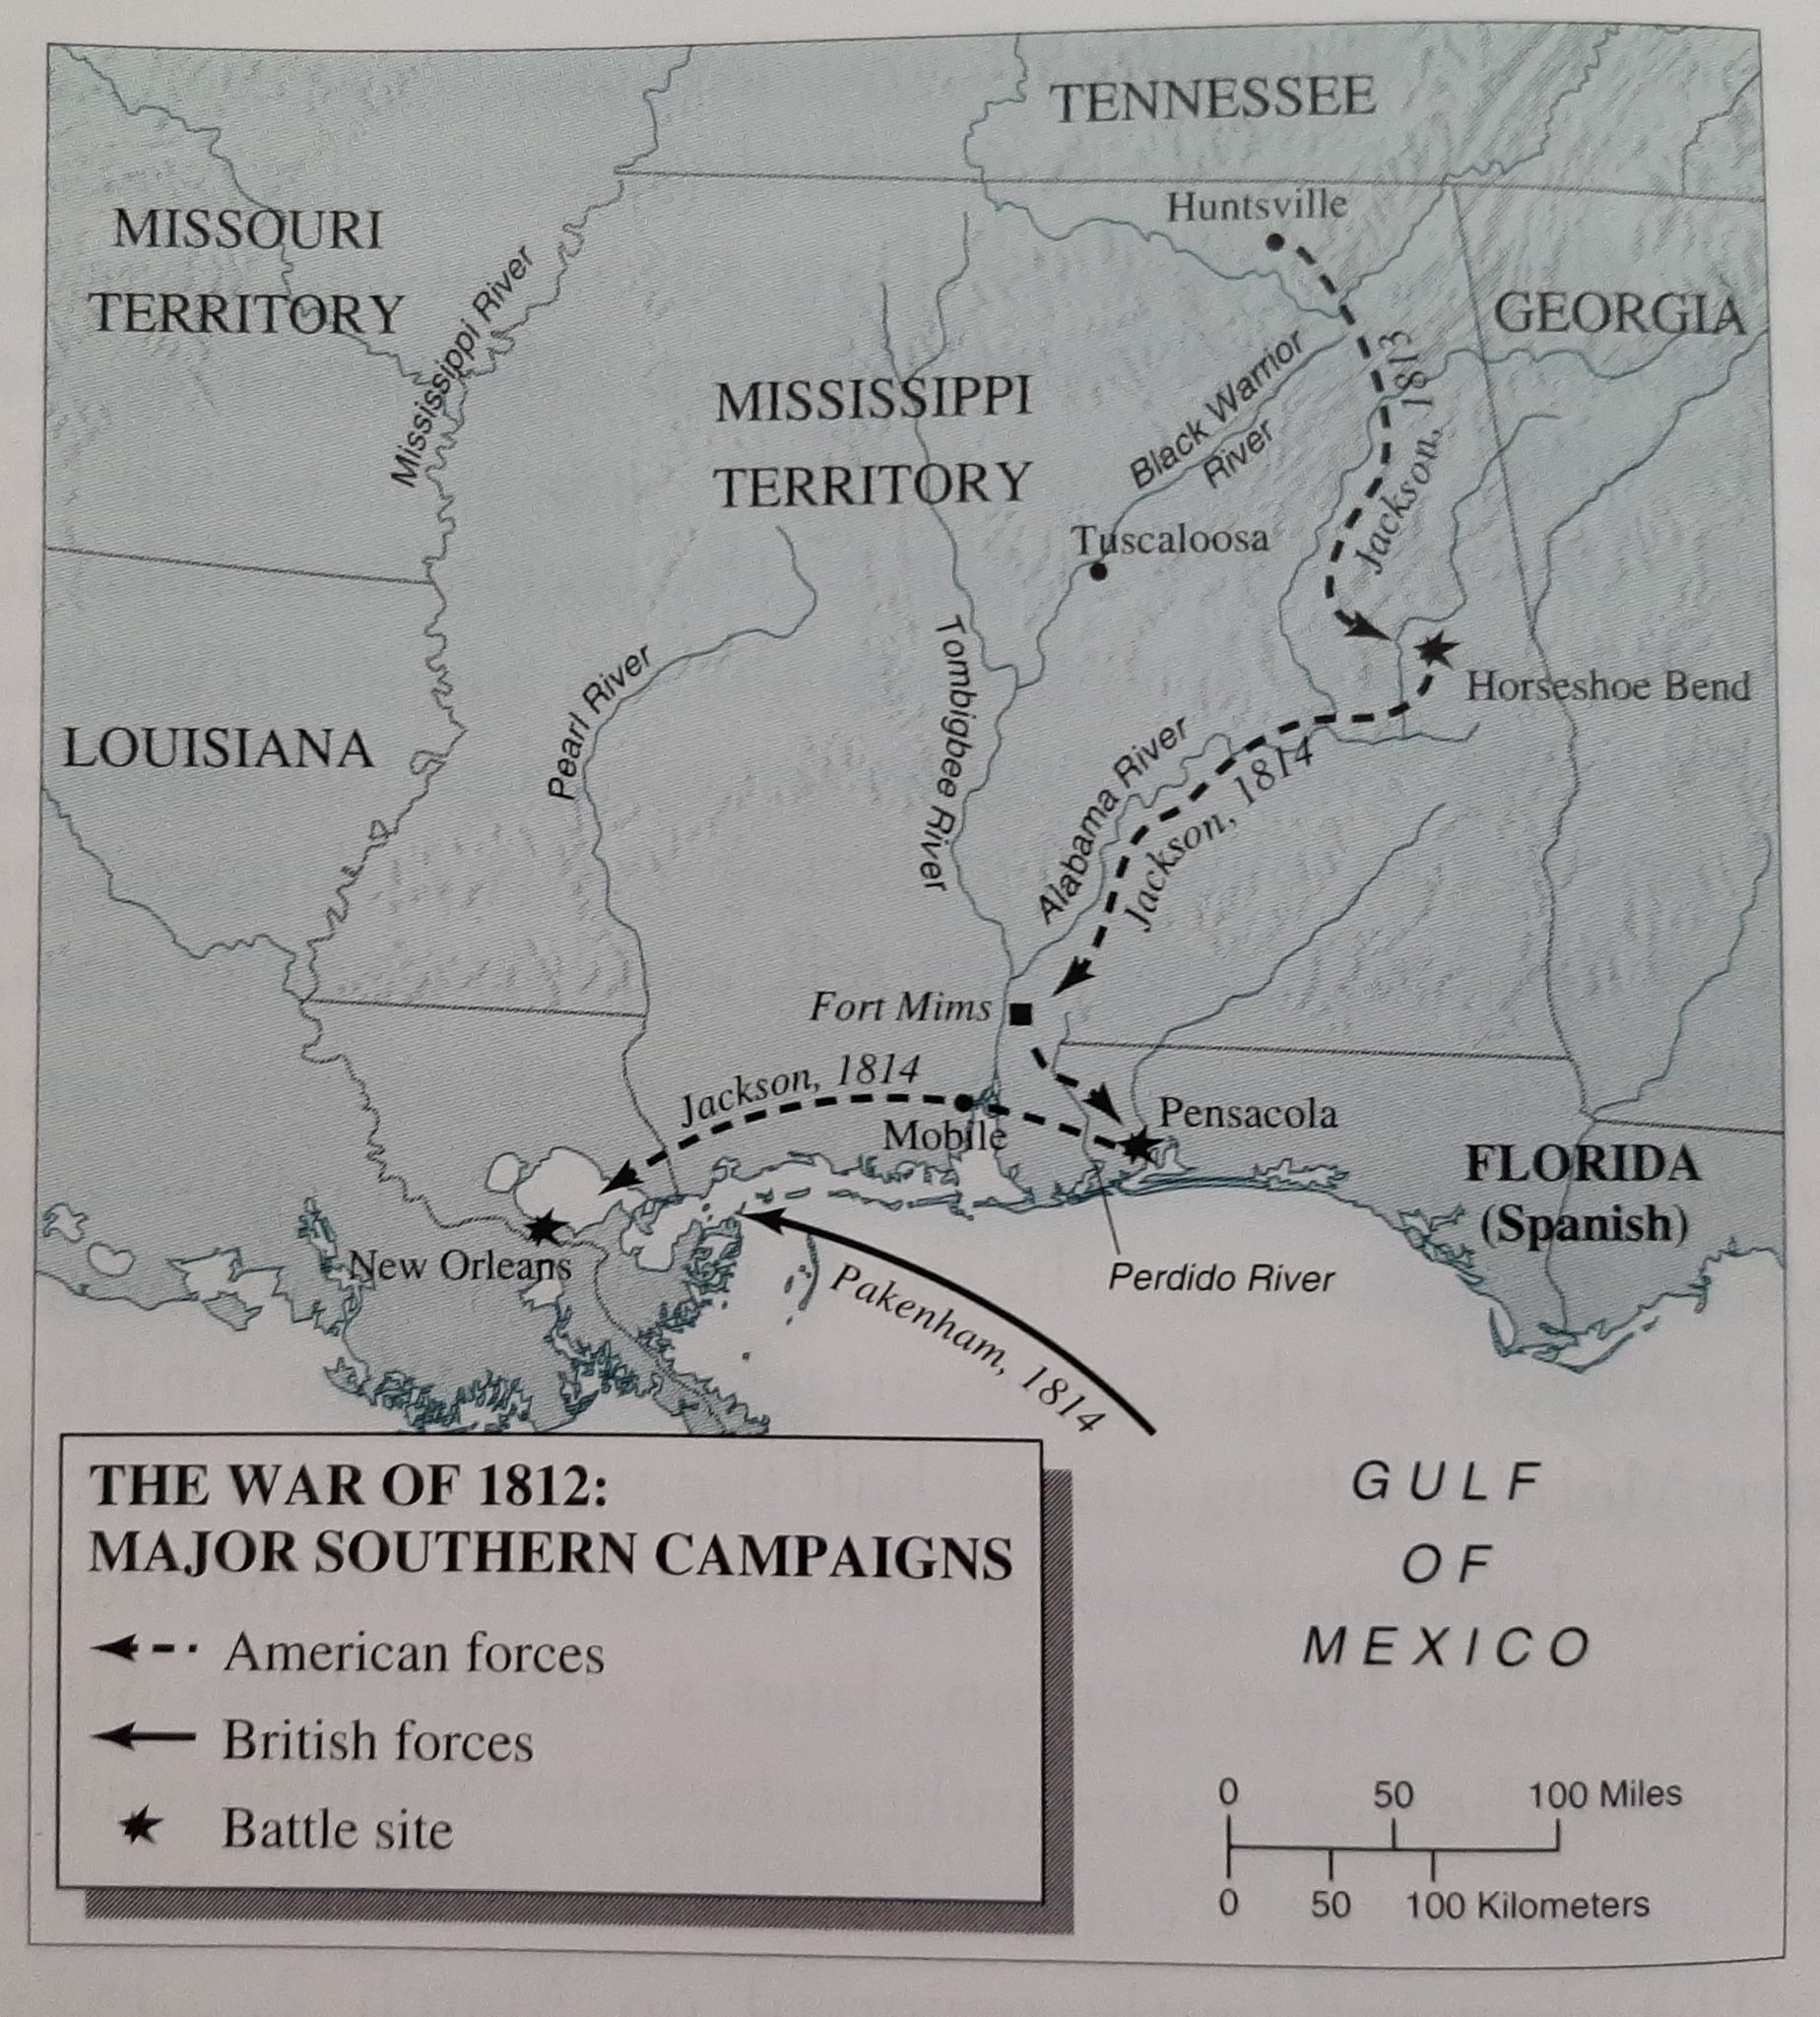
Campaing in the south

Southern Campaign02

Campaign in the South, from Tindall & Shi, America, A Narrative History, vol. I (2004) & detail of same from James Bradford, ed., America, Sea Power, and the World (2016)
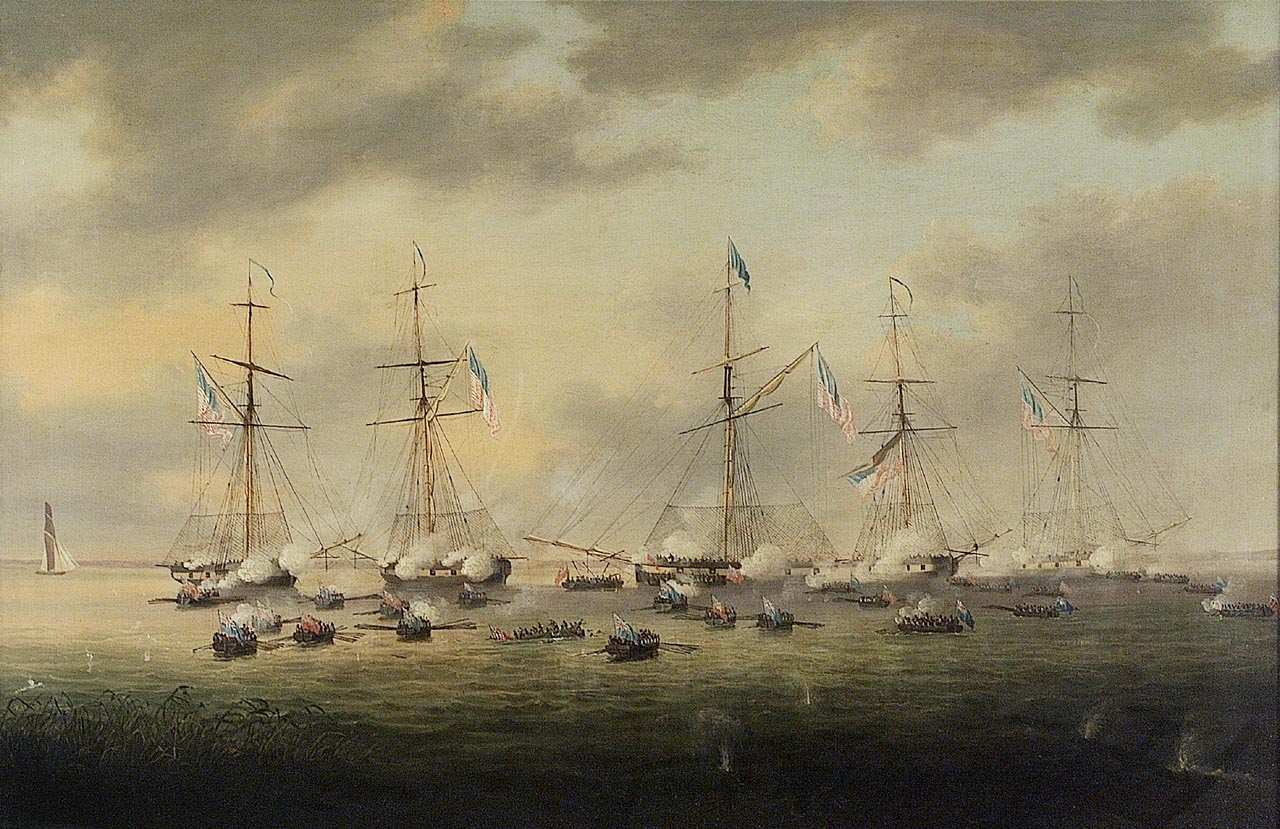
 

Borgne

USN and RN gunboats engaged on Lake Borgne, 14 December 1814, by Thomas Hornbrook

Major General Andrew Jackson prepared for the defence of New Orleans, that culminated in the battle of the Plains of Chalmette on 8 January 1815, during which the British sustained between 2,000-3,000 casualties, including the death of General Pakenham, thus stalling the offensive until news arrived on 13 February of the signing of the Treaty of Ghent.[324]
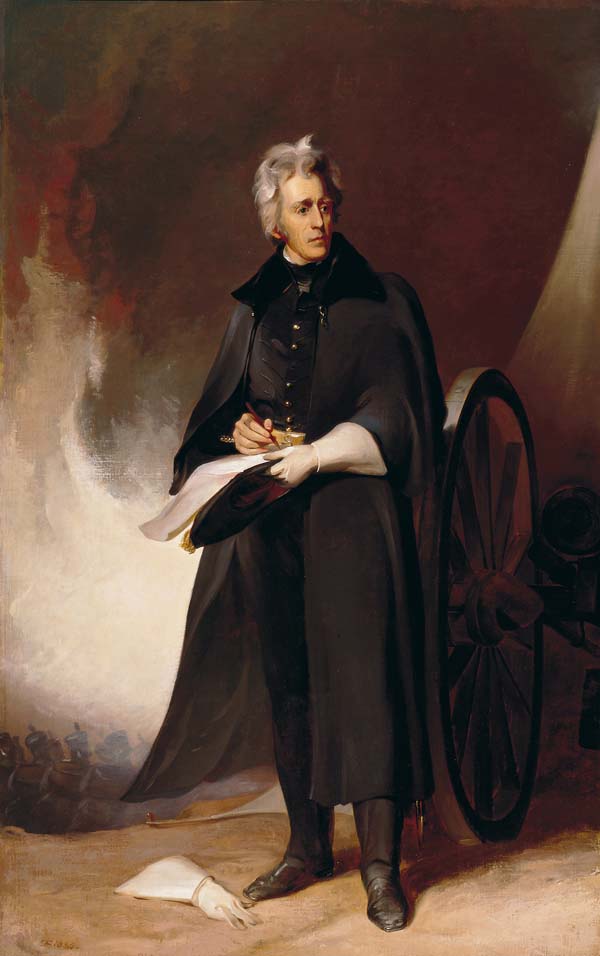
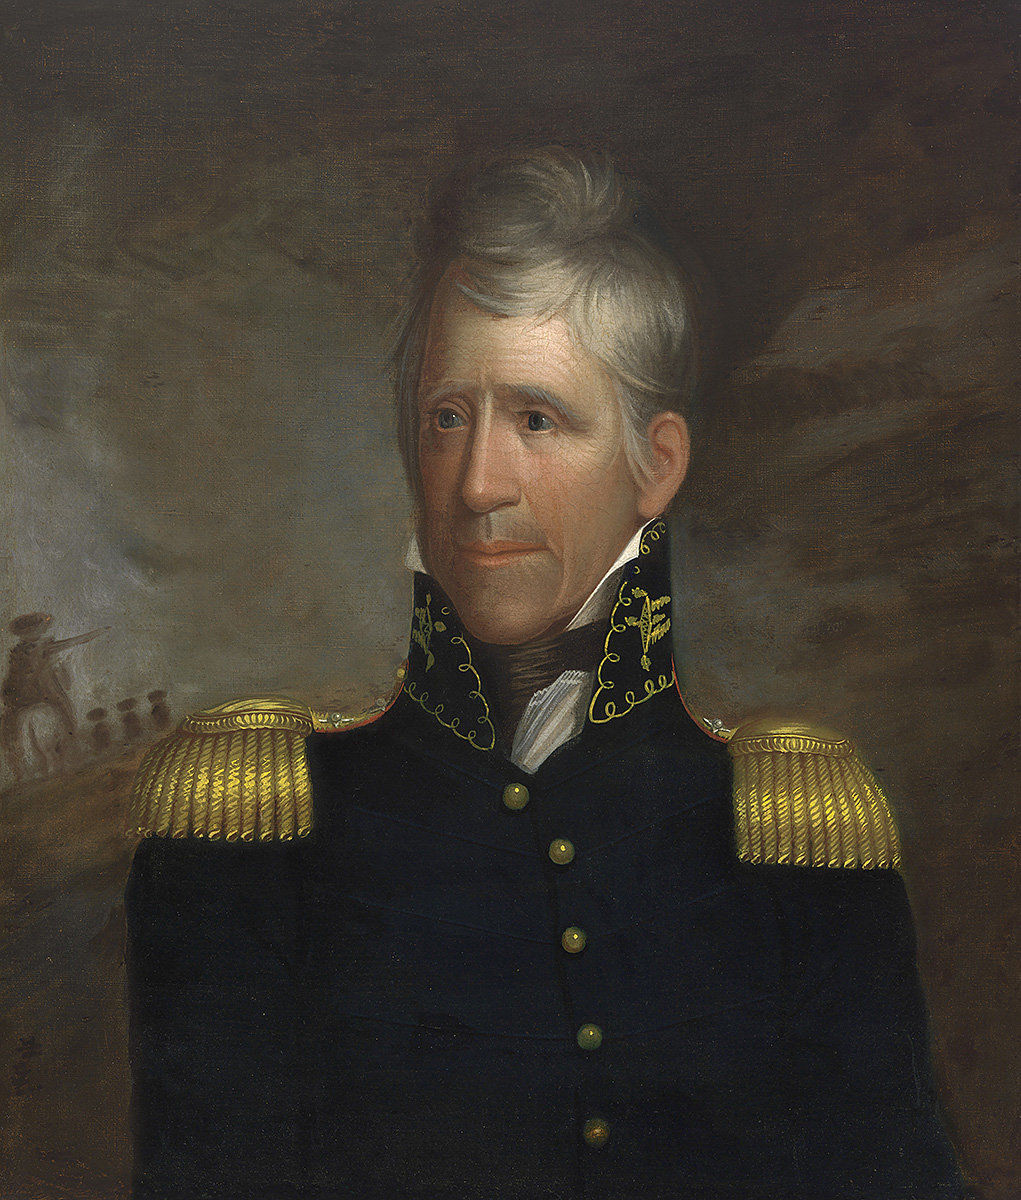
Andrew Jackson

Andrew Jackson2

Andrew Jackson commanding at New Orleans, by Thomas Sully c. 1845, & by Ralph Eleaser Whiteside Earl, c. 1817
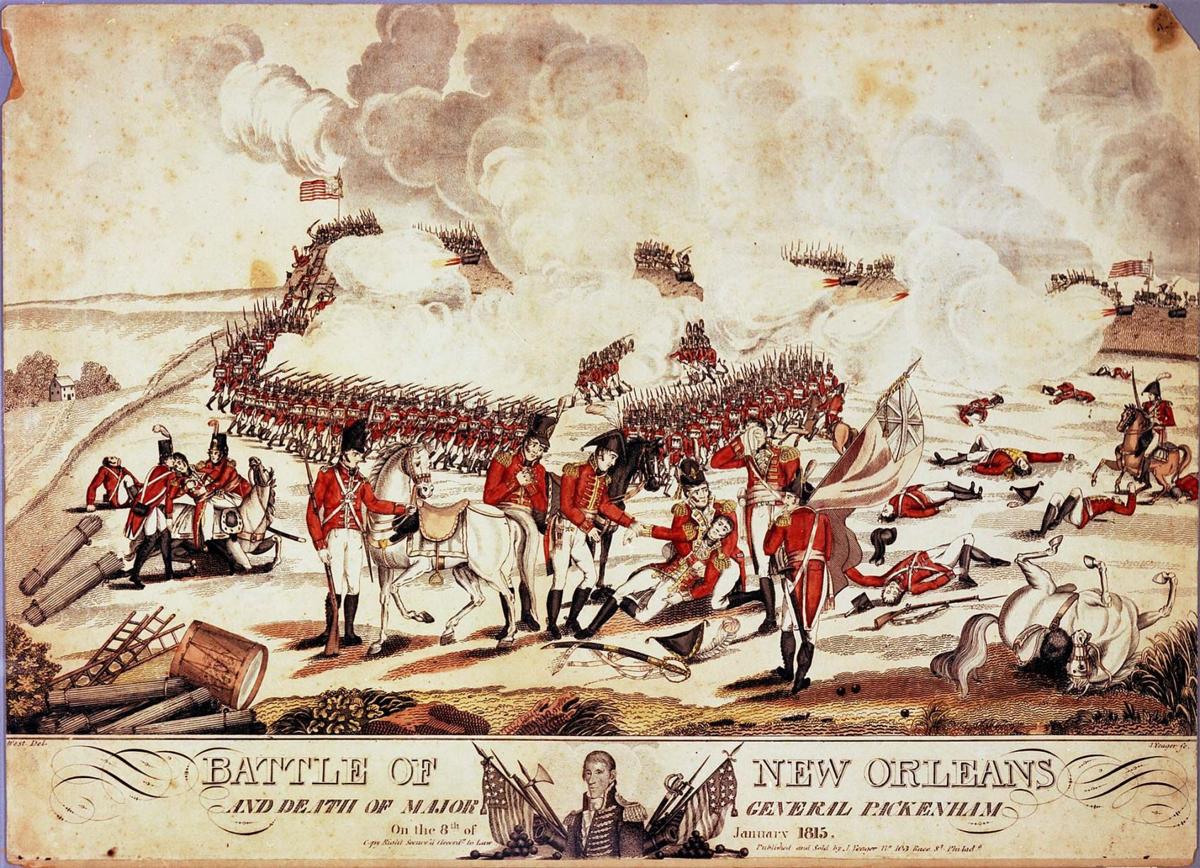
Battle of New Orleans

Battle of New Orleans and Death of Major General Pakenham

By the beginning of 1815 the American privateers operating in the Atlantic, of which there were in total 515 variously commissioned,[325] had done significant damaged to Britain’s mercantile trade, having captured 1,175 ships (of which only 373 were recaptured before the end of the war).[326] In a final embarrassment for the Americans, USS President was captured early in January 1815 by HMS Endymion, Captain Henry Hope, supported by Tenedos and Pomone.[327]
 

Penguin

Sloop USS Hornet (20) captures brig HMS Penguin (18), 23 March 1815
schooners

Launching of the Great Lakes schooners Newash and Tecumseh, c. August 1815


European Cataclysm: The War of the Sixth Coalition

Napoleon’s 1812 campaign had been an undeniable disaster although, like Stalingrad for the Third Reich 130 years later, not the fatal blow. The strategic initiative now passed to the Allies. Early in 1813 both Austria and Prussia changed sides, joining the new Sixth Coalition with Austria assuming a temporary armed neutrality while Prussia joined with the Russians.  Berlin was liberated on 4 March, and this prompted the Prussians to declare war against France on the 17th.[328]
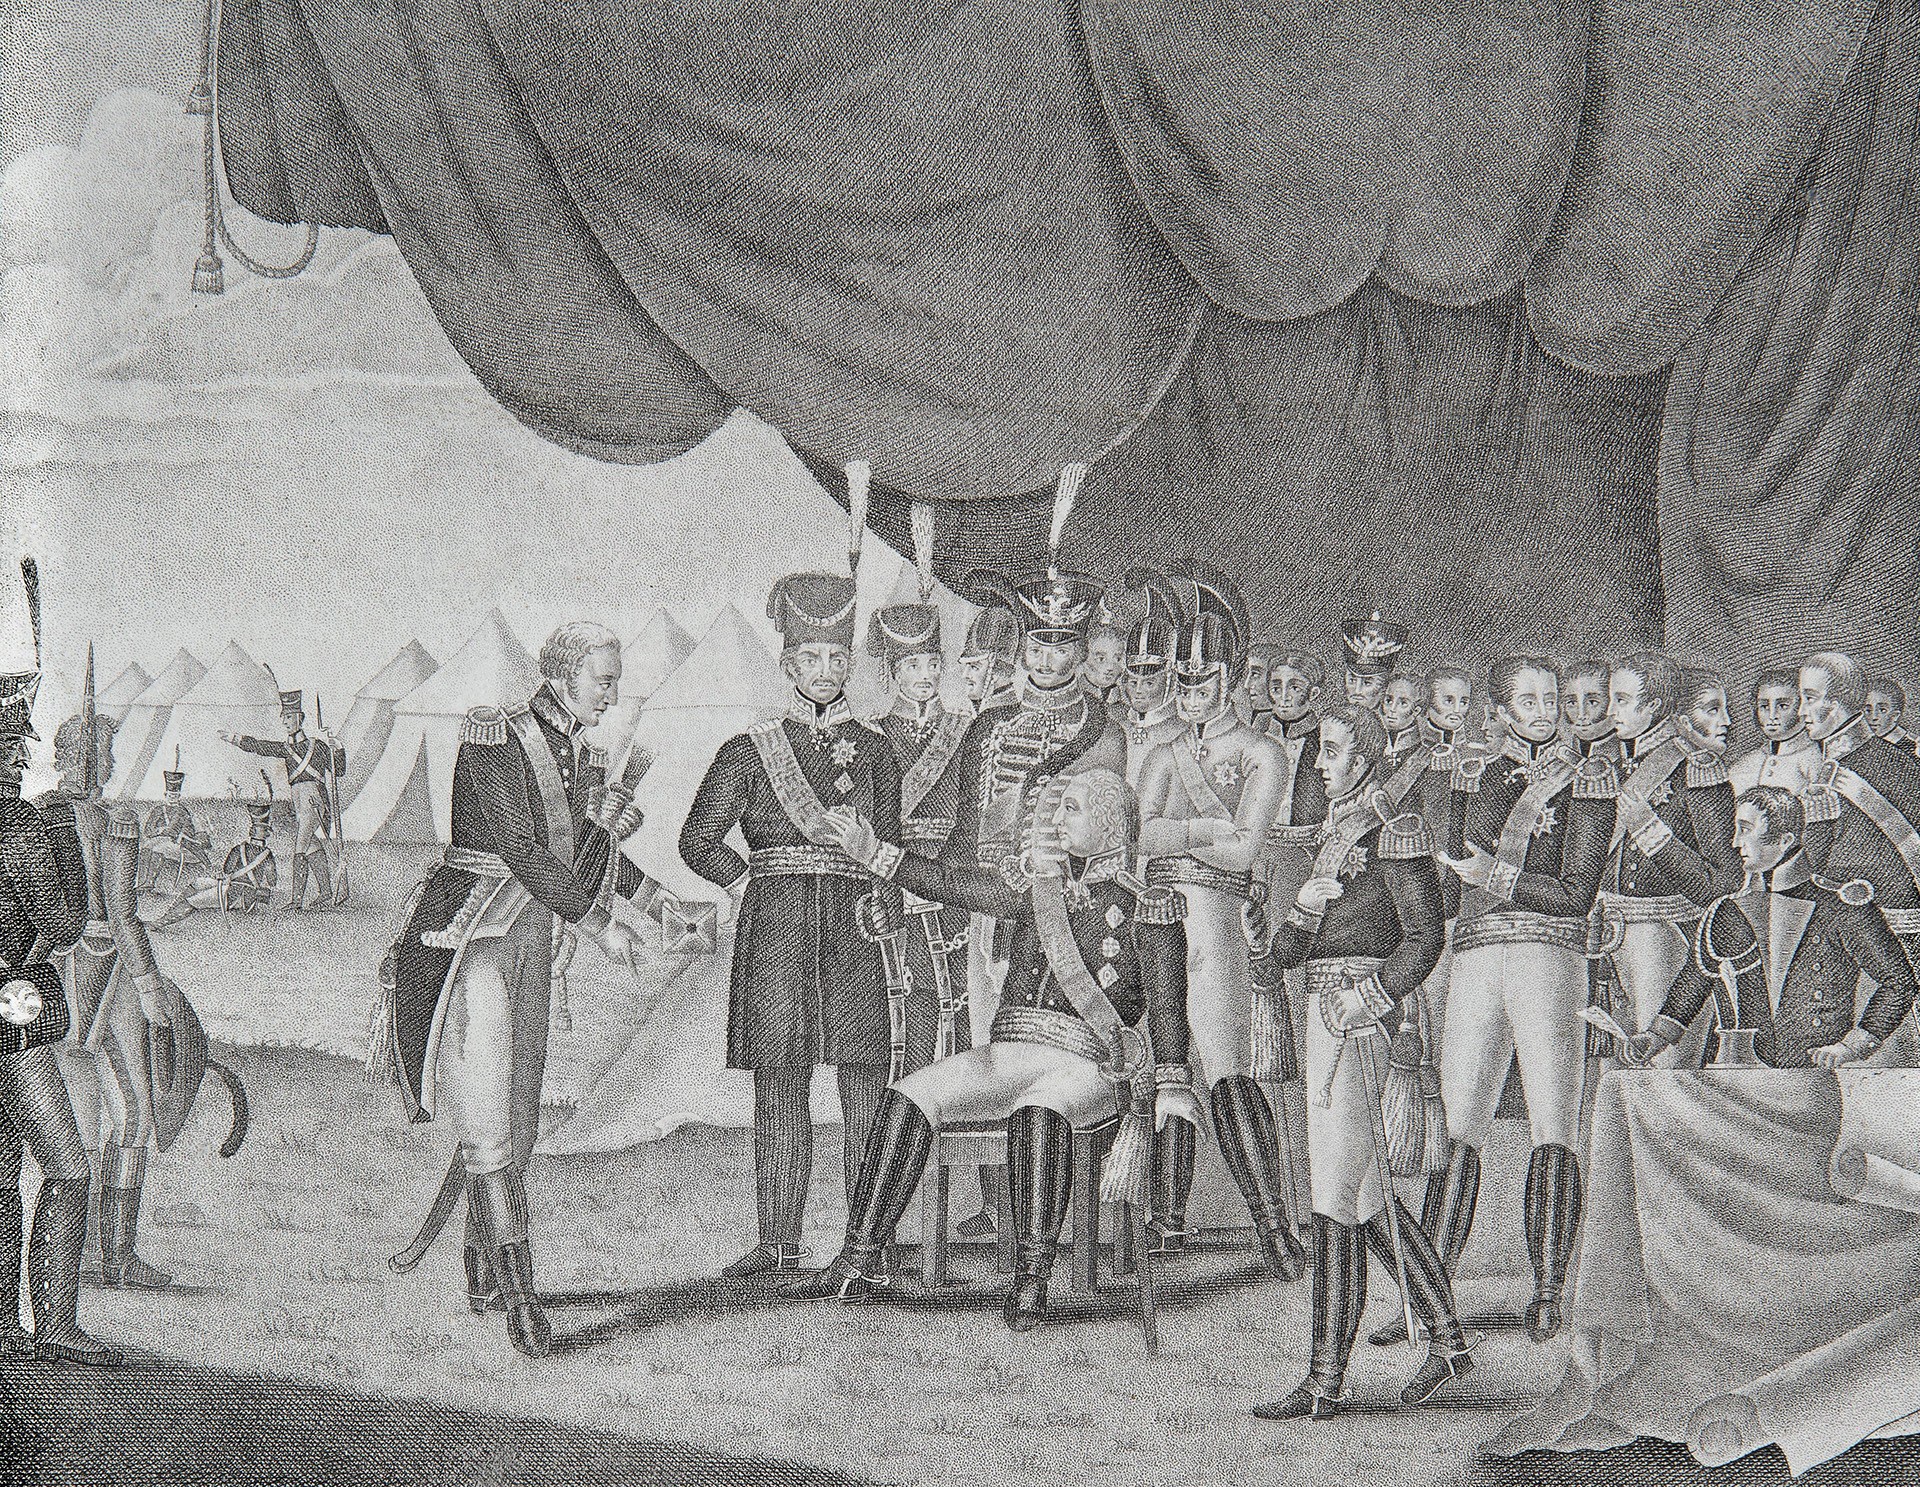
 

Kutozov

Kutuzov rejects Napoleon’s peace offer, by Ivan Ivanov, c. 1813

Napoleon wasted no time making preparations to recover his military power, having levied 137,000 in January 1813, and thus in April joined the army on the German frontier with 226,000 men and 457 guns. By August this force had been built up to 400,000, although mainly composed of conscripts with limited if any experience given the demise of most of his veterans in Russia – however one authority considers the infantry and artillery of sound quality with only the cavalry lacking in horses and material.[329] The situation amongst the Allies, luckily for Napoleon, was not much better: the combined Russo-Prussian army accounted for only 110,000, of which 30,000 were cavalry, with Wittgenstein commanding the Russians and Blucher the Prussians under King Frederick William.


Leipzig

First phase of the 1813 campaign, 5 April to 4 June

The King left Potsdam on 22 February, committed to retrieving his kingdom, and was anticipated by his ambassador in Moscow who had been instructed to form a coalition with the Russians, which was quickly done, the Sixth Coalition coming into existence by the treaty of Kalish, 27 February 1813.[330] The Allies would await the Austrians, who were not yet willing to commit as their dynastic interests now tied them to Napoleon’s fortunes: Napoleon had in fact divorced Josephine in January 1810 and in the spring married Emperor Francis’ daughter, the Habsburg princess Marie Louise.[331] The British meanwhile funnelled money to Napoleon’s enemies, providing £2 million for Russia and Prussia with another £1.6 million set aside for Austria, the total British war financing to the alliance between March and November 1813 amounting to £11 million, plus another £2 million in arms and equipment.[332]
 

Witt

Marshal Peter Wittgenstein, by George Dawe

For the 1813 campaign Napoleon intended a rapid stroke aimed at the Prussians, who had switched sides in the aftermath of 1812, before refocusing on the Russians. Both sides mobilized their forces early in April, with Blucher and Wittgenstien fielding 65,000 as they marched on Magdeburg where they outnumbered Eugene.[333]  On the 16th of April Napoleon left Paris and moved to Mainz where he stayed until the 24th, issuing his orders. Napoleon deployed the Army of the Elbe on the defensive at the Thuringian forest, and took command of the Army of the Main with 105,000 men. The Italians and Bavarians were marching to join him with 40,000 men, the combined army including 10,000 cavalry and 400 guns.[334]
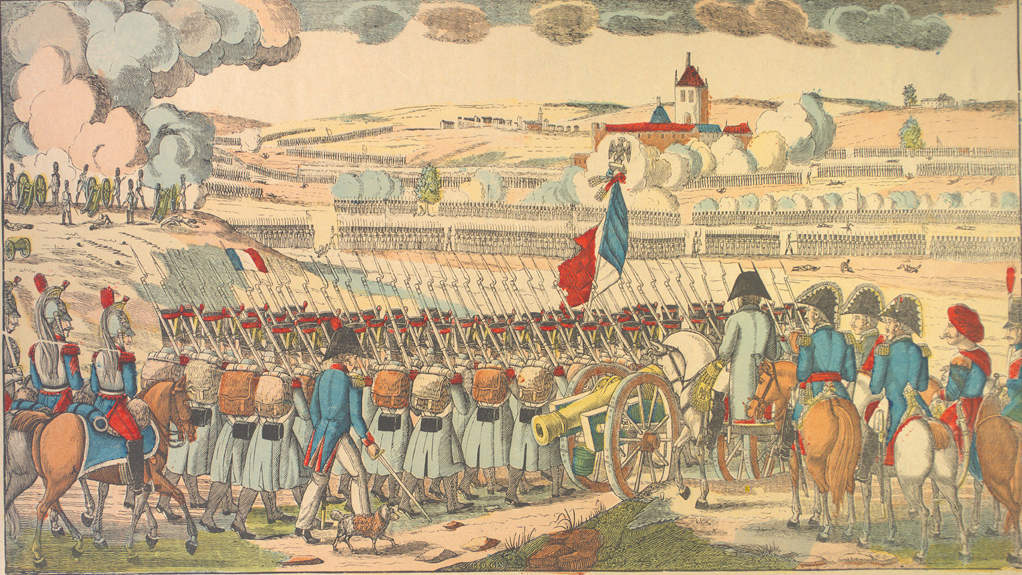
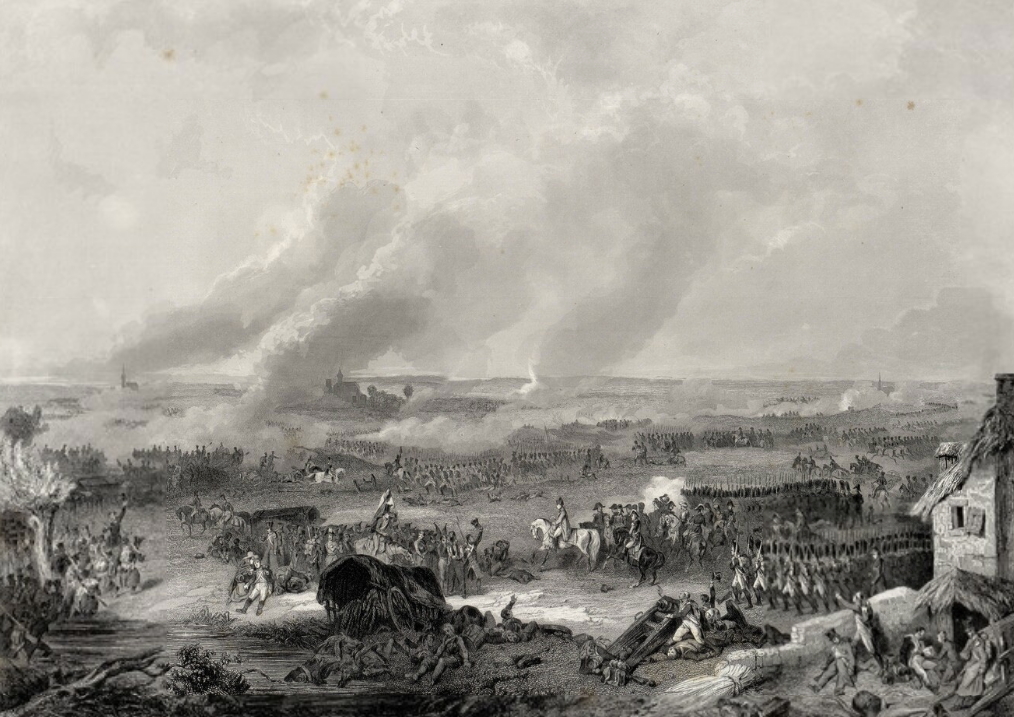
Lutzen

luzen

Views of the Battle of Lützen, 3 May 1813, Napoleon opens the 1813 campaign in Saxony.

Kutuzov, the most senior commander, died in April and the combined Russo-Prussian army constituted only 80,000 men currently at Leipzig. Napoleon was confident he could shatter them before their strength grew, expecting just such a demonstration to swing the Austrians back onto his side.[335] Napoleon crossed the Saale river into Saxony on 1 May and forced the Allies to withdraw from Leipzig, which the French then occupied. On May 3rd  Wittgenstein attacked Napoleon’s wing at Gross-Gorschen (Luetzen), where within a matter of hours Napoleon reinforced 45,000 French up to 110,000, outnumbering the allies’ 75,000.[336] The Allies suffered 10,000 losses and withdrew to Dresden, re-crossing the Elbe, but Napoleon lost 18,000 men and more deserted as he advanced.

Dragoon

French Dragoon, from Theodore Dodge, Napoleon: a History of the Art of War, vol. IV, (1909)

Reinforcements continued to arrive and the French soon took Dresden, when the Allies – paralyzed at first by internal disunity – withdrew to Bautzen. Napoleon reorganized the army at Dresden until 17 May, by which time his force marshalled 150,000-120,000, with 150 guns, with Ney adding two corps, 85,000 men, and Davout another 30,000.[337] Napoleon now marched towards Bautzen and as he began surrounding that place on the 19th, Wittgenstien with his 96,000 launched an evening spoiling attack against Ney before falling back. The Allies now had approximately 122,000 men on the field. Between 20-21 May Napoleon attacked the Allied centre while Ney maneuvered on their flank and forced the Allies again to withdraw, but not until after Napoleon had sustained 20,000 casualties.[338] Wittgenstein resigned in protest and was replaced by Barclay, and together with Blucher the Allies withdrew to Berlin.
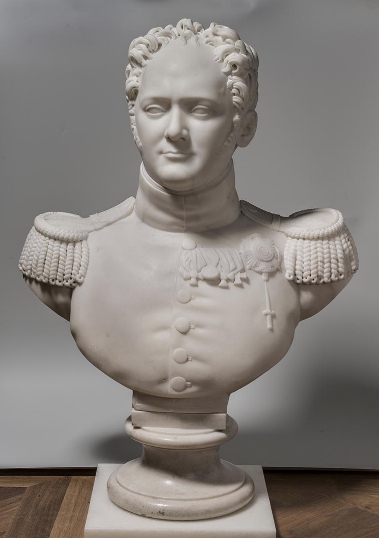
Alexander I

Bust of Alexander I by Henri-Joseph Rutxhiel
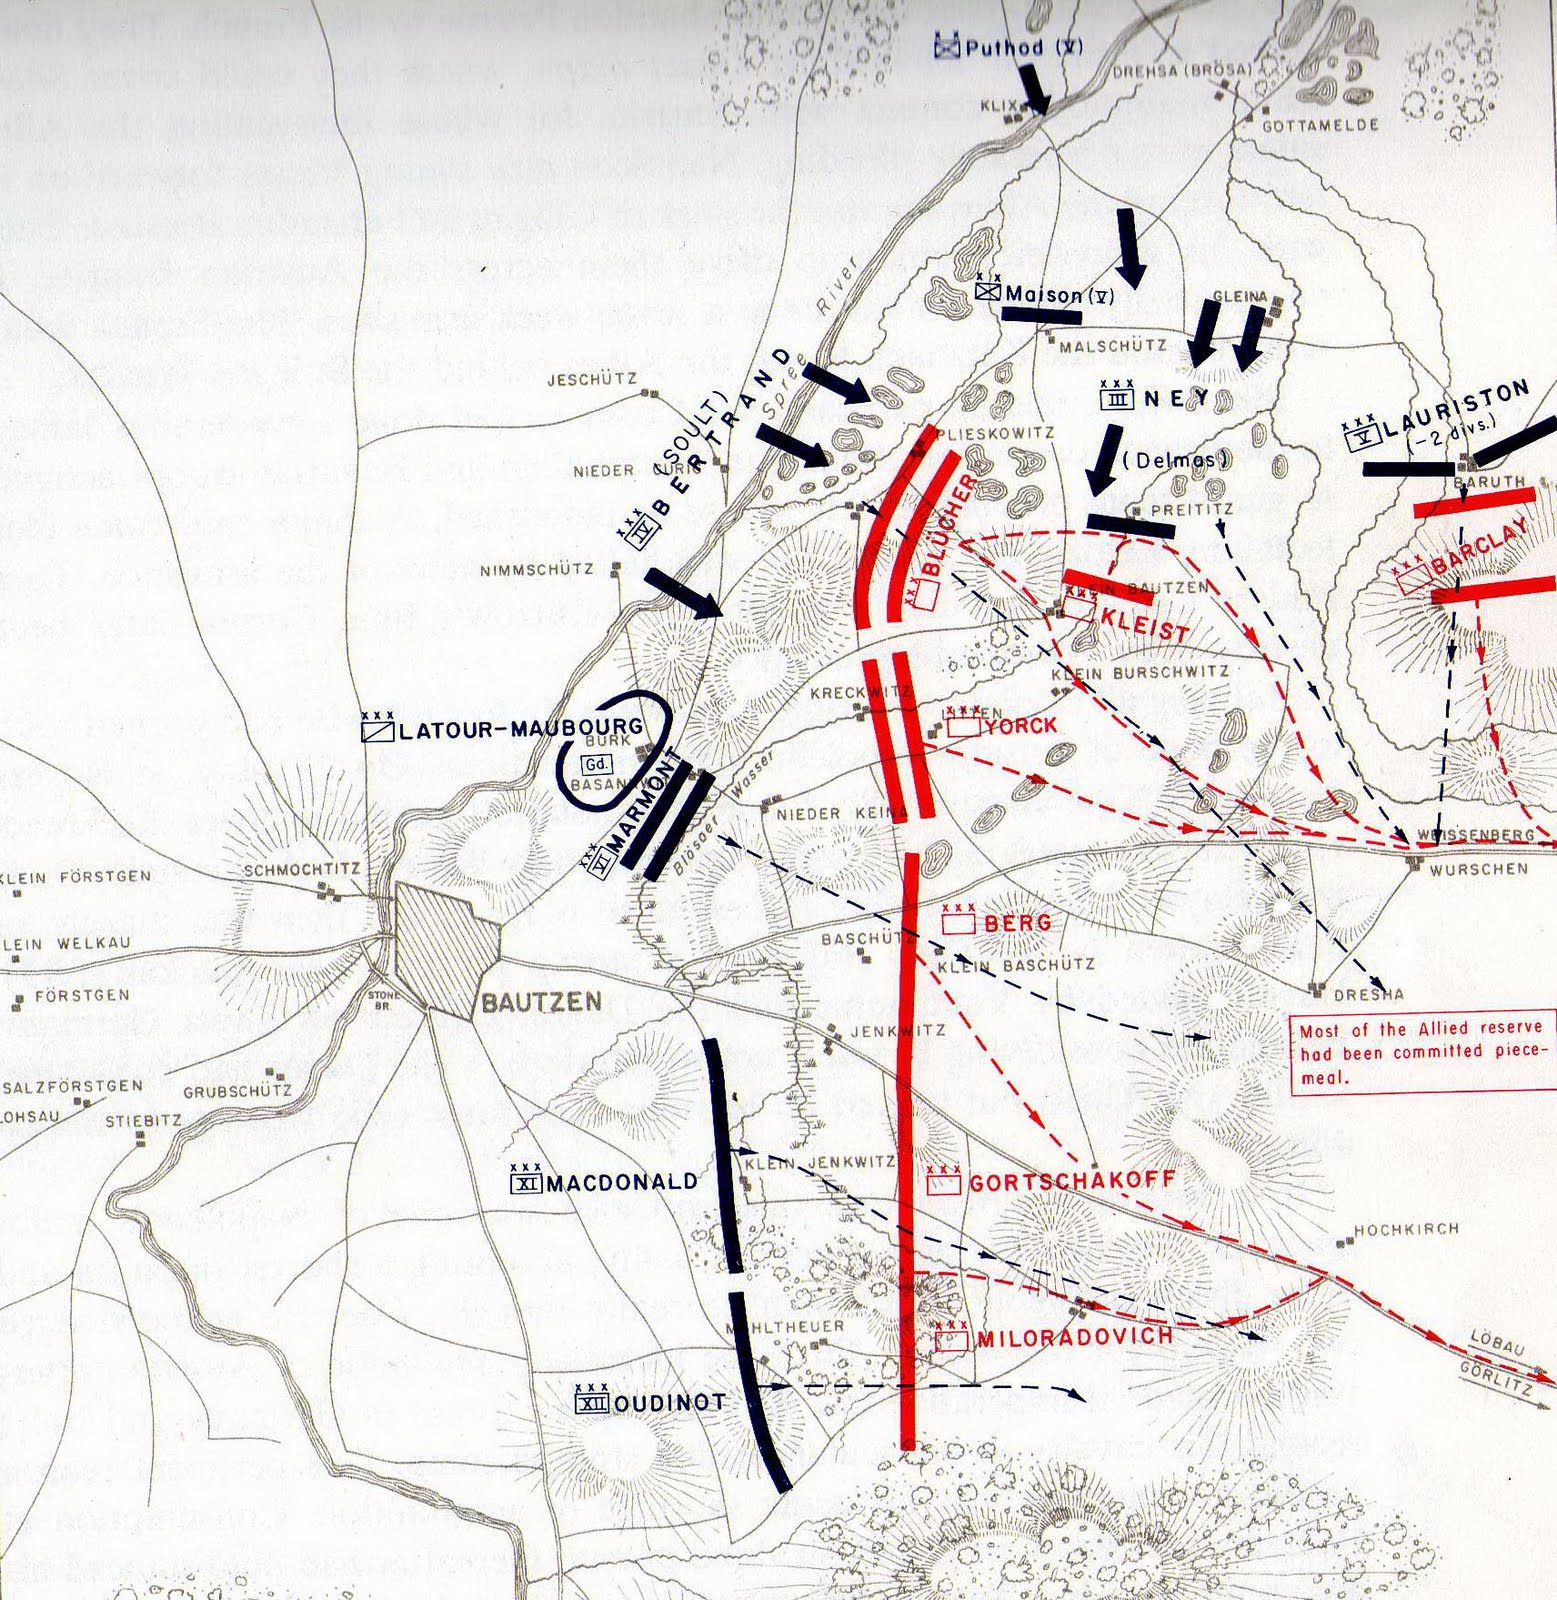
 

Bautzen

Map of Bautzen, 20-21 May 1813

By punishing the Russian and Prussian armies Napoleon seemed to be achieving his aim, and after Bautzen Francis I felt concerned enough about the prospects of Frederick William and Alexander I to have Metternich despatch ambassadors to Napoleon as peace feelers.[339]
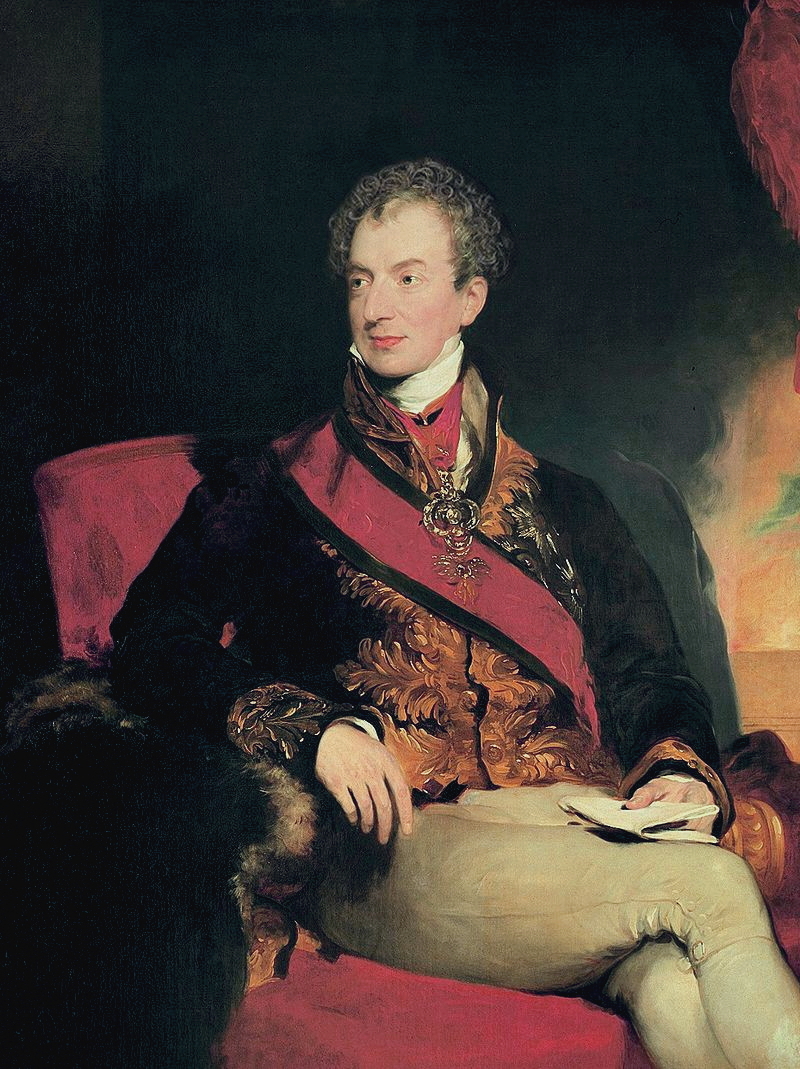
 

800px-Metternich_by_Lawrence

Austrian Foreign Minister Klemens von Metternich

With peace in the offing, and desirous to buy time, Napoleon now proposed an armistice which was duly arranged at Pleiswitz on 4 June, scheduled to last until 20 July, but ultimately lasting until 12 August.[340] The war could have ended during this time, but Bonaparte refused to accept the proffered terms as they would have dismantled most if not all of Napoleon’s system and, since every day he was gaining reinforcements and supplies, he simply delayed until the Austrians turned against him, as Metternich intended, after which there was no going back.[341]
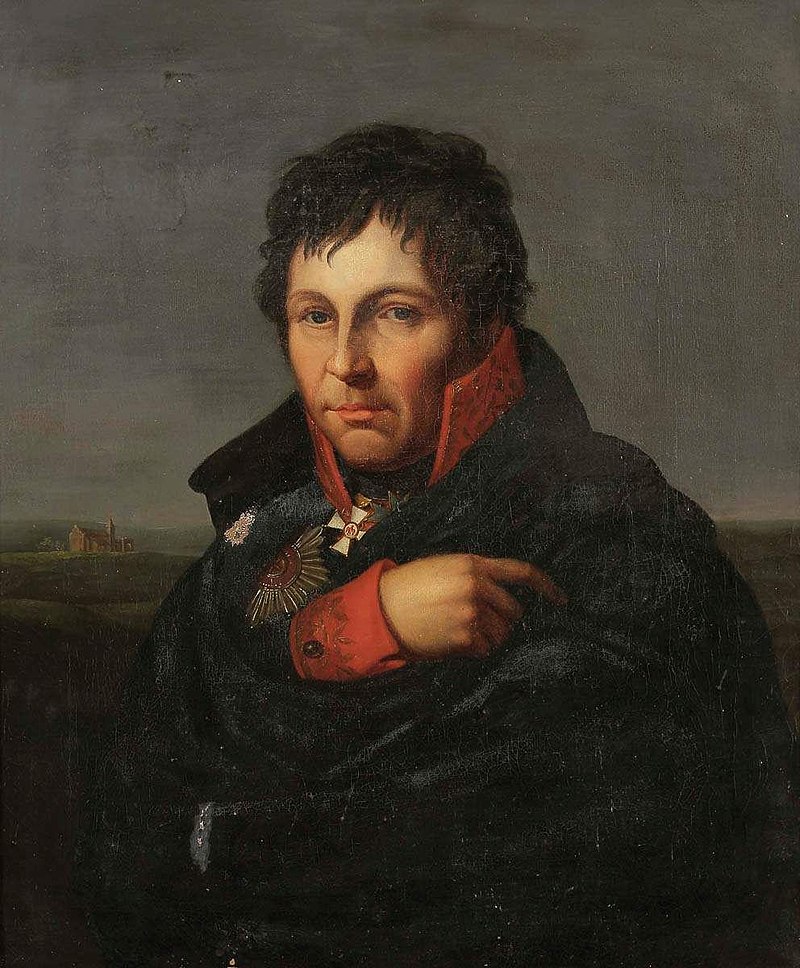
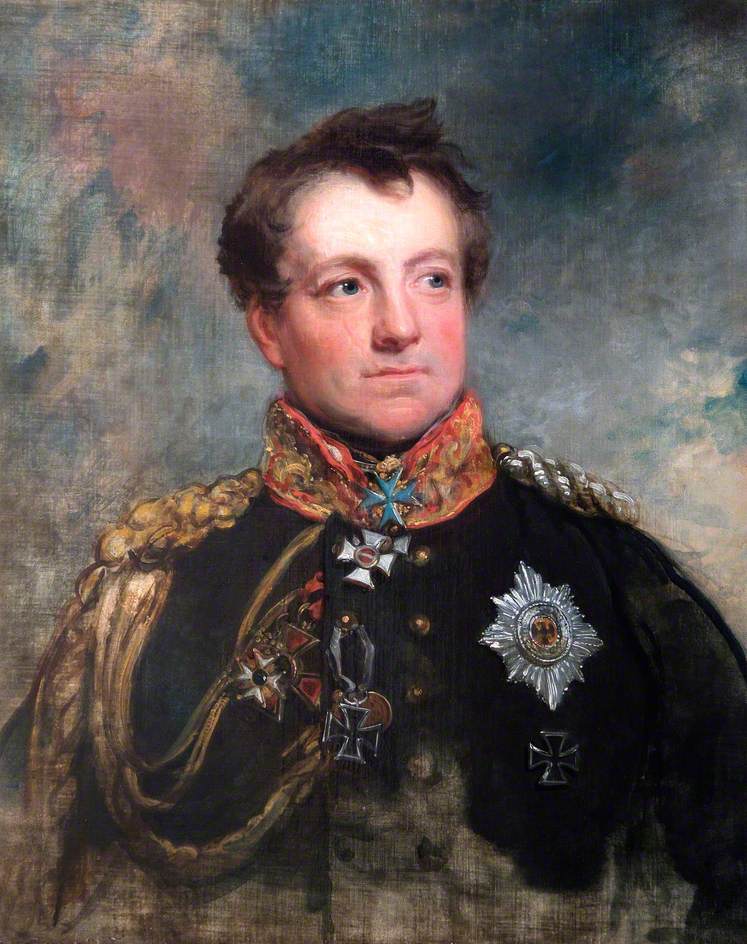
 

Scharnhorst

George_Dawe,_Field_Marshal_August_Neidhardt,_Count_of_Gneisenau_(1760–1831),_1818

Von Scharnhorst, and Von Gneisenau, Blucher’s Chiefs of Staff. Scharnhorst was wounded during the retreat from Dresden and died at Prague on 28 June 1813. He was succeeded by Gneisenau, who introduced modernized organizational methods in the Prussian army and played a key role developing operational plans for the Battle of Leipzig and the 1814 and 1815 campaigns.

By stopping after Bautzen Napoleon allowed the Russo-Prussian armies to reinforce, when with greater effort they might have been scattered before Austria finished mobilizing.[342] Metternich, since the spring, had been steadily pressuring Francis to expand his army in preparation for intervention and on 14 June took the fateful step of authorizing full mobilization.[343] The Austrians added an army of nearly 200,000 under Schwarzenberg and Radetzky, the former becoming C-in-C, and by the end of August the Austrians had mobilized 479,000 of which 298,000 were frontline troops.[344] The Swedes, meanwhile, lubricated with British financing, also joined the Allies.[345]
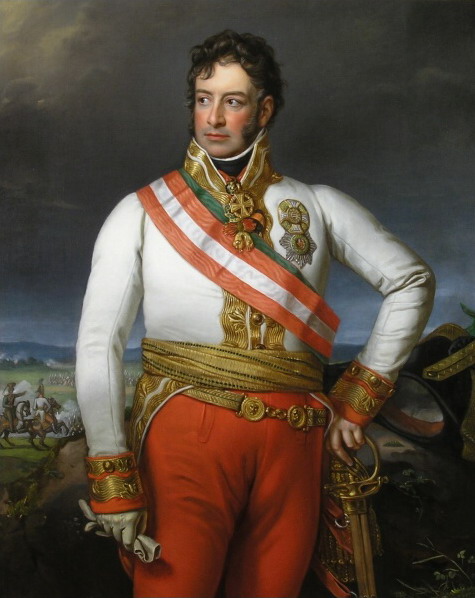
 

Schwarzenberg

Karel Schwarzenberg, Allied C-in-C after the armistice of Plaswitz (4 June – 13 August 1813)

On 19 June Metternich met with Czar Alexander at Opotschna and conveyed his objective to arrange a restorative peace now, followed by a European conference to settle affairs later.[346] The result of this meeting produced the proposed Treaty of Reichenbach that Metternich than personally delivered to Napoleon at Dresden on 26 June: essentially an ultimatum demanding territorial concessions, including the dissolution of the Duchy of Warsaw and the Confederation of the Rhine. Napoleon could now see that the cards were on the table, that his belief that he had been holding a winning hand was mistaken, and that Austria was committed to go to war against France unless he acceded to the Allied terms.[347] On 30 June Napoleon nevertheless agreed to Metternich’s offer for mediation, extending the armistice until 10 August.


NPG D37411; Robert Stewart, 2nd Marquess of Londonderry (Lord Castlereagh) by William Bond, by  William Bennett, after  James Stephanoff

Lord Castlereagh,

Foreign Secretary Castlereagh clarified Britain’s position on 5 July when he demanded a much harsher peace than Metternich had proposed, including an independent Holland and the dissolution of the Kingdom of Italy.[348] Metternich took the additional time to complete mobilization and convince Emperor Franz that he was now the centre of the coalition that could defeat Napoleon.[349] Of course Metternich’s greatest concern was that Napoleon would accept the Austrian offer and thereby compel Austria to side with France against the Sixth Coalition, indeed, perhaps accepting the terms would have been Napoleon’s best course of action if he desired to remain a component of the European state system. After further posturing, Napoleon did not despatch a plenipotentiary to what would have been the Congress of Prague until 25 July, Austria issued a final ultimatum on 8 August and then duly declared war on the 12th.[350]
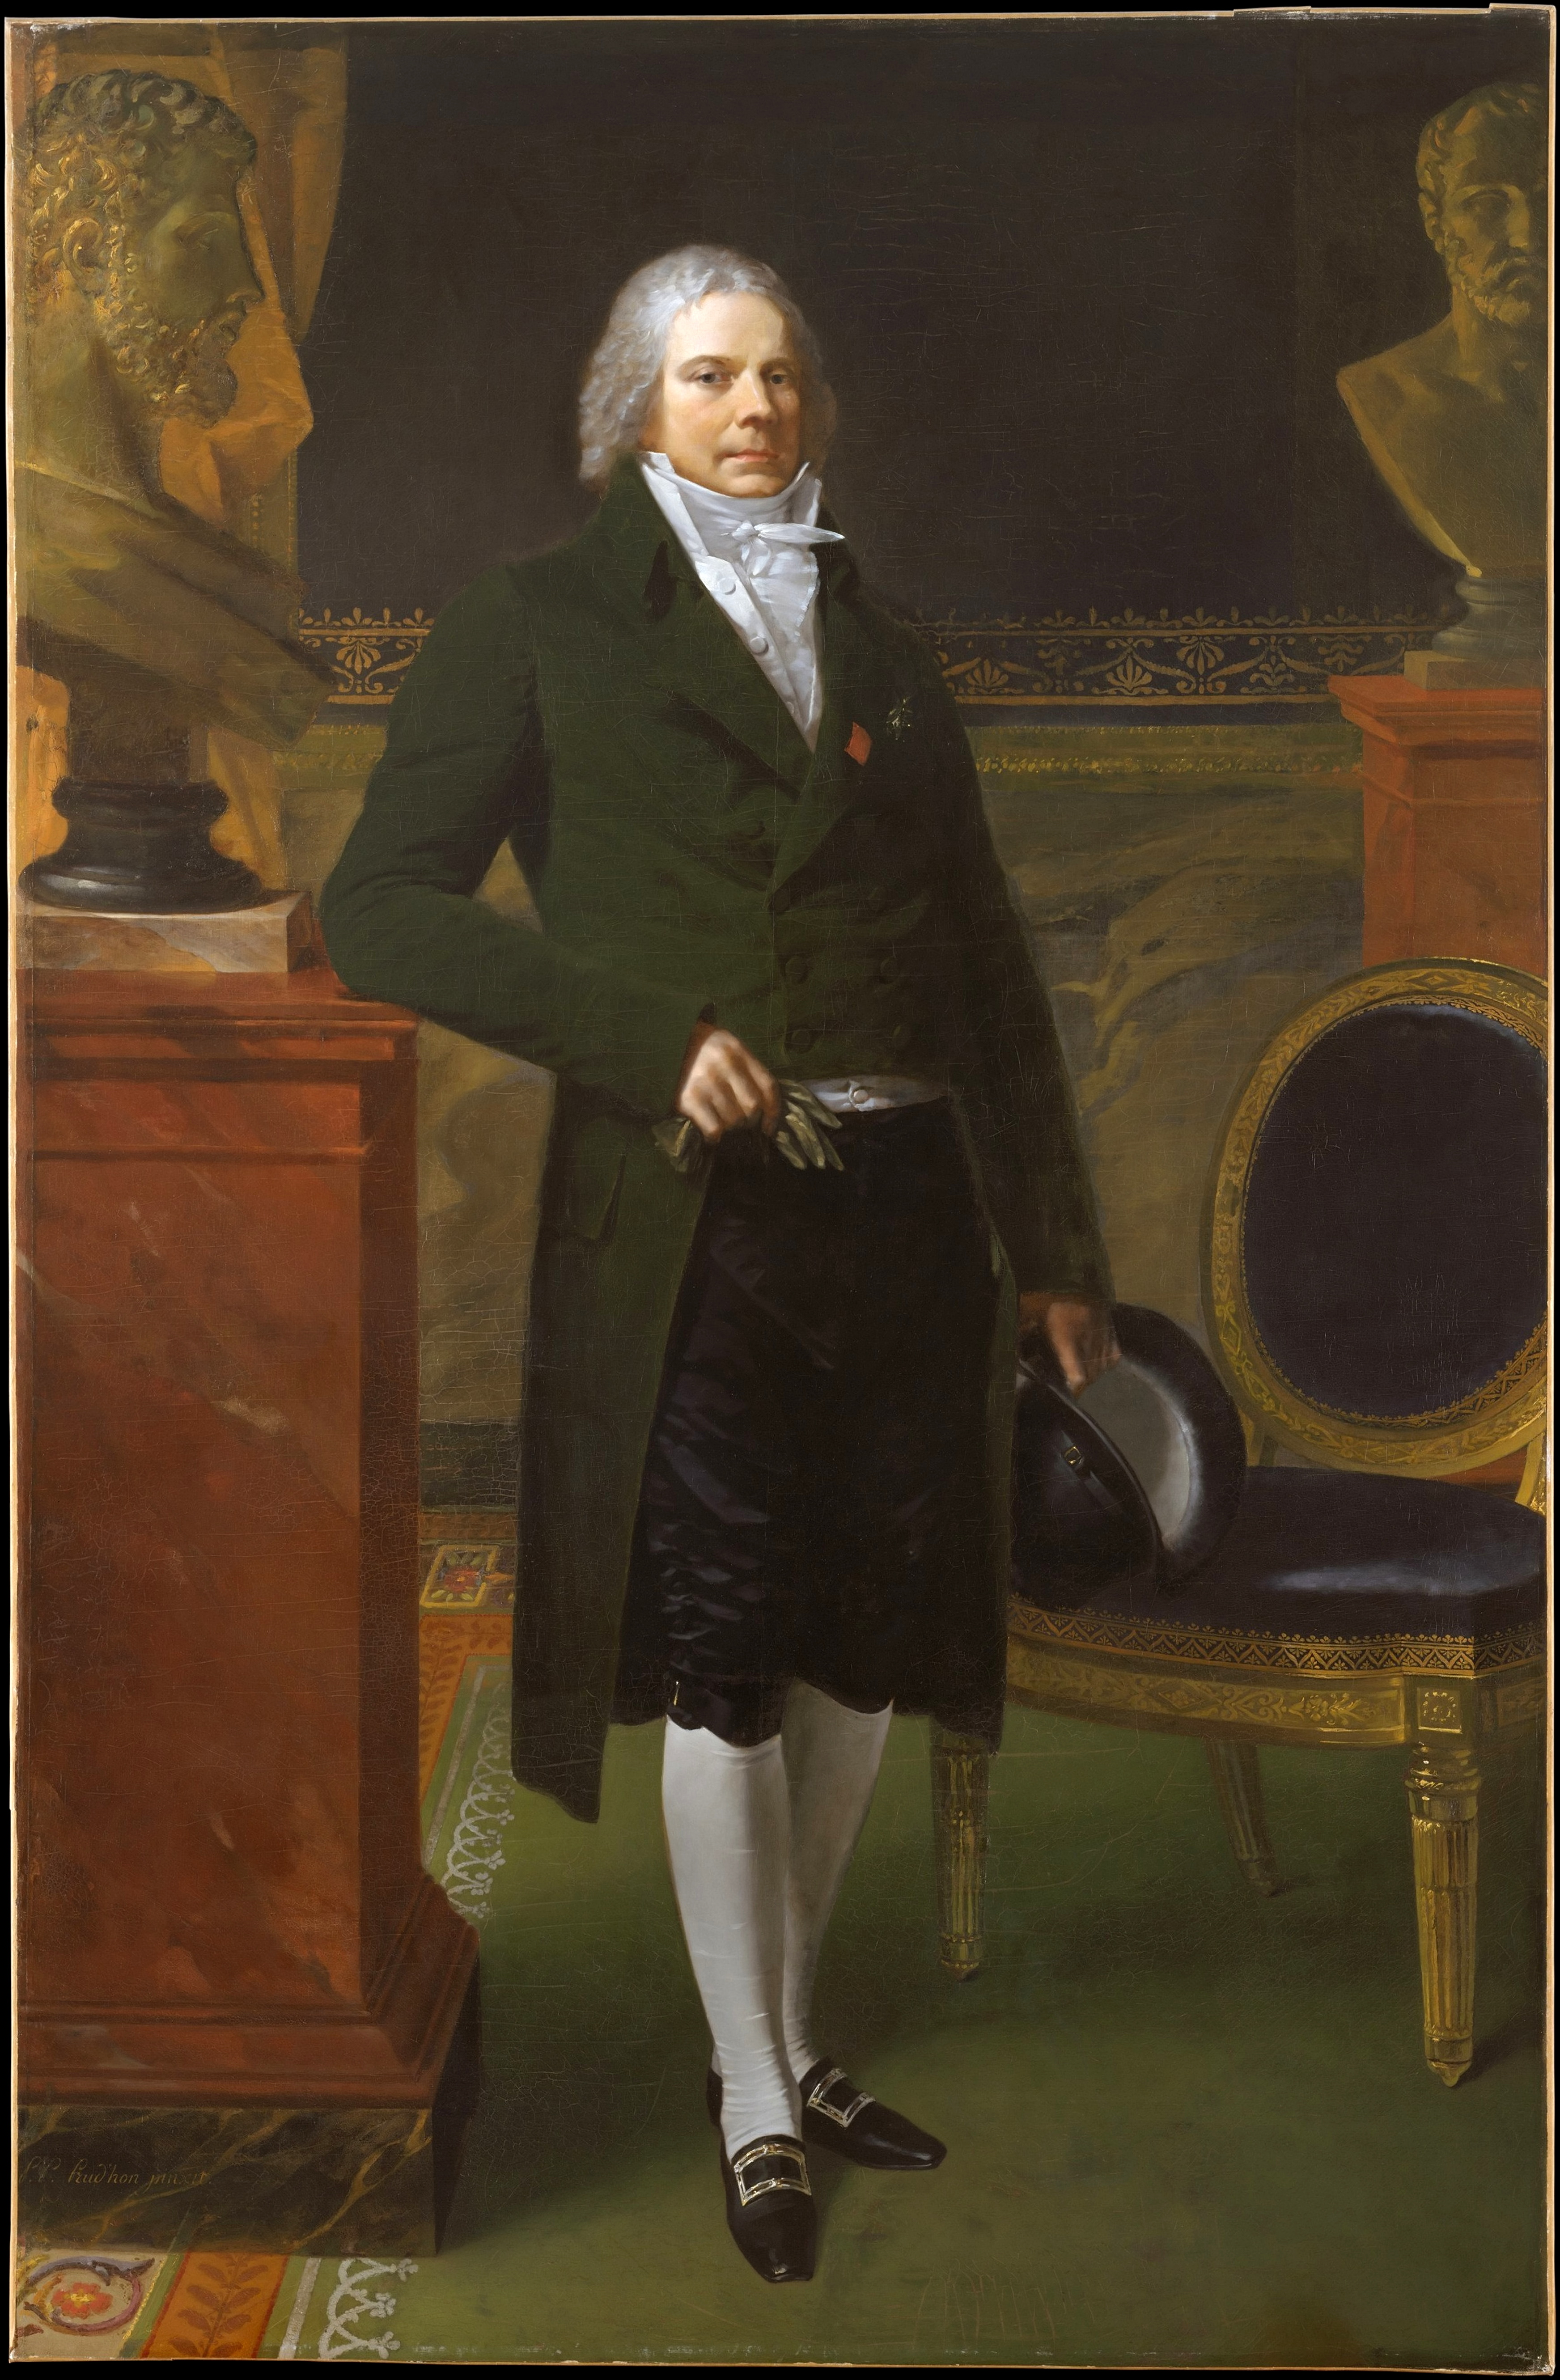
 

Charles_Maurice_de_Talleyrand-Périgord_-_Pierre-Paul_Prud'hon

 Charles Maruice de Talleyrand

By now the Coalition could boast of a substantial reserve of manpower, approximately 800,000 under arms, with Schwarzenberg in unified command. Napoleon, however, had summoned as many as 600,000, representing 570,000 versus 410,000 frontline troops.[351] The actual structure of the Allied armies after the armistice of Plaswitz was as follows: Russia, with 184,000 and 639 guns, Prussia with 162,000 and 362 guns, and the Austrians with 127,000 and 290 guns, with additional contingents supplied by Sweden, England, and the other German states accounting for an additional 39,000 men and 90 guns.[352]


Oudinot

Marshal Nicolas-Charles Oudinot, Napoleon’s field commander during the unsuccessful Berlin operation, painted by Robert Lefevre

Keenly aware of Napoleon’s intention to divide the Allies, Schwarzenberg adopted the Trachenberg or Reichenbach plan, closely aligned with what Von Gneisenau was proposing, by which one army would pin Napoleon, draw him in while retreating, and thus enable the others to close in and develop an encirclement. Napoleon, for his part, intended to march first on Berlin, hoping to defeat the smaller Prussian army, before turning to confront the Austrians. Napoleon placed Oudinot in overall command – a mistake according to Rothenberg who greatly favours Davout.[353]
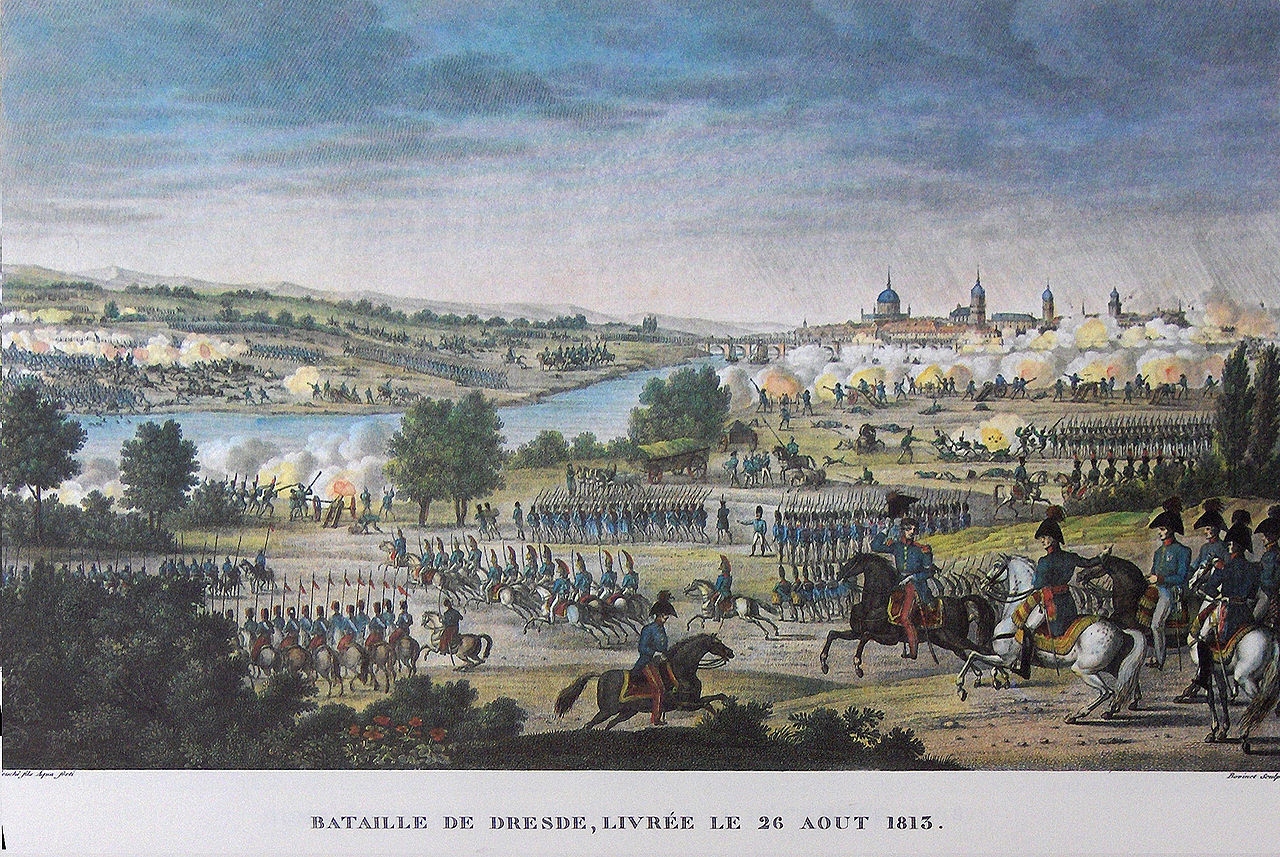
Dresden

Battle of Dresden, 27/28 August 1813, by Carle Verne

At any rate Oudinot succeeded in pushing Bernadotte out of Berlin, although von Bulow refused to give up the capital and on 23 August won a small victory at Grossbeeren, while Napoleon concentrated against Blucher.[354] Blucher, playing his part, refused to engaged Napoleon, while Schwarzenberg moved against Napoleon’s base of supply at Dresden. Napoleon immediately reversed course and marched against Schwarzenberg, defeating him at Dresden on 27/28 August with 120,000 against 150,000, with the Allies suffering as many as 30,000 losses.[355] Blucher, however, stopped Macdonald in Silesia,[356] while Ney and Oudinot failed against von Bulow at Dennewitz, 6 September, and thus were unable clear the road to Berlin.[357] Likewise, Vandamme was mauled by Kleist at Kulm, these defeats together a series of reversals that largely mitigated Napoleon’s success at Dresden.[358]
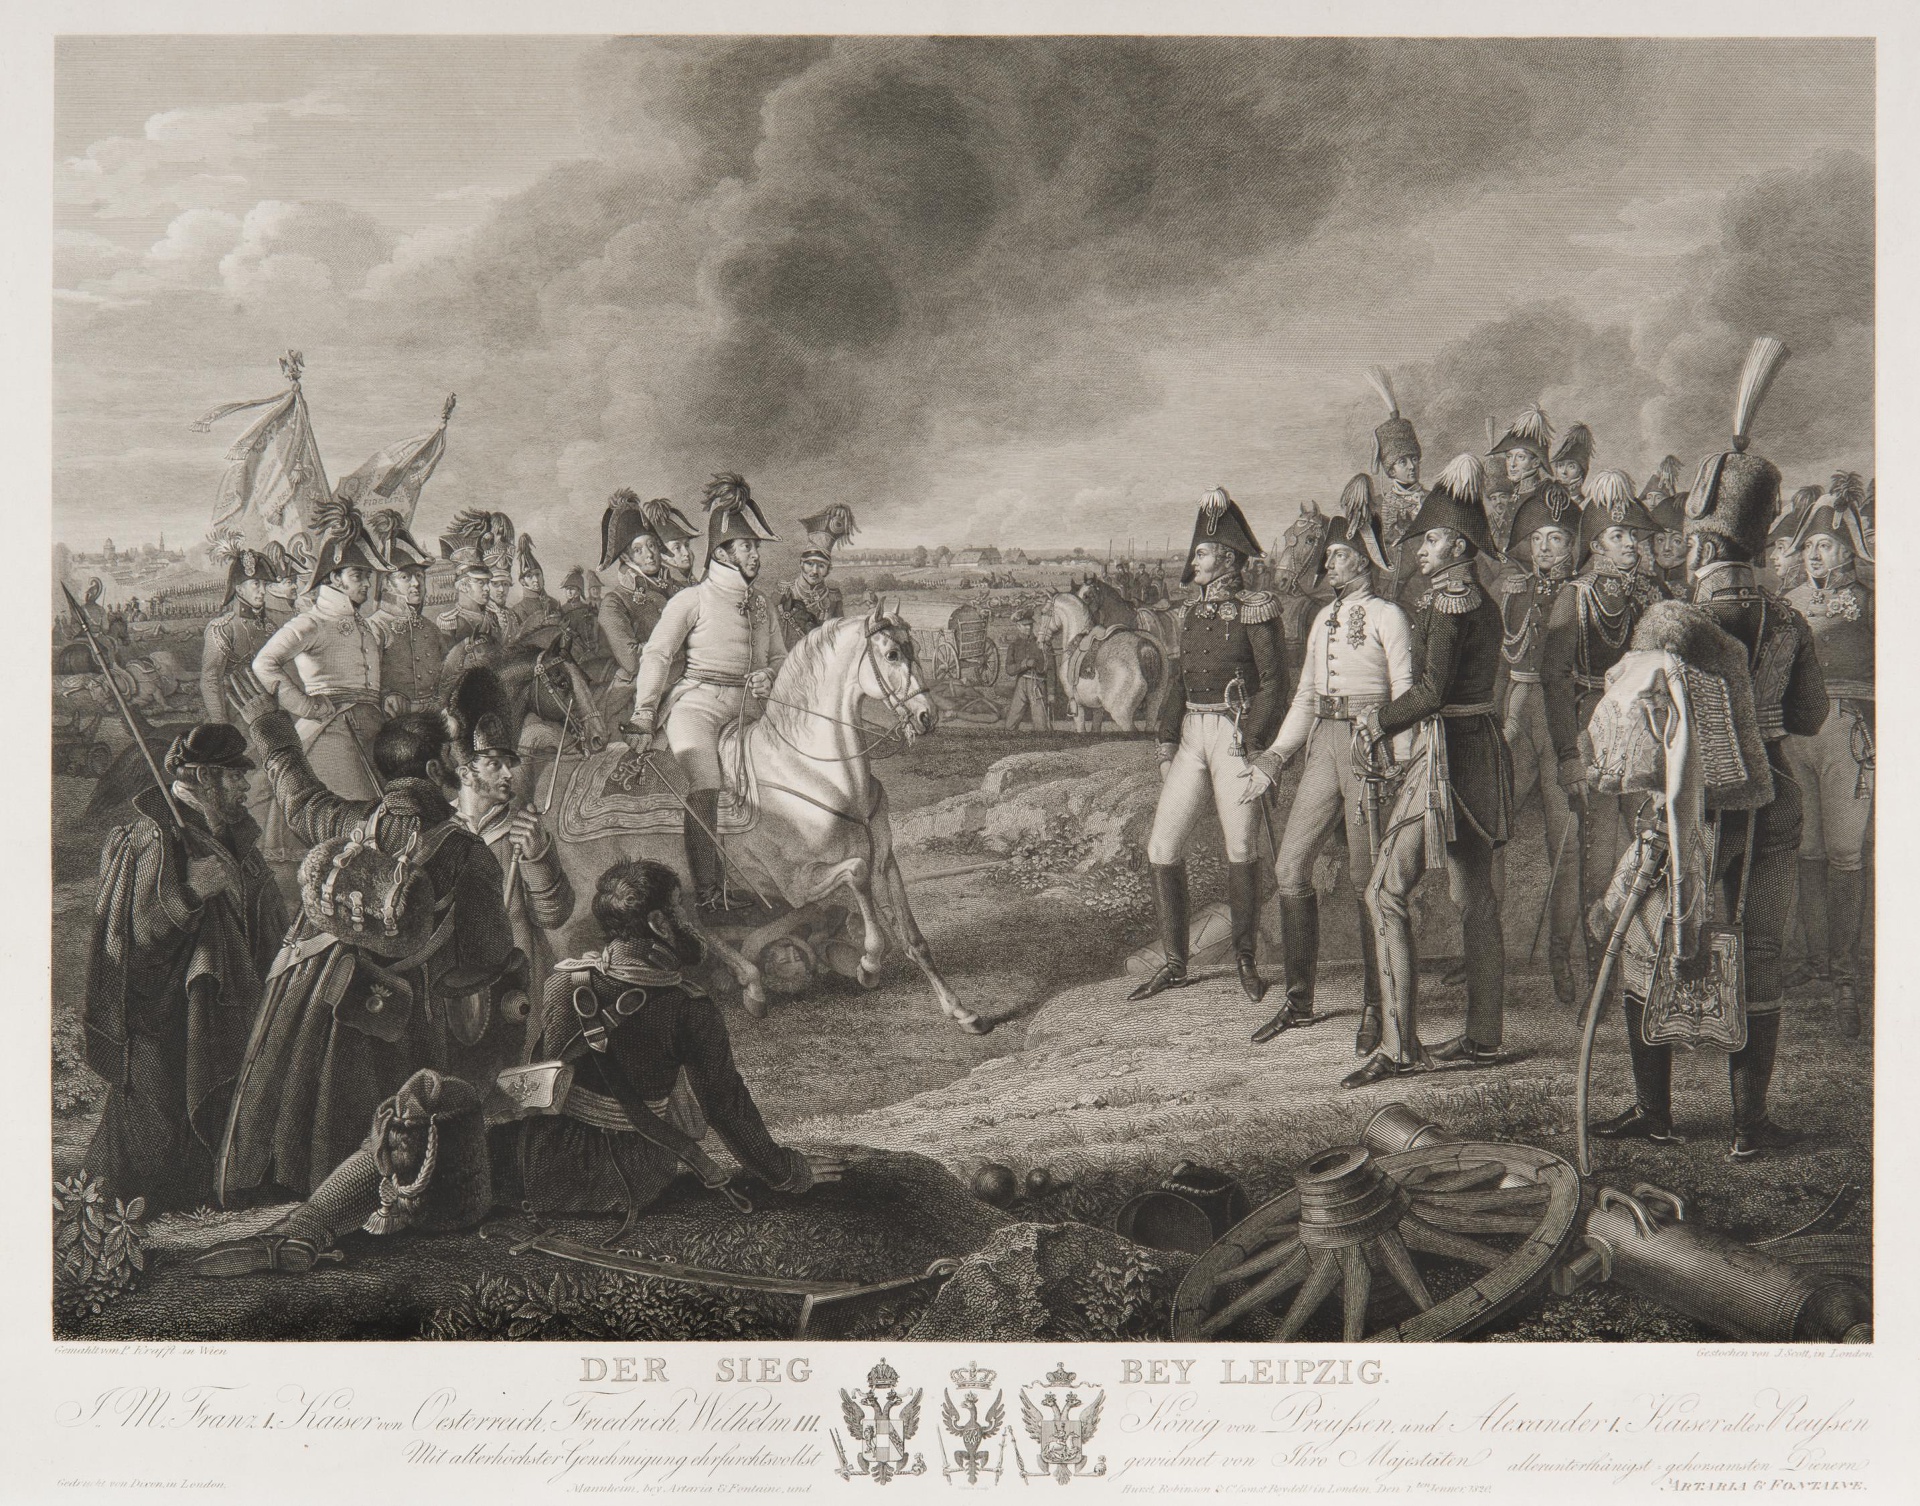
Soveriengs

Austrian Emperor Franz I, Prussian King Friedrich Wilhelm III and Czar Alexander I at Leipzig, by John Scott, after Johann Peter Krafft

Napoleon was now in an unusual situation. He had planned to enter Berlin about the 9th or 10th of September, yet although he had been victorious against the Allies at Dresden, his detached commands had all been defeated individually, and his total losses since the recommencement of hostilities amounted to 150,000 men and 300 guns.[359] Napoleon waited most of September at Dresden, rebuilding his army up to 267,000 men, before marching against Blucher on the 5th of October, while the Allies concentrated at Leipzig. Napoleon was unable to catch Blucher and the Emperor too was forced to march towards Leipzig, arriving there on the 14th, a decisive battle now inevitable as the Allies were completing their concentration.[360]

On 8 October the Bavarians joined the Allies, and Napoleon was faced with a situation in which he could not inflict enough punishment on any one of the Allies to weaken the coalition, while they steadily grew in numbers and tightened their net. The Battle of the Nations thus fought at Leipzig between 16 and 19 October now surpassed Wagram as the largest battle in history.
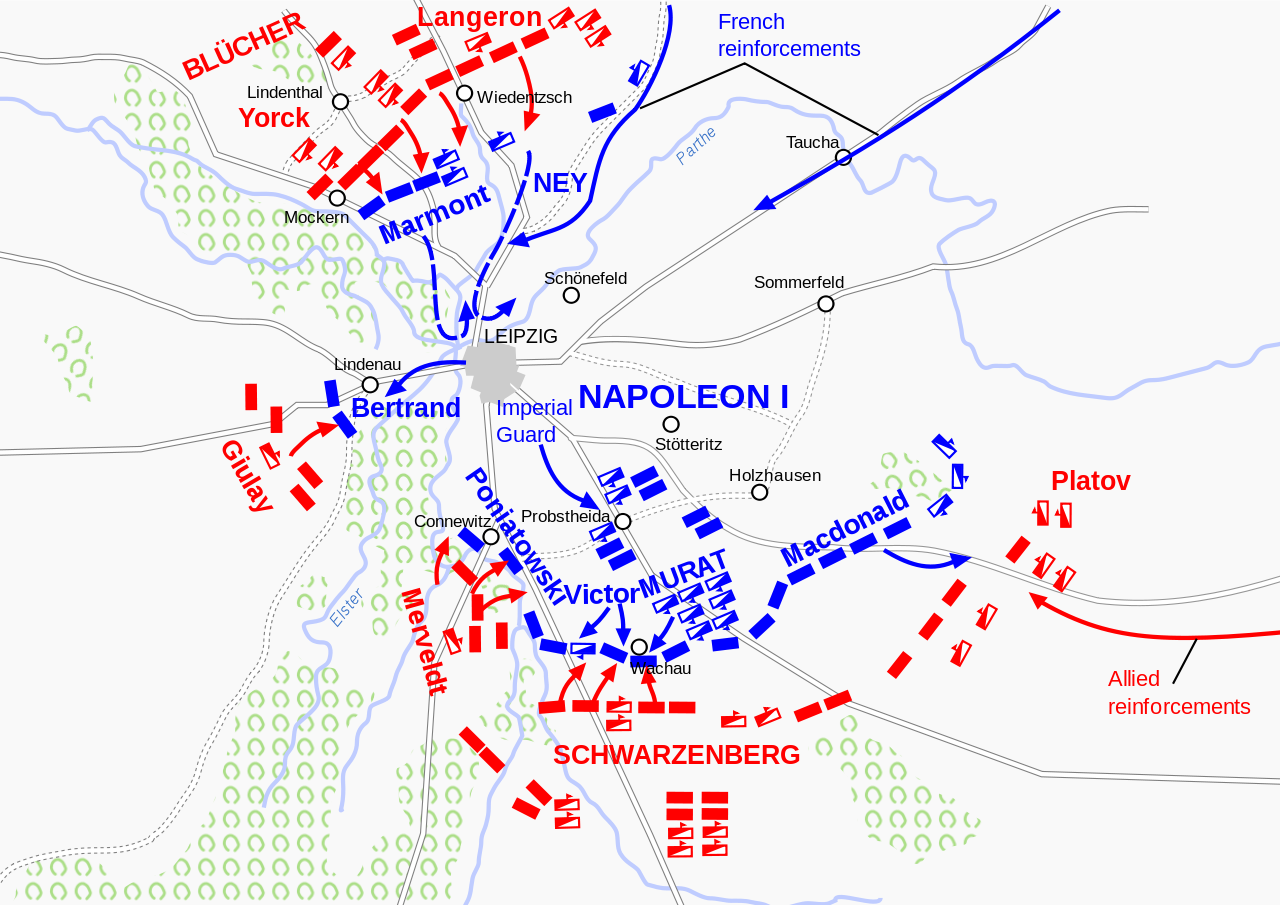
Leipzig

Map of Leipzig, 16 October 1813


Leipzig

The Battle of the Nations at Leipzig, situation at 3 pm, 16 October 1813, by Theodore Jung

At Leipzig on 16 October Napoleon’s 160,000-190,000 and 734 guns faced between 250,00-300,000 Coalition soldiers with 1335 guns.[361] Schwarzenberg and Blucher opened simultaneous attacks, and although the Coalition attacks lacked coordination and Napoleon succeeded in defeating components of the Coalition armies, he was slowly being surrounded. Napoleon now desperately entreated for peace, but the Allies no longer had any intention of negotiations.
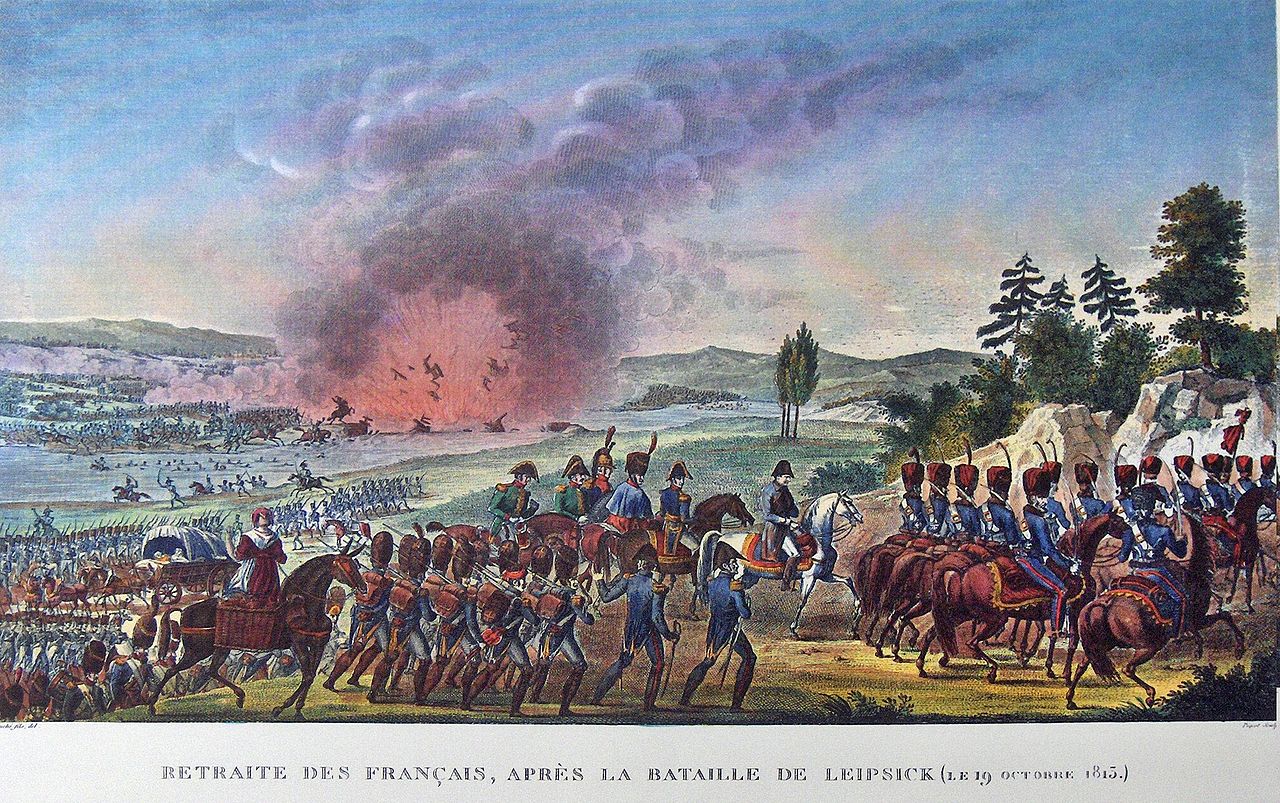
 

retreat

Napoleon retreats after Leipzig, blowing up the bridges behind him, 19 October 1813, by Carle Vernet

Over the next three days the French suffered 25,000-38,000 casualties as the superior Coalition armies attempted to surround him. Napoleon began withdrawing on the 19th, during which another 30,000 men were either killed of captured. The Allies sustained 40,000-50,000 casualties. One estimate has 120,000 men of all nations killed and wounded over the course of the battle, and if all French losses since the collapse of the Russian campaign of 1812 are counted, Napoleon had by this point in November 1813 lost about a million men in a little over a year.[362]
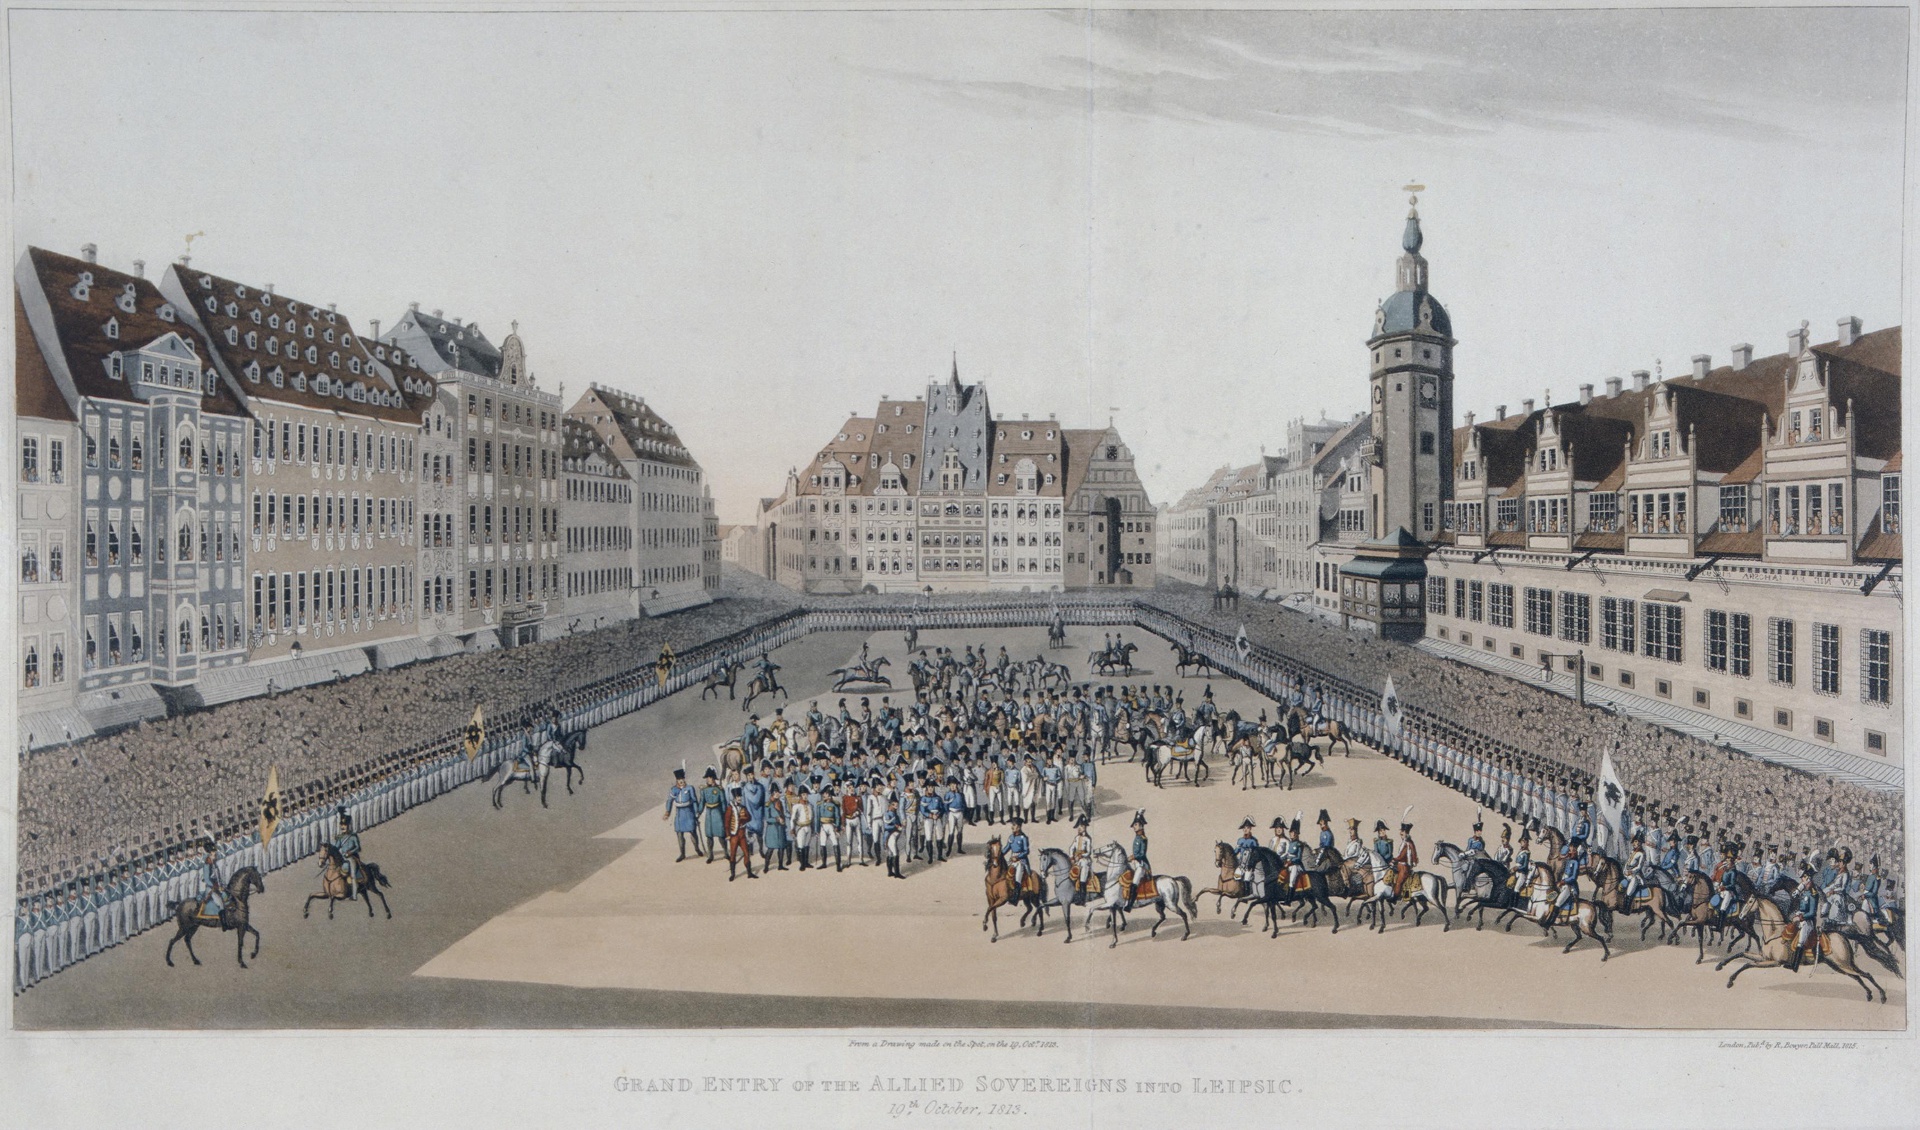
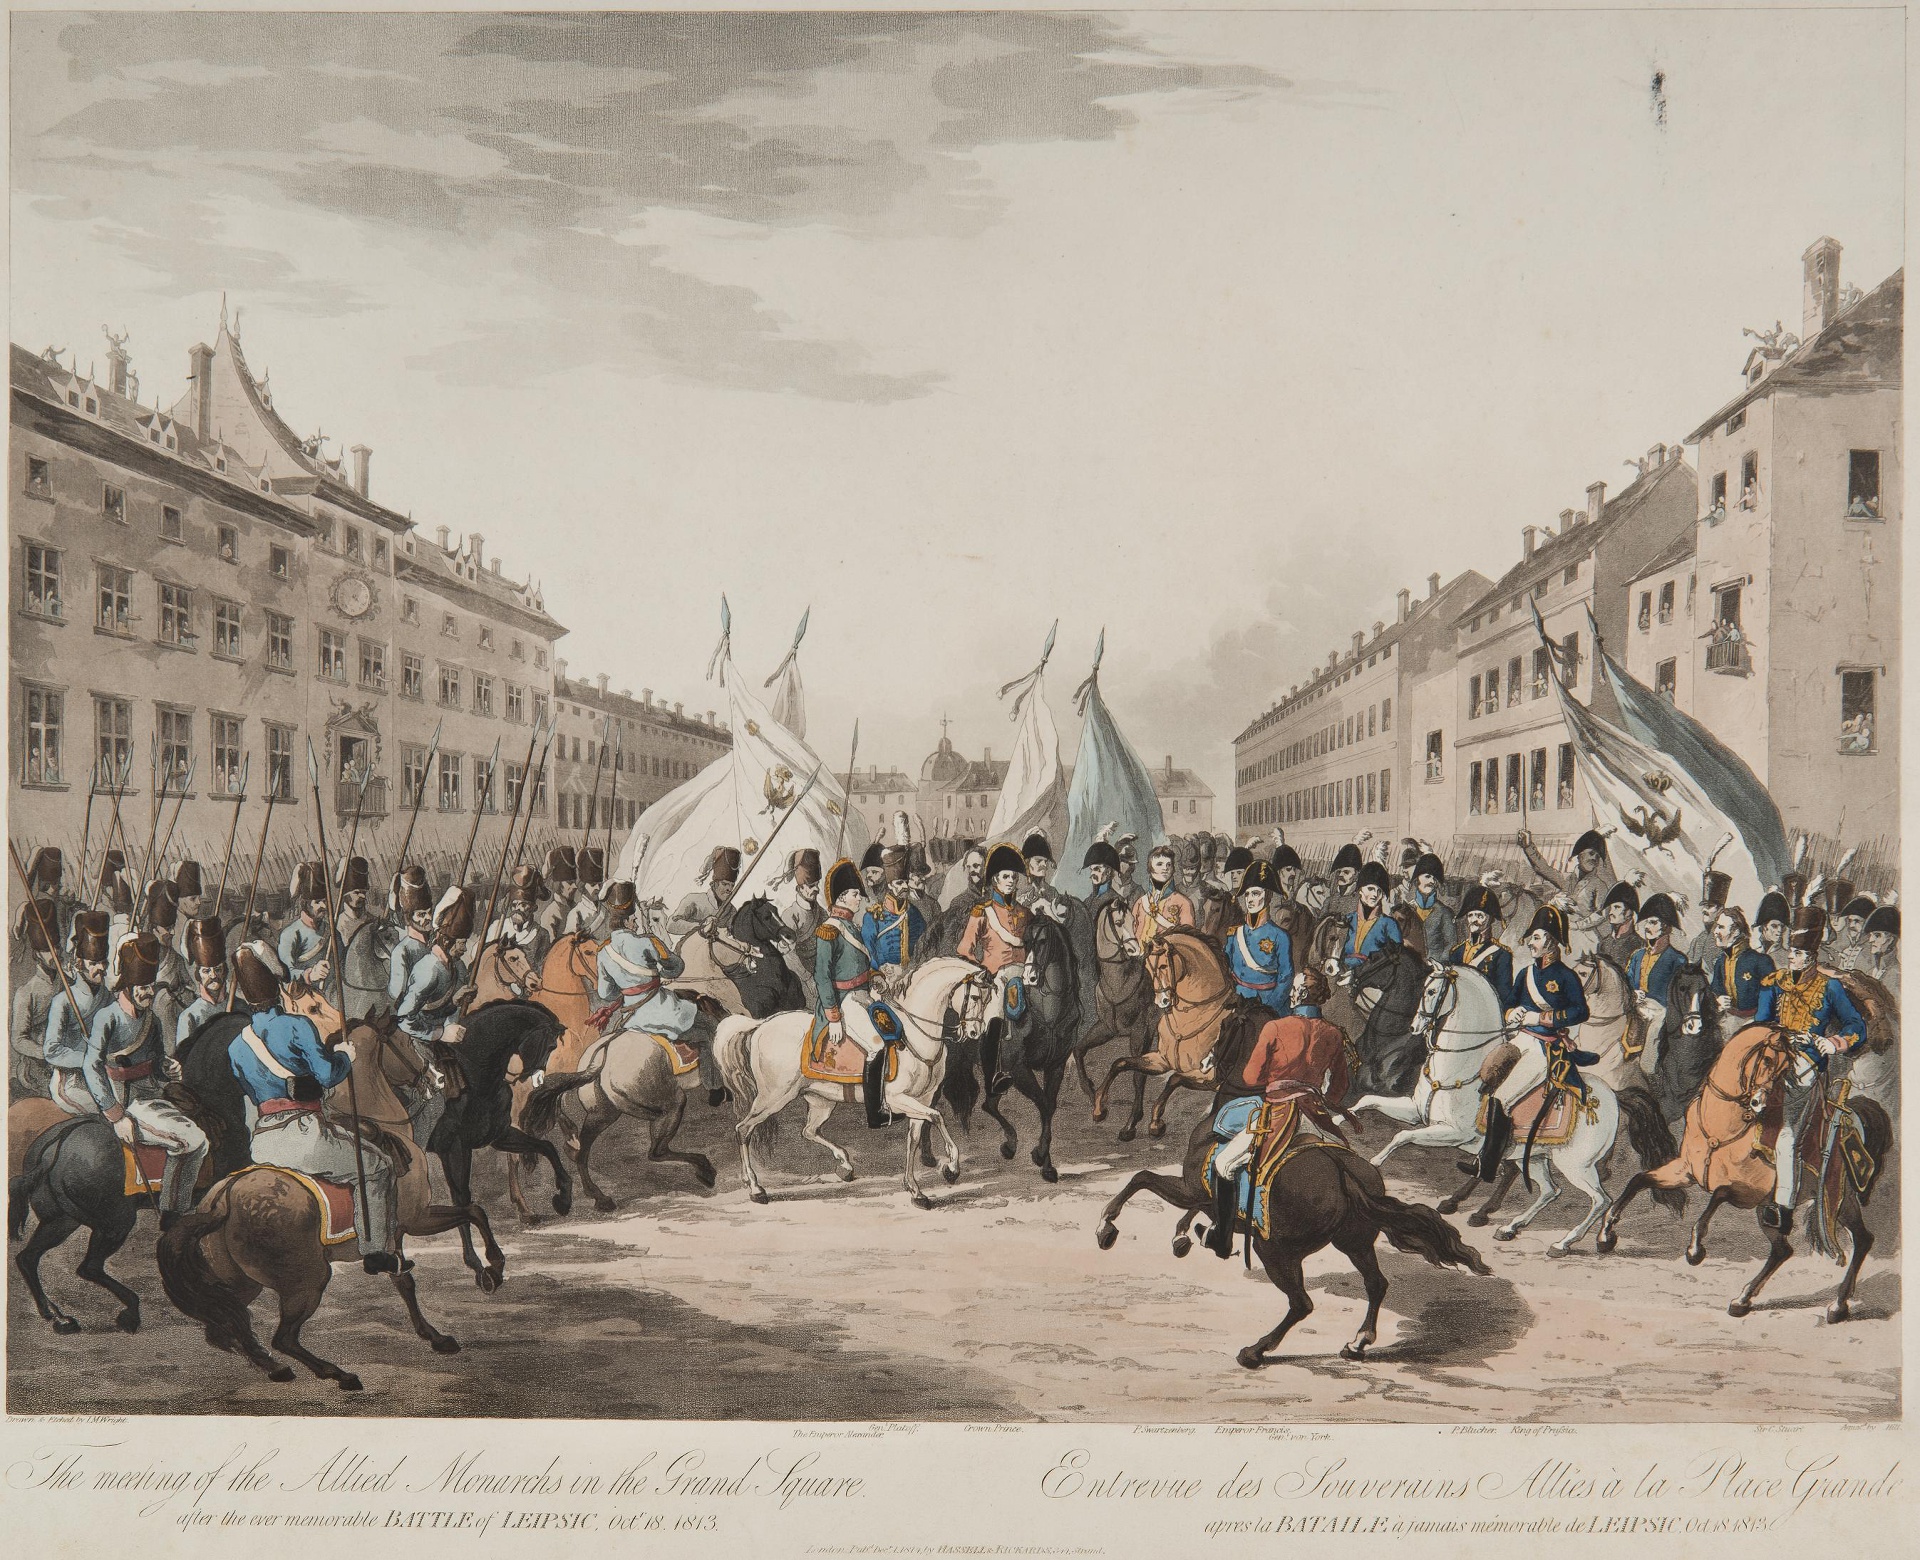
 

Allies2

Allies

Allies meeting in Leipzig after the battle, and the same by John Hill

At any rate, Napoleon now retreated, the Emperor pushing through Wrede’s attempt to intercept him at Hanau on 29/31 October, defeating his 40,000 Bavarians and, with 70,000 soldiers left, on 2 November crossed the Rhine at Mainz, the Allies marching up behind him.[363] With Wellington pinning down another 100,000 troops in southern France, Napoleon’s situation was at its most desperate. Still, the Allies were temperamentally slow to move and with winter approaching the Coalition leadership retired to Frankfurt, requiring all of November and most of December to prepare for their next offensive.[364] On 22 December the Allies at last attacked, but Napoleon, as Clausewitz observed, feigned resistance at the Rhine crossing and stalled the Allied armies for another six weeks as he continued to reinforce. The Allies at last crossed the Rhine, in the last week of January 1814, and began the invasion of France, the offensive Napoleon now had to interrupt.[365]


Napoleon’s 1814 Campaign
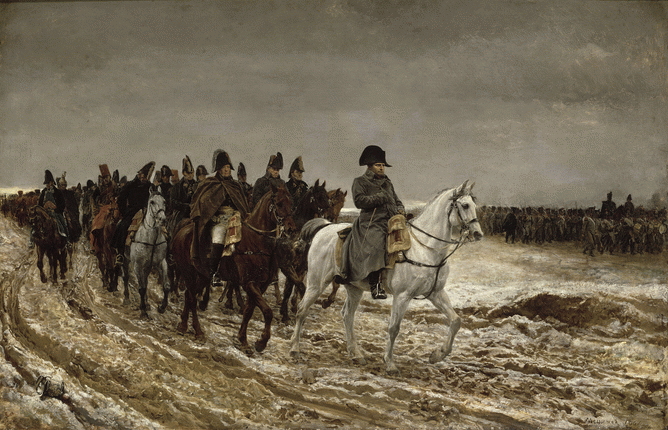
1814campaign

The 1814 Campaign, by Ernest Meissonier, c. 1864

As 1814 dawned Napoleon was at war with Great Britain, Spain, Portugal, Russia, Prussia, Austria, Denmark, Sweden and the United Netherlands. On 11 January Murat, King of Naples, signed a separate peace with the Allies, adding his name to that of Bernadotte who had also abandoned the Bonapartist system. Napoleon tempestuously assembled yet another army by plumbing Carnot’s 1793 national conscription system. While his paper figures represented an enormous force of 963,000, he had perhaps only 110,000 campaigning troops left.[366] Napoleon deployed 70,000 to hold Paris, hoping to again inflict individual defeats on the Allies despite his effective army at the beginning of 1814 amounting to only 30-40,000, the troops having suffered from typhus over the hard winter.
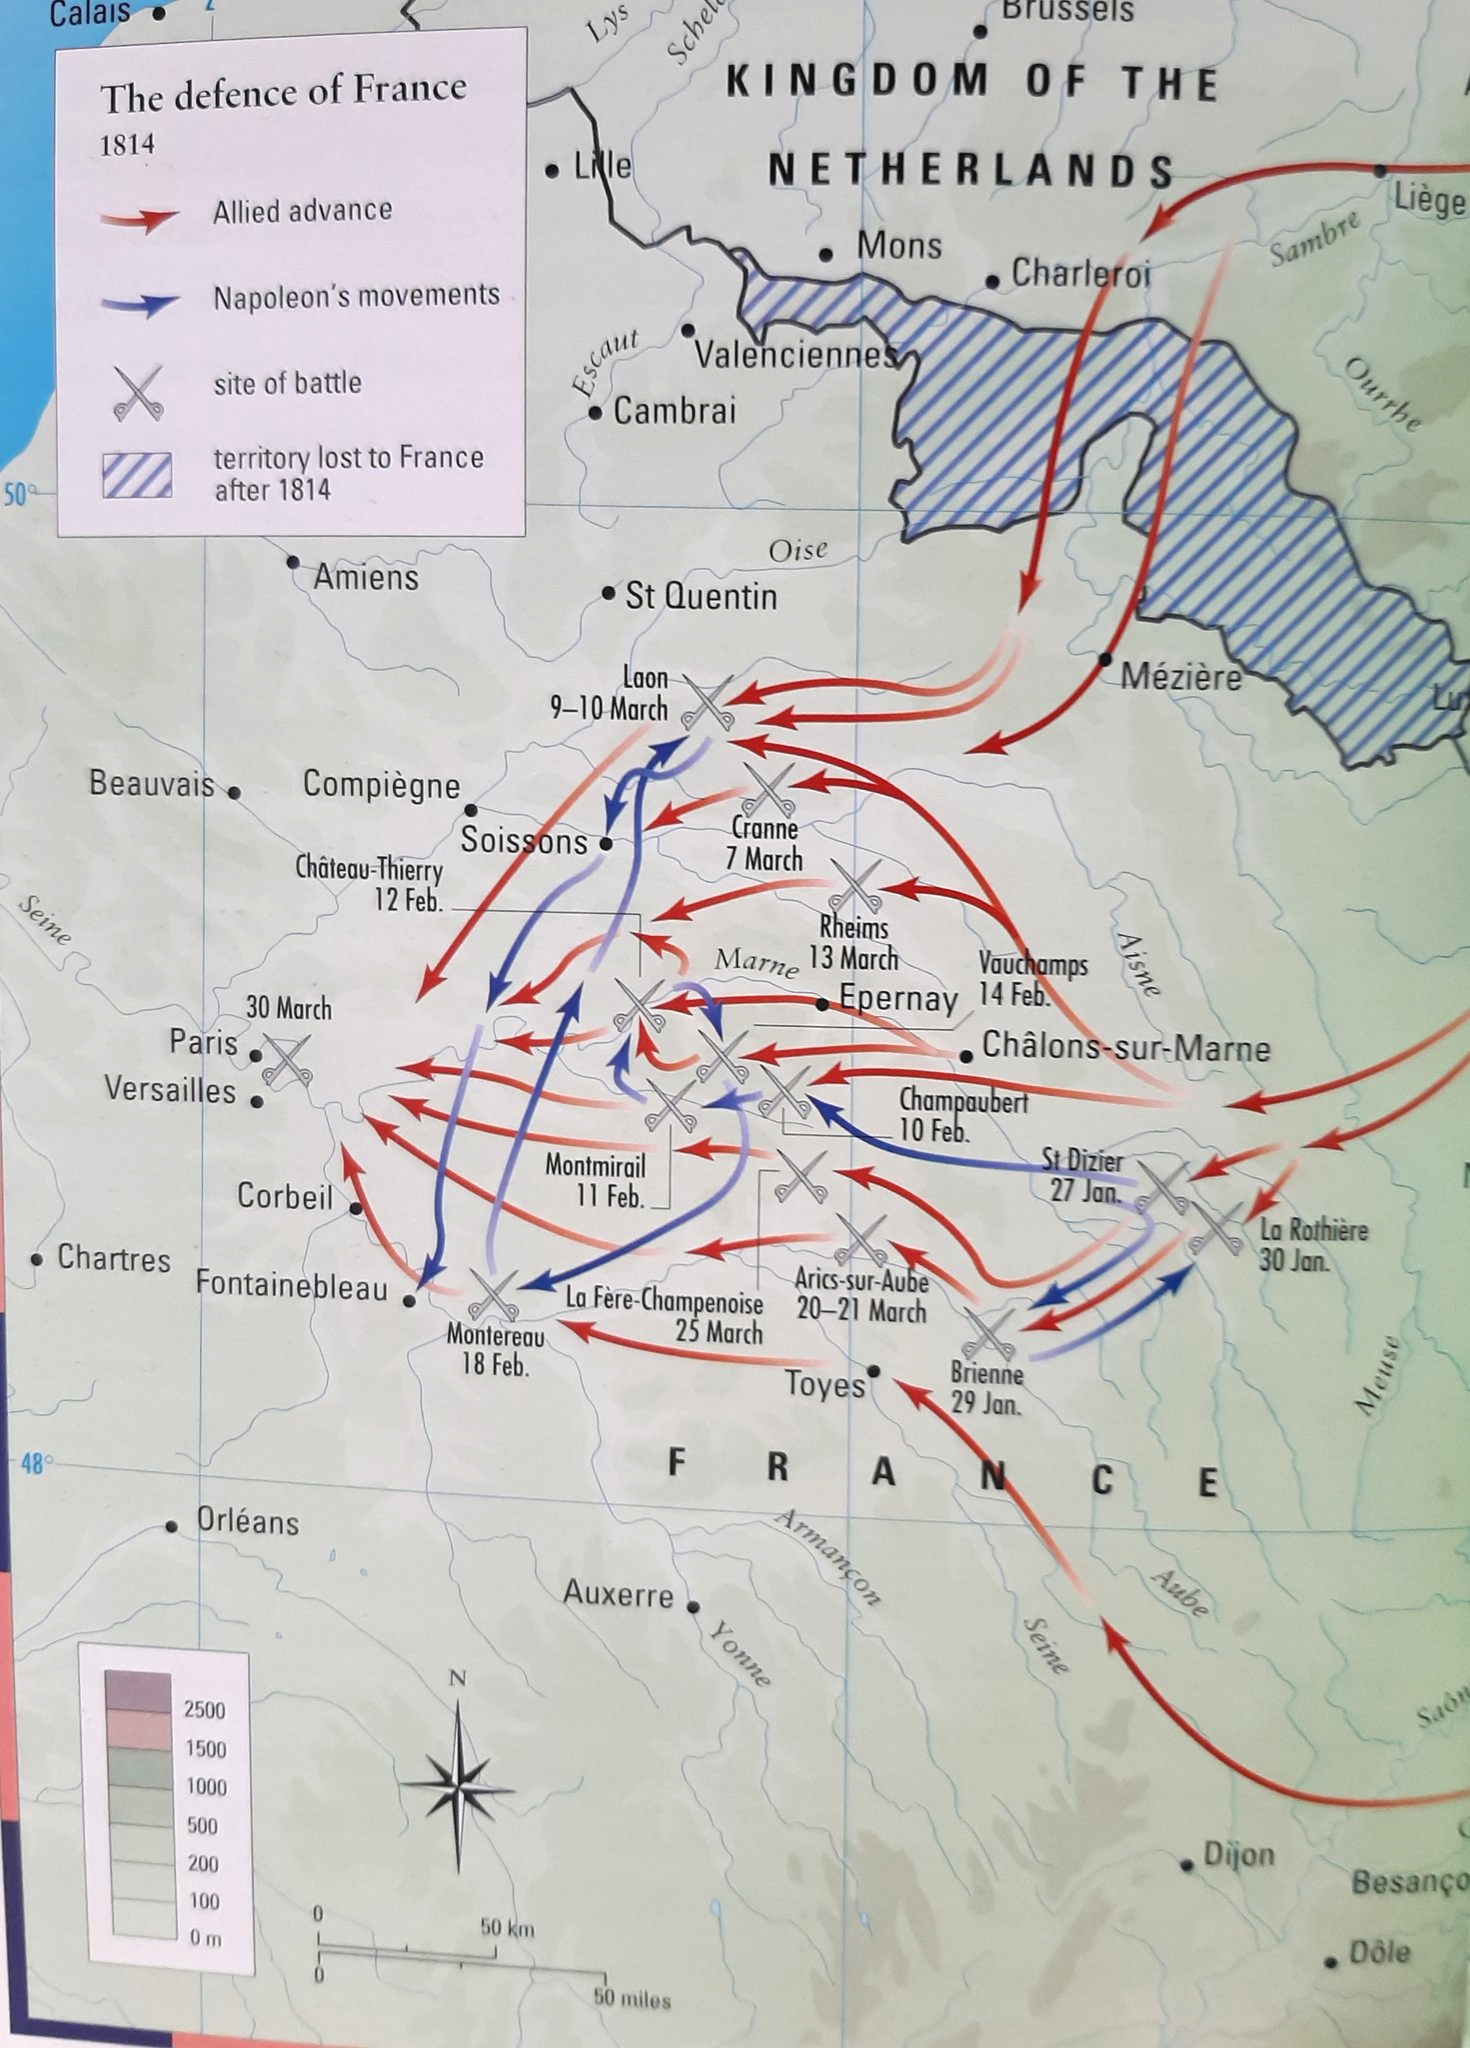
1814

Map of the Battles during the 1814 campaign, Napoleon defends while the Allies converge on Paris.

The Allies on the other hand possessed a large force of about 620,000 men and 1,310 guns, divided into five armies with a reserve. The largest army was still the Austrians under Schwarzenberg, with 200,000 men and 682 guns.[367] In the final weeks of December the Allies launched two spearheads, one to liberate Holland, the other to cross the Meuse on a broad-front, with Blucher in the lead. By the end of January Blucher was at Brienne, where he and Gneisenau were furiously writing to Schwarzenberg to encourage him to march on Paris.[368] Peace negotiations, led by Metternich, Castlereagh and Talleyrand, were already under way.
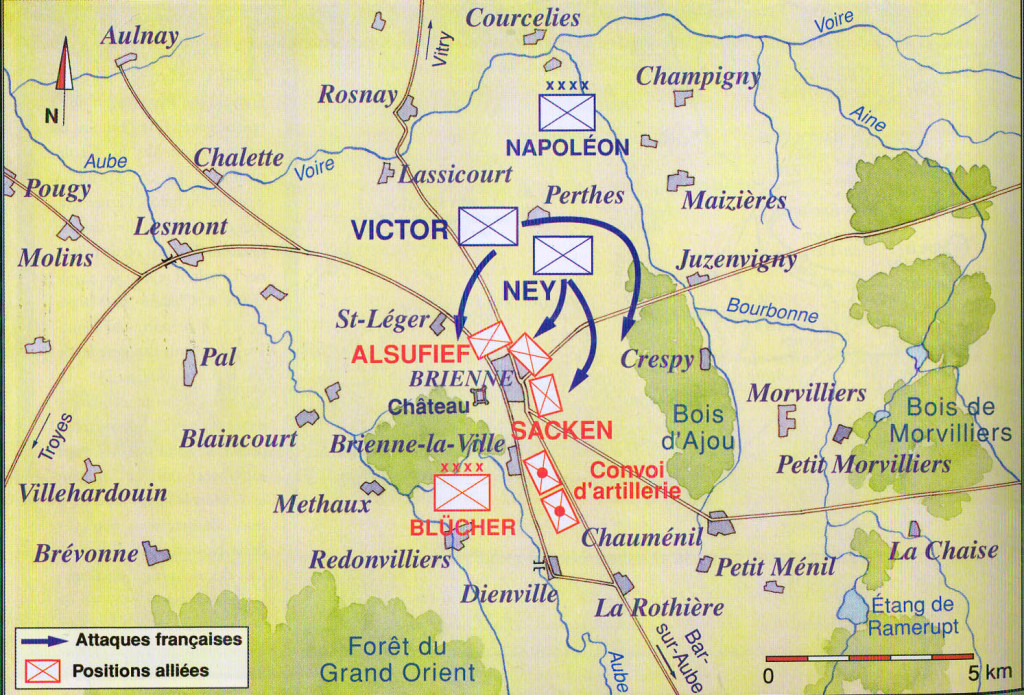
brienne

The Battle of Brienne, 29 January 1814, Napoleon heads off Blucher’s vanguard
Brienne

Brienne, by Simeon Fort, c. 1840

Napoleon departed Paris on 25 January with 42,000 men and, expecting another 30,000 to arrive shortly, on the 29th repulsed Blucher after dividing him from Yorck at Brienne.[369] Blucher fell back on Schwarzenberg’s 100,000 men and then on February 1st 1814 at La Rothiere in heavy snow, counter-attacked at La Rothiere and checked Napoleon’s advance at the price of 6,000 men and 70 guns which he could ill afford.[370]
champ

Champaubert, 10 February 1814, by Jean Fort
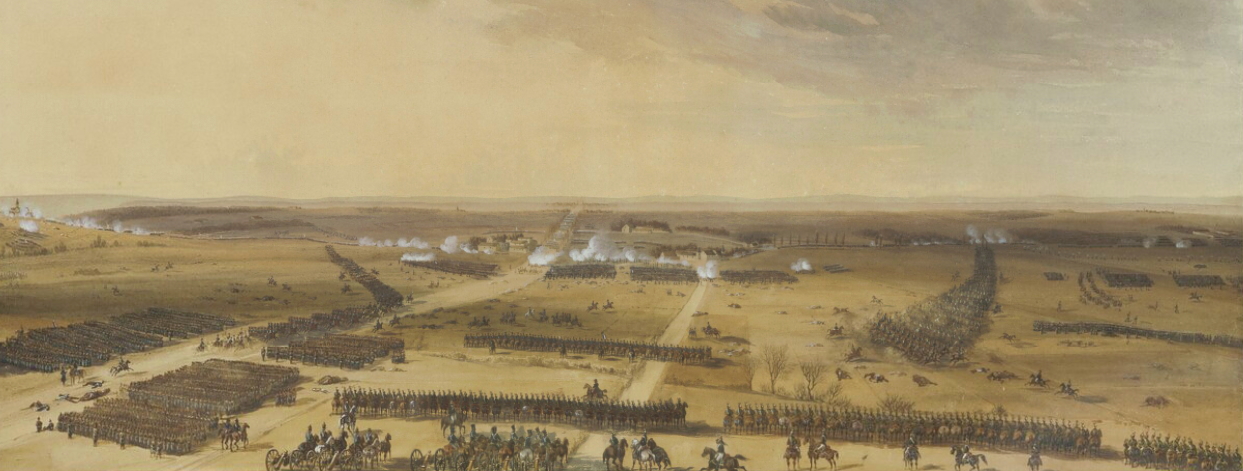
 

Mont

1280px-Battle_of_Montmirail_1814

Battle of Montmirail, 11 February 1814, by Simeon Fort & by Louis Stanislas Marine-Lavigne

Napoleon now fought with energetic desperation and shortly gave the Allies pause. He rejected the Allied offer of 7 February – essentially Castlereagh’s harsh 1791 terms – and resolved to defeat Blucher before confronting Schwarzenberg. During the first two weeks of February he countered Blucher at Champaubert 9/10 February, at Montmirail on the 11th, and at Vauchamps on the 14th he dealt the Allies reversals.[371] Napoleon’s best hope at this point was the disintegration of the coalition, something Metternich and Castlereagh were struggling incessantly to prevent, while also acting as agents of delay: Metternich on 8 January had told Schwarzenberg to slow his approach while diplomatic negotiations were ongoing.[372]
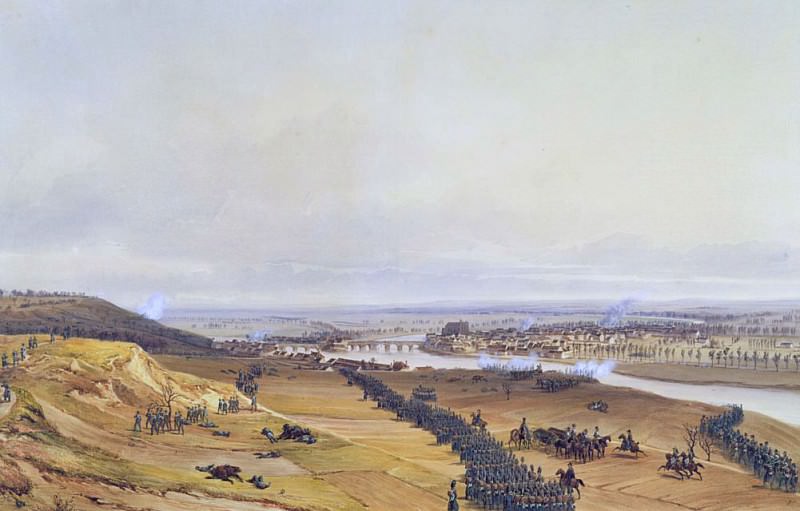
 

601

Battle of Monterau, 17/18 February 1814, by Jean Antoine Simeon Fort

Schwarzenberg was indeed slowly advancing but Napoleon intercepted him with 56,000 men on 17/18 February at Monterau and repulsed the Crown Prince of Wurtemberg, inflicting 5,000 casualties.[373] The Allies were willing even now to accept Napoleon in power, offering terms on the 1792 borders, a proposal that the Emperor again rejected. Schwarzenberg withdrew, but detached Blucher to attack Marmont and draw him from Napoleon’s army.
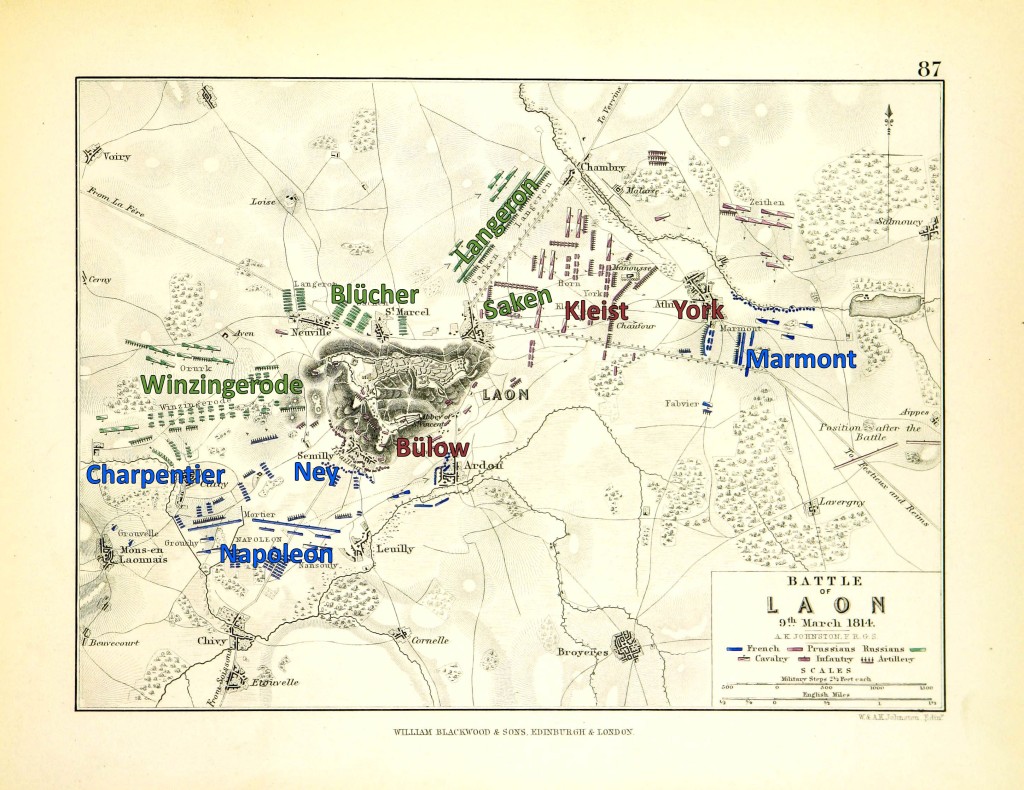
 

Laon

Battle of Laon, 9 March 1814, Blucher defeats Napoleon

The Allies at this point signed the Treaty of Chaumont, negotiated 1-9 March, promising not to sign any separate peace with Napoleon.[374] While Napoleon continued to maneuver around Paris Schwarzenberg on the 7th designated the French capital as his objective. Blucher at last caught the Emperor off-guard at Laon on the 9th, Blucher’s 100,000-85,000 defeated Napoleon’s remaining 37,000. Napoleon blamed Marmont for failing to have arrived with reinforcements in time (although Marmont’s corps was badly mauled in the fighting) yet continued to maneuver.
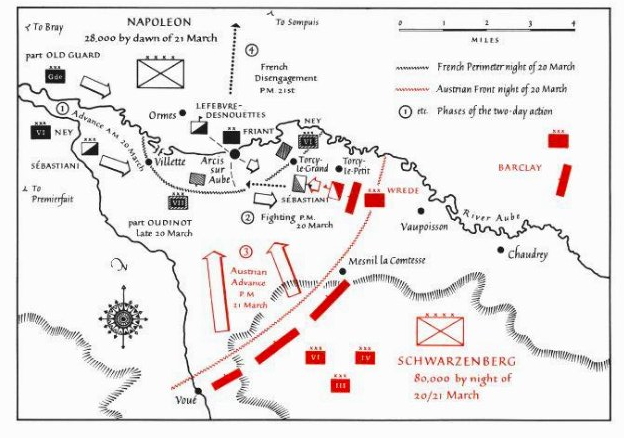
 

Acris2

Battle of Arcis, 20/21 March 1814, Schwarzenberg defeats Napoleon, from David Chandler, The Campaigns of Napoleon (1973)

On 20 March Napoleon attacked Schwarzenberg’s army with his mere 30,000 remaining forces, and with Napoleon materially exhausted Schwarzenberg detached 10,000 cavalry to watch Bonaparte, who was at Orleans rallying forces, while the Austrian supreme commander took the main army, now 180,000 strong, to Paris, entering on the 31st after the city capitulated.[376]

In the west Wellington continued his offensive against Soult and entered Bordeaux on 12 March.[375]
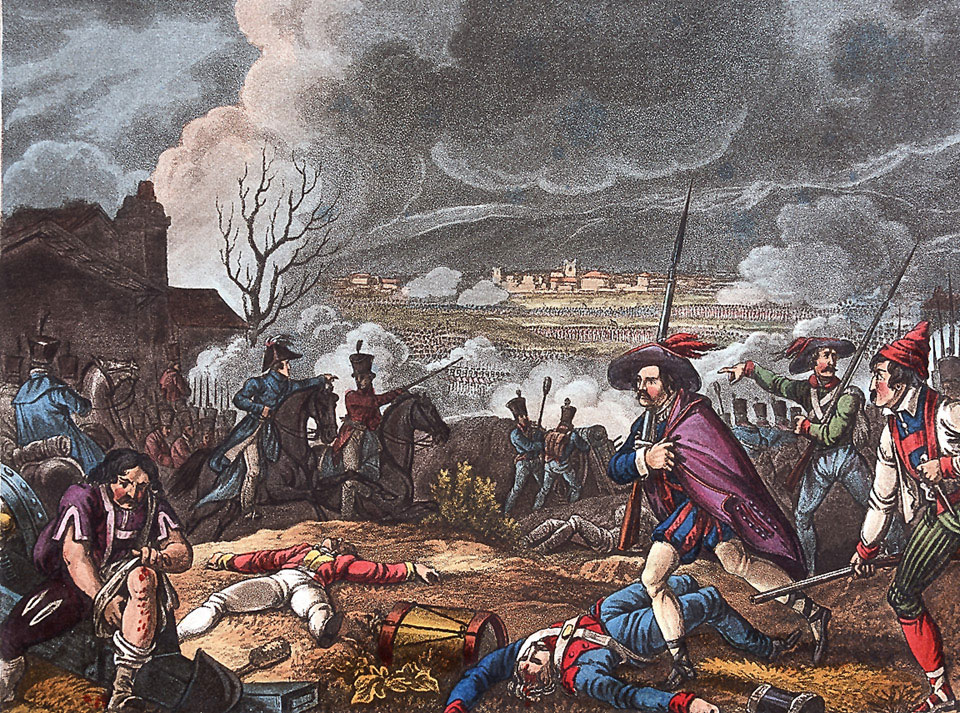
Toulouse

Toulose2

10 April, Toulouse, Wellington defeats Soult

Characteristically Napoleon refused to accept defeat and intended to continue fighting, but on 3 April Talleyrand, who had been negotiating with the Allies for some time, declared a provisional government. The next day Macdonald, Oudinot, Lefebvre, led by Ney, confronted Napoleon and refused to continue the war.
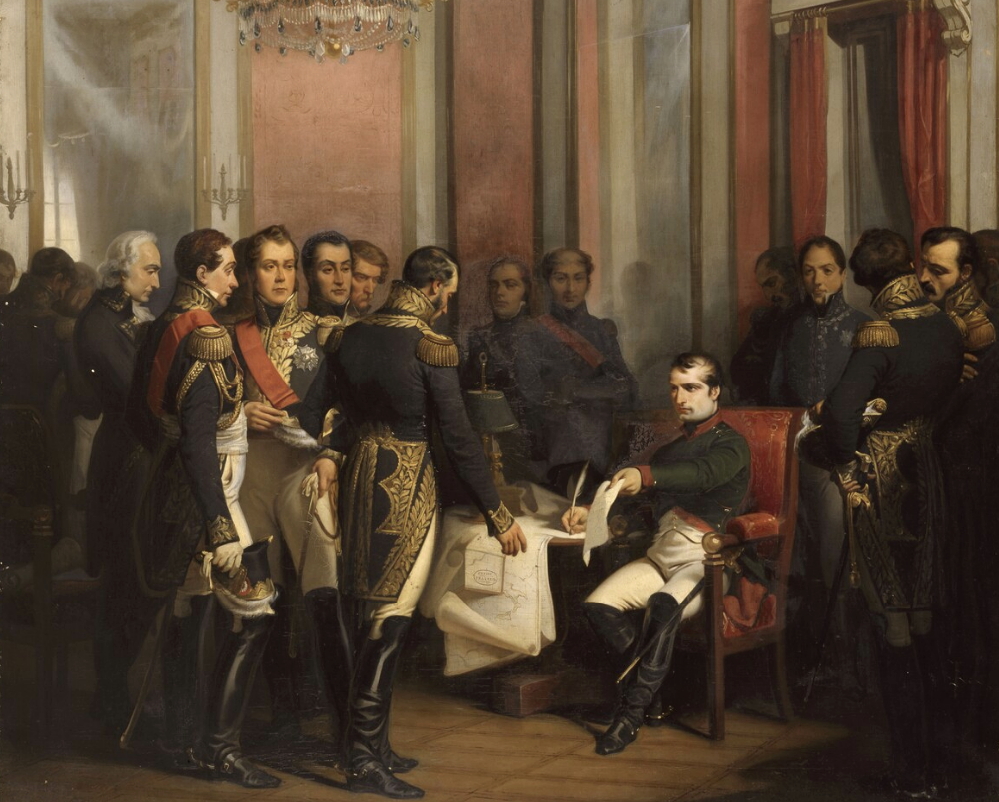
 

Napoleon

Napoleon signs the Treaty of Fontainebleau, 11 April 1814, by Francois Bouchot, et al., c. 1840-5

Napoleon at last threw in the towel, agreeing to abdicate on the 6th, and signed the Treaty of Fontainebleau with the Allies between the 11th and the 13th before departing for Elba aboard HMS Undaunted (38).[377] Louis XVIII landed at Calais on 24 April after having been transported to that place from Dover by the Royal Sovereign
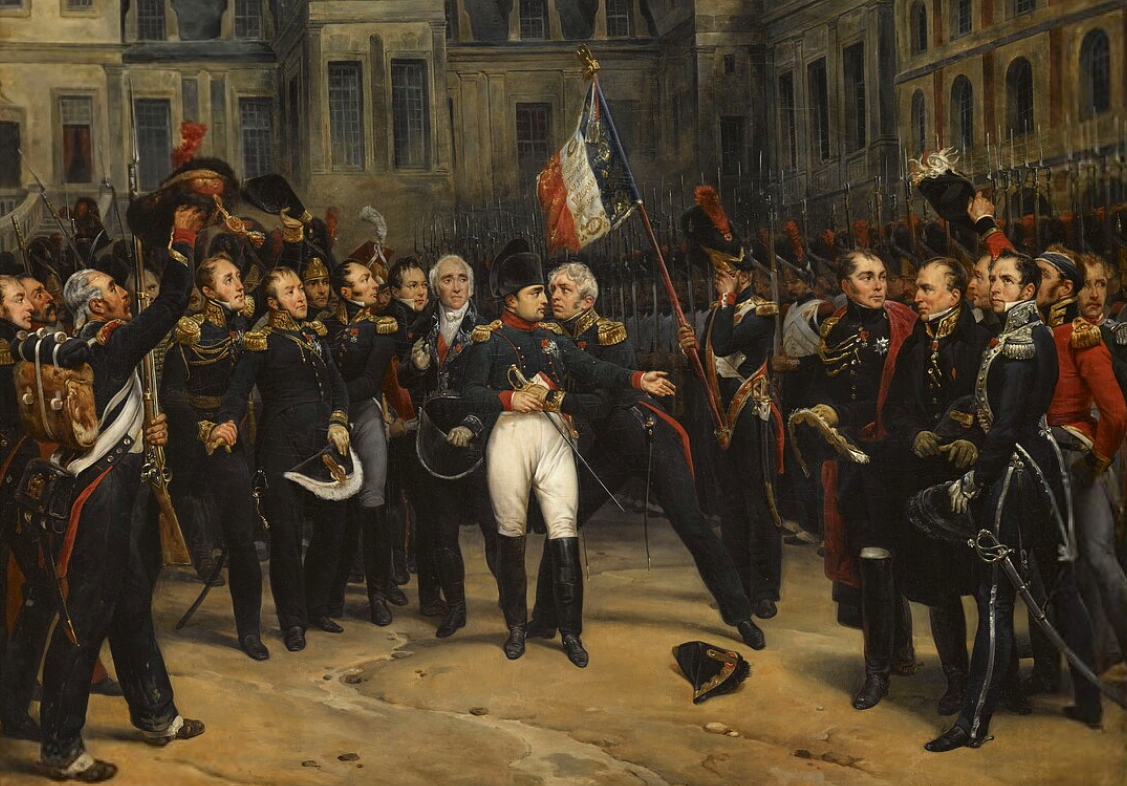
 

fontainebleau

Napoleon bids farewell to the Old Guard at Fontainebleau, 20 April 1814, by Antoine-Alphonse Montfort and Carle Vernet, c. 1834-42
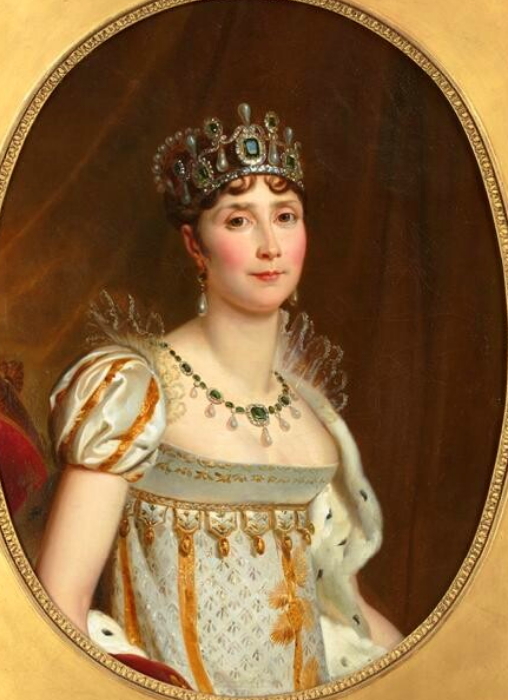
 

Josephine

Empress Josephine, contemporaneous portrait by Marie-Eleonore Godefroid and Francois Gerrard

Josephine Bonaparte died suddenly of diphtheria 29 May 1814 in company of Alexander I at Malmaison.[378] The Duchess of Parma, with Napoleon’s son, fled Paris on the 29th, before the Allies arrived,[379] and now returned to Schonbrunn palace in Vienna.
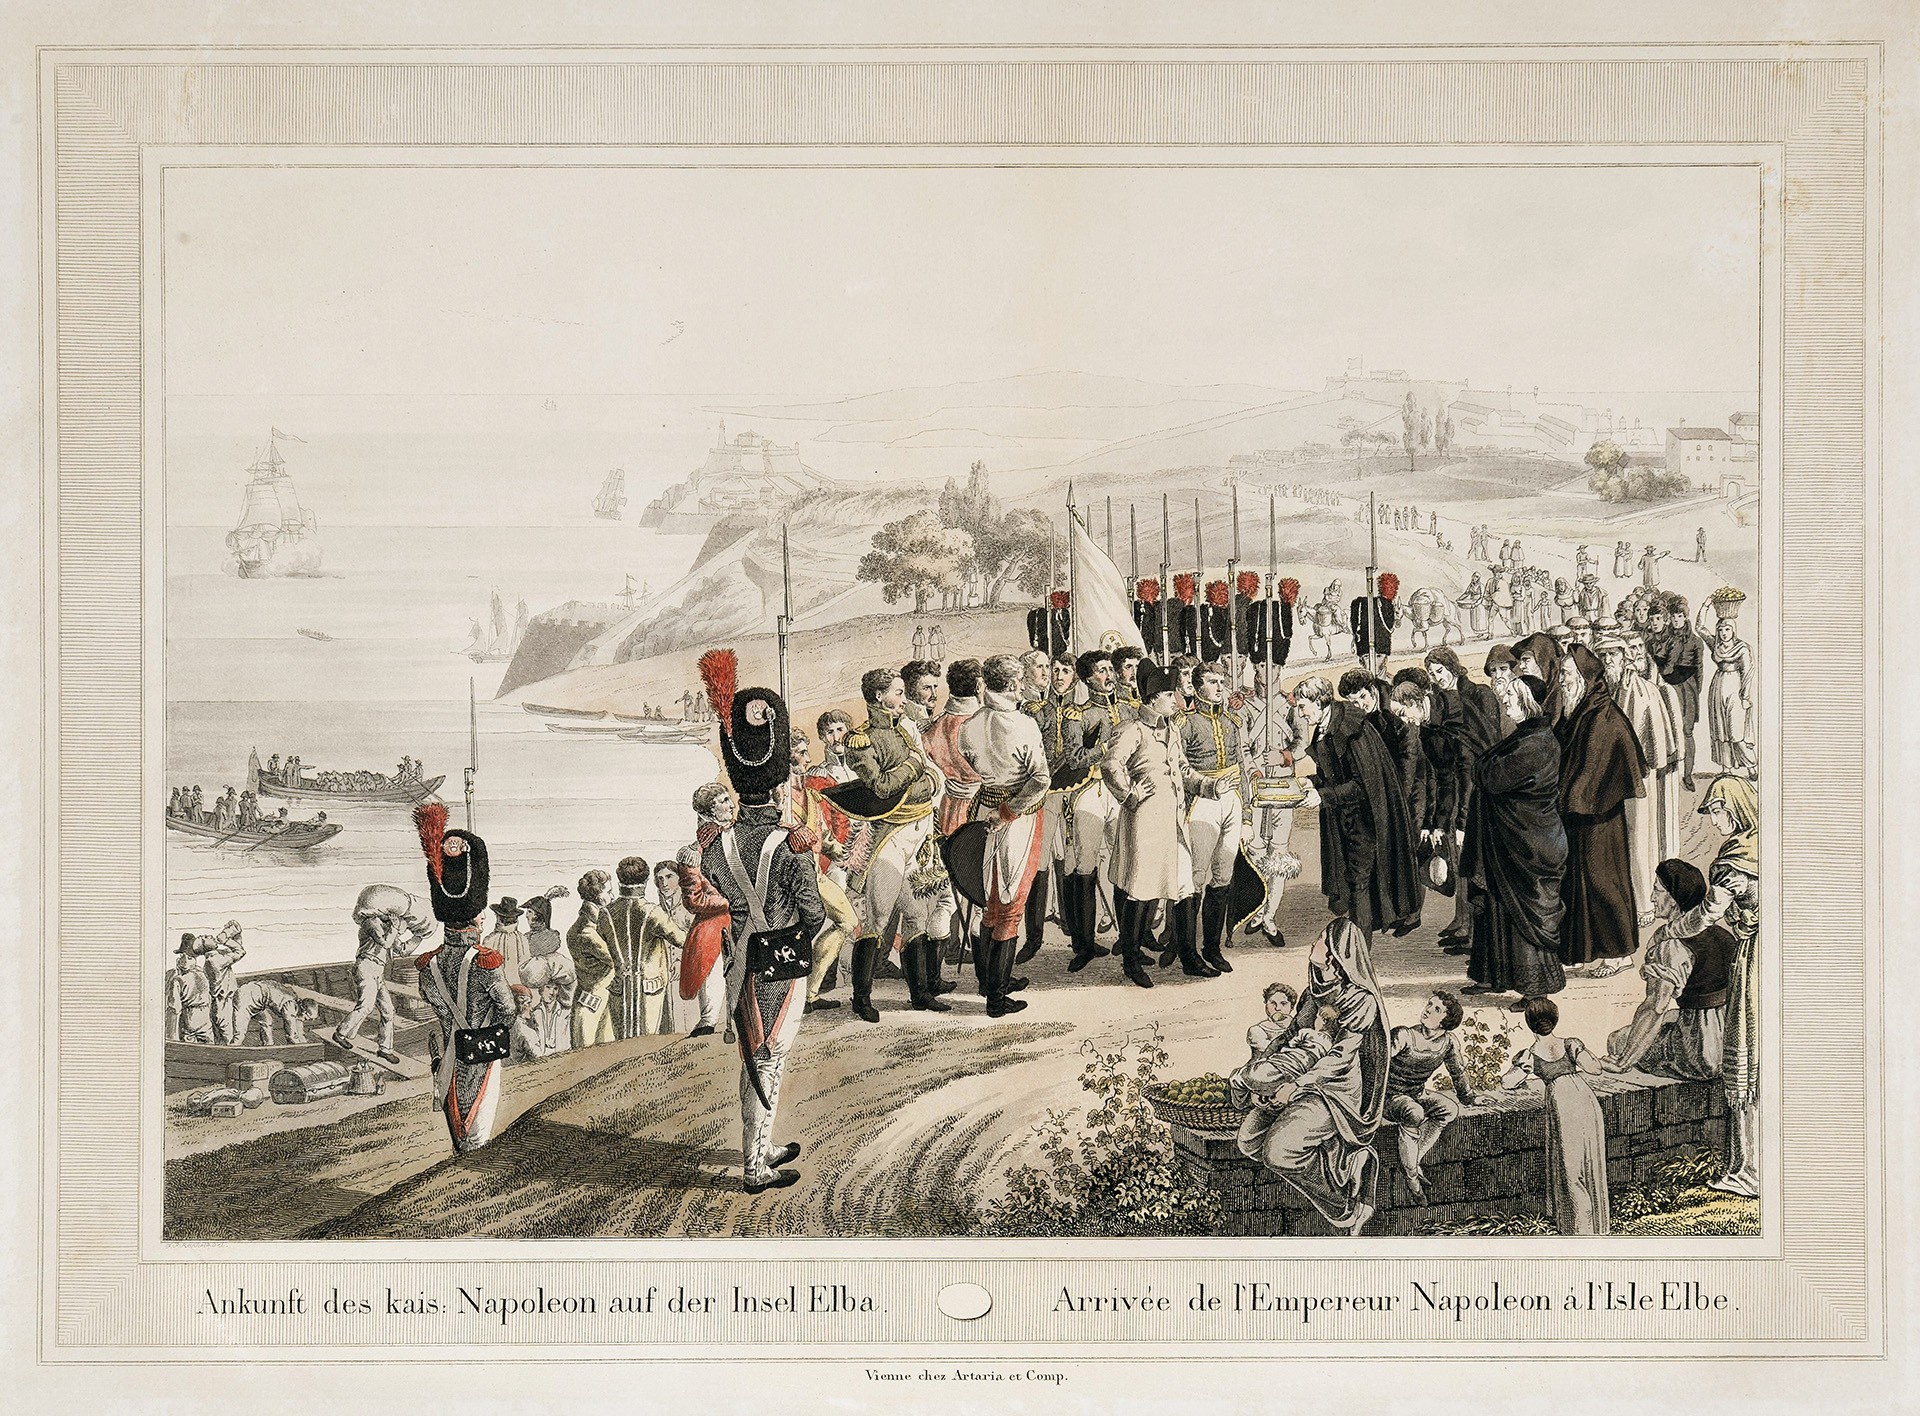
 

Elba

Elba

Arrival at Elba, May 1814; & Napoleon on Elba

With Napoleon confined to Elba, and the Treaty of Ghent having concluded the war with the United States, it seemed at the beginning of 1815 that a new era of peace was at last dawning after 23 years of European war.
 

Hofburg2

Wien_-_Neue_Hofburg

The Hofburg Palace, Winter Residence


1920px-Palacio_de_Schönbrunn,_Viena,_Austria,_2020-02-02,_DD_15 (1)

Schonbrunn palace, Vienna, Summer Residence
 

kaiserappartements-neu-19to1-2

fe76d3c6583b4ccbfb8a9ccbecfb5c46

Inside the Hofburg palace complex today


Pellew’s Blockade, 1813-1814
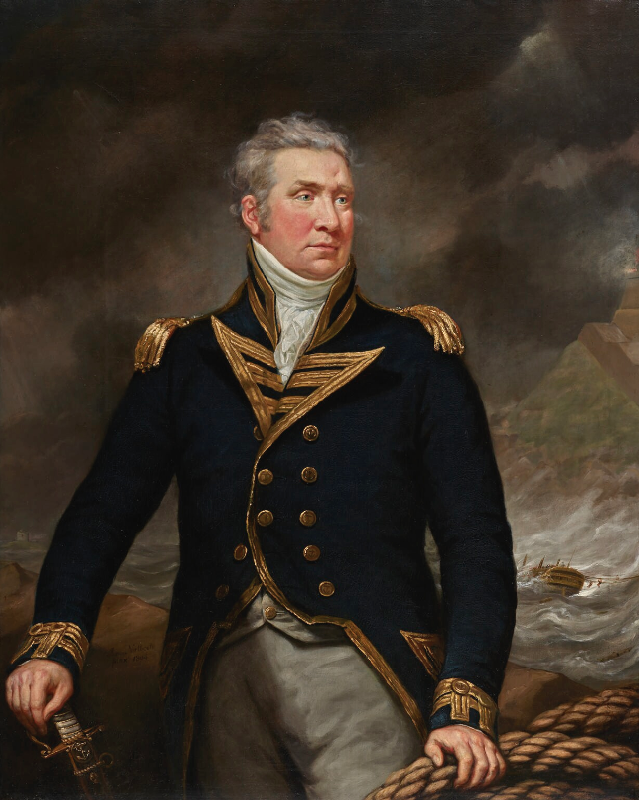
pellew

Edward Pellew by James Northcote, 1804

While the war in North America and Europe played out, Royal Navy blockade and trade protection operations continued apace during the year leading up to Napoleon’s capitulation. Edward Pellew, now promoted Vice Admiral and given charge of the Mediterranean in 1811, had orders to watch Toulon, where Vice Admiral Maurice Emeriau consolidated his warships.[380] Although Vice Admiral Emeriau sortied on several occasions, he never engaged Pellew and presumably was under order to create distractions only.


Emeriau

Vice Admiral Maurice-Julien Emeriau, commander of the Toulon squadron in 1813

By autumn 1813 the Toulon fleet had been built up to 21 sail and ten 40 gun frigates.[381] Pellew, still blockading Toulon, briefly engaged elements of this fleet on 5 November when Vice Admiral Emeriau sortied with between 12 or 14 sail of the line plus six frigates and a schooner. Pellew’s inshore squadron of four 74s led by Captain Henry Heathcote in Scipion attempted to block their return to port. The French vanguard was commanded by Rear Admiral Cosmao-Kerjulien with five sail of the line, including his flagship the Wagram (130), plus four frigates. Pellew soon arrived in the Caledonia (120), bringing three more heavy ships with him (Pompee, 74, Boyne, 98, and San Josef, 112).

Patrick-OBrien-Big-Sea-12x16

Frigates at sea by Patrick O’Brien


Toulon

Emeriau’s sortie on 5 May (November) 1813, by Auguste-Etienne-Francois Mayer

A brief exchange of gunfire took place before 1 pm, but the French quickly made their way back to port with minimal casualties (not more than 17 French wounded; 1 killed and 14 wounded for the British).[382] Pellew returned to Minorca and Vice Admiral Emeriau made no further efforts to sortie that year, although did so again briefly in February 1814 to allow another 74 from Genoa to slip into Toulon.[383]
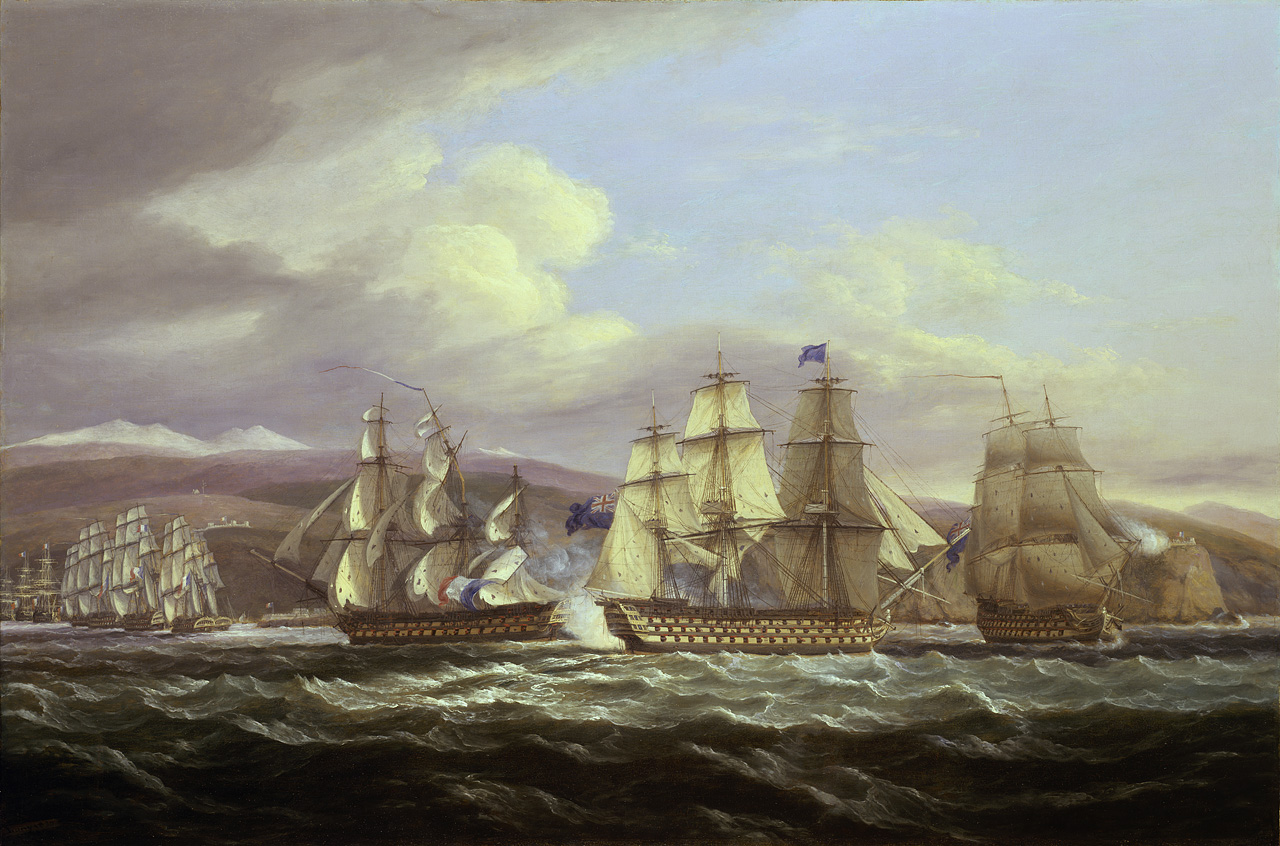
 

Pellew

5 November 1813 while blockading Toulon, Vice Admiral Pellew’s engagement by Thomas Luny, made in 1830


The Hundred Days: War of the Seventh Coalition
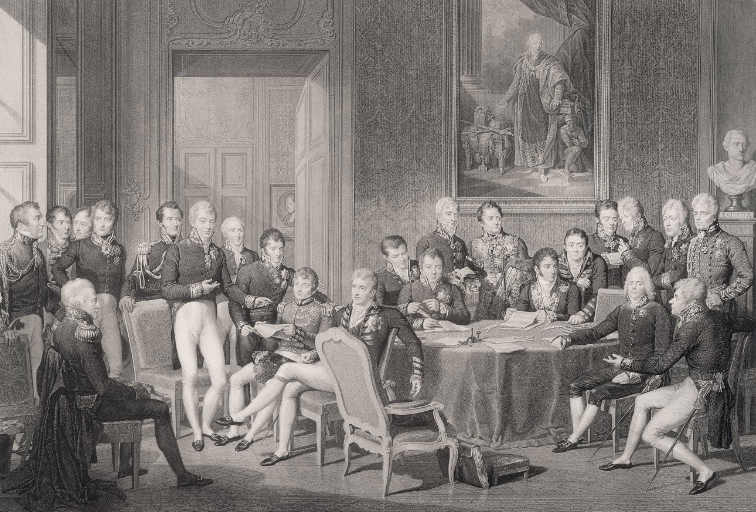
Vienna

The Congress of Vienna in 1815, interrupted by the Hundred Days campaign, by Jean-Baptiste Isabey, c. 1819

In 1815, with France recovering after the Treaty of Paris, Napoleon now saw his chance to regain his throne and thus sailed from Elba bound for France on 26 February. He landed near Cannes on 1 March with 1,100 men and four guns. Ney, who had been sent by the King to arrest Napoleon, changed sides on 17 March and soon Louis XVIII fled into exile as Napoleon entered Paris on 20 March.[384] On the 25th the Allies formed the Seventh Coalition to once again expel Napoleon from Europe, quickly building up their combined force to between 650,000-700,000 against which the Emperor could marshal only 224,000, including 50,000 veterans who had returned from Allied POW camps (there had been 27,000 French sailors in British prisons).[385] Furthermore, Britain secured first £5 million, and then £7 million, for the allies to finance the 1815 campaign.[386]


Dawe, George, 1781-1829; Field Marshal Prince von Blucher (1742-1819)

Marshal Prince von Blucher, Napoleon’s most tenacious opponent by George Dawe

With Brune, Davout, Moriter, Ney, Soult, Suchet, and Grouchy once again at his call the Emperor marched against the Anglo-Dutch army that was assembling in Belgium under Wellington, hoping to defeat this weakest Allied force before Blucher, Alexander or Schwarzenberg could intervene. Napoleon installed Carnot as Minister of the Interior and left Davout in Paris as Minister of War,[387] then sent Rapp to take command on the Rhine, Suchet the Alps, Brune the Var, while Clausel took the Spanish front.[388]
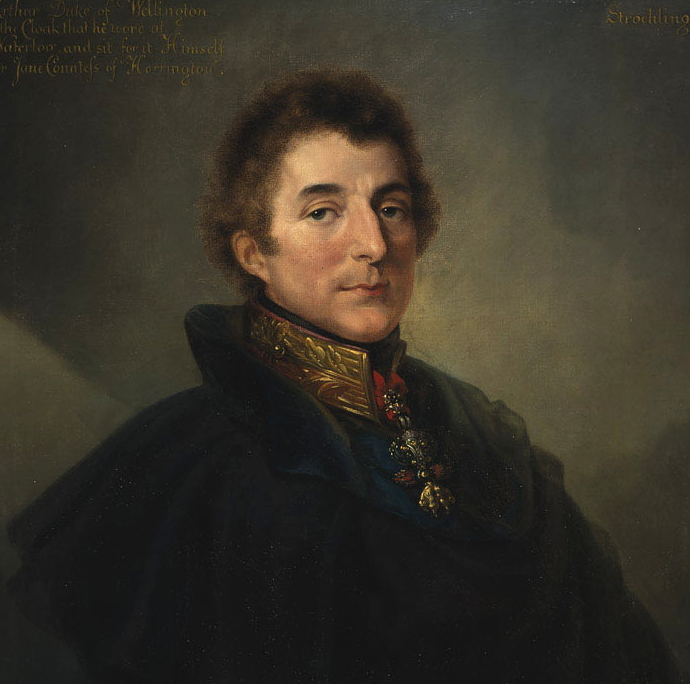
 

Wellington

The Duke of Wellington, c. 1820 by Peter Stroehling


Battle_of_Ligny

Battle of Ligny, 16 June 1815

Rothenberg is extremely critical of Napoleon’s choices for army command, noting that leaving Davout in Paris and Suchet on the Rhine took his two best lieutenants out of the game.[389] Undoubtedly Napoleon had his reasons, presumably that these were men he could trust to hold his flank and rear, allowing the Emperor to keep a closer eye on Ney and Grouchy. Later at St. Helena the Emperor uncharitably mused that “if Murat had been there [at Waterloo] when Grouchy was in command, in all probability the Prussians would have been defeated.”[390]


Accoridng to Dodge, Napoleon’s two options were to repeat the 1814 campaign, which had the advantage of not requiring him to invade anyone, or to march against the nearest Allied concentration, which was in Belgium.[391] In the event Napoleon took 125,000 men in five corps plus the Guard and 358 guns, and marched into Belgium where Blucher had 149,000 men and 296 guns, supported by Wellington with 107,000 men, and 197 guns.[392]

Napoleon crossed the frontier on 15 June, intending to divide Wellington and Blucher and then destroy both in detail, beginning with the stronger partner. The French took Charleroi and then Napoleon, with Ney in the lead, marched against Blucher. Ney detached Wellington from Blucher at Quatre-Bras and Napoleon had a hard fight against the Prussian field marshal, who was in command of a force composed mainly of Russians. Napoleon succeeded in repulsing him at Ligny, at cost to Blucher’s Russians of 16,000-20,000 men and 21 or 24 guns, although Napoelon’s losses, at 11,000 casualties, had also not been light.[393]
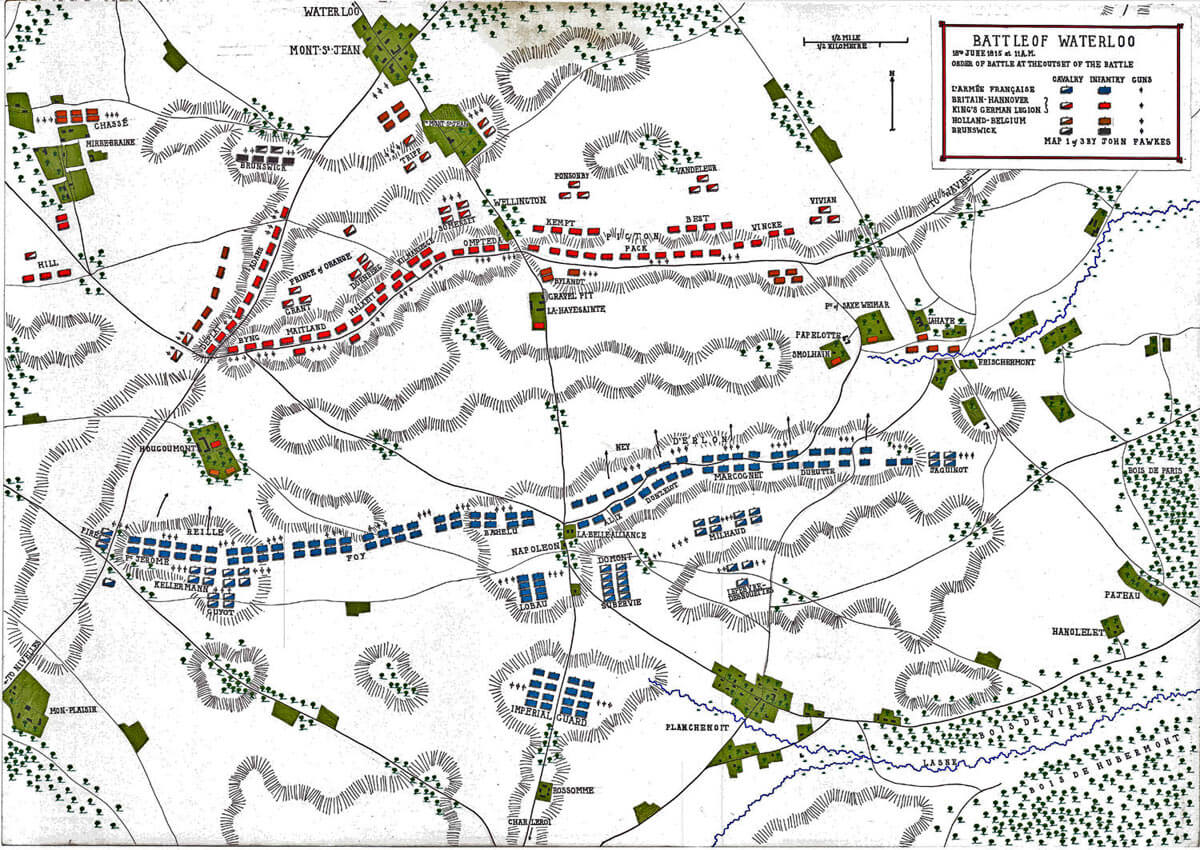
Waterloo

Map of Waterloo, 18 June 1815

On the 18th Napoleon with 74,000 then developed the attack against Wellington’s 67,000 (24,000 British) at Waterloo, but was unable to break Wellington’s defensive line and lost most of his cavalry in the desperate struggle before Blucher arrived and turned Napoleon’s flank. In the final effort after 6 pm Napoleon threw in his Guard but their assault failed by 7 pm and Napoleon knew that he was finished – having failed to scatter the English and Dutch, how could he dream of defeating the Prussians, Austrians and the Russians?[394] 
 

Dragoons2

The gambit had failed, Napoleon had lost all his artillery, 250 pieces, not to mentioned having suffered 30,000 casualties, the survivors now harried by Prussian cavalry as the army fled across the Sambre. Napoleon ordered the army to reform at Laon while he hurried to Paris, arriving there on 21 June.[395] Although Davout by now had raised another army of more than 100,000, Napoleon no longer believed victory possible against both his domestic and international opponents, including Lafayette who championed the Republican cause,[396] and on the 22nd as Wellington and Blucher closed in on Paris Bonaparte once again accepted abdication, intending to flee to the United States.[397]
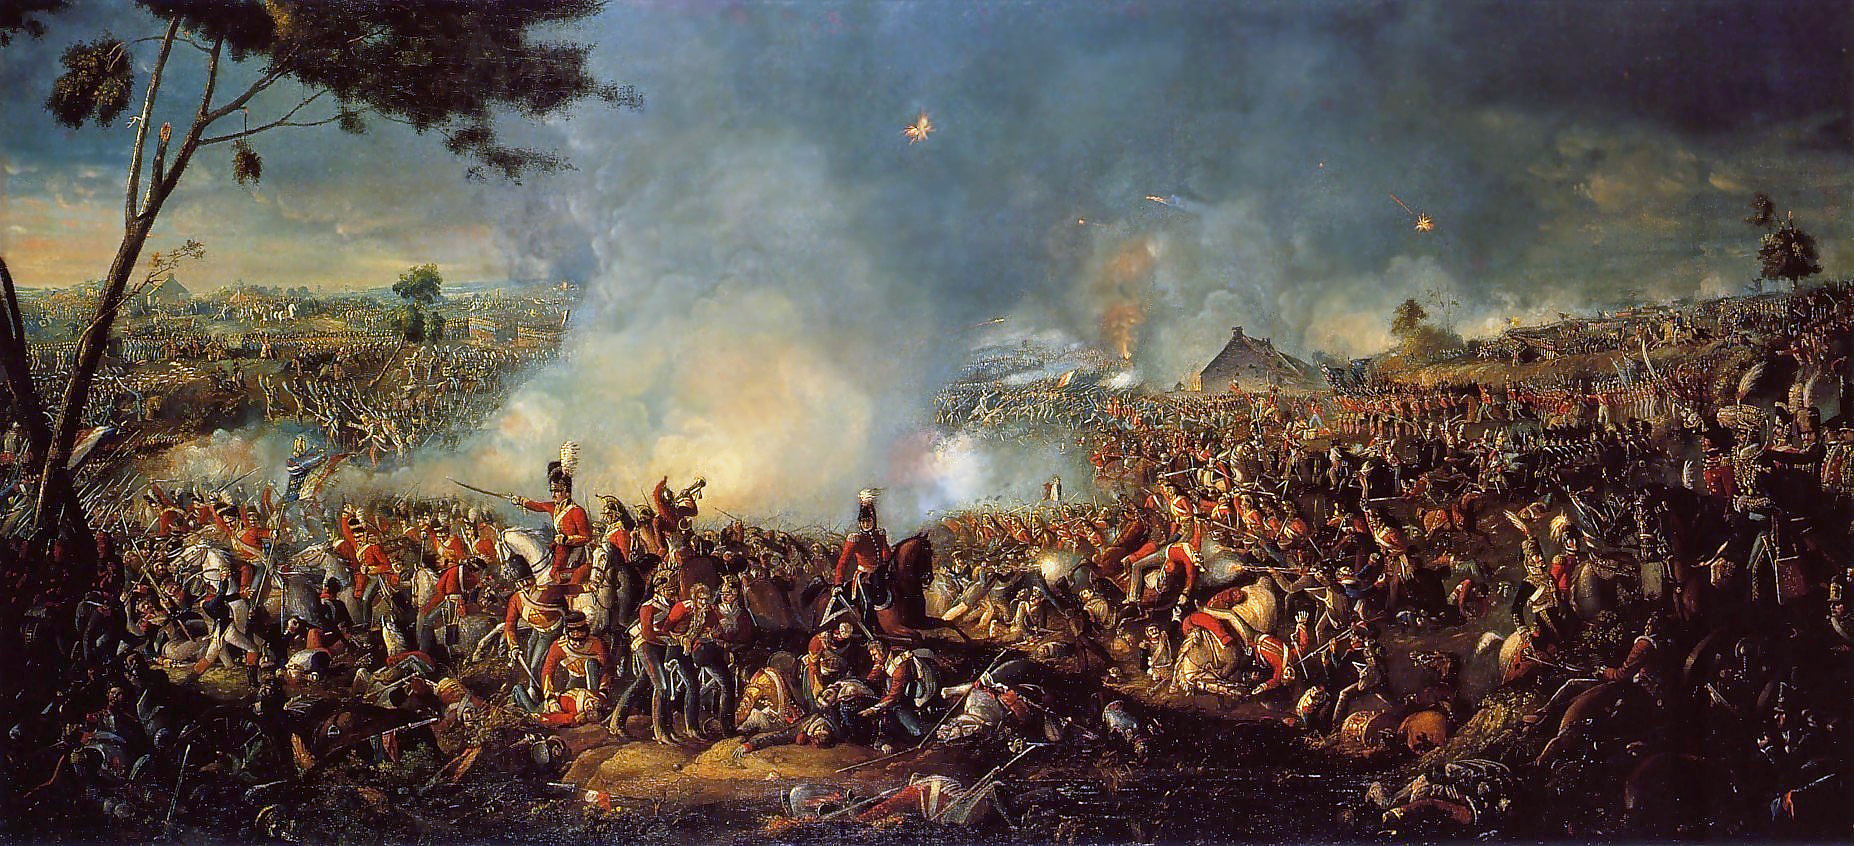
Waterloo

The Battle of Waterloo by William Sadler

On 15 July Napoleon surrendered to Captain Frederick Maitland of HMS Bellerophon, then at the Basque Road. The Emperor was conveyed to Plymouth, arriving there on the 26th. On 7 August he was transferred to the Northumberland, under the protection of Rear Admiral George Cockburn, who made certain Napoleon was transported to St. Helena where they arrived on 16 October. France was returned to its 1792 borders, minus the overseas possessions of Tobago, St. Lucia, Mauritius, Rodriquez and the Seychelles, and was indemnified to the tune of £28 million.[398]

There were few naval actions during this time, although some did in fact take place: notably, Rear Admiral Philip Durham landed Lt. General Sir James Leith on Martinique to secure it for Louis XVIII, a similar operation taking place in August when another landing was carried out to secure Guadeloupe, then under the control of the Comte de Linois, who had made the unfortunate decision of declaring in favour of Napoleon and on 10 August had no choice but surrender.[399]
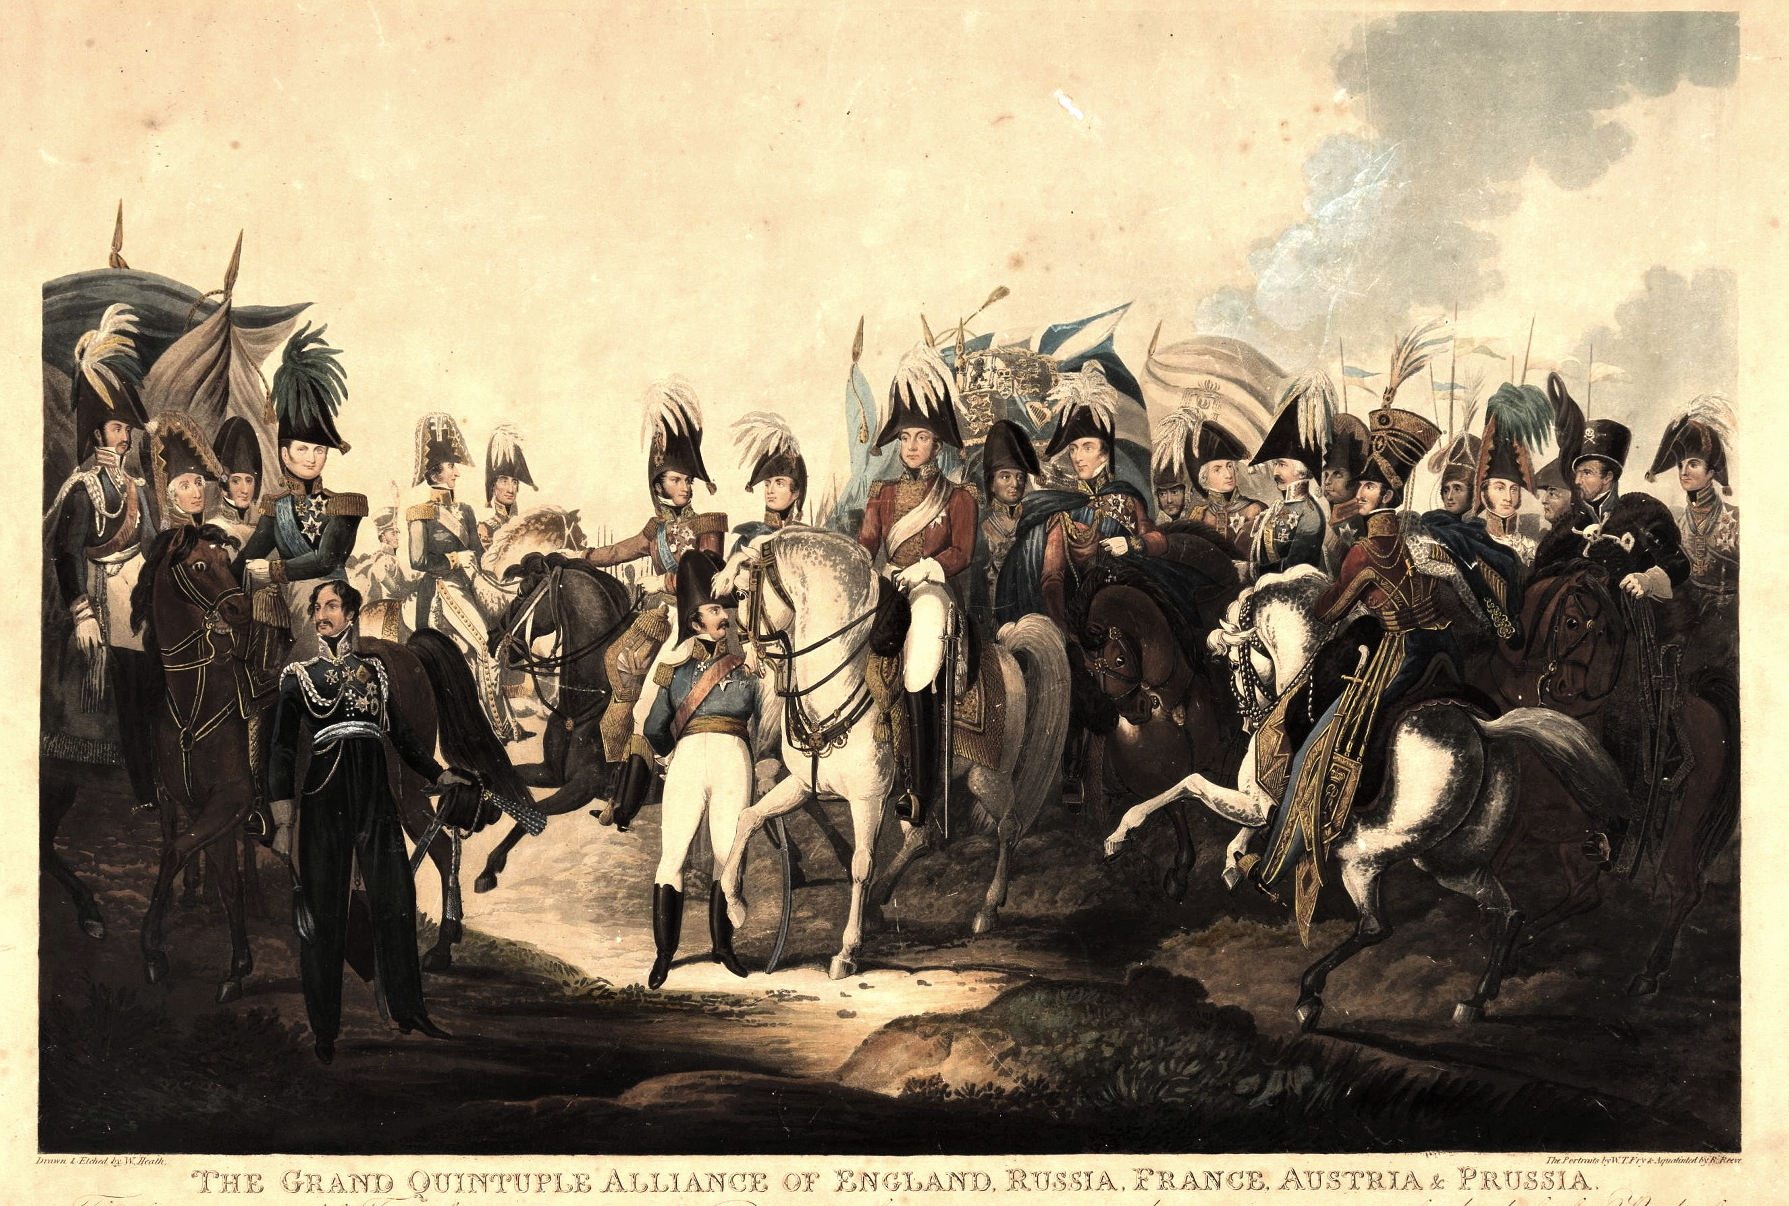
Grand Alliance

Meeting of the Monarchs who Defeated Napoleon at the 1818 Congress of Aachen, copy of original by William Heath
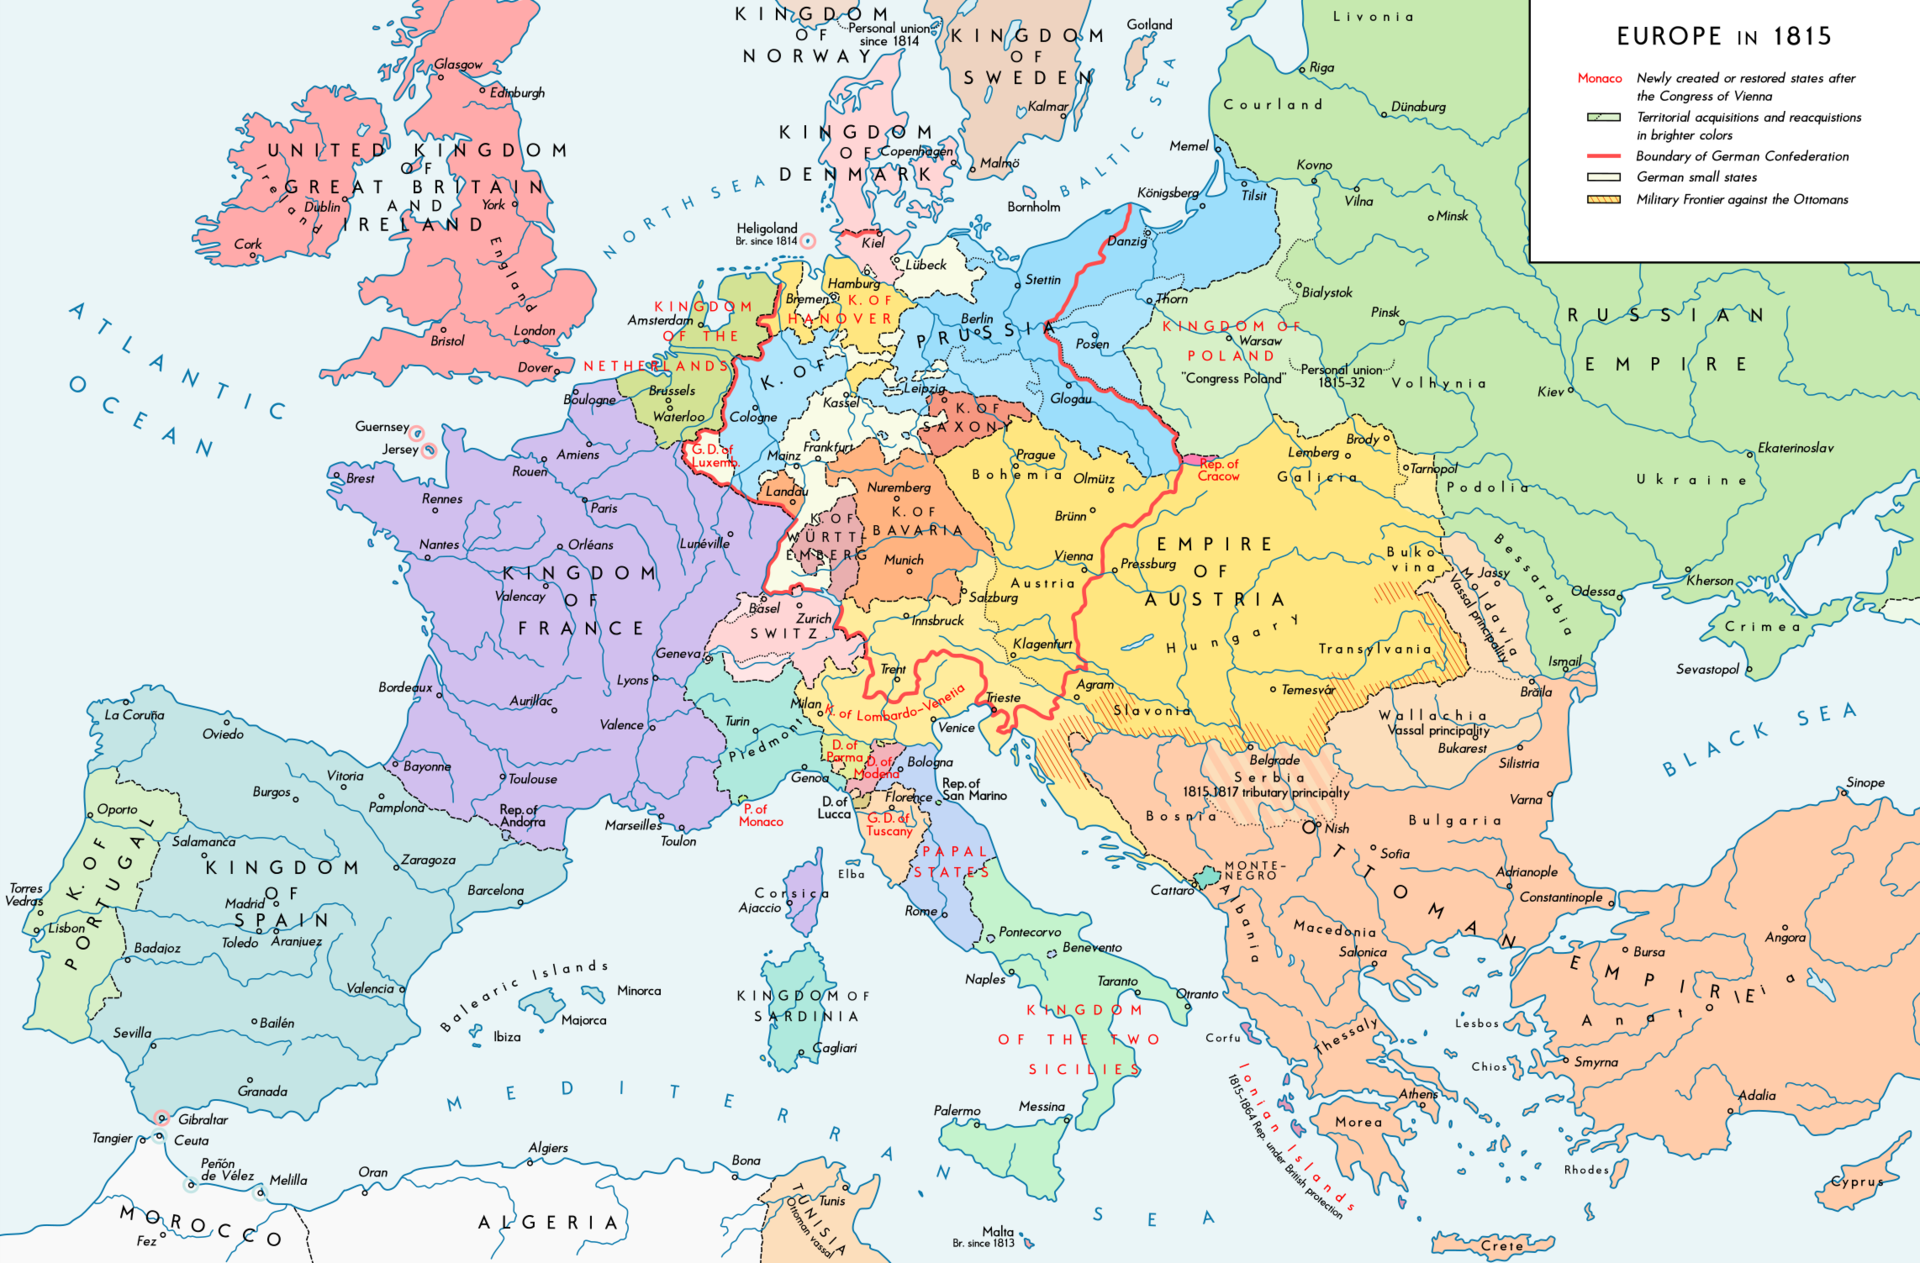
Europe_1815_map_en

The new international order: Europe as arranged at the Congress of Vienna


St. Helena

Saint Helena, c. 1785, by Adam Callander
Napoleon Silhouette

Silhouette of Napoleon


Deskchair


1816

Epilogue: Nelson’s Touch, Pellew at Algiers
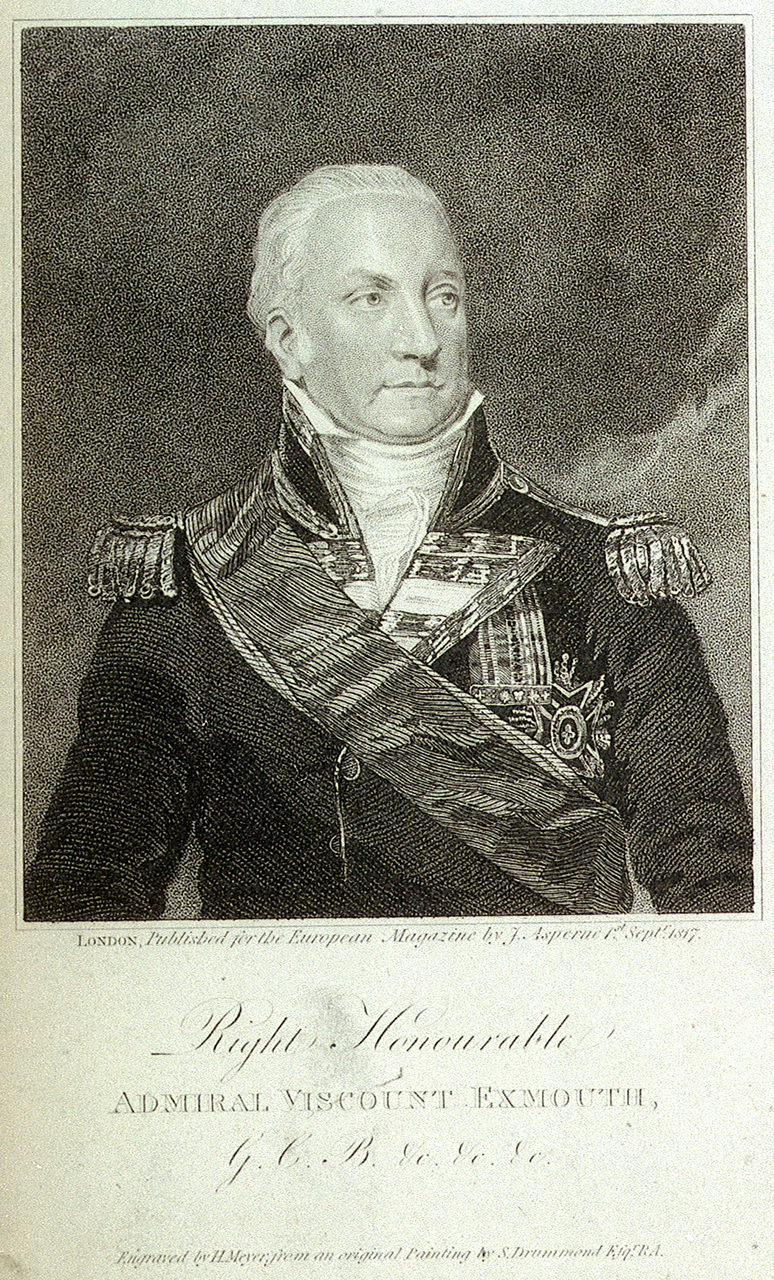
Pellew

Viscount Pellew, Lord Exmouth in September 1817, drawn by Samuel Drummond and Henry Meyer

The final naval battle of the Napoleonic era took place the year after Waterloo and against a very different kind of enemy. In 1816 Sir Edward Pellew, now Baron Exmouth at 59 years old, was still the C-in-C Mediterranean. Pellew’s mission, since the conclusion of the Napoleonic Wars, had been primarily the task of suppressing piracy originating from the Dey of Algiers, who had captured a number of Christian slaves including British, Italian and Spanish subjects – a lucrative source of ransom for the North African satrap of the Ottoman Empire.[400] Abolition of the slave trade had been enforced by the Royal Navy since 1807 and was a subject of international discussion at Vienna, championed by Castlereagh. Indeed the treaty of Paris, 30 May 1814, added France to the list of signatories agreeing to the abolition of the slave trade.

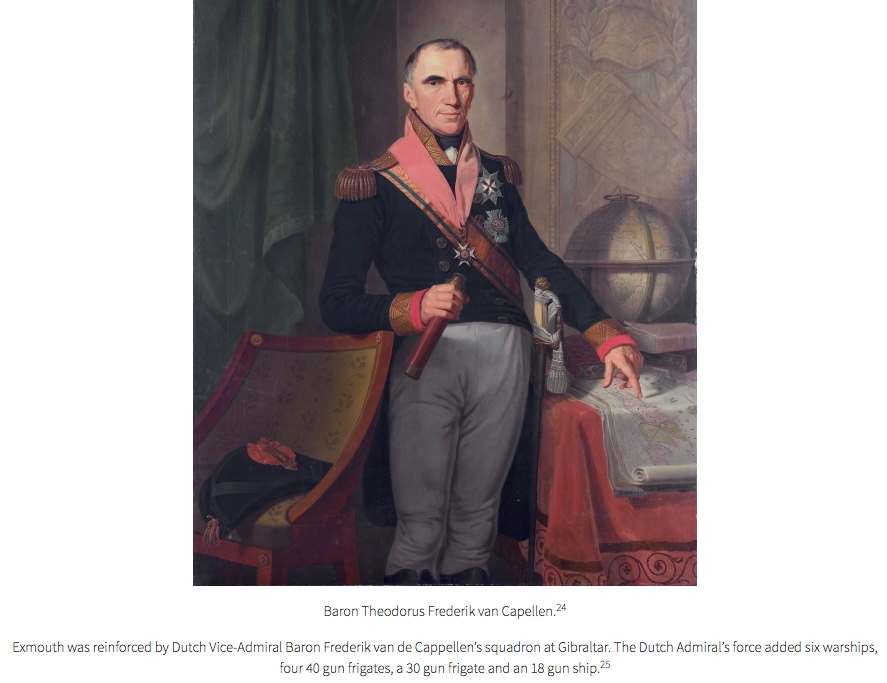
 

Algiers PellewAlgiers Dutch

Pellew’s fleet for the Algerian operation & Dutch contribution

Pellew had already visited Algiers in 1815 to negotiate the liberation of the European slaves, but in 1816 sought clarification from Lord Liverpool regarding his mission. Liverpool was eager to set Pellew loose on the Algerians and on July 28th Pellew sailed from Plymouth with his squadron of five of the line, three frigates and ten brigs and bomb vessels. He was joined by Dutch Vice Admiral Baron Frederik van de Cappellen at Gibraltar with another five frigates and a sloop.[401]
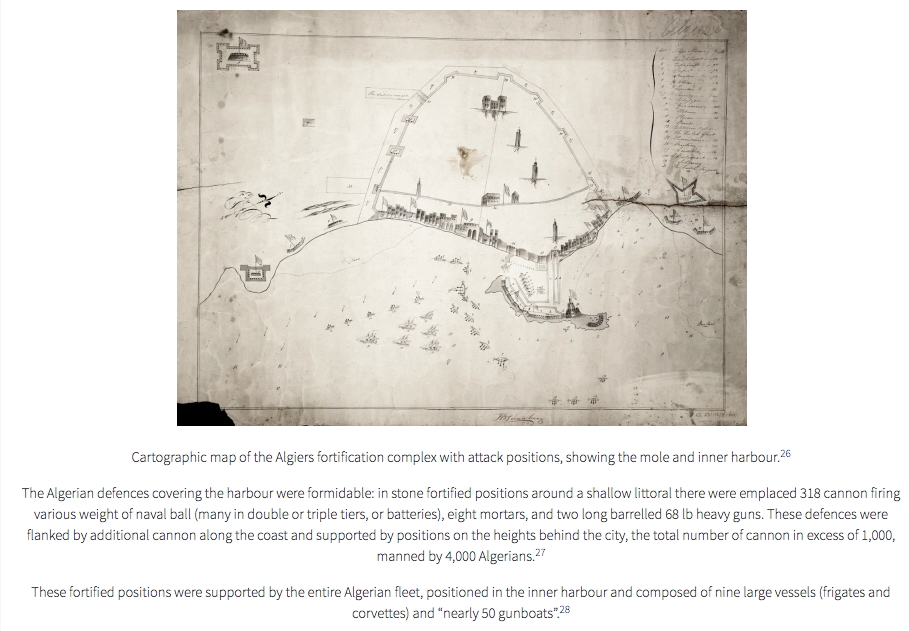
 

Algerian Forces

Mole and fortifications at the harbour of Algiers
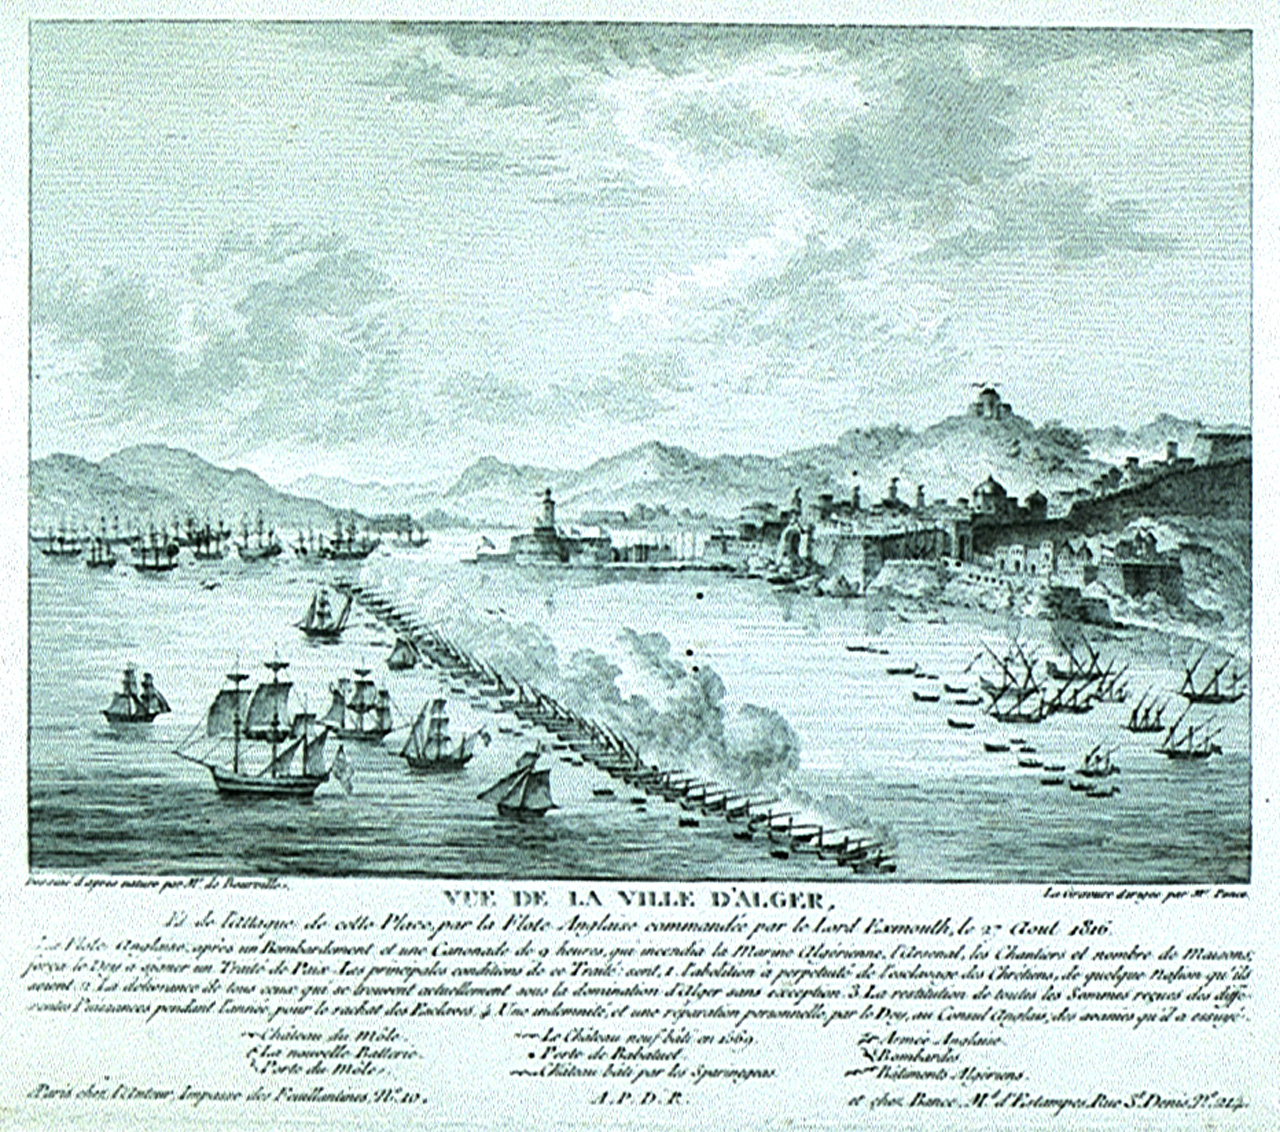
Algiers02

Bombardment of Algiers

Bombardment of Algiers by William Craig (below) & a French illustration of the same, by de Bourville

Arriving off Algiers on 27 August Pellew confronted the defensive works that included more than 1,000 guns: 318 cannon and eight mortars not to mention two 68-pdr guns actually covering the harbour. Therein were nine frigates and corvettes, plus abut 50 gunboats. Pellew immediately sent ashore a party to negotiate the Dey’s surrender, giving only two hours’ grace. When this offer was rejected Pellew closed with the Queen Charlotte, followed by Implacable and Superb. Slightly after 2:30 pm the Algerian defences opened fire and a general cannoned commenced.
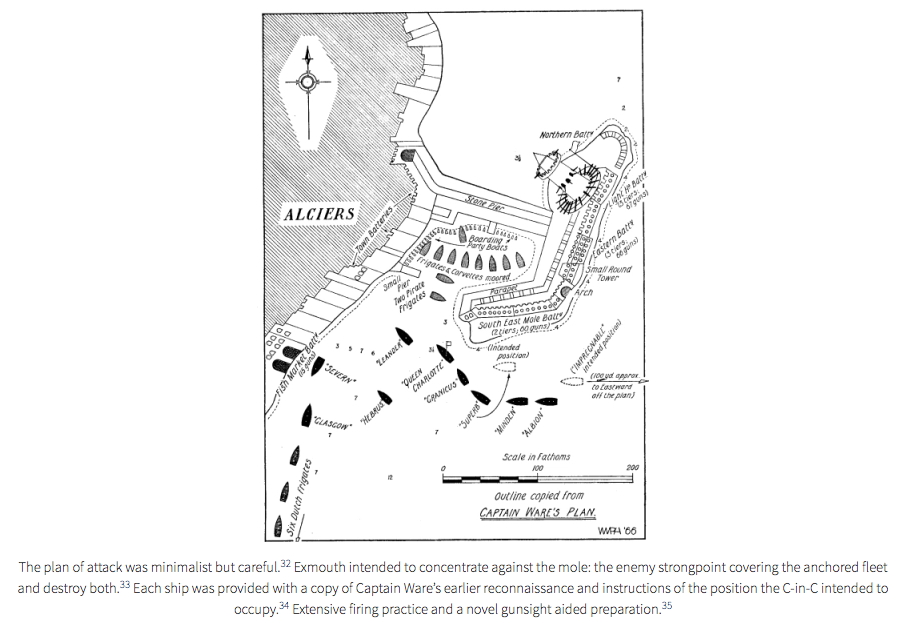
Algiers Harbor

Harbour of Algiers defences, showing Pellew’s approach
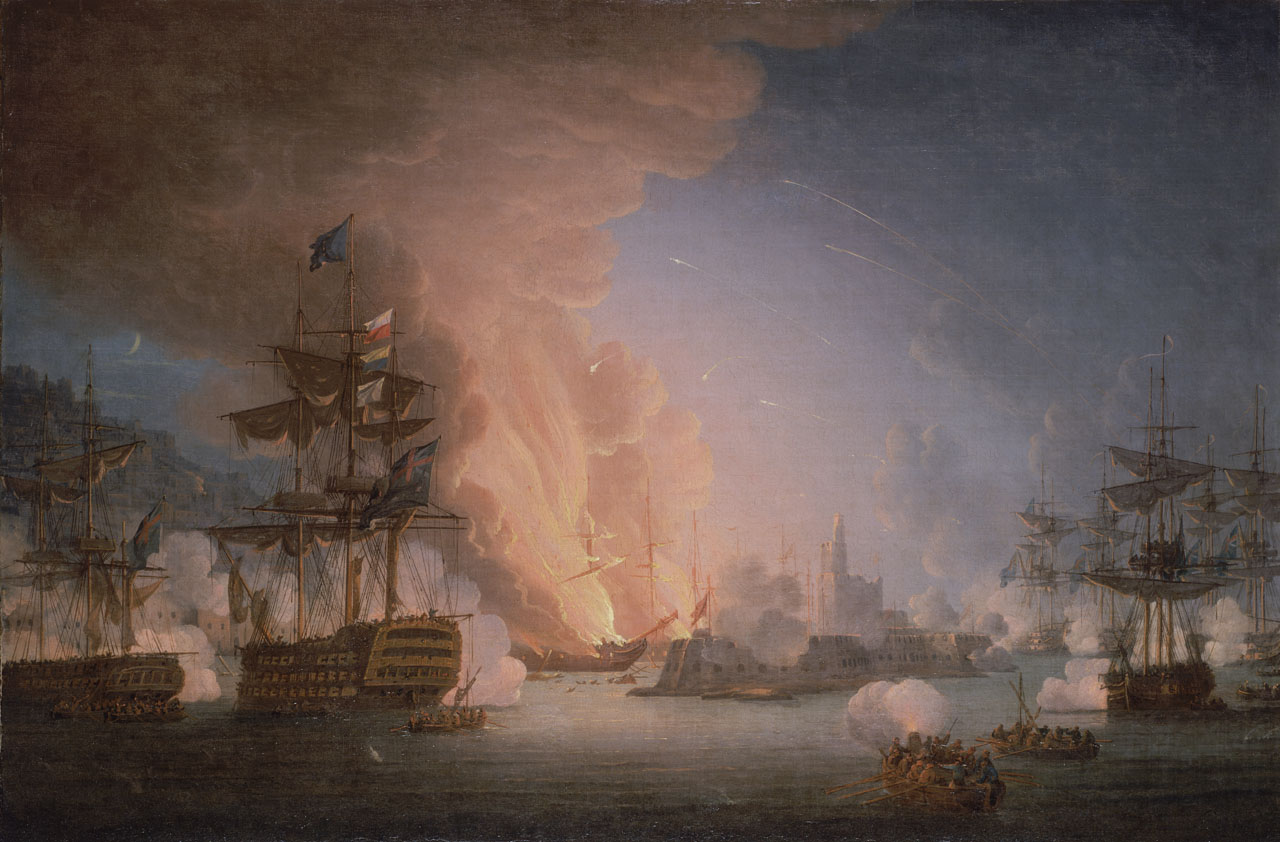
Algiers

The Bombardment of Algiers, 27 August 1816

Algiers Casaulties

Royal Navy casualties at Algiers

As evening fell Pellew sent in boat crews to torch the Algerian fleet, supported by bomb and rocket attack. After nine hours, and with Algiers being consumed by the conflagration, Pellew moved back out to sea where he anchored at 2 am on the 28th. The operation thus far had cost the expedition 141 dead and 742 wounded.[402]
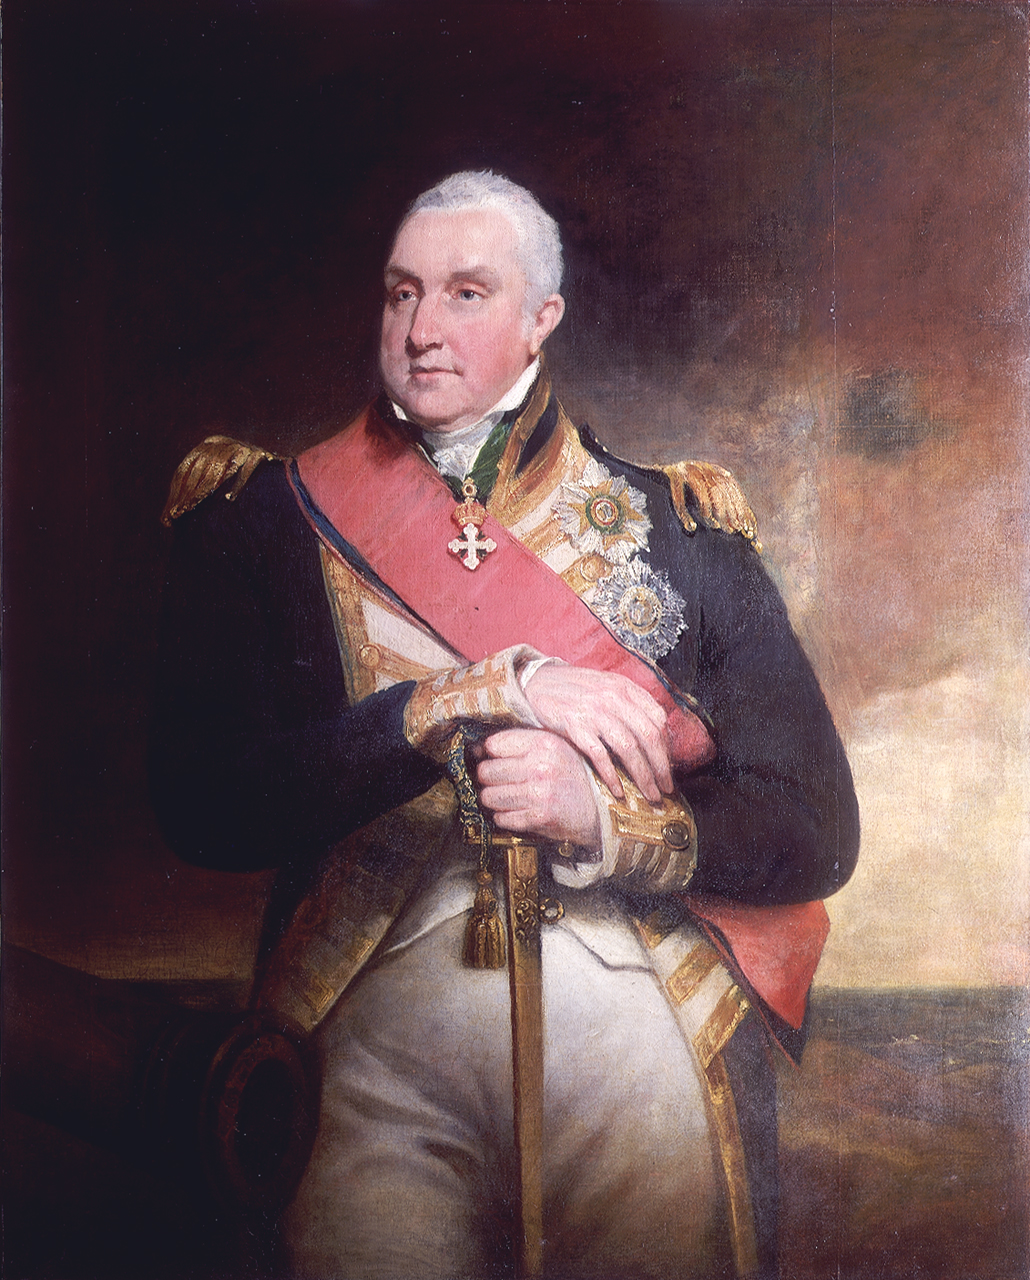
Pellew03

Painting of Viscount Pellew c. 1817, by William Owen

The next day Pellew’s flag captain, James Brisbane, met with the Dey of Algiers, who this time promptly surrendered and released his 1,200 Christian slaves. Pellew sailed for Britain where he arrived on 3 September 1816 and was promptly made Viscount.
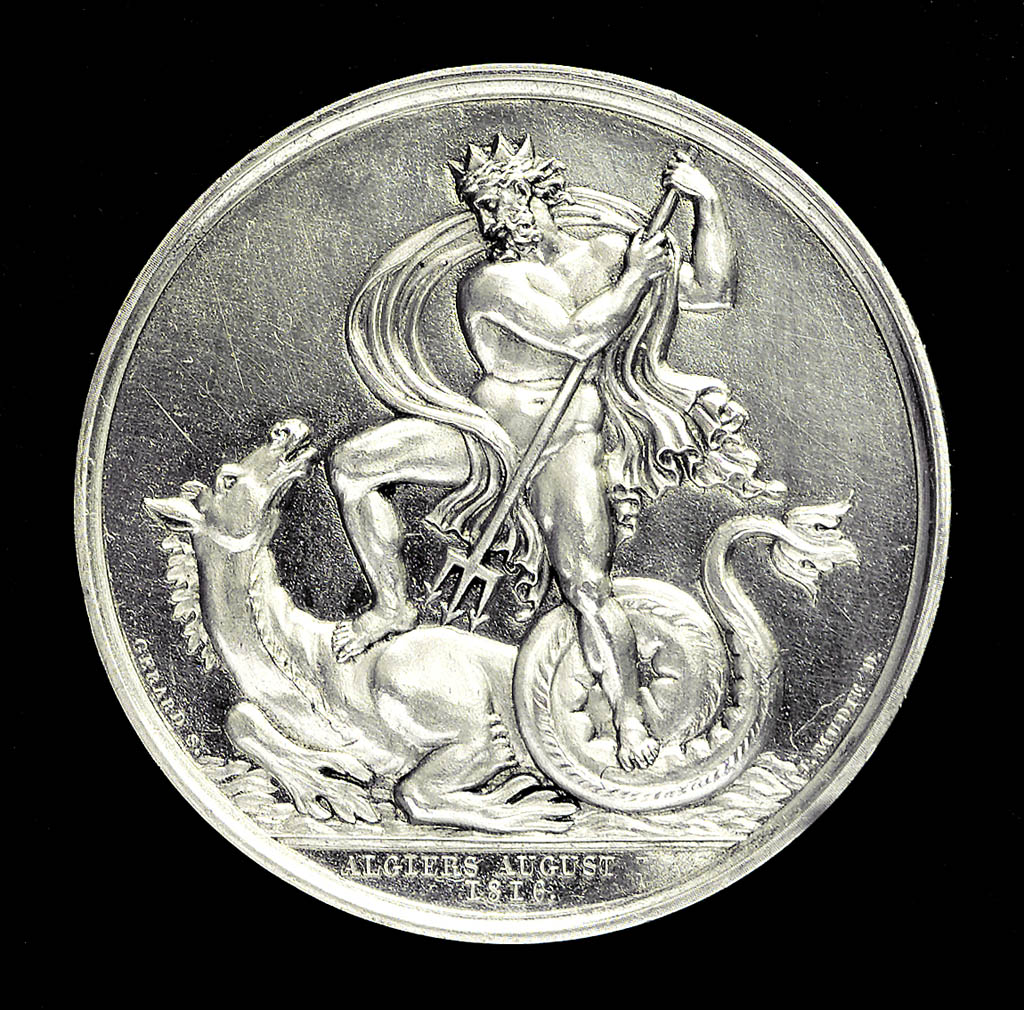
Pellew Algiers coin

Medal commemorating the Algiers operation, c. 1816-20


Conclusion: Pax Britannica

Between 1793 and 1815 the Royal Navy captured 113 ships of the line and 205 frigates, of these they commissioned 83 ships of the line and 162 frigates back into the Royal Navy.[403] Moreover, by the end of the Napoleonic Wars Britain was paying to support 425,000 coalition troops, in addition to fielding an army of 150,000 of its own citizens, having captured every French overseas territory and held onto Canada, the latter despite the best efforts of the Americans.[404] French efforts to interdict Britain’s trade, although lucrative, did not significantly impact Britain’s ability to conduct the war: since the passing of the Convoy Act of 1803 and the end of the Napoleonic Wars in 1815, only 0.6% of merchants sailing in convoy were lost, while the higher but by no means threatening figure of 6.8% represented British merchants sailing outside of convoy.[405]
frigate02

A Frigate Running Before the Wind, by Edward Hoyer

In the years after Trafalgar the Royal Navy demonstrated how a seapower, utilizing amphibious operations in a global maritime war, could not only greatly constrain multiple continental adversaries, but could defeat them by gradual pressure, with the assistance of coalitions. As the forgoing has demonstrated, once the totality of the global effort is laid out, it should be obvious, as Charles Fedorak has put it, that, “to win the war and obtain an acceptable peace, the British had to attack the French on the Continent and help the allies drive them back across their prewar boundaries. Although unreliable, amphibious operations were the only possible means of achieving these ends.”[406]
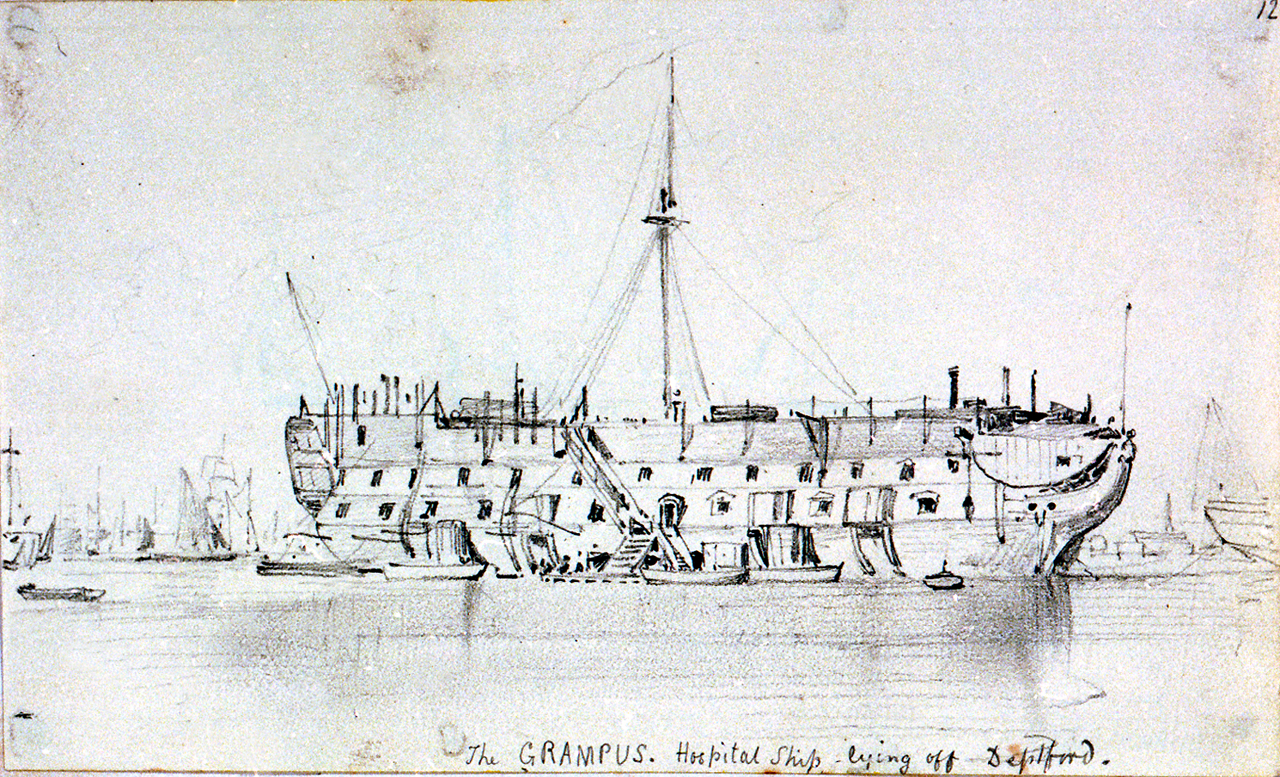
Grampus

The 50 gun Grampus as a Seaman’s Hospital Society ship in 1821, moored between Greenwich and Deptford

Beyond the many strictly military success and setbacks, by 1816 the Royal Navy had in fact laid the foundation for a new international maritime order led by the United Kingdom, that great enabler of socio-economic modernization over the course of the ensuing long 19th century. It is thus very true that the modern age lies, as historians from Andrew Gordon to Robert Massie have framed it, in the lee of Trafalgar. The officers and seamen of the Royal Navy ensured that the legacy of Nelson’s Touch was not forgotten, and paved the way for the Pax Britannica to come.
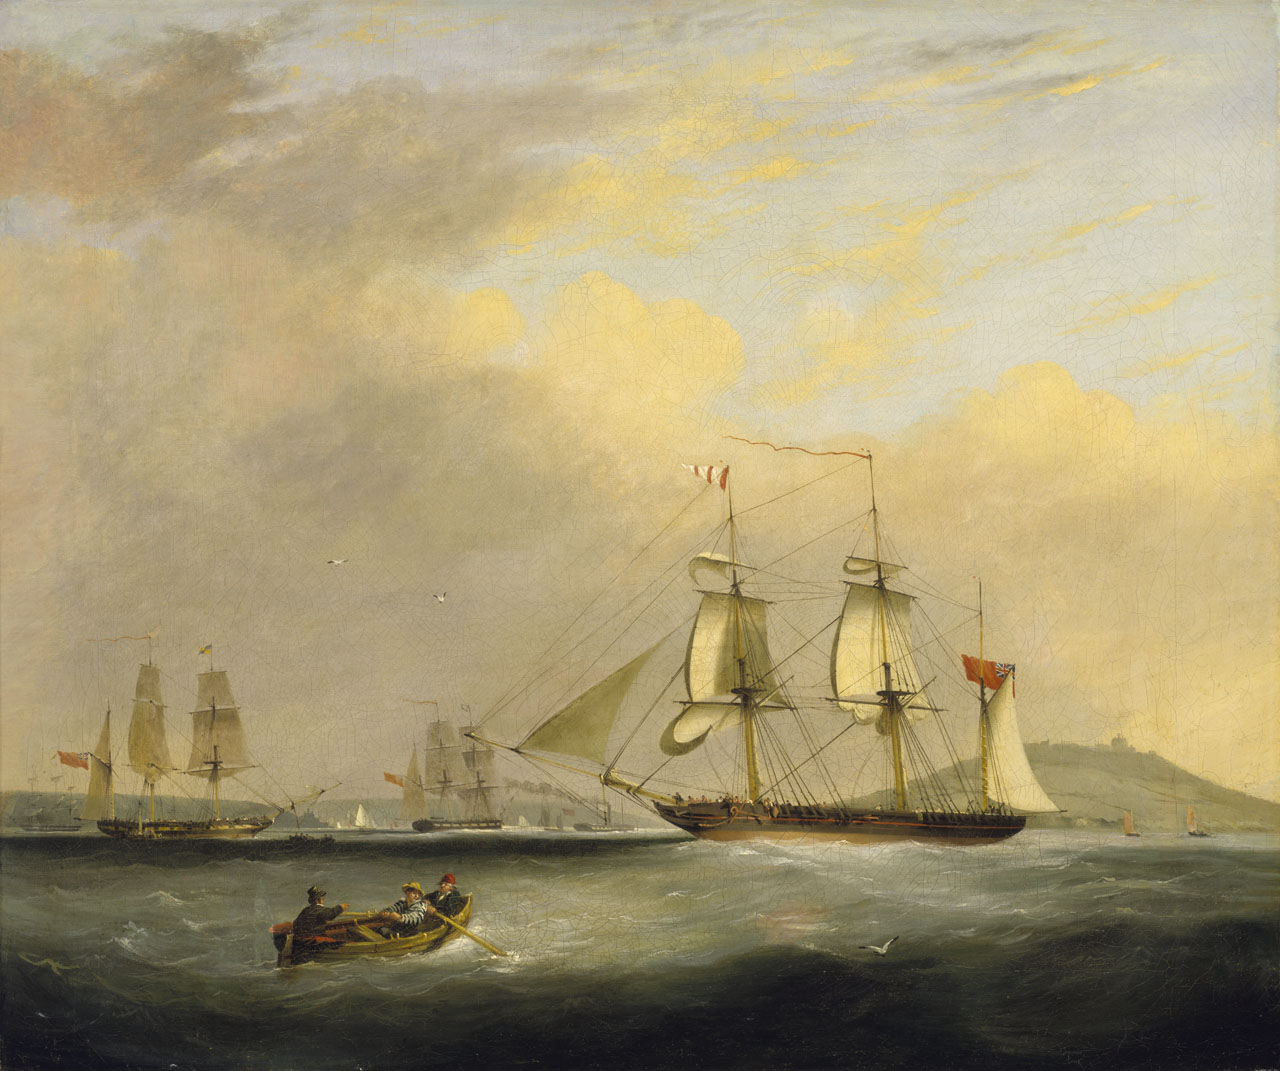
 

Sheldrake

The Post Office packet brig Sheldrake in 1834, painting by Nicolas Matthew Condy,
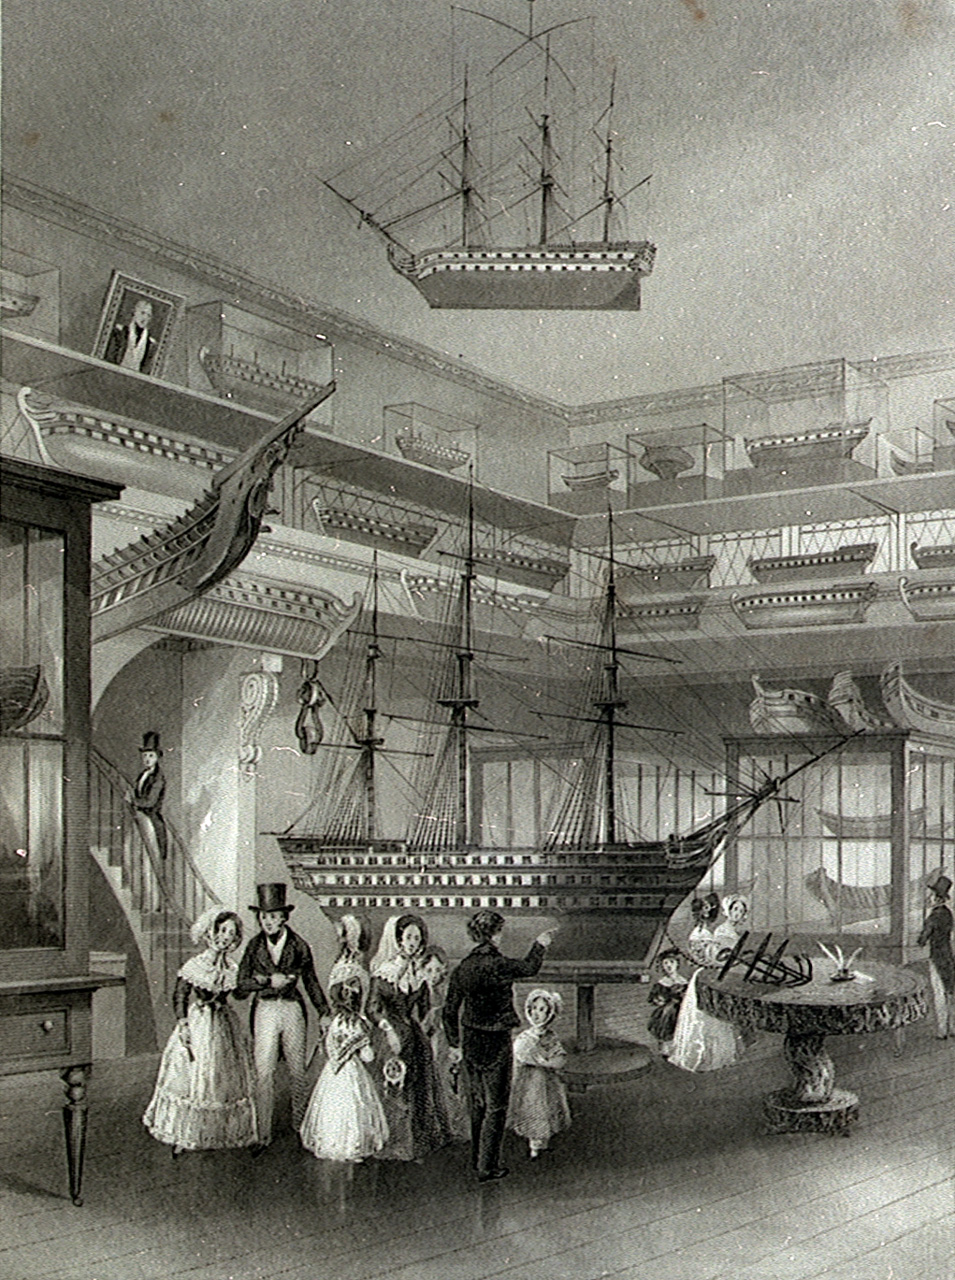
Models

Models at the Royal Naval Museum, Somerset House on the Strand, early 19th C., by Thomas Shephard, Henry Melville, and J. Mead
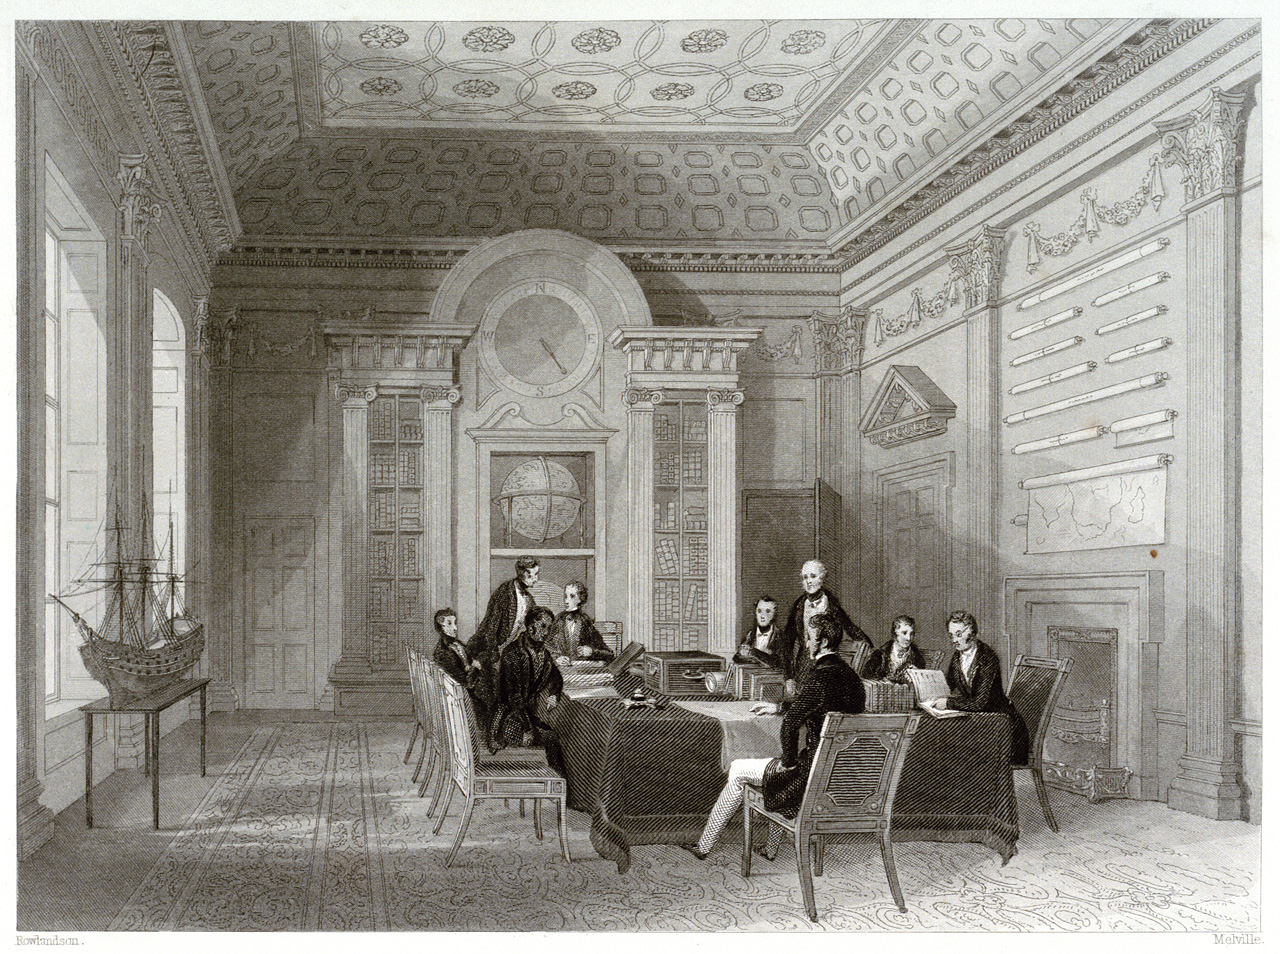
PU1392

The Admiralty Boardroom, mid-19th century, by Thomas Rowlandson & Henry Melville
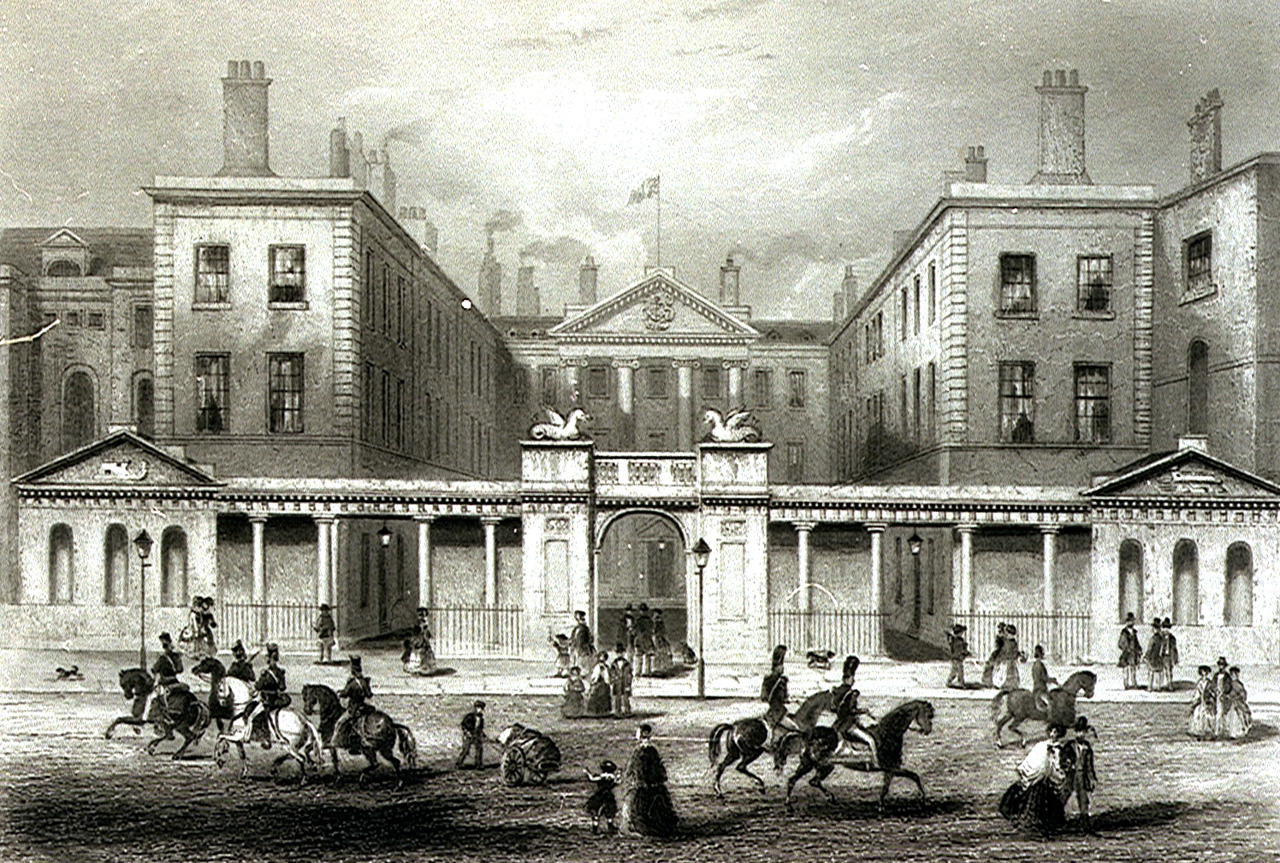
Admiralty

The old Admiralty building built 1786-8, rendered in the 1830s
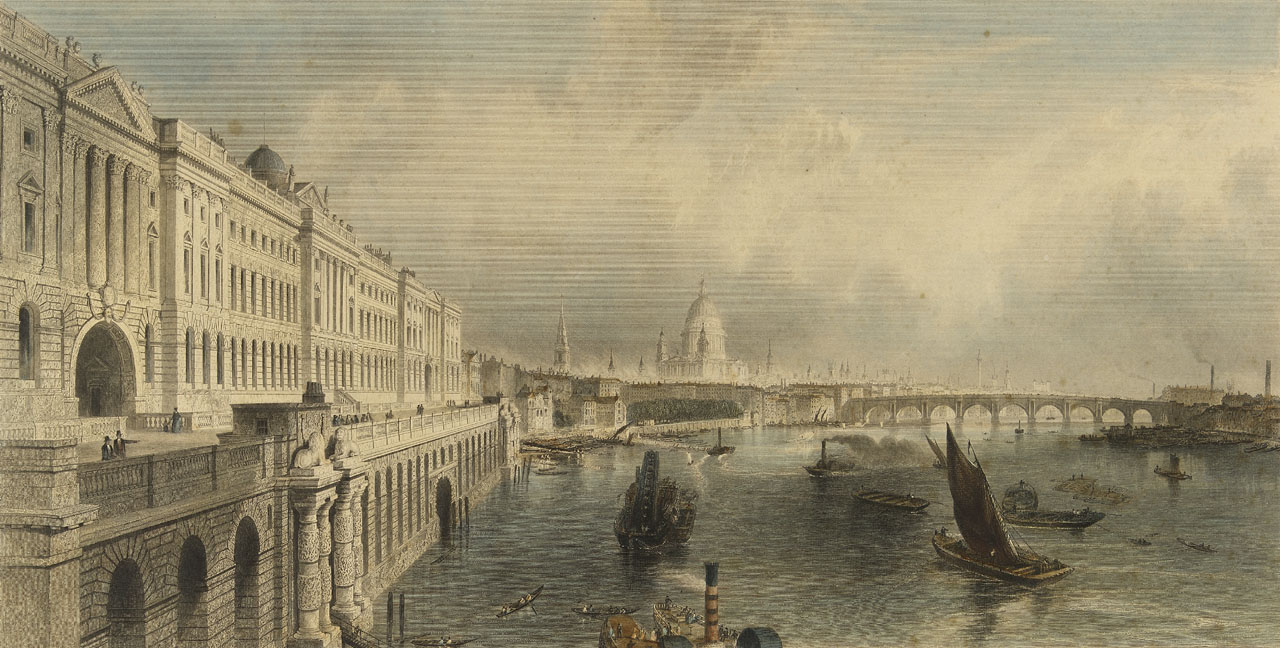
SomersetHouse

Somerset1847

Somerset House, mid 19th century, by T. Allom, Thomas Prior, J. & W. Robins & in 1847 by Jules Arnout
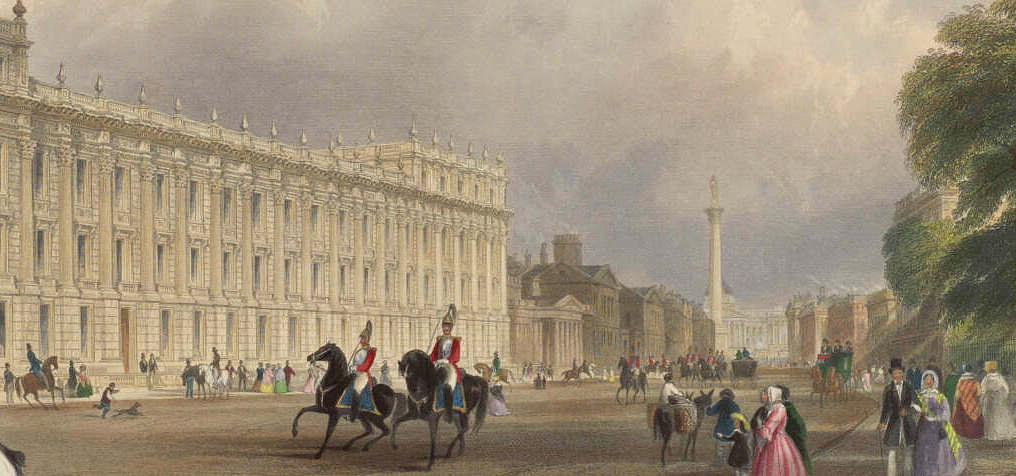
Whitehall1848

The Treasury Office at Whitehall, looking towards Nelson’s column, by Thomas Prior, 1848
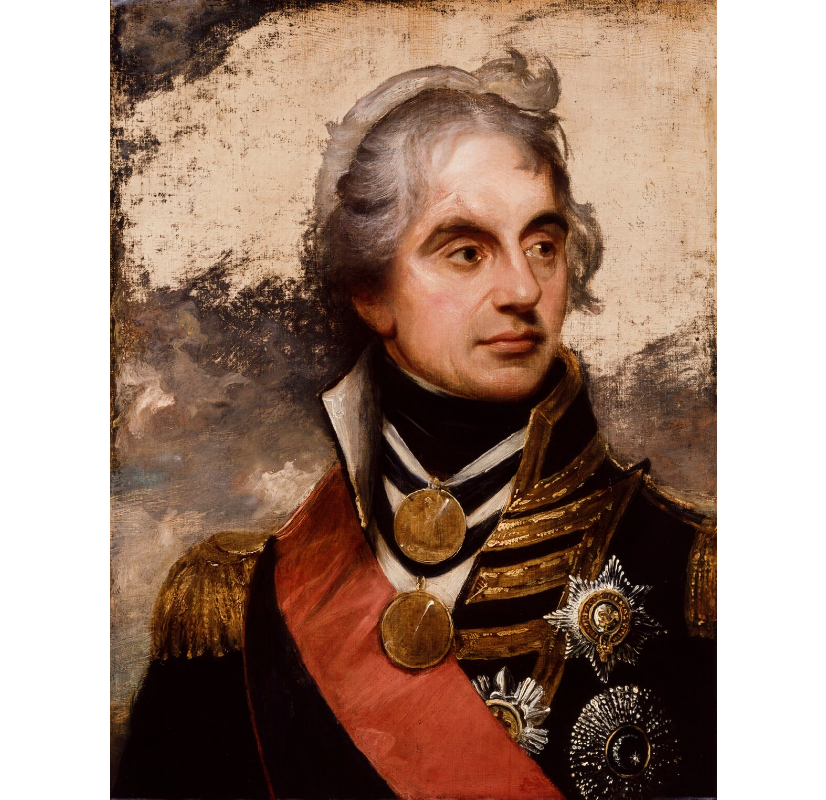
Nelson

Horatio Nelson, by William Beechey, c. 1800
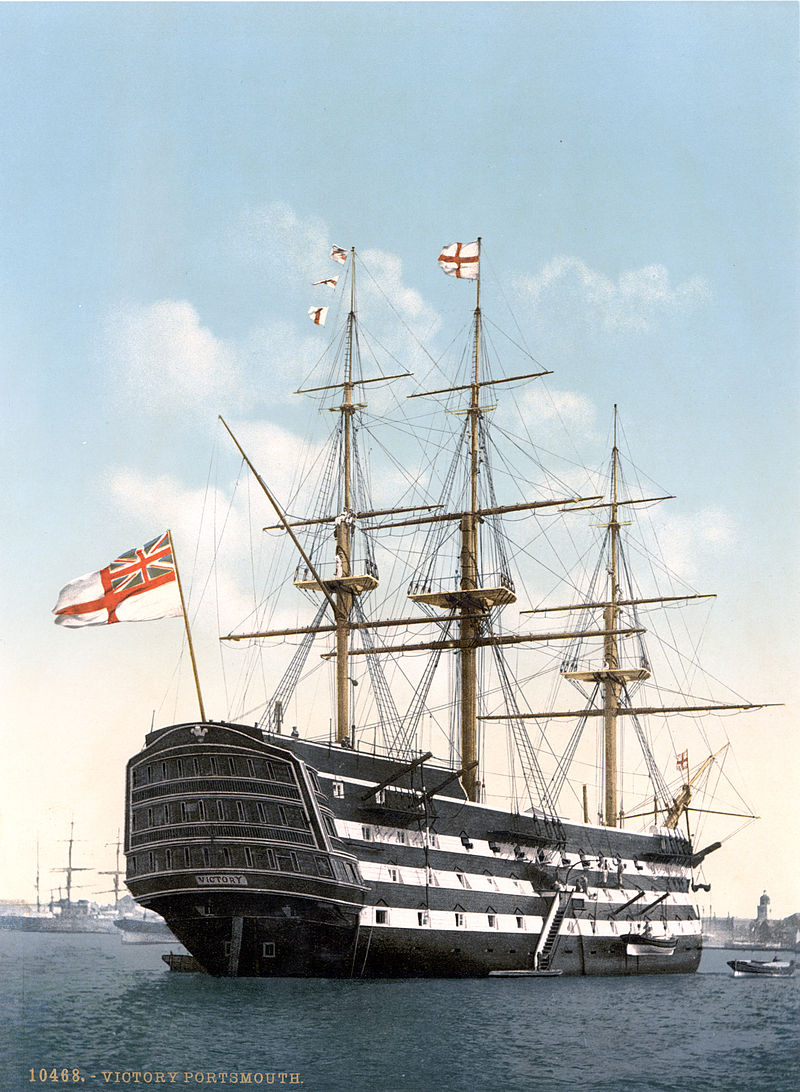
Victory

holland-no3

HMS Victory in 1900, at Portsmouth, & Holland boat No. 3 in front of Victory, c. 1903
Trafalgar2

Type 23 frigate HMS Northumberland and Trafalgar-class submarine in 2001


Appendix I: Royal Navy Ship Losses, 1805-1815

AllRNshiplosses

Apenddix II: Maps of Central London
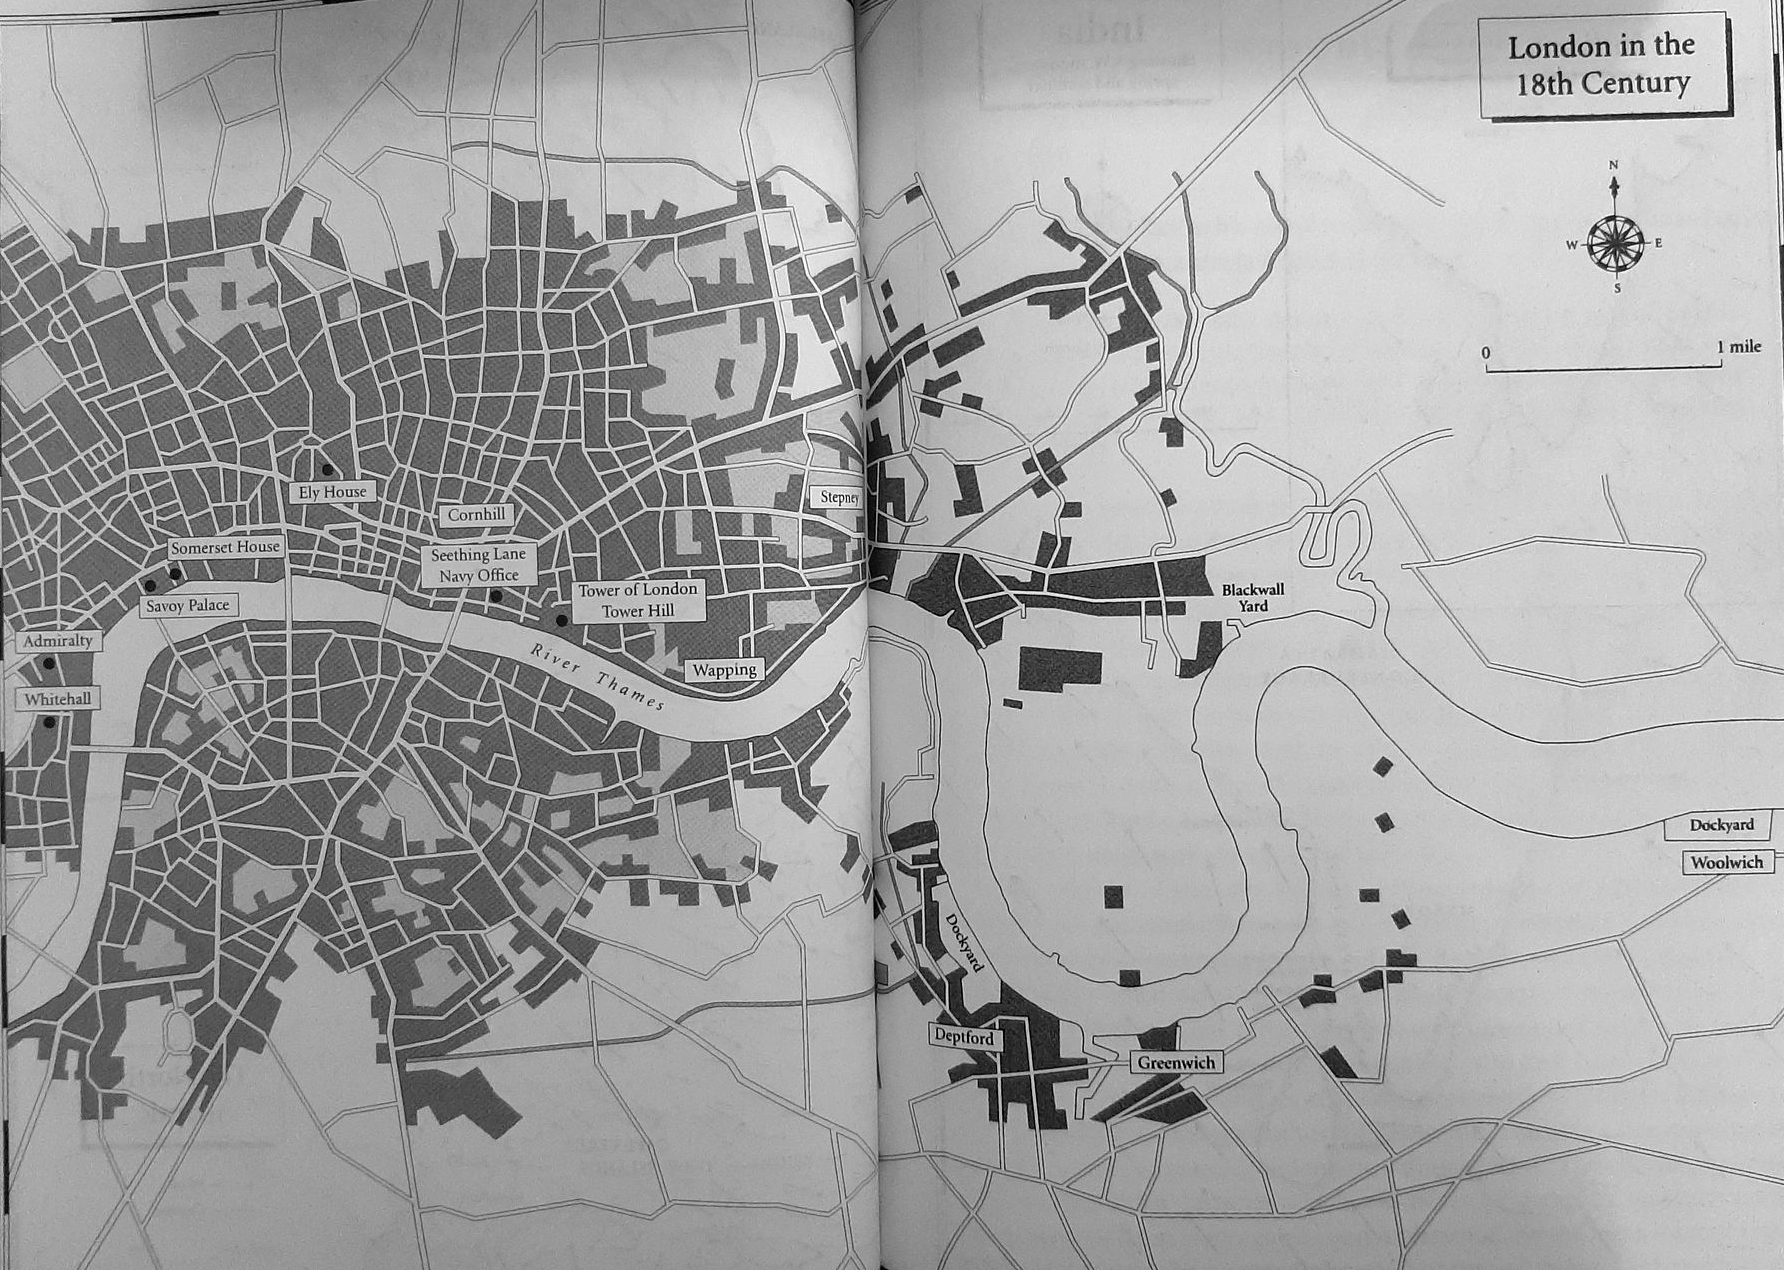
Sommerset HouseSomerset2

londonroger

Maps of London & Somerset House from Roger Knight’s Britain Against Napoleon, and N. A. M. Rodger’s Command of the Ocean

Appendix III: Size of European fleets, 1680-1815
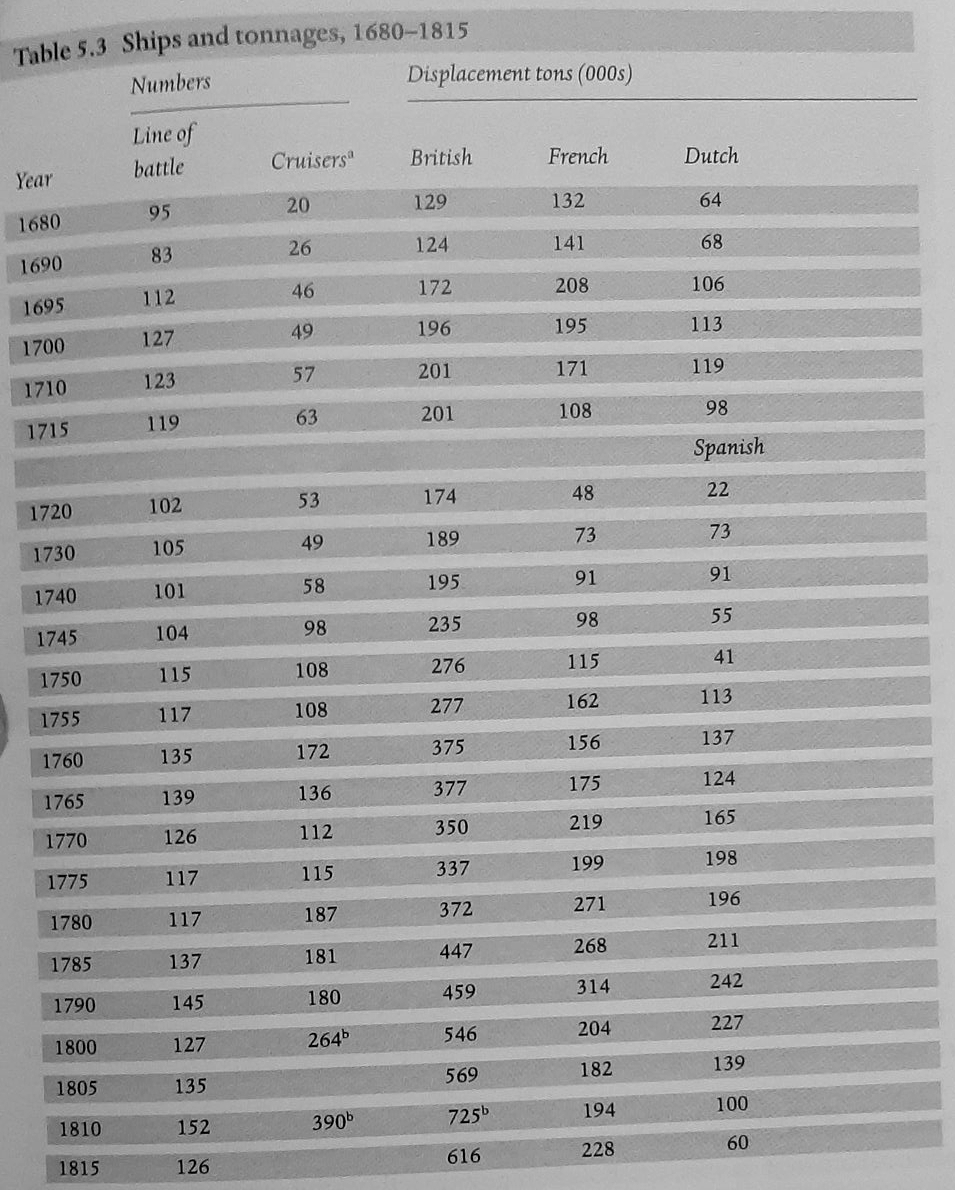
list04tonnageadded


Notes


[1] Herbert Richmond, Statesmen and Sea Power (Oxford: The Clarendon Press, 1946)., p. 173-4, Elie Halevy, England in 1815, trans. E. I. Watkin and D. A. Barker, vol. 1, 6 vols. (London: Ernest Benn Limited, 1964)., p. 52

[2] Halevy, England in 1815., p. 46

[3] David Syrett, “The Role of the Royal Navy in the Napoleonic Wars after Trafalgar, 1805-1814,” Naval War College Review 32, no. 5 (September 1979): 71–84.

[4] Syrett., p. 71, & Roger Knight, Britain Against Napoleon: The Organization of Victory, 1793 – 1815 (St Ives plc: Penguin Books, 2014)., p. 93-4, Andrew Lambert, Admirals (London: Faber and Faber Limited, 2009)., p. 198-200

[5] N. A. M. Rodger, The Command of the Ocean (New York: W. W. Norton & Company, 2006)., p. 513

[6] John D. Grainger, Dictionary of British Naval Battles (Woodbridge: The Boydell Press, 2016)., p. 438, Rodger, Command of the Ocean., p. 542-3

[7] Halevy, England in 1815., p. 46

[8] Charles Esdaile, Napoleon’s Wars: An International History, 1803-1815 (New York: Viking Penguin, 2007)., p. 214-5

[9] John B. Hattendorf et al., British Naval Documents, 1204-1960, Navy Records Society 131 (London: Scolar Press, 1993)., p. 317

[10] James Davey, In Nelson’s Wake: The Navy and the Napoleonic Wars (Greenwich: Royal Museums Greenwich, 2015)., p. 114

[11] Davey., p. 114

[12] Knight, Britain Against Napoleon., p. 88, and Richmond, Statesmen and Sea Power., p. 175

[13] Julian Corbett, Principles of Maritime Strategy (Mineola: Dover Publications, Inc., 2004)., p. 64-5

[14] E. M. Lloyd, “The Third Coalition, I. 1805-6,” in The Cambridge Modern History: Napoleon, ed. A. W. Ward, G. W. Prothero, and Stanley Leathers, vol. IX, 13 vols. (Cambridge: Cambridge University Press, 1907), 244–64., p. 254-5

[15] Esdaile, Napoleon’s Wars., p. 225; Lloyd, “The Third Coalition, I.”, p. 254-5

[16] Esdaile, Napoleon’s Wars., p. 222-3

[17] Lloyd, “The Third Coalition, I.”, p. 257

[18] Lloyd., p. 258-9

[19] Esdaile, Napoleon’s Wars., p. 226; Lloyd, “The Third Coalition, I.”, p. 260-1

[20] Esdaile, Napoleon’s Wars., p. 227

[21] Esdaile., p. 227

[22] Lloyd, “The Third Coalition, I.”, p. 262

[23] E. M. Lloyd, “The Third Coalition, II. 1806-7,” in The Cambridge Modern History: Napoleon, ed. A. W. Ward, G. W. Prothero, and Stanley Leathers, vol. IX, 13 vols. (Cambridge: Cambridge University Press, 1907), 265–93., p. 266, Esdaile, Napoleon’s Wars., p. 240

[24] Esdaile, Napoleon’s Wars., p. 241, Lloyd, “The Third Coalition, II.”, p. 269

[25] Lloyd, “The Third Coalition, II.”, p. 270-2

[26] Esdaile, Napoleon’s Wars., p. 256

[27] Esdaile., p. 232-3, Hans Kohn, The Habsburg Empire, 1804-1918 (Princeton, New Jersey: D. Van Nostrand Company, Inc., 1961)., p. 14, Lloyd, “The Third Coalition, II.”, p. 269

[28] Lloyd, “The Third Coalition, II.”, p. 267

[29] Esdaile, Napoleon’s Wars., p. 234

[30] Lloyd, “The Third Coalition, II.”, p. 274-5

[31] Lloyd., p. 275

[32] Gunther E. Rothenberg, The Napoleonic Wars (London: Smithsonian Books, 2006)., p. 96-9

[33] Lloyd, “The Third Coalition, II.”, p. 281-2

[34] Lloyd., p. 283

[35] Rothenberg, The Napoleonic Wars., p. 100, Rodger, Command of the Ocean., p. 552

[36] Paul M. Kennedy, The Rise and Fall of British Naval Mastery (New York: Humanity Books, 1976)., p. 145

[37] Lloyd, “The Third Coalition, II.”, p. 283

[38] Lloyd., p. 284

[39] T. A. Dodge, Napoleon: A History of the Art of War, Vol. II, Kindle ebook, vol. 2, 4 vols. (Pickle Partners Publishing, 2014)., chapter 36, loc. 6290

[40] Lloyd, “The Third Coalition, II.”, p. 285

[41] Dodge, Napoleon, Vol. II., chapter 36, loc. 6326

[42] Dodge., chapter 36, loc. 6420-36

[43] Dodge., chapter 36, loc. 6459

[44] Esdaile, Napoleon’s Wars., p. 283; Lloyd, “The Third Coalition, II.”, p. 286

[45] Rothenberg, The Napoleonic Wars., p. 102-3

[46] Lloyd, “The Third Coalition, II.”, p. 287

[47] Lloyd., p. 289

[48] Dodge, Napoleon, Vol. II., chapter 37, loc. 6832

[49] Dodge., chapter 37, loc. 6970

[50] Dodge., chapter 37, loc. 7001

[51] Dodge., chapter 37, loc. 7050

[52] Dodge., chapter 37, loc. 7097

[53] Lloyd, “The Third Coalition, II.”, p. 290-1

[54] Rothenberg, The Napoleonic Wars., p. 106

[55] Henry Kissinger, A World Restored: Metternich, Castlereagh, and the Problems of Peace, 1812-22, Kindle ebook (Friedland Books, 2017)., chapter 2, sec. 3, loc. 416

[56] Davey, In Nelson’s Wake., p. 113-4, William Laird Clowes, The Royal Navy, A History From the Earliest Times to the Present, vol. V, 7 vols. (London: Sampson Low, Marston and Company, 1900)., p. 184

[57] Clowes, The Royal Navy, V., p. 185

[58] Grainger, Dictionary of British Naval Battles., p. 271-2

[59] Malcolm Lester, “Warren, Sir John Borlase, Baronet (1753-1822),” in The Oxford Dictionary of National Biography (Oxford University Press, 2008).

[60] Clowes, The Royal Navy, V., p. 196

[61] Martin Robson, A History of the Royal Navy: The Napoleonic Wars (London: I. B. Tauris & Co. Ltd., 2014)., Chapter 8, loc. 3030

[62] Robson., Chapter 8, loc. 3030, J. K. Laughton and Michael Duffy, “Hood, Sir Samuel, First Baronet (1762-1814),” in The Oxford Dictionary of National Biography (Oxford University Press, 2007)., Grainger, Dictionary of British Naval Battles., p. 302

[63] James Stanier Clarke and John McArthur, eds., The Naval Chronicle, July-December 1809, vol. 22, 40 vols. (New York: Cambridge University Press, 2010)., p. 12

[64] Grainger, Dictionary of British Naval Battles., p. 265

[65] Richmond, Statesmen and Sea Power., p. 244-5

[66] Clowes, The Royal Navy, V., p. 187

[67] Clowes., p. 187-8

[68] Davey, In Nelson’s Wake., p. 119

[69] https://collections.rmg.co.uk/collections/objects/12063.html, Davey., p. 120, Clowes, The Royal Navy, V., p. 191-2

[70] Davey, In Nelson’s Wake., p. 121

[71] Clowes, The Royal Navy, V., p. 193

[72] Rodger, Command of the Ocean., p. 546

[73] Clowes, The Royal Navy, V., p. 195

[74] Clowes., p. 197

[75] Clowes., p. 239

[76] Clowes., p. 236

[77] Clowes., p. 237

[78] Clowes., p. 238

[79] Christopher D. Hall, “Pellew, Edward, First Viscount Exmouth (1757-1833),” in The Oxford Dictionary of National Biography (Oxford University Press, 2009)., Rodger, Command of the Ocean., p. 547

[80] P. K. Crimmin, “Troubridge, Sir Thomas, First Baronet (c. 1758-1807),” in The Oxford Dictionary of National Biography (Oxford University Press, 2009).

[81] Rodger, Command of the Ocean., p. 547, Grainger, Dictionary of British Naval Battles., p. 271-2

[82] Rodger, Command of the Ocean., p. 547-8

[83] Clowes, The Royal Navy, V., p. 239

[84] Grainger, Dictionary of British Naval Battles., p. 373, Clowes, The Royal Navy, V., p. 239

[85] Clowes, The Royal Navy, V., p. 240

[86] Davey, In Nelson’s Wake., p. 122

[87] Clowes, The Royal Navy, V., p. 202

[88] Hugh Popham, “Popham, Sir Home Riggs (1762-1820),” in The Oxford Dictionary of National Biography (Oxford University Press, 2008). Clowes, The Royal Navy, V., p. 202-3

[89] Clowes, The Royal Navy, V., p. 204

[90] Clowes., p. 205, Popham, “Popham, Sir Home Riggs (1762-1820).”

[91] Clowes, The Royal Navy, V., p. 205-6

[92] Popham, “Popham, Sir Home Riggs (1762-1820).”, Clowes, The Royal Navy, V., p. 206-7

[93] Rodger, Command of the Ocean., p. 548-9, Robson, A History of the Royal Navy: The Napoleonic Wars., Chapter 8, loc. 3012, Clowes, The Royal Navy, V., p. 234-6

[94] Richmond, Statesmen and Sea Power., p. 222

[95] Clowes, The Royal Navy, V., p. 198

[96] Desmond Gregory, “Stuart, Sir John (1761-1815),” in The Oxford Dictionary of National Biography (Oxford University Press, 2008). Rodger says 3,000 men, Rodger, Command of the Ocean., p. 550

[97] Clowes, The Royal Navy, V., p. 199-200

[98] Gregory, “Stuart, Sir John (1761-1815).”

[99] Lloyd, “The Third Coalition, II.”, p. 270

[100] Clowes, The Royal Navy, V., p. 209. Interestingly, Canning fought a duel against Castlereagh in 1809.

[101] Clowes., p. 209

[102] Popham, “Popham, Sir Home Riggs (1762-1820).”

[103] Clowes, The Royal Navy, V., p. 211

[104] Clowes., p. 213

[105] Clowes., p. 213-4

[106] Clowes., p. 214-5

[107] Rodger, Command of the Ocean., p. 549, Robson, A History of the Royal Navy: The Napoleonic Wars., Chapter 6, loc. 2391

[108] Clowes, The Royal Navy, V., p. 218-9

[109] Richmond, Statesmen and Sea Power., p. 231

[110] Clowes, The Royal Navy, V., p. 219

[111] Clowes., p. 221

[112] Clowes., p. 222

[113] Clowes., p. 224

[114] Clowes., p. 225

[115] Rodger, Command of the Ocean., p. 550-1, Clowes, The Royal Navy, V., p. 226, A. B. Sainsbury, “Duckworth, Sir John Thomas, First Baronet (1748-1817),” in The Oxford Dictionary of National Biography (Oxford University Press, 2009).

[116] Clowes, The Royal Navy, V., p. 228

[117] Clowes., p. 230

[118] Clowes., p. 231

[119] Rodger, Command of the Ocean., p. 554

[120] Christopher D. Hall, British Strategy in the Napoleonic War, 1803-15, Special Edition (Manchester: Manchester University Press, 1999)., p. 184-5; Robson, A History of the Royal Navy: The Napoleonic Wars., chapter 8, loc. 3038

[121] Davey, In Nelson’s Wake., p. 232

[122] Richmond, Statesmen and Sea Power., p. 235-6

[123] Mulgrave to Saumarez, 20 February 1808, #3 in A. N. Ryan, ed., The Saumarez Papers: Selections from the Baltic Correspondence of Vice-Admiral Sir James Saumarez, 1808-1812, Navy Records Society 110 (London: Spottiswoode, Ballantyne and Co. Ltd., 1968)., p. 7

[124] Rodger, Command of the Ocean., p. 553

[125] Admiralty to Saumarez, 21 March 1808, #6 in Ryan, The Saumarez Papers., p. 8-9

[126] Richmond, Statesmen and Sea Power., p. 236

[127] Ryan, The Saumarez Papers., p. 9 fn, Grainger, Dictionary of British Naval Battles., p. 436

[128] Rodger, Command of the Ocean., p. 553, Clowes, The Royal Navy, V., p. 248

[129] Grainger, Dictionary of British Naval Battles., p. 235, Clowes, The Royal Navy, V., p. 248-50

[130] Clowes, The Royal Navy, V., p. 250

[131] Nicholas V. Riasanovsky and Mark D. Steinberg, A History of Russia, 7th ed. (New York: Oxford University Press, 2005)., p. 288

[132] Clowes, The Royal Navy, V., p. 270

[133] Rodger, Command of the Ocean., p. 557-8

[134] Esdaile, Napoleon’s Wars., p. 416

[135] Esdaile., p. 326, 330

[136] Clowes, The Royal Navy, V., p. 232

[137] Clowes., p. 232-3, Esdaile, Napoleon’s Wars., p. 330

[138] Richmond, Statesmen and Sea Power., p. 234

[139] J. K. Laughton and Michael Duffy, “Yeo, Sir James Lucas (1782-1818),” in The Oxford Dictionary of National Biography (Oxford University Press, 2008).

[140] Clowes, The Royal Navy, V., p. 233-4

[141] Clowes., p. 247

[142] Charles W. C. Oman, A History of the Peninsular War, vol. I, 7 vols. (Oxford: Clarendon Press, 1902)., p. 222

[143] Clowes, The Royal Navy, V., p. 251

[144] Oman, History of the Peninsular War, I., p. 227; Norman Gash, “Wellesley [Formerly Wesley], Arthur, First Duke of Wellington (1769-1852),” in The Oxford Dictionary of National Biography (Oxford University Press, 2011).

[145] Gash, “Wellesley [Formerly Wesley], Arthur, First Duke of Wellington (1769-1852).”

[146] Gash., Rodger, Command of the Ocean., p. 553, Rothenberg, The Napoleonic Wars.,  p. 140

[147] Clowes, The Royal Navy, V., p. 234; Richmond, Statesmen and Sea Power., p. 234

[148] Rothenberg, The Napoleonic Wars., p. 115, 118

[149] John Sweetman, “Moore, Sir John (1761-1809),” in The Oxford Dictionary of National Biography (Oxford University Press, 2011).

[150] Esdaile, Napoleon’s Wars., p. 391

[151] Rothenberg, The Napoleonic Wars., p. 118-9

[152] T. A. Dodge, Napoleon: A History of the Art of War, Vol. III, Kindle ebook, vol. 3, 4 vols. (Pickle Partners Publishing, 2014)., chapter 42, loc., 2684-2713

[153] Dodge., chapter 42, loc., 2791

[154] Dodge., chapter 44, loc., 3609

[155] Dodge., chapter 44, loc., 3644-3667

[156] Dodge., chapter 45, loc., 3829

[157] Dodge., chapter 45, loc., 4197

[158] Dodge., chapter 45, loc., 4215

[159] Dodge., chapter 45, loc., 4153

[160] Dodge., chapter 46, loc., 4265

[161] Dodge., chapter 46, loc., 4320

[162] Rothenberg, The Napoleonic Wars., p. 122-32; Dodge, Napoleon, Vol. III., chapter 46, loc., 4415

[163] Esdaile, Napoleon’s Wars., p. 395

[164] William James, The Naval History of Great Britain, from the Declaration of War by France in 1793, to the Accession of George IV, ed. Frederick Chamier, New ed., vol. IV, 6 vols. (New York: Cambridge University Press, 2010)., p. 389-90

[165] Rodger, Command of the Ocean., p. 559

[166] https://www.americanforeignrelations.com/A-D/The-Continental-System-The-continental-system-undermined.html

[167] Clowes, The Royal Navy, V., p. 241

[168] Clowes., p. 241

[169] J. K. Laughton and Michael Duffy, “Strachan, Sir Richard John, Fourth Baronet (1760-1828),” in The Oxford Dictionary of National Biography (Oxford University Press, 2008).

[170] Clowes, The Royal Navy, V., p. 241

[171] Rodger, Command of the Ocean., p. 554

[172] Clowes, The Royal Navy, V., p. 242

[173] Clowes., p. 243

[174] Laughton and Duffy, “Strachan, Sir Richard John, Fourth Baronet (1760-1828).”

[175] Clowes, The Royal Navy, V., p. 244-5

[176] Clowes., p. 252

[177] Clowes., p. 252

[178] Clowes., p. 253

[179] Clowes., p. 253-4

[180] Clowes., p. 254

[181] Clowes., p. 255

[182] Andrew Lambert, “Cochrane, Thomas, Tenth Earl of Dundonald (1775-1860),” in Oxford Dictionary of National Biography (Oxford University Press, January 2012)., Clowes, The Royal Navy, V., p. 256

[183] Clowes, The Royal Navy, V., p. 257

[184] Clowes., p. 258

[185] Clowes., p. 259-60

[186] Clowes., p. 261

[187] Clowes., p. 261-2

[188] Clowes., p. 263-4

[189] Clowes., p. 265

[190] Clowes., p. 265

[191] Clowes., p. 266

[192] Clowes., p. 267

[193] Clowes., p. 268

[194] Richard C. Blake, “Gambier, James, Baron Gambier (1756-1833),” in The Oxford Dictionary of National Biography (Oxford University Press, 2008)., see also, Clowes, The Royal Navy, V., p. 257 fn

[195] Clowes, The Royal Navy, V., p. 269

[196] Blake, “Gambier, James, Baron Gambier (1756-1833).”

[197] Rodger, Command of the Ocean., p. 555-6

[198] Clowes, The Royal Navy, V., p. 270, Robson, A History of the Royal Navy: The Napoleonic Wars., chapter 6, loc. 2556

[199] Clowes, The Royal Navy, V., p. 271

[200] Robson, A History of the Royal Navy: The Napoleonic Wars., chapter 6, loc. 2568

[201] Richmond, Statesmen and Sea Power., p. 240-1

[202] Clowes, The Royal Navy, V., p. 272

[203] Julian Corbett, Syllabus of Lecture on “Walcheren Expedition 1809”, 4 November 1913, Liddell Hart Centre for Military Archives (LHCMA), Box 2. & Laughton and Duffy, “Strachan, Sir Richard John, Fourth Baronet (1760-1828).” See also, Clowes, The Royal Navy, V., p. 271

[204] J. K. Laughton and Christopher Doorne, “Gardner, Alan, First Baron Gardner (1742-1808/9),” in The Oxford Dictionary of National Biography (Oxford University Press, 2008). James Stanier Clarke and John McArthur, eds., The Naval Chronicle, January-June 1809, vol. 21, 40 vols. (New York: Cambridge University Press, 2010)., p. 365

[205] Clowes, The Royal Navy, V., p. 272

[206] Clowes., p. 272

[207] Clowes., p. 274

[208] Clowes., p. 275

[209] Robson, A History of the Royal Navy: The Napoleonic Wars., chapter 6, loc. 2584

[210] Clowes, The Royal Navy, V., p. 276-7

[211] Clowes., p. 277

[212] Clowes., p. 277, Christopher Doorne, “Pitt, John, Second Earl of Chatham (1756-1835),” in The Oxford Dictionary of National Biography (Oxford University Press, 2008)., Robson, A History of the Royal Navy: The Napoleonic Wars., chapter 6, loc. 2584

[213] Laughton and Duffy, “Strachan, Sir Richard John, Fourth Baronet (1760-1828).” Boyd Hilton, A Mad, Bad, & Dangerous People? England 1783-1846, The New Oxford History of England (Oxford: Clarendon Press, 2006)., p. 218

[214] Clowes, The Royal Navy, V., p. 278

[215] Clowes., p. 278

[216] Clowes., p. 279

[217] Clowes., p. 280

[218] Clowes., p. 288

[219] Clowes., p. 283

[220] Clowes., p. 283-4

[221] Clowes., p. 284

[222] Clowes., p. 284; Hall, British Strategy., p. 185

[223] Clowes, The Royal Navy, V., p. 290

[224] Clowes., p. 290

[225] Rodger, Command of the Ocean., p. 556; Hall, British Strategy., p. 185

[226] Clowes, The Royal Navy, V., p. 290

[227] Clowes., p. 290

[228] Clowes., p. 292

[229] Clowes., p. 293

[230] Clowes., p. 282

[231] Hall, British Strategy., p. 186

[232] Clowes, The Royal Navy, V., p. 282

[233] Clowes., p. 282-3

[234] Clowes., p. 293

[235] Clowes., p. 294

[236] Richmond, Statesmen and Sea Power., p. 242-3

[237] Robson, A History of the Royal Navy: The Napoleonic Wars., chapter 8, loc. 3102

[238] Robson., chapter 8, loc. 3110

[239] Rodger, Command of the Ocean., p. 557

[240] Rodger., p. 557

[241] Clowes, The Royal Navy, V., p. 294-5

[242] Robson, A History of the Royal Navy: The Napoleonic Wars., chapter 8, loc. 3137

[243] Rothenberg, The Napoleonic Wars., p. 143; Gash, “Wellesley [Formerly Wesley], Arthur, First Duke of Wellington (1769-1852).”

[244] Rothenberg, The Napoleonic Wars., p. 145; Charles W. C. Oman, “The Peninsular War, 1808-14,” in The Cambridge Modern History: Napoleon, ed. A. W. Ward, G. W. Prothero, and Stanley Leathers, vol. IX, 13 vols. (Cambridge: Cambridge University Press, 1907), 428–82., p. 451

[245] Oman, “The Peninsular War.”, p. 452

[246] Gash, “Wellesley [Formerly Wesley], Arthur, First Duke of Wellington (1769-1852).”

[247] Rodger, Command of the Ocean., p. 556; Oman, “The Peninsular War.”, p. 452

[248] Rothenberg, The Napoleonic Wars., p. 146

[249] Hall, British Strategy., p. 190

[250] Rodger, Command of the Ocean., p. 561

[251] Rodger., p. 564

[252] Rothenberg, The Napoleonic Wars., p. 148-50

[253] Rothenberg., p. 152

[254] Rothenberg., p. 152-3

[255] Rodger, Command of the Ocean., p. 562

[256] Robson, A History of the Royal Navy: The Napoleonic Wars., chapter 7, loc. 2892

[257] Robson., chapter 7, loc. 2902

[258] Robson., chapter 7, loc. 2912

[259] Clowes, The Royal Navy, V., p. 307

[260] Clowes., p. 306

[261] Clowes., p. 297-8

[262] Clowes., p. 298

[263] Clowes., p. 299

[264] Clowes., p. 300

[265] Clowes., p. 300

[266] Clowes., p. 301

[267] Clowes., p. 302

[268] Rothenberg, The Napoleonic Wars., p. 161

[269] Eugen Stchepkin, “Russia Under Alexander I, and the Invasion of 1812,” in The Cambridge Modern History: Napoleon, ed. A. W. Ward, G. W. Prothero, and Stanley Leathers, vol. IX, 13 vols. (Cambridge: Cambridge University Press, 1907), 483–505., p. 489

[270] Stchepkin., p. 488

[271] Stchepkin., p. 492

[272] Rothenberg, The Napoleonic Wars., p. 168; Stchepkin, “The Invasion of 1812.”, p. 493

[273] Rothenberg, The Napoleonic Wars., p. 162-3

[274] Stchepkin, “The Invasion of 1812.”, p. 493

[275] Stchepkin., p. 494

[276] Stchepkin., p. 496

[277] Stchepkin., p. 496

[278] Stchepkin., p. 497

[279] Stchepkin., p. 496

[280] Stchepkin., p. 500

[281] Rothenberg, The Napoleonic Wars., p. 171

[282] Stchepkin, “The Invasion of 1812.”, p. 502-3

[283] Stchepkin., p. 504

[284] Rothenberg, The Napoleonic Wars., p. 172-3

[285] Rodger, Command of the Ocean., p. 563

[286] Stchepkin, “The Invasion of 1812.”, p. 505

[287] Halevy, England in 1815., p. 46

[288] Rodger, Command of the Ocean., p. 562

[289] Clowes, The Royal Navy, V., p. 303

[290] Clowes., p. 304

[291] Andrew Lambert, The Challenge, Britain Against America in the Naval War of 1812 (London: Faber and Faber Limited, 2012)., p. 65

[292] John Sweetman, “Brock, Sir Isaac (1769-1812),” in The Oxford Dictionary of National Biography (Oxford University Press, 2004).; Gene Allen Smith, “The Naval War of 1812 and the Confirmation of Independence, 1807-1815,” in America, Sea Power, and the World, ed. James C. Bradford (Chichester, West Sussex: John Wiley & Sons, Inc., 2016), 42–57., p. 46

[293] Smith, “The Naval War of 1812.”, p. 46

[294] Lambert, The Challenge., p. 62-3

[295] Lambert., p. 67, Grainger, Dictionary of British Naval Battles., p. 75

[296] Lambert, The Challenge., p. 71-2

[297] Lambert., p. 73

[298] Grainger, Dictionary of British Naval Battles., p. 216

[299] Rodger, Command of the Ocean., p. 567

[300] Grainger, Dictionary of British Naval Battles., p. 275

[301] Grainger., p. 245; Smith, “The Naval War of 1812.”, p. 48

[302] Lambert, The Challenge., p. 114-5

[303] Smith, “The Naval War of 1812.”, p. 49

[304] Smith., p. 50

[305] Richmond, Statesmen and Sea Power., p. 252

[306] Rodger, Command of the Ocean., p. 568-9

[307] Pierre Berton, Flames Across the Border, 1813-1814, vol. II, 2 vols. (Toronto: McClelland and Stewart, 1981)., p. 28-30 ; Benjamin Armstrong, Small Boats and Daring Men: Maritime Raiding, Irregular Warfare, and the Early American Navy (University of Oklahoma Press, 2019), chapter 4

[308] A. T. Mahan, Sea Power in Its Relations to the War of 1812, Kindle ebook, vol. 2, 2 vols. (Boston: Little, Brown, and Company, 1905)., p. 23

[309] Laughton and Duffy, “Yeo, Sir James Lucas (1782-1818).”

[310] Lambert, The Challenge., p. 130

[311] Smith, “The Naval War of 1812.”, p. 50-1

[312] Mahan, Sea Power in Its Relations to the War of 1812, II., p. 55; Berton, Flames Across the Border, II., p. 157 et seq

[313] Laughton and Duffy, “Yeo, Sir James Lucas (1782-1818).”

[314] Theodore Roosevelt, The Naval War of 1812, Kindle ebook (Pantianos Classics, 1882)., p. 231

[315] Roosevelt., p. 232

[316] Smith, “The Naval War of 1812.”, p. 54

[317] Smith., p. 55

[318] C. A. Harris and F. Murray Greenwood, “Prevost, Sir George, First Baronet (1767-1816),” in The Oxford Dictionary of National Biography (Oxford University Press, 2004).

[319] Rodger, Command of the Ocean., p. 572

[320] H. M. Chichester and Roger T. Stearn, “Pakenham, Sir Edward Michael (1778-1815),” in The Oxford Dictionary of National Biography (Oxford University Press, 2006).; Smith, “The Naval War of 1812.”, p. 51-2

[321] Barry Gough, Britannia’s Navy on the West Coast of North America, 1812-1914 (Toronto: Heritage House Publishing Company, Ltd., 2016)., p. 44-5; Rodger, Command of the Ocean., p. 568

[322] Grainger, Dictionary of British Naval Battles., p. 356

[323] Smith, “The Naval War of 1812.”, p. 55

[324] Smith., p. 56

[325] Richmond, Statesmen and Sea Power., p. 249

[326] Rodger, Command of the Ocean., p. 569

[327] Grainger, Dictionary of British Naval Battles., p. 170

[328] Rothenberg, The Napoleonic Wars., p. 174

[329] Rothenberg., p. 176; Julius von Pflugk-Harttung, “The War of Liberation, 1813-4,” in The Cambridge Modern History: Napoleon, ed. A. W. Ward, G. W. Prothero, and Stanley Leathers, vol. IX, 13 vols. (Cambridge: Cambridge University Press, 1907), 506–54., p. 508

[330] T. A. Dodge, Napoleon: A History of the Art of War, Vol. IV, Kindle ebook, vol. 4, 4 vols. (Pickle Partners Publishing, 2014)., chapter 57, loc. 192

[331] von Pflugk-Harttung, “The War of Liberation.”, p. 509, 512-13

[332] Hall, British Strategy., p. 200

[333] von Pflugk-Harttung, “The War of Liberation.”, p. 516

[334] von Pflugk-Harttung., p. 517

[335] Kissinger, A World Restored., p. 62

[336] Rothenberg, The Napoleonic Wars., p. 177; von Pflugk-Harttung, “The War of Liberation.”, p. 517

[337] von Pflugk-Harttung, “The War of Liberation.”, p. 518

[338] von Pflugk-Harttung., p. 518-9

[339] Kissinger, A World Restored., p. 70

[340] Kissinger., p. 72 et seq

[341] Esdaile, Napoleon’s Wars., p. 504 et seq

[342] von Pflugk-Harttung, “The War of Liberation.”, p. 521

[343] Kissinger, A World Restored., p. 64 et seq

[344] Rothenberg, The Napoleonic Wars., p. 178

[345] Rothenberg., p. 178

[346] Kissinger, A World Restored., p. 75

[347] Kissinger., p. 75-7

[348] Esdaile, Napoleon’s Wars., p. 508

[349] Kissinger, A World Restored., p. 79

[350] Kissinger., p. 81-2

[351] Rothenberg, The Napoleonic Wars., p. 178-9

[352] von Pflugk-Harttung, “The War of Liberation.”, p. 522

[353] Rothenberg, The Napoleonic Wars., p. 179

[354] von Pflugk-Harttung, “The War of Liberation.”, p. 524-5

[355] Rothenberg, The Napoleonic Wars., p. 181

[356] von Pflugk-Harttung, “The War of Liberation.”, p. 524

[357] von Pflugk-Harttung., p. 530

[358] von Pflugk-Harttung., p. 528

[359] von Pflugk-Harttung., p. 530

[360] von Pflugk-Harttung., p. 532-3

[361] Carl von Clausewitz, On War, trans. Michael Howard and Peter Paret (Princeton, New Jersey: Princeton University Press, 1984)., p. 195; Esdaile, Napoleon’s Wars., p. 514; von Pflugk-Harttung, “The War of Liberation.”, p. 534

[362] Esdaile, Napoleon’s Wars., p. 514-16; von Pflugk-Harttung, “The War of Liberation.”, p. 537-41

[363] von Pflugk-Harttung, “The War of Liberation.”, p. 540

[364] von Pflugk-Harttung., p. 542

[365] Rothenberg, The Napoleonic Wars., p. 184; Clausewitz, On War., p. 443-4

[366] Rothenberg, The Napoleonic Wars., p. 184

[367] von Pflugk-Harttung, “The War of Liberation.”, p. 543

[368] von Pflugk-Harttung., p. 544-5

[369] von Pflugk-Harttung., p. 545

[370] von Pflugk-Harttung., p. 545-6

[371] Rothenberg, The Napoleonic Wars., p. 185

[372] von Pflugk-Harttung, “The War of Liberation.”, p. 546, Kissinger, A World Restored., p. 112

[373] von Pflugk-Harttung, “The War of Liberation.”, p. 548-9

[374] Esdaile, Napoleon’s Wars., p. 530

[375] von Pflugk-Harttung, “The War of Liberation.”, p. 550

[376] von Pflugk-Harttung., p. 552-4

[377] Rothenberg, The Napoleonic Wars., p. 191

[378] L. Muhlbach, Empress Josephine: An Historical Sketch of the Days of Napoleon, trans. W. Binet (New York: McClure Co., 1910)., p. 522 et seq ; Philip Dwyer, Citizen Emperor: Napoleon in Power, 1799-1815, kind ebook, vol. 2, 2 vols. (London: Bloomsbury, 2014). Chapter 24, loc. 11722

[379] David G. Chandler, The Campaigns of Napoleon, ebook (Scribner, 1973)., loc. 3471

[380] Clowes, The Royal Navy, V., p. 295-6

[381] Clowes., p. 304

[382] Clowes., p. 305

[383] Robson, A History of the Royal Navy: The Napoleonic Wars., chapter 7, loc. 2875, Clowes, The Royal Navy, V., p. 306

[384] Dodge, Napoleon, Vol. IV., chapter 71, loc. 6849-86

[385] Rothenberg, The Napoleonic Wars., p. 195; Charles W. C. Oman, “The Hundred Days, 1815,” in The Cambridge Modern History: Napoleon, ed. A. W. Ward, G. W. Prothero, and Stanley Leathers, vol. IX, 13 vols. (Cambridge: Cambridge University Press, 1907), 616–45., p. 618; Rodger, Command of the Ocean., p. 560

[386] Hall, British Strategy., p. 203

[387] Oman, “The Hundred Days.”, p. 616

[388] Rothenberg, The Napoleonic Wars., p. 198

[389] Rothenberg., p. 200

[390] Henri-Gratien Bertrand, Napoleon at St. Helena, trans. Francis Hume (Garden City, New York: Doubleday & Company, Inc., 1952)., p. 32

[391] Dodge, Napoleon, Vol. IV., chapter 71, loc. 6972

[392] Rothenberg, The Napoleonic Wars., p. 199; see also, Oman, “The Hundred Days.”, p. 634

[393] Rothenberg, The Napoleonic Wars., p. 206; Oman, “The Hundred Days.”, p. 628

[394] Oman, “The Hundred Days.”, p. 628

[395] Oman., p. 641

[396] Dwyer, Citizen Emperor: Napoleon in Power, 1799-1815., chapter 26, loc. 12778

[397] Oman, “The Hundred Days.”, p. 644

[398] Clowes, The Royal Navy, V., p. 309

[399] Clowes., p. 309

[400] Alexander Howlett, “Nelson’s Touch: Lord Exmouth and the Bombardment of Algiers, 1816,” Airspace Historian (blog), November 2013, https://airspacehistorian.wordpress.com/2013/11/16/nelsons-touch-lord-exmouth-and-the-bombardment-of-algiers-1816/.

[401] Howlett.

[402] Hall, “Pellew, Edward, First Viscount Exmouth (1757-1833).”

[403] Halevy, England in 1815., p. 47-8

[404] Rodger, Command of the Ocean., p. 572

[405] Davey, In Nelson’s Wake., p. 233;

Lt. Edward Bamfylde Eagles sketchbook, c. 1805, Convoy escort and anti-privateering by frigates at sea, island geography, landscapes

[406] Charles John Fedorak, “The Royal Navy and British Amphibious Operations during the Revolutionary and Napoleonic Wars,” Military Affairs 52, no. 3 (July 1988): 141–46., p. 142


Operation Anaconda: Victory and Defeat in Afghanistan, March 2002

Operation Anaconda: Victory and Defeat in Afghanistan, March 2002

Operation Anaconda was the largest NATO combat operation since the Bosnian War of 1992-5, and the most complex Special Operations Forces (SOF) mission the United States has ever engaged in, dwarfing smaller but more high profile events such as the Battle for Tora Bora in December 2001 or the Battle of Mogadishu during Operation Gothic Serpent in October 1993.

Defeating the Taliban in Afghanistan would be a hugely complicated multi-domain operation conducted by Central Command (CENTCOM) the American military’s Unified Command responsible for the Middle East. What became known as Operation Enduring Freedom began only days after the September 11 attacks in 2001, the first component of which – involving CIA cash injections and Special Forces deployments – was codenamed Jawbreaker.

A pinprick in the now 19 year long war in Afghanistan, Operation Anaconda, 2 – 19 March 2002, was nevertheless the largest operation of the initial phase of the war. Today the operation has the reputation of a debacle, the result of flawed planning and joint cooperation.[1] Donald Wright, on the other hand, described Anaconda as “an overall success” and General Tommy Franks stated in his memoirs that the operation resulted in “winning a decisive battle”.[2]

10thmountain

10th Mountain Division soldiers in the Shahi Khot valley, from Donald Wright, A Different Kind of War

The two week-long battle for control of the Shahi Khot valley was the point at which, in the military sense, the coalition won the war in Afghanistan. The CIA had correctly identified a major enemy stronghold, and almost the entirety of the coalition forces in Afghanistan were employed to destroy it, demonstrating that not only American SOF and Special Forces, but also multinational conventional forces, could engage and destroy hardened al Qaida fighters on their home ground. The battle was the culmination of an operational concept meant to correct the errors of Tora Bora, by denying the mujahideen in the Shahi Khot the ability to escape.[3]

This post provides the background to Operation Enduring Freedom, and the essential battle narrative of Operation Anaconda, to give the reader the information needed to decide for themselves if the battle, and the war in Afghanistan, had by the end of March 2002 been a success or failure.

ethnicitiesmapEthnolinguistics

Ethnicities map of Afghanistan, from Donald Wright, A Different Kind of War, (Fort Leavenworth, KS: Combat Studies Institute Press, 2010) & 1997 Ethnolinguistic map

Background: Enduring Freedom

The goal of Operation Enduring Freedom was to liberate Afghanistan, a mountainous Texas-sized country bordering on Iran, Pakistan, and the former Soviet Republics of Turkmenistan, Uzbekistan and Tajikistan. Reflecting the multi-faceted nature of the Global War on Terror, a key objective of Operation Enduring Freedom would be to defeat and destroy al Qaida terrorists inside the country. Operational planning for the invasion began in the weeks immediately following the terrorist attacks on New York and Washington DC, and commenced with the insertion of the first CIA and SOCOM guerillas under codename Jawbreaker on 19 September, the day Bush later chose to designate as the beginning of combat operations in Afghanistan. The president had authorized CIA action against terrorists world-wide, beginning with Afghanistan, two days prior.[4]

Belt&Road

Pashtun belt and ring road, from Donald Wright, A Different Kind of War

1972economic

1972 economic map of Afghanistan, showing the largely pastoral and agrarian nature of the country, textiles representing the only major industrial activity

The operation that developed was in fact a showcase of the new military concept of “transformation” that was a key goal of Secretary of Defense Donald Rumsfeld. On 20 September during a Pentagon press briefing, Rumsfeld told reporters that the campaign “we’re engaged in is very, very different from World War II, Korea, Vietnam, the Gulf War, Kosovo, Bosnia…”.[5] On 4 October President Bush announced humanitarian aid for Afghanistan, stating in his remarks that, “this is a unique type or war. It’s a war that is going to require building a broad coalition of nations who will contribute, one way or the other, to make sure that we all win.”[6] On 1 November National Security Advisor Condoleezza Rice reinforced these sentiments, stating, “this may be one year, it may be several years, it may be more than one administration…. This is going to take some time.”[7]

P7126-23WhiteHouse

President Bush speaking to Chief of Staff Andy Card and National Security Advisor Condoleezza Rice, 12 September 2001,photograph by Eric Draper  & President George W. Bush in the Oval Office with Vice President Dick Cheney, White House Chief of Staff Andrew Card, and National Security Advisor Condoleezza Rice, 20 September 2001

On 7 October under the CENTCOM leadership of General Tommy Franks, Operation Enduring Freedom officially commenced. Within a matter of days there were 110 CIA officers and 316 Special Forces operators in country.[8] On 17 October President Bush told the assembled USAF air personnel at Travis Air Force Base, California, that, “you’re among the first to be deployed in America’s new war against terror and against evil, and I want you to know, America is proud – proud of your deeds, proud of your talents, proud of your service to our country.”[9] By 19 November Secretary of Defense Rumsfeld was praising the special operators in Afghanistan, noting that just the day before, the coalition had flown 138 combat sorties and air dropped 39,240 daily rations.[10]

USAFdeployments

20 September 2001, USAF stages assets for Operation Enduring Freedom, Washington Post archive

011009-F-3050V-003

Chairman of the Joint Chiefs of Staff (JCS), USAF General Richard B. Myers and Secretary of Defense Donald Rumsfeld giving a press conference on 9 October 2001., TSGT Jim Varhegyi collection. As early as 18 September Rumsfeld had stated that the War on Terror would require that the US “drain the swamp” the terrorists lived in, referring to the countries harbouring them, and that this effort would require “a distinctly different approach from any war that we have fought before.” On 7 October Rumsfeld and Meyers briefed the press at the Pentagon, announcing air and missile strikes against the Taliban, attacks by 15 bombers (including B2 stealth bombers), 25 naval aircraft, and 50 tomahawk missiles fired from USN and Royal Navy ships and submarines.

Airbases

coalitionstrikes

Coalition airbases at the outset of Operation Enduring Freedom, from Donald Wright, A Different Kind of War, & 7 October 2001, RAF, RN and USN, USAF airstrikes wipe out Afghanistan’s air defences.

Within sixty days the most immediate stages of the mission were complete: both Afghanistan’s capital, Kabul, and its second largest city, Kandahar, had fallen to the US-led NATO coalition and the Afghan Northern Alliance (United Front), their fast moving teams of 5th Special Forces Group (SFG) green berets utilizing the coalition’s fearsome airpower to pulverize any opposition.[11] The combination of air support, air supply, and special forces on a large scale enabled a string of victories that effectively put the coalition in control of Afghanistan, and made possible Hamid Karzai’s elevation to head of the interim government, formalized by the UN’s Bonn Agreement of 5 December 2001.

ENDURING FREEDOM

18 October 2001, C-17A Globemasters launch from Naval Air Stations (NAS) Sigonella, Italy, in support of Operation Enduring Freedom, Staff Sergeant Ken Bergmann, USAF collection

Karzai was soon inaugurated as Chairman of the interim Governing Council, and just short of three years to the day later he was inaugurated as President under the newly promulgated Afghan constitution.[12] Parliamentary elections were at that time scheduled for the spring of 2005. On 7 November 2001 National Security Advisor Dr. Rice stated, “we are trying very hard to send the message this can’t be a made-in-America solution. This is something that the Afghans themselves are going to have to take on. And I think we are agnostic as to the form that takes… I think we will leave [it] at this point to the UN and to the members of the Afghan community who are trying to get it done.”[13] When Defense Secretary Rumsfeld visited Bagram Air Base on 16 December and met with President Karzai, one of the interim chairman’s aides applauded Rumsfeld’s approach: “The United States has done very well so far… The (American servicemen) who serve with our forces know our culture and respect it… You (are) doing this right,” said the aide favourably of the American effort, in contrast to the heavy-handed Soviet invasion of 1979.[14]

Kharzia

Hamid Karzai posing with ODA 574, one of the 5th Special Forces Group (SFG) teams that acted as the spearhead for the Northern Alliance, from Donald Wright, A Different Kind of War

Rumsfield Franksrumsfeld05

Secretary of Defense Donald Rumsfeld and General Tommy Franks taking questions during a Pentagon press briefing, 15 November 2001 & on 6 December Rumsfeld reiterated that the Taliban and al Qaida leadership would be brought to justice.

Tora Bora

On 13 November, as the Northern Alliance approached Kabul, the remaining Taliban forces, including bin Laden with the other al Qaida leadership, withdrew with between 700, 1,500 or possibly as many as 3,000 fighters, to Jalalabad, fifty miles from the Pakistan border, and then to their stronghold cave complex in Nangarhar province, the location of Tora Bora in the White Mountains that overlooked the Khyber Pass gateway into Pakistan.[15]

Battle of Tora Bora

Battle of Tora Bora, from Donald Wright, A Different Kind of War. Unlike the initial two months when 5th SFG green berets had taken charge, the assault on bin Laden’s compound was primarily a JSOC operation.

The Taliban had long been supported by Pakistan’s Inter-Service Intelligence (ISI), who had used Kunduz in the north as a base for training fighters inside Afghanistan. But with the Taliban on the run the Pakistani forces in Afghanistan made a quick departure and President Musharraf promised to work with the coalition to secure the border, although how seriously he took this request is certainly debatable.[16] Musharraf had visited New York on 8 November for the UN General Assembly meeting, where he met with Bush who was grateful for the diplomatic efforts Musharraf had undertaken with Indian Prime Minister Vajpayee. Bush gave his UN address on 10 November, describing the terrorist attacks on September 11 in graphic Straussian terms, a Huntingtonesque international tragedy with the potential to culminate in Tom Clancy-like sum of all fears WMD attack, and demanding justice for the attacks.[17]

ENDURING FREEDOMENDURING FREEDOM

HMMWVS deploying “at a forward operating location” from C-17, 20 November 2001, Technical Sergeant Scott Reed, USAF collection & Navy SEALs disembarking from an MC-130E Combat Talon, 16th Special Operations Wing, 22 November 2001, TSGT Scott Reed.

In evidence of the United States’ resolve Joint Special Operations Command (JSOC) attempted to infiltrate and capture bin Laden at Tora Bora.[18] This was the largest offensive of the war so far, with NATO and the Northern Alliance successfully clearing Tora Bora between 6 and 17 December.[19] This time the attack was spearheaded by Task Force Dagger, the Delta Force element, and the newly arrived Task Force K-Bar, Navy SEALs and 3rd SFG.[20] These SOCOM forces would enable three Afghan warlords of various competency, Hazarat Ali, Haji Zaman Gamsharik, and Hajji Zahir, to mass and deploy 2,000 fighters, combined with JSOC’s 40 Delta operators, 14 Green Berets, six CIA operatives (who had knowledge of the caves derived from their efforts aiding the mujahideen against the Soviets),[21] a handful of Air Force controllers, and 12 British SBS commandos.

ENDURING FREEDOMENDURING FREEDOM

2,000 lb Mk84 bombs converted to Joint Direct Attack Munitions (JDAMs), loaded aboard the rotary launcher on a B-1B Lancer, 5 November 2001, Staff Sergeant Larry A. Simmons collection. & MV MAJ. Bernard F. Fisher unloading JDAMs on 26 October 2001, Staff Sergeant Shane Cuomo, USAF collection

ENDURING FREEDOMENDURING FREEDOM

JDAMs being loaded aboard B-1B bombers from the 28th Air Expeditionary Wing, 13 November 2001 & 28th Air Expeditionary Wing loading JDAMs onto B-52s, 28 November 2001, both from the collection of Staff Sergeant Shane Cuomo.

The coalition dropped 1,110 JDAMs and other precision munitions (not to mention 15,000 lb daisy cutters) on the mountain caves but, despite the overwhelming firepower, Bin Laden, Ayman al-Zawahiri, and Mohammed Atef, all escaped by fleeing into Pakistan while Taliban leader Mullah Omar went into hiding in the mountainous south-east of the country.[22] Elsewhere, Khalid Sheikh Mohammed fled into Pakistan until captured in March 2003. General Franks, at the time of Tora Bora, had believed that Pakistan would be more diligent in terms of preventing al Qaida from crossing into its territory, and that the Northern Alliance was more united than was in fact the case.[23] Furthermore, Franks himself was under pressure from the DOD and White House to wrap up the war in Afghanistan and deliver a viable Iraq war plan. Franks’ frustration with pacing had gotten to the point where the CENTCOM commander was contemplating intervening directly above Lt. General Paul Mikolashek of Third Army, who, based at Camp Doha, Kuwait, was ostensibly in charge of operations in Afghanistan.[24]

Tora Bora

Villagers watch B-52 strikes on 9 December 2001 during the Battle of Tora Bora (6 – 17 December).

blaber3blaber2

Delta Force AFO coordinator Lt. Colonel Pete Blaber (right) author of The Mission, The Men, and Me (2008), with Major Jim “Jimmy” Reese, at the grave of renowned Afghan commander Ahmed Shah Massoud – assassinated by the Taliban on 9 September 2001.

Although the propaganda impact of bin Laden’s escape from Tora Bora was immense, the strategic situation had changed little: CENTCOM was moving into Phase IV after the New Year, which meant deploying conventional US Army forces to assist with stability operations.[25] The next phase of operations would require a dramatic expansion in air lift, housing and logistics which Franks knew would impose a serious delay on the tempo of operations.[26] Moving to Phase IV was therefore an extremely difficult and escalatory action that would require several weeks to prepare, involving the deployment of conventional US Army assets from the US 10th Mountain Division (CO, Major General Franklin Hagenbeck), and the 101st Airborne Division.

Major General Hagenbeck and the 10th Mountain’s divisional HQ had arrived at the K2 airbase in Uzbekistan on 12 December, at which point it became the campaign’s Combined Land Component Command (CFLCC), represented by Lt. General Paul Mikolashek, US Third Army.[27] The command situation within Afghanistan was complex, all the cooperation between Special Forces and the Afghan warlords now conducted by Joint Special Operations Task Force-North (JSOTF-N), based at K2, and Combined Joint Special Operations Task Force-South (CJSOTF-S, CO Captain Robert Harward), established in December 2001 at Kandahar.

ENDURING FREEDOM 2001

UN Beechcraft B200 flying in to Mazir-e Sharif, 13 December 2001, Staff Sergeant Cecilio Ricardo, USAF collection

011216-D-2987S-042BagramRummyBagramRummy2

Colonel John Mulholland, US Army, CO 5th SFG, and soldiers from the USAF and 10th Mountain Division, meeting with Donald Rumsfeld on 16 December 2001 at Bagram Air Base, Helene C. Stikkel collection. In addition to visiting the troops at Bagram, Rumsfeld met with international and Afghan press.

ENDURING FREEDOM 2001

General Dostum’s Northern Alliance troops after capturing Mazar-e Sharif, 15 December 2001, Staff Sergeant Cecilio Ricardo, USAF collection

But already the war seemed over, and by 25 January Hagenbeck and Mikolashek were contemplating measures for drawing down.[28] The military mission to liberate Afghanistan had already been achieved within the first hundred days, with humanitarian missions and demobilization now the foremost goal under international leadership. As early as 28 November UN Secretary General Kofi Annan had raised the issue of the estimated 6 – 7.5 million refugees fleeing Afghanistan, an issue President Bush agreed was of major concern.[29]

By December humanitarian assistance to the tune of 127,368 tons of food (the USAF air dropped 2,423,700 ration packets), had been delivered. On the military front the NATO-led coalition estimated that it had killed 250 al Qaida fighters, captured hundreds more, and scattered as many as 800, including the top leadership.[30] The coalition had destroyed 11 training camps and 39 command posts, in addition to liberating the nation’s capital and second largest city, all with the use of fewer than 3,000 US military personnel.[31] By the spring of 2002 the USN and USMC had flown 12,000 sorties, representing 72% of all combat sorties flown during Enduring Freedom.[32] Between 7 October and 23 December, CENTCOM aviation flew 6,500 strike sorties, released 17,500 munitions, and destroyed 400 vehicles and artillery pieces.[33]

ENDURING FREEDOM 2001ENDURING FREEDOM 2001

Refugees at the camp in Mazar-e Sherif, collecting aid from Doctors Without Borders, 23 December 2001, Staff Sergeant Cecilio Ricardo, USAF collection

Karsai Bush2

Karsai Bush

President Bush greets Chairman Karzai at the White House on 28 January, photos by Paul Morse and Tina Hager

Plans were now underway to introduce civilian stabilization measures, ranging from preparing a new Afghan school system to providing for vaccinations. Bush and Karzai, lauding the achievements of the International Security Assistance Force (ISAF) thus far, announced a joint New Partnership agreement during Karzai’s visit to the White House on 28 January 2002. Bush praised Karzai, stating that “the United States strongly supports Chairman Karzai’s interim government. And we strongly support the Bonn agreement that provides the Afghan people with a path towards a broadly-based government that protects the human rights of all its citizens.”[34] Karzai in return pledged to make Afghanistan an independent nation, fully backing the “joint struggle against terrorism… We must finish them. We must bring them out of their caves and their hideouts, and we promise we’ll do that.”

ASCFrankstestimony

7 February, General Franks testifies to the Senate Armed Services Committee, chaired by Michigan Democrat Carl Levin. Republican Senator John Warner emphasized that the mission was almost complete, and Democratic Senator Landrieu emphasized the success of the Special Operations and Special Forces. General Franks emphasized the utilization of airpower, humanitarian airdrops, and that Afghanistan represented only one front in the broader war on terror, although in that theatre action had been taking place almost non-stop since mid-October.

On new years eve the President appointed Dr. Zalmay Khalilzad, former Assistant Professor of Political Science at Columbia University and a ‘90s RAND cold warrior employed by National Security Advisor Condoleezza Rice, as his special enjoy for Afghanistan.[35] In his State of the Union address on 29 January, Bush unveiled the “axis of evil” – clearly indicating that Iraq was the next target in the Global War on Terror.[36] In fact, CENTCOM, in consultation with the Defense Department and the Vice President’s office, had been planning the invasion of Iraq throughout the entire duration of Operation Enduring Freedom.

February132002

Vice President Cheney and National Security Advisor Condoleezza Rice talking in the White House Red Room, 13 February 2002, photograph by David Bohrer

Operation Anaconda 

With hindsight it is clear that the greatest risk to mission success in Afghanistan came from within the Bush administration itself. From the outset the White House had established three essentially conflicting objectives. The first, liberate and sustain a rebuilt Afghanistan, was a mission with a clear objective that was backed by the international community and best reflected the capabilities of the United States. The second, the Global War on Terror, was an ideological mission imposed by Bush and the Republican neocons to justify unilateral anti-terrorist action world wide. Third, the planning for the invasion of Iraq, was an unrelated but long-held objective of the former George H. W. Bush and Ronald Regan cold warriors once again dominant in the White House.[37]

In a C-SPAN interview on 8 January 2002, Donald Rumsfeld was confronted by these conflicting objectives when a caller asked the Defense Secretary to define victory in the War on Terror, and to differentiate between Afghanistan the broader anti-terror mission. While the Secretary was clear that the mission in Afghanistan constituted deposing the Taliban and capturing or killing Taliban and al Qaida senior leaders – requiring in his opinion further effort to destroy the “pockets” of fighters who had not yet surrendered – he was less clear on what the objectives of the War on Terror were, or how it could be concluded.[38] Of course, it is now evident that there was no intention to conclude the War on Terror so long as it could be useful to justify US-led interventions against potential enemy nations, such as the “axis of evil” Bush outlined in his 2002 State of the Union address.

Gardez region

Joint Operations Graphic of the Gardez-Khost corridor

1280px-AnacondaAreaOfOperations

location2

Shahi Khot Valley showing Operation Anaconda area of operations and Takur Ghar peak, & Shahi Khot valley with surrounding mountain ranges.

But what about the mission to liberate Afghanistan, and the pockets of Taliban and al Qaida fighters still in the country? At the beginning of 2002 the main al Qaida controlled route out of Afghanistan was through the Shahi Khot valley, bordering on Waziristan, south of Kabul. Late in January 2002 human intelligence provided by the CIA indicated that there was enemy activity south east of Kabul in the Paktia province, focused on the Gardez, Khost and Ghanzi area.[39] On 6 January JSOTF-N received orders to prepare “a sensitive site exploitation (SSE) mission in the Gardez-Khost region”,[40] and on 13 February Lt. General Mikolashek – his staff including the special operations coordinator Lt. Colonel Craig Bishop and Major General Hagenbeck – relocated the CFLCC to Bagram airbase in preparation for the upcoming operation, at which point the flexible and by now very much overtasked 167 staff officers of the 10th Mountain Division HQ became Combined Joint Task Force (CJTF) Mountain.[41]

smailzazi

Commander Muhammad Smailzazi, CO Afghan Forces at Gardez, 10 March 2002, AP newsreel archive.

The following three weeks involved extensive reconnaissance, as the mission was organized and the Special Forces ODA teams integrated with their Afghan militia.[42] The CIA had designated a 10 km by 10 km box inside the 60 square mile Shahi Khot valley, 15 miles south of Gardez, that they believed contained the largest number of fighters. These combatants were holding key observation posts on the nearby mountains, and thus were in control of the villages between the mountain pass itself, although they were expected to attempt to retreat once the coalition arrived. By specifically isolating the escape routes the coalition intended to destroy or capture as many of the mujahideen as possible. The plan was worked out by CJTF Mountain and JSOTF-N staffs between 15 and 22 February.[43] Lt. General Mikolashek and Major General Hagenbeck both signed off on the plan, to which CENTCOM commander Tommy Franks also approved.[44]

Designated Operation Anaconda, the plan called for the rapid deployment of blocking forces followed by a thorough, possibly weeks-long, sweep of al Qaida and Taliban forces in the Shahi Khot valley. This ultimately took place between between 2 – 19 March and involved more than 2,000 coalition forces, plus several thousand Afghans.[45] The objectives of the operation were fourfold: first, to locate the enemy forces known to be operating in the Shahi Khot; second, while Afghan and Green Berets elements pressured the retreating al Qaida fighters towards the east, to deploy a blocking force, composed of components of the 101st Airborne and 10th Mountain Division, to prevent the enemy’s escape into Pakistan; third, to capture the enemy held mountain overwatch positions by helicopter assault; and fourth, to capture or destroy any high valued targets (HVTs) hopefully in command of the fighters in the valley.[46] This would be the largest and most complex operation of the coalition’s war in Afghanistan since inception.

Enemy Forces

Jalaluddin Haqqani was the overall Taliban commander in the southeast, in the ‘90s having been governor of Paktia province, and was an experienced strategist and guerilla who fought the Soviets on numerous occasions, including in the Shahi Khot in December 1987 during Operation Magistral, when Soviet mechanized units and paratroopers forced the route between Gardez and Khost.[47] The local commander was Maulawi Jawad, who had under him Maulawi Saif-ur-Rahman Nasrullah Mansour, the senior fighter actually in the valley. The mujahideen had fled to Pakistan following the defeat of the Taliban in October 2001 but, by February 2002, Jawad had gathered as many as 1,000 fighters and then despatched a picked force to return to Afghanistan through the old mujahideen stronghold in the mountains above the Shahi Khot. American estimates of the number of fighters in the Shahi Khot ranged from the low figure of 150 – 250, to as many as 800 – 1,500 at the upper scale.[48] In fact there were 440 fighters in the valley: Rahman Mansour with 175 Taliban fighters, 190 mujahideen from Uzbekistan and Chechnya under Qari Muhammad Tahir Jan, and 75 Arabs – al Qaidi fighters – from various countries including Egypt, Saudi Arabia, Syria, Morocco, Somalia, Jordan and elsewhere.[49]

Battlearea

Approximate battle area, centred on Tergul Ghar, “the whale”, the village of Shir Khan Kheyl, and the passes through the mountains to eastward.

The mission profile suggested that the CJTF believed the lower figure of only 150 to 200 was accurate, and so it came as quite a surprise when TF Rakkasan landed amidst a valley held by significantly more than double that number of fighters.[50] The Shahi Khot valley, the low “Whale” of Tergul Ghar to the west, and the foreboding Eastern Mountains which flanked the passes to Pakistan, had been well fortified by the mujahideen since the Soviet era.[51] The pashtuns had fought the Russians here in 1981, cutting the supply line between Gardez and Khost.[52] The mujahideen made the Shahi Khot a source of constant irritation for the USSR, ambushing Soviet forces trying to secure the Gardez – Khost roadway on numerous occasions: March 1982, August 1983, November 1984, August 1985, and November 1987. Thus the Shahi Khot, despite numerous Soviet attempts to clear the valley, remained a mujahideen stronghold after the Soviets withdrew in 1988.[53]

CJTF Mountain

HagenbeckHagenbeck2006

Brigadier General Hagenbeck in June 2000, & Lieutenant General Franklin Hagenbeck, photographed in October 2006. CO CJTF Mountain

TFMountain

CJTF Mountain, from Donald Wright, A Different Kind of War

The Coalition force selected to carry out Operation Anaconda was representative of the diverse mix of joint elements: a multinational force including soldiers from several Northern Alliance commanders, American Green Berets, CIA operatives, JSOC represented by SEAL Team Six, Delta Force squadrons, Army Rangers, and the USAF’s Combat Controllers, rounded out with Australian SAS, Canadian regulars and TF Rakkasan, the mixed 10th Mountain and 101st Airborne conventional forces.

Wiercinski

TF Rakkasan CO, Colonel Frank Wiercinski, 187th Infantry Regiment, 3rd Brigade, 101st Airborne Division, 12 February 2002.

forces

3101st

TF Rakkasan organization, 101st Airborne Division, from Donald Wright, A Different Kind of War

The coalition CJTF Mountain was itself commanded by 10th Mountain Division CO, Major General Hagenbeck. Operation Anaconda drew on elements from every component of CJTF Mountain, creating a confusing web of C2 that was in fact unprecedented in SOCOM history. At least nine nations were involved.

The various SOCOM and conventional Task Force designations were as follows:

TF Sword (aka, TF 11: JSOC), Major General Dell Dailey and USAF Brigadier General Greg Trebon (deputy CO JSOC), their AFO coordinator was Lt. Colonel Pete Blaber, Delta Force.[54]

TF Red (Rangers, CO Tony Thomas).

TF Green (Team Delta)

TF Blue (SEAL Team 6, DEVGRU, Joseph Kernan).

The Army’s Chinook helicopters were from TF Talon (Lt. Colonel James Marye).[55]

The 160th SOAR also provided their 1st and 2nd battalions, Chinooks, for the SOCOM missions, as TF Brown. TF 58 was the USMC designation.

Both Kernan and Thomas had elements in reserve at Bagram and Kandahar in the event an HVT was located and extraction was required on short notice (they also constituted the QRF force), although the flight out to the Shahi Khot at this distance would take at least an hour.[56]

Unidentified

Unidentified coalition soldiers boarding a C-17, 14 March 2002, AP newsreel archive

sold06sold05Sold03sold02sold04sold01

Afghan National Army training at Gardez.

The Special Forces units employed were drawn from the two major commands that had so far run the SOCOM war in Afghanistan:

Joint Special Operations Task Force-North (JSOTF-N), out of the K2 base in Uzbekistan, CO, Colonel John Mulholland, 5th Special Forces Group, with 1st Battalion under Lt. Colonel Chris Haas, plus Delta A Squadron and a smattering of CIA operatives. CO Mulholland committed five SF teams to Anaconda: ODA 542, 563, 571, 574, and 594, plus TF 64, the Australian SAS.[57] This command was also known as Task Force Dagger (Northern).

ODA

Combined Joint Special Operations Task Force-South (CJSOTF-S, CO Captain Robert Harward) at Kandahar,[58] with a collection of SOF forces including teams from Denmark, France, Germany and Norway, loaned to Anaconda 3rd SFG ODAs 372, 381, 392, 394 and 395.[59] This command was also known as Task Force K-Bar (Southern).

Blaber, Haas, with ODA 510, and the CIA (led by a man named Greg – “Spider”) were installed at Gardez, population 70,000, the capital of Paktia province, where the 50-strong SOCOM operators were variously involved planning, gathering intelligence, and training Zia Loden’s 400 strong Afghan militia contingent.[60]

The Plan

Shahikot plan

Coalition approach vectors, showing approach axis (Brass and Copper), and phase lines (Emerald and Ruby), from Leigh Neville, Takur Ghar (2013), p. 17

TF K-Bar would conduct the pre-operation reconnaissance, ultimately inserting 21 various teams for this purpose.[61] The TF 11 AFO teams would infiltrate several days in advance and secure the mountaintop observation points, before TF Rakkasan deployed the morning of, what at that time was still scheduled for, 1 March into the eastern Shahi Khot to secure the valley exits.[62]

Task Force Hammer would make the main drive from Gardez to the Shahi Khot, retrieve the AFO elements, and then clear the valley starting with the village of Babulkhel.[63] ODA 372, led by the 34 year old Chief Warrant Officer 2 Stanley Harriman, would lead the mixed SOCOM force, convoying trucks carrying Zia’s Afghan fighters, ranging from 400 to 600 strong, with Zakim Khan (ODA 542, 381) and Kamel Khan (ODA 571, 392) both fielding reserve forces of 400 – 500 each for what was designated Task Force Anvil, that force meant to drive towards the Shahi Khot from the east, ie, from Khost, hopefully encircling the enemy in the valley and enabling TF Hammer to sweep into the valley from the west.[64]

Shahikhot

The helicopter assault force, Task Force Rakkasan, with the vital objective of securing the “inner ring” of seven blocking positions (BPs),[65] was commanded by Colonel Frank Wiercinski and composed of battalions from the 101st Airborne and 10th Mountain Division. Lt. Colonel Charles Preysler’s 2/187 (2nd Battalion, 187th Infantry Regiment), and Lt. Colonel Ronald Corkran’s 1/187 (1st Battalion, in reserve at the Shahbaz Air Base, Jacobabad), plus the 10th Mountain Division’s 1/87th (1st Battalion, 87th Infantry Regiment) commanded by Lt. Colonel Paul LaCamera, and lastly attached at Kandahar was the 3rd Battalion, Princess Patricia’s Canadian Light Infantry.[66] For the purposes of Anaconda, the Canadians were attached to CJTF Mountain, while 1/187 was attached to the CFLCC HQ, Lt. General Paul Mikolashek.

TF Rakkasan’s mission was to helicopter into the Shahi Khot and for 2/187 to secure the northern four BPs and 1/87 the southern three BPs. The helicopter assault would be escorted by the 101st Division’s Apaches, the gunships had the responsibility of determining if the LZs were clear or not.[67] Preysler intended to have Captain Frank Baltazar’s C Company secure BPs Betty, Cindy and Diane, leaving BP Amy for the second wave, Captain Kevin Butler’s A Company, at H+11.[68] BP Eve would be taken by Captain Roger Crombie’s 1/87 A Company, while Captain Nelson Kraft’s C Company would take Ginger and Heather.[69] Once these forces were deployed, Wiercinski would insert to small tactical control (TAC) post near BP Heather (on the slopes of the mountain nick-named “the Finger”), with some of Lt. Colonel Corkran’s 1st Battalion HQ, to monitor the situation in the valley in the event the reserves needed to be deployed.[70]

Generals Hagenbeck and Mulholland briefed General Franks by video conference on 26 February, and D-Day was set for 28 February, although this was delayed 48 hours to 2 March due to white-out weather conditions.[71] TF Anvil drove west from Khost on 1 March and established its blocking positions behind the eastern mountains.[72]

Reconnaissance, 27 February – 1 March

valley

The Shahi Khot valley, from Pete Blaber, The Mission, The Men, and Me (2008). Note the imposing snow capped Eastern Mountains, also note the aridity of the terrain: extremely difficult for the recon teams to exploit given the lack of concealment.

A critical component of the plan was to insert three of Lt. Colonel Blaber’s AFO elements to identify and knockout enemy positions covering the valley entrances, prior to the arrival of the main force. Generally successful, the recon teams made difficult hikes into enemy occupied territory and identified key over-watch positions from which to call in air strikes. Intelligence was spotty, but there were believed to be as many as 1,400 civilians and non-combatants in the three villages in the valley, Shir Khan Kheyl (or Serkhankhel), Babol Kheyl (or Babulkhel), and Marzak.[73]

The AFO teams were divided into two Delta Force elements, Juliet and India, and a SEAL element, Mako 31. Once in position these teams would hold their sniper and air controller posts and provide overwatch before TF Hammer and TF Rakkasan arrived at H-Hour (6:30 am) on 2 March.[74] The 1:100,000 maps the operators had been issued for their initial prior environmental reconnaissance had proven insufficiently detailed for the kind of, craggy, snow-covered terrain they were crossing.

Insertions

India, Juliet, and Mako 31 routes, from Sean Naylor, Not a Good Day to Die (2005), p. 162

Juliet, India, Mako 31

Juliet Team, the northern five-man reconnaissance element led by Delta operators Master Sergeant Kris K. and Bill R., and supported by an Intelligence Support Activity (ISA), Gray Fox operator named Jason, drove in on ATVs, covering twelve kilometers through enemy held territory including the village of Menjawar (Menewar), that they navigated through at midnight.[75] Using JSTARS aircraft surveillance in combination with laptop GPS, the operators made their way north of the valley, designating a minefield and a pair of occupied DShK machine gun positions for the B-1s to strike, enroute to their south facing OP where they arrived between 4:45 – 4:47 am.[76] The Juliet team, from its position looking across the valley, could see the Takur Ghar peak and opposite it enemy positions, including mortar pits, along “the Whale” – the spine of the Tergul Ghar mountain.[77]

As the Juliet team was motoring north into the valley, John B’s SOF (three Delta and one SEAL Team Six operator) and Afghan fighter units were driving a pair of Toyota 4×4 pickup trucks, ferrying India Team, a three-man Delta recon element, and Mako 31, a five-man SEAL team, to their insertion points.[78] The recce elements departed at about 10:15 pm to hike into their positions at the southern end of the Tergul Ghar “Whale” and the north-facing prominence “the Finger” at the western approach to the valley, where they would have clear line of sight both of TF Hammer’s approach and the valley proper.[79] After deploying the recce teams, John B. and the Afghan fighters turned around their two Toyotas and started the drive back to Gardez.[80]

India team, led by “Speedy” and Bob H. (both Delta Force, armed with M4 carbines) and Dan (ISA, carrying an SR25), started their seven kilometer hike alongside Mako 31, following the Zawar Khwar creek, until three kilometers in at which point they turned north towards their OP.[81] The weather was at first poor, with intense sleet and snow, but by 5:22 am they were in position and undiscovered.[82] Speedy made satellite radio contact with Gardez at 9 am on the 28th.[83]

Mako 31, the five-man element, was composed of SEAL operators – three Team Six snipers and a demolitions expert armed with an M4 – plus their AFO, Andy. They started their hike alongside Delta’s India element but then diverted for the 11 km hike to their OP on “the Finger”. The round-about route combined with poor weather delayed the hikers, who had to take a position about a kilometer from their OP before daybreak. Between 5 and 5:15 am on the 28th they reported in to Gardez, informing Blaber, the AFO commander, that they would hunker down until the following night to make for their OP.[84]

The Juliet team, employing their thermal and night optics, spotted numerous mujahideen moving around on Tergul Ghar. Kris called Blaber on their satellite radio and informed him that “the Whale” was infested with enemy positions.[85]

The morning of 28 February India split up and moved into deeper cover as daylight revealed how exposed their OP actually was.[86] Speedy spotted a goat-herd and his flock below their position, but luckily avoided compromising the OP. Mako 31 meanwhile moved into a better position to view the roads heading east into the valley.

The three recce elements deployed telescopic lenses and Nikon handheld cameras to develop their intelligence while the AFOs and ISA operators designated targets for future air strikes. India could see that the TF Hammer approach was clear of mines and the village of Surki at the valley entrance appeared to be deserted.[87]

The two ISA operatives with the Delta teams detected radio and cellphone traffic, and around noon Mako 31 heard sporadic gunfire – presumably training – coming from the direction of Marzak.[88] Juliet by now also had positive IDs on a group of five men armed with AK47s and RPGs who, worryingly, seemed to have detected their ATV tracks and were moving in their direction, although they turned around at the last moment due to an approaching blizzard, and departed the area without discovering the AFO team.[89]

Sometime before the blizzard arrived the CIA employed an Mi-17 helicopter to film the valley, in search of enemy locations.[90] The weather then worsened as the blizzard carpeted the valley. Juliet took advantage of the two-hour long snow storm to booby-trap their ATVs and move camp to a higher position. The operators spotted another four suspected fighters on Tergul Ghar during breaks in the weather.[91] A few hours later they had identified at least several occupied positions: one fighter facing west on the Tergul Ghar ridge, another two in a camouflaged rock shelter nearby, and four more fighters moving between two shelters on the eastern side of the ridge, plus additional positions fifty meters below the ridge.[92] Mako 31 later confirmed these enemy positions.[93] Clearly “the Whale” was both occupied and well defended – knowledge that had thus far gone unnoticed to all of the aerial observations, suggesting the mujahideen’s mastery of camouflage as a cultivated experience from the Soviet war.[94]

India, meanwhile, could also hear the gunfire Mako 31 had reported in the direction of Marzak, although their OP was soon obscured by the weather and they were forced to rely on the ISA communication intercepts, the latter which were eventually relayed to Bagram for aircraft reconnaissance, as well as to the NSA for satellite tasking.[95]

At this time H-Hour was still set for 6:30 on 1 March, but Hagenbeck now made the decision to delay another 24 hours due to the weather.[96] Mako 31, by 2 am on 1 March, had moved to within 250 meters of the peak of “the Finger” the heights south of the valley.[97] Just after dawn Goody despatched his Team Six snipers to the ridgeline, and, after crawling for 500 meters, they spotted a large tent with attached stove pipe, and nearby a tripod mounted DShK machine gun. Mako 31 soon spotted two al Qaida fighters, who Goody at first suspected might be British SAS, a conclusion that was denied when Goody emailed digital photos back to Blaber at Gardez using the team’s laptop and satellite phone interface.[98] The SEAL Team Six officer knew the importance of knocking out the machine gun position, Blaber having briefed him that “the success or failure of your mission will predicate the success or failure of the entire operation”.[99] Blaber informed Hagenbeck of the enemy positions, and authorized Goody to wait until about an hour before H-Hour the next morning, and then knock out the machine gun before calling in an AC-130 gunship strike on the position.[100]

Shir Khan

The village of Shir Khan Kheyl from Donald Wright, A Different Kind of War

While the debate behind the lines was ongoing regarding the mission plan, in the Shahi Khot all the evidence was building towards a significant enemy presence in well concealed and defended positions. India reported three SUVs driving inside Babulkhel, near the valley entrance, and then three horsemen approaching the village. The horsemen were greeted by six men with Kalashnikovs. Speedy and Bob identified two occupied walled compounds in Serkhankhel, and spotted several women and a family, the only unambiguous sighting of civilians by any of the recon teams. Juliet’s view was at first obscured by clouds but as the weather cleared in the afternoon, and they were joined by a high-flying Predator drone, they also spotted armed men in pickup trucks moving around inside Serkhankhel.[101] Jason, the ISA operator, intercepted a call that he believed indicated a “group meeting” was being held that day.[102] Juliet spotted a group of six men carrying rucksacks moving back into Serkhankhel from a position no more than a kilometer from where the Delta team was observing (possibly the patrol that had almost discovered their ATVs before the blizzard).[103] By now both India and Juliet teams had seen enough enemy presence to convince them that the helicopter assault would be heading into a cauldron: the valley was not a series of villages with a hidden al Qaida presence, but in fact a mujahideen stronghold.[104] Familiarization with the conduct of the Soviet war confirmed the truth of this.[105]

Thinking about the implications of this intelligence Jimmy, Blaber’s deputy, went directly to Colonel Joe Smith, Hagenbeck’s chief of staff, and recommended changing the operation plan to better reflect the scale of the enemy presence. “The current plan is not going to work out for you,” Jimmy advised Smith. “I know, Jim,” said Smith, “but it’s too late to do anything about it.” Smith, according to Naylor and Blaber, turned down Jimmy’s request.[106] Hagenbeck, however, did inform Lt. General Mikolashek via video teleconference that there were many new positions they should airstrike before sending in TF Hammer. “Bomb these frickin’ things,” Hagenbeck said, according to Mikolashek. Air Force General Renaurt, Franks’ Director of Operations, again stated that the plan could not be changed at the last minute.[107] As a frustrated Pete Blaber wrote later, summarizing a fundamental truism regarding failed planning processes from time immemorial, “…the mission itself no longer had anything to do with the reality on the ground; the mission was to execute the plan on time.”[108] Ironically, the senior Taliban commander in the valley, Saif Rahman Mansour, was at that time making essentially the same error.[109]

At any rate the AFO teams managed to remain concealed for the remainder of 1 March and when night fell they received air support in the form of Grim 31, an AC-130H gunship, that arrived over the engagement zone at 2:04 am. At 2:55 am the India recce element spotted the headlights of TF Hammer as the main column drove south from Gardez along the muddy Zermat road to its planned staging ground at the Shahi Khot entrance. TF Hammer, with Ziabdullah and Chief Warrant Officer Harriman, ODA 372, in the lead vehicle (a HMMWV), would divide into two convoys: Harriman’s group heading to block the valley entrance north at a terrain feature known as “the Guppy” while the main body continued to the southern entrance known as “the Fishhook”.[110]

trucks

Some of TF Hammer’s trucks and vehicles viewed from their assembly point in Gardez, from Pete Blaber, The Mission, The Men, and Me (2008)

TF Hammer’s main column was commanded by McHale, Glenn Thomas, and Lt. Colonel Haas, and was composed of 39 or 40 vehicles, mainly pickup and flatbed trucks, consisting of a mix of SF (ODAs 594 and 372), SEALs, AFOs, CIA, Australian SAS, and an engineering squad attached to TF Rakkassan: this mixed coalition force supported 400 Afghan soldiers under Zia Loden and Ziabdullah, together having assembled at Gardez and then, at 11:33 pm on 1 March, commenced the treacherous two hour-long drive south.[111] Two trucks had to be sent back carrying wounded after a pair of vehicles became stuck in the mud and a third overturned.[112] They were already behind schedule, the plan being for TF Hammer to arrive at Phase Line Emerald, 1.5 km west of Tergul Ghar, while the pre-assault air strikes took place (about 5:30 am).

Around midnight meanwhile, Mako 31 was getting ready to move. Goody and Chris, armed with their suppressed SR25s, started to surround the DShK machine gun position while Andy, their AFO, called in P3 Orion and Grim 31 AC-130 coverage. At about 4 am Goody and Chris were spotted by a sentry.[113] With no choice but to attack, Chris and Goody charged towards the enemy tent, but their rifles jammed due to icing.[114] The sentries returned fire with their AK47s. A Chechen fighter charged Chris but was shot after the operator cleared his jam. Several fighters were killed fleeing the tent,[115] while another fighter tried to man the DShK but was shot before he could reach it. Meanwhile Eric was watching for fighters who might be attempting to flank them. Andy informed Chris that Grim 31 was ready to destroy the DShK position once the operators had withdrawn from their danger close positions. Andy received information from the sensor-laden AC-130 that there were at least two more fighters about 75 meters to their north. These fighters were in fact deploying a PKM machine gun, with which they quickly opened fire on Mako 31.[116] As the operators fell back, it was now approximately a quarter after four, the AC-130 gunship hovering above fired its 105 mm cannon, plastering the enemy camp and killing the machine gunners and several other nearby fighters.[117] This action, resulting in the death of the five al Qaida guards in the outpost, was the first combat of the operation, to be followed shortly at 4:44 when Grim 31 carried out a strike ordered by the Juliet AFO against an enemy OP on “the Whale”. These mountain top gunfires generally alerted the mujahideen around the valley that they were under attack from coalition forces.

When they checked the bodies of the enemy fighters they had killed on “the Finger” Mako 31 found evidence indicating that they were Arabic speaking Uzbeks and Chechens. The well serviced DShK position was armed with 2,000 rounds and included an SVD sniper rifle, several AK47s, the PKM automatic rifle, plus seven RPGs for a single launcher.[118] Mako 31 requested Grim 31 do another flyby of “the Finger” to verify there were no more enemy fighters, then phoned in to Blaber that they had terminated the threat, and hunkered down as dawn was breaking to watch TF Rakkasan arrive within the hour.[119]

Air Assault, 2 March

H-Hour was set for 6:30 am on 2 March, and was to be preceded by a 55 minute window for air bombardment. 2/187’s infantry would then make the first landing, followed by 1/87, the 10th Mountain troops, while 1/187 was held in reserve. The TF Rakkasan soldiers and officers had been preparing since 16 February, conducting their final rehearsal at Bagram on 28 February.[120] Senior NCOs were making it clear to the picked troopers that this was a combat mission.[121] The assault packaged continued to undergo last minute changes, with the second wave of troops being brought forward to three hours following H-Hour (ie, scheduled to arrive at 9:30 am), instead of the evening as had originally been planned, to provide ample forces for the blocking operation.[122]

Screen Shot 2020-05-16 at 5.34.16 PM

TF Rakkasan paratroopers boarding CH-47D helicopters during an exercise in the Shahikot, from Leigh Neville, Takur Ghar (2013), p. 18

At half past noon on 1 March the TF Rakkasan commander, Colonel Frank Wiercinski, was in Bagram’s chow tent briefing the 60 helicopter pilots and chief warrant officers (CWO) of TF Talon.[123] The Apaches were drawn from 3rd Battalion, 101st Aviation Regiment, the “Killer Spades” and were split into three groups of two, tasked with ensuring the LZs on the valley floor were clear. Wiercinski reiterated the importance of the Apaches for providing escort to the Chinook groups: “It will be on my word that we unleash hell,” he said, quoting Gladiator. From the roof of a Humvee Wiercinski gave a speech to the entire assembled battle group of 1,700, quoting from Saint Crispin’s in Henry V.[124]

Early the following morning the Apache pilots boarded their six gunships and were warming them up at 4:37 am for their 5:07 launch time. They would escort the Chinooks in and then take up attack positions in the last minutes before the air strikes started, and then remain on station until 7:35 when they were scheduled to fly the 80 km back to midway fueling station “Texaco” already established between Bagram and Objective Remington.[125] Due to a last minute hydraulic leak in the 30 mm cannon aboard Team 2 Chief Warrant Officer Bob Carr’s Apache, Captain Bill Ryan, commanding the Apache flight, merged Team 3 into Team 2 so that Carr could stop off at the “Texaco” fueling point and make repairs.[126]

Route of Task Force Hammer

TF Hammer’s approach to the Shahi Khot, note Phase Line Emerald west of “the Whale” and also the location of the friendly-fire incident on Harriman’s convoy, from Donald Wright, A Different Kind of War & from Sean Naylor, Not a Good Day to Die (2005), p. 187


After Mako 31 was forced to reveal themselves early, and the hydraulic leak in Carr’s Apache, the third major upset of the initial phase of the operation took place: At 5:30 am the AC-130 gunship Grim 31 mistakenly engaged Harriman’s four vehicle lead element. The eight rounds of 105 mm cannon they fired wounded several of the Special Forces, including Harriman himself who was hit in the back by a piece of shrapnel that punctured the door of the Hummer he was a passenger in, also wounding seven others and killing two of Ziabdullah’s fighters.[127] All four of Harriman’s vehicles were destroyed.[128] As soon as this unfortunate fire mission was delivered Grim 31 announced that they were low on fuel and departed, to be replaced on station by a flight of F-15Es.[129] Blaber and Glenn P. in Gardez quickly ordered a ceasefire when it became apparent from the AFO reports from the main TF Hammer column that Grim 31 was engaging Harriman’s northern element.[130] The main column despatched its four vehicle QRF, led by CWO2 Sean Ballard in an armoured SUV and including ODA 372 medic Sergeant First Class Brian Allen, who reached Harriman’s convoy ten minutes later.[131]

B05B-4

B-52s flying above the Shahi Khot on 5 March 2002, AP newsreel archive

At 6:30 the pre-planned air strikes started, including a B-1B, a B-52 and the two F-15s already on station.[132] A thermobaric bomb destroyed one of the cave complexes on Juliet’s target list, and the B-1B dropped 6 or 7 JDAMs on “the Whale” – but delays caused when the B-1B’s rotary launcher jammed added to concerns over hitting the AFOs in the valley, with the result that only a few of the designated targets were hit before the air assault commenced.[133] By now the friction of war had dramatically derailed the assault plan.

Chinookformation

helicopterassualt

CH-47 Chinooks in formation, with Apache overhead, MH-53 at right, 11 March 2002, & Chinook and Blackhawk helicopters leaving Bagram, 14 March 2002, AP newsreel archive

The initial components of 2/187 battalion in their Chinooks was already on the way south from Bagram. The lead Chinook element was informed by the airborne AWACS “Bossman” that they would need to stop on their way back to retrieve the wounded from Harriman’s convoy.[134] The TF Talon helicopters circled around the valley to the south and then entered from the east. The first and second wave of three Chinooks arrived at their LZ and dropped off their infantry while the Apaches circled over head.[135] Hearing the reports of heavy combat in the Shahi Khot, Hagenbeck made the decision to hold off sending in the second wave of Chinooks until the situation had cooled down. The mujahideen meanwhile rushed in their reinforcements to surround the landing zones.[136]

On the way back to Bagram the Chinooks landed at Harriman’s location and picked up the wounded. At Bagram Harriman was tended to by medics from the 274th Forward Surgical Team, but his wounds were mortal.[137] The TF Hammer QRF departed the accident area, leaving two AFO personnel, John B. and Isaac H., behind to establish an OP, as the sun was rising.[138]

McHale, leading the main TF Hammer column, continued south towards the village of Gwad Kala to the west of “the Whale”, that was expected to be deserted. When he arrived he was met by Thomas and appraised of the situation at the rear of the column, which necessitated unloading several of the forward trucks so they could be sent back to replace breakdowns.[139] McHale was in the process of deploying his Afghan platoon into a nearby wadi when he began to receive mortar fire directed at Gwad Kala from “the Whale”.[140] McHale, with rounds exploding nearby, thought the best option was to get back aboard their trucks and move out. Several of his SF NCOs could see the puffs of smoke on the slope in front of them from enemy mortars firing.[141] Sergeant First Class John Southworth, the designated radio operator for TF Hammer, was able to get in touch with the Apaches to request assistance, but Zia Loden, who was expecting greater air support and had now sustained casualties from the blue-on-blue incident against Harriman’s convoy, refused to attack further. This effectively terminated the TF Hammer mission, although had it actually driven through “the Fishhook” and into the valley it certainly would have taken more casualties from the surrounding ambush positions.[142]

lz2

Landing Zone (LZs) and Blocking Positions (BPs) from Sean Naylor, Not a Good Day to Die, p. 228. BPs are only approximate. Note the locations of the AFO teams, Mako 31 & Juliet. India was on the southern tip of “the Whale”.

Anaconda plan

View of Shahi Khot Valley and concept of operations, from Donald Wright, A Different Kind of War. Note the seven blocking locations.

Apache pilots Hurley and Chenault, meanwhile, were busy attempting to identify and destroy enemy positions on the six kilometer-long ridgeline surmounting “the Whale”.[143] The two Apaches of Team 1 destroyed an eight-man mortar pit and surrounding area with rocket fire, and Chenault spotted tracer fire from a machine gun attempting to engage Hurley.[144] The Team 1 Apache moved back to the northeastern side of “the Whale” searching for a second reported mortar position, while the Team 2 Apache was taking fire from the southern valley. A lucky hit from a machine gun bullet in fact disabled several of the electrical systems associated with navigation and weapons control aboard Hardy and Pebsworth’s Apache, rendering their weapons useless.[145]

Apache

Apache gunship on 2 March, from Donald Wright, A Different Kind of War

Shortly after this Hurley, flying the second Team 1 Apache, used his cannon and rockets to engage a four-man RPG team that he had spotted aiming at Chenault’s Apache.[146] After looping around for another pass Hurley and Contant’s helicopter was hit by an RPG, destroying the Apache’s left Hellfire pylon, which had carried three missiles, and in the process wrecking the left rocket pod. Gunfire pelted the helicopter, by now leaking oil and smoking, and at least one round penetrated through the cockpit and became lodged in the console in front of Hurley.[147] Hardy and Pebsworth’s Apache was likewise still taking RPG and machinegun fire, and with their weapons system already disabled they moved into formation with Hurley and Contant’s Apache and together the two damaged helicopters retired to the Texaco waypoint to rearm and repair, although within minutes the loss of transmission fluid forced Hurely to land in a nearby creek bed, Hardy also landing nearby. From there Hardy, the more experienced pilot and technician, swapped pilot’s chairs with Hurley, poured their reserve oil into the badly damaged Apache, and lacking fully functioning navigation instruments, took off again to arrive 26 minutes later at the Texaco fueling point, which was quickly developing into the logistical waypoint for the entire operation.[148]

At 6:15 am Captain Frank Baltazar’s 2/187 C Company, 2nd Platoon, and elements of Lt. Colonel Preysler’s HQ, deployed from their Chinooks in the center of the valley and began securing a perimeter. C Company’s three platoons were spread out around the valley at different LZs, with 3rd Platoon landing at LZ 4 for their march to BP Diane, 1st Platoon landing at LZ 3 for BP Cindy, and 2nd Platoon with all the HQ elements landing at LZ 1. Their immediate objective was to clear a small al Qaida compound that had been identified in recent reconnaissance photographs. All three platoons were taking fire: the 2nd Platoon LZ was fired upon from a machine gun position 400 meters away, actually on a ridge behind the compound.[149] Two of the company’s machine gunners returned fire, supressing a pair of fighters before the position was destroyed by an Apache strike that Preysler had ordered.[150]

As 2nd Platoon was clearing the compound they discovered that it had been recently occupied. The mujahideen, who had fled to the surrounding hillside, had been heavily equipped, their stash containing “several recoilless rifles, [2] 82 mm mortar tubes and rounds, dozens of AK-style assault rifles and RPGs, Dragunov [SVD] sniper rifles, three [or 1?] sets of U.S. PVS-7 night-vision goggles, binoculars, and handheld ICOM radios that Sergeant First Class Anthony Koch, the troops’ platoon sergeant, said ‘were better than ours.’” Other debris included a Nike sports bag originally from Beaverton, Oregon, 50 alarm clocks and an assortment of wrist watches, in addition to a quantity of foreign currency.[151] The compound had six beds, and the fighters who had scrambled out had left behind not only their still brewing tea but also their shoes.[152] The compound was soon taking gunfire from the surrounding hills, and Preysler attempted to call in 120 mm support, but his forward observer discovered that the mortar, at the southern end of the valley with Kraft’s company, had already been engaged.[153]

Preysler decided to set up his HQ just outside the compound and called in Apache helicopter and Predator drone attacks, which quickly combined to silence the enemy who were firing on them from the vicinity of  BP Cindy.[154] At about 7 am Preysler now informed Baltazar that he wanted them to move, with 2nd Platoon, to secure BP Betty to the northeast.[155] This took five hours to accomplish, by which time 1st Platoon had taken BP Cindy and 3rd Platoon BP Diane.

compound

The compound 2nd Platoon, C Company, 2/187, was ordered to take near LZ 1, at the northeastern side of the valley, from Donald Wright, A Different Kind of War

2:87A

The situation in the north, 2 March, from Donald Wright, A Different Kind of War

Sergeant First Class Kelly Luman of 3rd Platoon had responsibility for securing BP Diane, the easternmost position on Hill 3033, with Preysler’s Scout Platoon about half a kilometer away. Luman was a hard-charging platoon sergeant who had been promoted to command 3rd Platoon after Lt. Colonel Preysler had removed the lieutenant.[156] Luman’s platoon used M240 fire to eliminate an occupied camouflage position as they advanced towards their BP, reaching it in the snowline before 8:45 am, when they came under, and returned fire against, enemy positions on Hill 3033.[157] This was still going on at 10:30 am when all of Captain Baltazar’s platoons were in their positions, Baltazar, with Preysler and 2nd Platoon having left the compound and established themselves at to the north at BP Betty, before the HQ elements detached from 2nd Platoon to establish BP Amy.[158] By the afternoon, in short, all four northern blocking positions were established, a major success – if the mission had in fact still been primarily a blocking operation.

Amy

1/187 Soldiers at BP Amy, the entrance to the Shahi Khot from the north, Donald Wright, A Different Kind of War

Just south of the 101st BPs, Captain Roger Crombie’s 1/87 A Company had been planning to land on LZ 5 on the slopes of Takur Ghar, although the Chinook pilots vetoed this choice as too steep, and instead landed south of BP Eve, east of the village of Marzak.[159] A Company’s scouts tracked south towards BP Ginger, while Crombie and 22 men from 1st Platoon moved west towards Eve.[160] Sergeant Reginald Huber used his M203 grenade launcher to kill two shooters, and scatter a group of suspected child soldiers who he spotted hiding in a crevice 100-150 meters away.[161] From his position on the slopes of Takur Ghar Crombie’s force could cover the entire valley, while only being exposed to fire from that mountain’s ridge, 1.8 km to the south.[162] In Marzak Crombie could see a dozen fighters mobilizing and wanted to call down air strikes, but could not get priority over the communications net.[163]

South

The situation in the south by mid-day, 2 March, from Donald Wright, A Different Kind of War

C Company’s CO, Captain Nelson Kraft, 1st Lt. Brad Maroyka’s 1st Platoon and Paul LaCamera, the 1/87 battalion commander all landed at 6:15 am in the first Chinook south of Marzak (LZ 13A), and were immediately reinforced by the second Chinook (LZ 13), carrying the battalion operations officer Major Jay Hall and 1st Lt. Aaron O’Keefe’s 2nd Platoon, plus a single seven-man 120 mm mortar commanded by Sergeant First Class Michael Peterson.[164] The third CH-47, carrying 3rd Platoon, flew to a different LZ two kms distant.[165]

1st Platoon, accompanied by both the battalion and company commanders, was taking fire as soon as it stepped onto the LZ. Within minutes of clearing the LZ Captain Kraft noticed the volume of fire increase dramatically, including RPGs and machine guns from the surrounding valley, and made the decision to drop rucksacks and begin engaging the enemy along the hillsides to their north.[166] 1st Platoon, with Kraft’s company HQ and LaCamera’s TAC team, deployed into a wide depression later coined “Hell’s Halfpipe”, perhaps half a kilometer in advance north of BP Heather. This was close to but vertically separated by a significant drop from where Mako 31 had knocked out the DShK position on “the Finger”.[167]

1st Platoon was soon taking accurate mortar and machine gun fire from Tarkur Ghar to the east, and several American soldiers were wounded when the 120 mm team was hit by the enemy’s 82 mm mortar fire, of which as we have seen there were numerous positions around the valley.[168] 1st Platoon was under constant mortar and even direct artillery fire, Maroyka’s squads sustaining a number of casualties, but also inflicting casualties on the platoon strength enemy on Takur Ghar.[169] 2nd Platoon was still taking automatic rifle and RPG fire near its LZ, but the enemy were suppressed by rocket and cannon fire from one of the orbiting Apaches. Battalion commander LaCamera conferred with Colonel Wiercinski – who was not more than a kilometer away at his outpost (see below) – on the radio, and then ordered Kraft’s C Company to secure the area and establish a defensive perimeter. Kraft in turn ordered O’Keefe’s 2nd Platoon to move up and reinforce 1st Platoon.[170] O’Keefe quickly established a casualty collection station, attended by battalion surgeon Major Thomas Byrne.[171]

India could see the location of one of the mortar crews that was firing on C Company: a machine gun and mortar redoubt that was close to their own position on Tergul Ghar facing “the Fishhook” – the southwestern entrance into the Shahi Khot. The AFO team had in fact called in air strikes against this mortar at 7:10 am, but the target was not destroyed until the Apaches swept “the Whale” at 8:40 am.[172] At 9 am Juliet, in the north, called in a JDAM strike against a squad of six fighters they spotted approaching Major Preysler’s battalion HQ about a kilometer distant from the compound at BP Betty.[173]

From his position at the south of the valley, where most of the fighting was taking place, Captain Kraft radioed Maroyka at 1st Platoon and ordered him to continue moving north, towards BP Heather, with the 120 mm mortar in support.[174]

At about this time, the Apache piloted by Chenault and Herman fired a Hellfire missile, destroying an al Qaida cave that had been identified by Preysler’s 2/187 battalion.[175] Pilots Ryan and Kilburn at this time were attacking a position north of BP Ginger with 30 mm canon fire when their canopy was raked by gunfire, bullets narrowly missing Ryan’s head.[176] The three remaining Apaches were at the end of their endurance, and at 7:50 am they retired to the Texaco fueling point to reequip.[177]

Raktak

TF Rakkasan snipers and air controllers on top of the TAC ridge, south of Objective Remington, from Donald Wright, A Different Kind of War

TF Rakkasan commander Wiercinski and Lt. Colonel Corkran, who were orbiting the area in their C2 Blackhawks, now deployed to their pre-selected position on “the Finger” with views of the entire valley. Wiercinski’s Blackhawk took RPG and AK fire while trying to land,[178] but both helicopters unloaded their high-value passengers successfully onto the position that became known as the TAC ridge, after Wiercinski’s tactical command post, in fact overlooking Captain Kraft’s C Company position.[179] From the ridge 1st Lt. Justin Overbaugh, scout platoon leader, established a sniper and air control position from which they attempted to engage an enemy squad several hundred meters to their north. Wiercinski called in a JDAM strike that missed the target, and a follow-up Apache strike succeeded only in suppressing them.[180] The enemy squad was composed of nine men, who seemed oblivious to the coalition HQ they were walking south towards, and as such they were quickly eliminated by Corkran’s scouts when they got close enough.[181] It was now that Mako 31 scrambled down from the DShK location that they had knocked out and joined the TAC ridge HQ group.[182] This 11-man headquarters unit was now in the process of coordinating air strikes around the valley when it was put under accurate fire by mortars and automatic rifles. Panama veteran Wiercinski had James Murray, coordinating air operations from the orbiting Blackhawks, deliver F-16 strikes that quickly wiped out the nearby mujahideen firebase.[183]

It was now at 9:30 am, and Captain Kraft’s C Company, still missing most of its equipped from when they had dropped their rucksacks at the LZ, was heavily engaged by machine gun fire, the blocking position now a funnel through which al Qaida escaping the north were rushing.[184] After 10:00 am Technical Sergeant McCabe, who was LaCamera’s battalion terminal attack coordinator, arranged a B-52 strike from “Blade” that delivered 24 Mark 82 500 lb bombs on positions at the base of Takur Ghar.[185] This fearsome display of airpower boosted morale, but was dangerous given the proximity to friendly soldiers. By noon C Company had sustained dozens of casualties, at least 20, mostly from the accurate 82 mm mortar fire they had received from Takur Ghar, and  by this time was also running low on ammunition and gun lubricants.[186] At 3 pm LaCamera’s HQ group itself was hit, wounding Hall, their command sergeant major, the fire support officer (FSO), and several others.[187]

Given the intensity of the firefight in the valley below him, Wiercinski, after consulting with LaCamera, made the difficult decision to delay medivac flights until nightfall. Wiercinski also called in a reserve Apache from Kandahar, in fact the last immediately operational Apache in country other than Bob Carr’s, whose 30 mm hydraulics had been fixed within 45 minutes at Bagram.[188] An hour later two of the damaged Apaches had been suitably repaired, giving Wiercinski a total of four operational helicopters. Chenault was the first back on station. Later in the day all the Apaches were sent back to Bagram to re-arm and repair.[189]

Back at Bagram General Hagenbeck was making the decision to pull LaCamera, along with Kraft’s company, out of the south so that they could re-organize in the north where the situation was more stable.[190] In the north Captain Baltazar’s C Company was in good condition and Captain Crombie’s A Company had been only lightly engaged by about a dozen fighters, encountering only sporadic guerilla targets.[191] TF Hammer, however, clearly was not going to reach the Shahi Khot on schedule, and there were still many fighters offering staunch resistance in the valley. Hagenbeck intended to bomb Marzak itself, which seemed to be the source of the Taliban fighters, but was also vacillating on whether or not to commit the second wave of Chinooks, carrying the rest of TF Rakkasan.

The TF Hammer approach was indeed completely stalled. As the morning continued that mixed column withdrew to the village of Carwazi and deployed its own mortars to begin engaging the enemy positions on Tergul Ghar.[192] McHale and Haas were weary about advancing any further given the accurate fire they were taking from “the Whale” and the lack of a clear understanding about the situation in the valley also weighed against being too aggressive with their tenuous Afghan force. An F-15E and a French Mirage attempted to support TF Hammer, but more air support could not be supplied given the divided air support priorities between the AFO teams, TF Rakkasan, and TF Hammer.[193] That afternoon the mujahideen started shooting their Soviet 122 mm howitzers alongside recoilless rifles at TF Hammer, further dissuading the convoy from approaching the valley.[194] As the convoy was pulled back to avoid the incoming fire one truck was damaged beyond repair, and mortar fire hit a small group of Afghans, killing one fighter and wounding three badly amongst several others. The CIA operative “Spider” attached to the convoy called in an Mi-17 helicopter to medevac the badly wounded.[195] Although Zia Lodin initially wanted to continue the attack, by 2:30 pm the demoralized Afghan decided discretion was the better part of valour, and the entire force presently returned to Gardez.[196]

F5F4F3F02

Video of airstrikes by F-14s and F-16s released by the Pentagon from 3 March raids, AP newsreel archive.

To the planners back in Bagram events in the valley seemed to be spiraling out of control. Major General Hagenbeck, in a satellite telephone discussion with Wiercinski at 3:27 pm, was on the verge of calling off the operation all together and pulling out that night.[197] Blaber and Jimmy opposed this option, noting that the AFOs were still coordinating air strikes around the valley, and were scheduled to be resupplied by airdrop that night.[198] Hagenbeck and Wiercinski ultimately decided to send in the second wave of Chinooks, marshal their forces in the north, and then sweep the valley as initially planned, before extracting the 1/87 force in the south that night.[199] Wiercinski was adamant that LaCamera and C Company be pulled out and reformed at Bagram.[200] The TF Rakkasan commander communicated this decision to the 2/187 CO, Preysler, who was north with Baltazar’s C Company at BP Betty.[201]

In a frustration for LaCamera his second wave of three chinooks, with Kraft’s 3rd Platoon and every 60 mm mortar in the battalion aboard, was unable to land in the south during the afternoon due to protracted gunfire from the concentrated fighters below.[202] At 6 pm however Preysler’s A Company, plus an attached 60 mm platoon, arrived at LZ 15 in the north near BP Betty where the rest of C Company 2/187 and Helberg’s 1/87 Scout Platoon were assembled to spend the freezing night.[203]

Night fell after 6 pm, and with AC-130 gunships on station pulverising the DShK positions as they were identified, the level of enemy fire dropped so that by 7 pm LaCamera was able to call in a MEDEVAC from two HH-60 Pavehawks to retrieve 14 of his more than two dozen wounded.[204] Captain Kraft sent 1st and 2nd Platoons to retrieve their rucksacks, so that when the TF Talon Chinooks arrived the entire 1/87 force could be quickly loaded and extracted, which took place around midnight, the same time Captain Kevin Butler and 2/187’s A Company (with his 60 mm mortar section) was landing in the north of the valley, six hours behind schedule, and deploying to secure BP Amy.[205] For its part, LaCamera’s 1/87 infantry had sustained 26 casualties, none of which were mortal. At about 10:15 pm India coordinated a B-52 strike that dropped a string of JDAMs on an enemy casualty collection point.[206] Wiercinski, taking advantage of the cover of night, conducted some final business and then extracted his TAC HQ position by Chinook around 3:30 am, minus the SEALs in Mako 31 who, resupplied, departed to join up with India on “the Whale”.[207] Around 6 am a B-52 strike, authorized by Hagenbeck, bombed locations in Marzak, the village suspected of being the primary Taliban stronghold.[208]

Takur Ghar, 3 – 4 March

interior3interior19interior13interior11interoir2

AP newsreels, describing situation in Gardez, 3 March 2002, and showing airstrikes on the Shahi Khot.

The morning of 3 March was hazy, giving both sides a chance to recuperate somewhat from the intense fighting the previous day. At Gardez Blaber, who along with “Spider” and Chris Haas, was planning how to get Zia Lodin’s Afghan force back to the valley, was now joined by two fresh Team Six SEAL elements from Captain Joe Kernan’s TF Blue, Mako 30 and Mako 21 (and a ISA operator known as “Thor”) under the command of Lt. Commander Vic Hyder with orders from Brigadier General Trebon at TF 11 to insert as soon as possible.[209] Earlier that morning at 2:25 another SEAL element, Mako 22, had already inserted by MH-47 several kilometers south of India, as their replacement.[210] Trebon, the JSOC deputy, was taking charge of the AFO elements, but Lt. Colonel Blaber, the Delta AFO coordinator, was not satisfied that this was either prudent or necessary, given both the preparation that the AFO teams already in valley had taken and considering the risk of sending even more exposed transport helicopters into the Shahi Khot.[211]

Upon arrival at Tergul Ghar Mako 22 discovered not only that they were missing key equipment (they had to use some of India’s gear) but also that the airstrikes they were tasked with calling in on mortar positions in Babulkhel and on “the Whale” were greatly delayed by the confused situation in the valley. The resupplied Juliet team continued to coordinate airstrikes, including a highly accurate B-52 JDAM strike that obliterated an enemy bunker on “the Whale” at 6:04 pm, and another around 6:30 that destroyed a mortar position identified on Hill 3033, actions that were complimented by CIA Predator drone strikes on enemy locations at Zerki Kale.[212] After sunset India turned over their position to Mako 22, and, joined by Mako 31, both teams walked southwest to an arranged exfiltration point where they were met by Captain John B. and Sergeant Major Al Y., who retrieved the two AFO elements with their small three-vehicle convoy.[213]

airstrike03airstrike02airstrike07

airstrike08airstrike05

3 March 2002 AP newsreel on coalition leaflets dropped around Shahi Khot, interrupted when B-52 strikes take place. Villagers described extensive multi-day bombing and civilian deaths.

In the north Preysler’s men, joined by Butler’s A Company at about 8 am, had slowly made their way to LZ 15, while Crombie’s A Company 1/87 crossed the original al Qaida compound that Preysler had cleared the day before, ominously encountering sporadic enemy resistance including 57 mm recoilless rifle, mortar, DShK and RPG fire in the process.[214] Crombie’s men dropped their rucksacks at the compound and headed north.[215] Preysler’s force at LZ 15 was under fire from several 82 mm mortars that had appeared on “the Whale” – so far managing to avoid the F-15 strikes called against them – although Butler’s 60 mm section believed they had knocked out one mortar position, while 2/187’s scout-snipers went into action against another.[216] Certainly the enemy’s fire had in some cases been highly accurate, focused primarily on Lt. Jack Luman’s 3rd Platoon, by 10:30 am none of Baltazar’s platoons had yet sustained any serious casualties, but, with LaCamera’s men pulled out of the south the night before, the enemy could now concentrate all their effort against the north, and intense gun and mortar fire continued all day of the 3rd. “This was a coordinated ambush that we walked into,” Captain Crombie recalled.[217]

Lt. Colonel Corkran, still at Bagram, was also ordered to deploy the 1/187, to the north of the valley around noon, near Juliet’s position, and to start moving south to clear the enemy’s cave entrenchments, in the process retrieving the friendly blocking forces before rendezvousing with Preysler’s 2/187 units (there would now be four different company HQs around LZ 15) and then conduct a unified sweep south.[218] Corkran embarked his mixed units, including Captain Patrick Aspland’s C Company, plus 3rd Platoon from D Company, Captain Chris Cornell’s B Company, 1/87, the battalion Scout Platoon, and a Canadian sniper team. This powerful force was aboard their Chinooks and underway to LZ 15 at 12 pm.[219] Due to the gunfire on their LZ, Corkran’s main force was unable to land and, with fuel low, was redirected back to Bagram: Corkran was not able to get into the LZ until 8 pm, by which time Wiercinski had redeployed to LZ 15.[220] The CH-47 carrying Cornell’s B Company HQ, parts of C Company 1/187, and the 1/187 engineer platoon, however, did not receive these notifications and landed despite the enemy fire at approximately 3:10 pm, Cornell presently joining with Preysler’s units in the reaction to contact firefight that was developing in the north of the valley.[221]

Mako 21 & Mako 30

The two SEAL teams that had joined Blaber at Gardez had different objectives. Both teams would be flown in by 160th SOAR Chinooks: Mako 21 was to insert near Juliet team, locate them, and deliver resupply to keep the Delta AFO in operation,[222] while Mako 30 was tasked with inserting at LZ 1 near Takur Ghar, hiking for four hours up the mountain, and then establishing an OP.[223] Around 10 pm, when Blaber and the other SOCOM leaders were preparing for their next TF Hammer attempt (“Operation Payback” – an attempt to insert ODA 394 plus the Afghans at the valley’s northern entrance, known as “the Guppy”),[224] the SEAL commander Vic suggested to Blaber that they change Mako 30’s insertion point to the peak of Takur Ghar itself. This was a risky decision, given that it was well known by now that the mujihadeen were emplaced on and around Takur Ghar. Blaber, although he recognized the importance of the target, stressed that this was impossible to do that night.[225]

The two 160th SOAR Chinooks, Razor 03 and Razor 04, designated to carry the SEAL teams arrived at Gardez at 11:23 pm, picked up Mako 30 and 21, and departed for the Shahi Khot. Their arrival was delayed first by lack of AC-130 coverage and then by ongoing B-52 strikes.[226] The flights returned to Gardez. An engine problem aboard Razor 03 now delayed their launching while replacement helicopters were flown in from Bagram,[227] which meant that Mako 30 would not have enough time to climb to the Takur Ghar summit in the darkness before dawn.[228]

Razor 03, the MH-47E Chinook now carrying Mako 30, was piloted by Chief Warrant Officer Al Mack, 2nd Battalion, 160th Special Operations Aviation Regiment (SOAR).[229] Mako 30 was primarily a SEAL Team Six unit, composed of six SEALs, one Air Force Combat Controller from the Air Force’s 24th Special Tactics Squadron, and the ISA operator “Thor”.[230] Mako 30’s Team Leader was Navy Senior Chief Petty Officer Britt K. “Slab” Slabinski. Slabinski’s point man was Randy, and they were joined by SEALs named Kyle, Brett, and Turbo, plus the M249 gunner who was Navy Petty Officer 1st Class Neil C. “Robby” Roberts. The attached USAF Air Combat Controller and radio operator was Technical Sergeant John “Chappy” Chapman.[231]

Slabinski, the Team Leader of Mako 30, was worried the delays would mean a daylight landing. His superior, Vic, called General Trebon (TF 11) at Bagram to request a 24 hour delay, pointing out that they could not possibly insert before 2:45 or 3 am.[232] While not ordering the mission to continue, Trebon strongly recommended that the target was important enough to be worth the risk of going ahead immediately.[233] Vic and Slab conferred with the Razor 03 pilot Al Mack, who had not seen imagery of the Takur Ghar ridge, although Vic and Slabinksi had both seen the AFO reconnaissance photographs of the peak. Mack was willing to try to land the team directly on the summit.[234]

An AC-130U, codenamed Nail 22, was covering the valley at this time. Al Mack requested that Nail 22 sweep the LZ (ie, the peak of Takur Ghar), to which the report was negative, no IR contacts.[235] Slabinski later said he thought the Nail 22 guys were bullshitting Mack: the confirmation had come back too quickly – worse, the AC-130 reported that it was supporting the troops in the valley, so could not maintain its focus on the summit. These cumulative red flags by this point seriously concerned Slab regarding the success of the mission, but he and Al Mack ultimately decided to proceed anyway.[236]

Razor 03 and 04 had refueled at the Texaco waypoint before heading for their landing zones at 2:30 am, now a moonlit 4 March. Mako 30 was thus approaching the snow covered peak of Takur Ghar at 3 am.[237] Approaching the 10,200 foot ridge the SEALs and Chinook pilot, through their night vision goggles (NVGs) could see the footprints of what they presumed to be Afghan goatherds in the snow.[238] The starboard ramp M60 gunner, Distinguished Flying Cross winner Sergeant Dan Madden, saw trenches criss-crossing the ridge. Over the Chinook’s internal ICS network Madden informed Mack.[239] As Mack flared the Chinook for landing a plume of snow was blown up around them, and it was at this moment that he spotted what he clearly identified as a DShK machine gun position facing away from them on the ridge. He reported this to Slab, mistakenly assuming the weapon was derelict from the Soviet war.[240]

As the Chinook was resting with its nose slightly uphill Madden, the rear right ramp gunner, spotted chickens and then a donkey slightly away from them and tied to a tree line.[241] Slab’s point man, Randy, augmented this report when he observed “goats hanging in a tree” – fresh meat, clear evidence that the LZ was occupied. A second later the left door gunner, Jeremy Curran, spotted a person, stating over the radionet that a “guy just popped his head up.”[242]

The Chinook pilot Mack was incredulous, so he ordered the gunners to hold since they were not yet taking fire. Slabinski at this point was convinced they were in an enemy occupied LZ, but Mack was not certain – the guys on the mountain could be anybody. Slab was ready to go. Madden called out to Mack, “We’ve been on the ground fifteen seconds already. Am I ramp-clear down?”[243]

“Yeah, ramp’s clear,” replied Mack. Madden started lowering the ramp. Curran again reported that he’d spotted somebody.[244] Suddenly machine gun fire was coming in along the rear of the helicopter. In the cockpit Mack remembered looking through the windscreen when he saw the first guy pop up and fire an RPG at them. The RPG penetrated the helicopter’s electrical pod, missed the fuel tank, but punched through the left minigunner’s magazine before exploding inside the helicopter. Mike Nutall, the right door gunner, was stunned and Jeremy Curran, the left door gunner, had the wind knocked out of him by the impact.[245] A second RPG at this point struck the helicopter’s right-side radar pod.

These two impacts instantly blinded and disarmed the Chinook, which, without AC electrical power, could not arm the miniguns or power the GPS navigation system or the CRT displays in the cockpit.[246] The intercom, however, used DC power and still functioned. Mack saw a third RPG explode in the snow in front of the aircraft, showering the windscreen in shrapnel, and he believed a fourth struck their starboard turbine engine.[247] Someone on the ridge was firing machine guns at them as bullets pierced the Chinook’s skin and significantly impacted the rotor transmission, cutting the hydraulic line and spraying the interior with hydraulic fluid, threatening to disable the aircraft entirely.[248] Luckily for the crew and occupants, now flat on their stomachs, the angle of the Chinook’s landing meant that the mujahideen’s fire was directed generally above them.

Al Mack wanted to know if Slabinski’s team was going or had already jumped. Madden, the starboard ramp M60 gunner, who had actually been hit twice by deflected AK47 bullets on his non-ballistic proof helmet, at this point shouted either “we’re hit, we’re taking fire, pick it up” or “fire in the cabin,” concluding with, “Go! Go! Go!”.[249] Madden tried to raise the ramp, but without hydraulic pressure the controls did not respond, so instead he grabbed his tethered M60 and started firing along the treeline, using the donkey they had spotted earlier as a reference point.[250]

Mack, however, was already lifting off and it was now that Neil Roberts, Mako 30’s M249 gunner, fell down the ramp. Madden saw the portside M60 gunner, Alexander “Prod” Pedrossa, trying to grab Roberts by the ruck handle, and Madden himself managed to catch Roberts by the boot, but the fully equipped SEAL weighed at least 300 lbs, and since he was not wearing a safety harness, nothing could stop his fall as the helicopter lifted off.[251] Roberts fell ten feet and landed on his back in the snow in the middle of the firefight on the mountaintop. Prod, strapped into the Chinook, was dangling from his tether as Madden pulled him back aboard, although Prod had ripped his M60 from its socket in the process.

roberts

Neil Roberts

“We lost one,” Madden shouted into his mic, “we got a man on the ground.” Mack and his co-pilot were convinced Madden was talking about a lost engine, which they suspected had been struck by an RPG, although Madden could hear that both engines had power.[252] What Madden could not hear was anything from the door gunners, Nutall and Curran, who he assumed had been killed. Mack wanted to know why the guns were not firing, to which Madden replied, “the miniguns are down. I got a 60. That’s all we got.”[253]

“There’s a guy on the LZ” Madden repeated. “What?” What did you say?” asked Mack. Madden repeated himself, adding that “one of the team guys is on the LZ.” Mack knew he had to go back. Curran clipped in over the net, wanting to know what was happening. Mack told him they were going back to get Roberts, despite the miniguns being out. The crew were ready to go when Mack realized he had lost control of the helicopter.[254] “I can’t move the controls” he reported, and then asked Madden to double check the hydraulic pressure. Madden reported again that the pressure was zero.[255] Madden saved their lives at this point by opening one of the spare cans of fluid kept near his station and pouring it into the auxiliary hydraulic fluid port.[256]

In the cockpit Mack felt his controls return. He circled the helicopter around the LZ, but feeling the controls going again he reported that he had “lost flight control” and was aborting the rescue.[257] Machine gun fire was hitting them again from the LZ, tracers flying through the night sky. Looking down at the ridge Madden was certain he could see the flashes from an M249, confirming in his mind that Roberts, 32, known as “Fifi” a 12 year SEAL veteran and graduate of BUD/S Class 184, was alive.

The Chinook limped four miles northward, down from the ridge, right over-top of Captain Butler’s HQ, before exhausting its supply or reserve hydraulic fluid (Madden pumped in all four of their spare cans),[258] and then crash landed at 2:58 am about 700 meters from Wiercinski and Preysler’s LZ 15 HQ, also relatively close to Juliet’s location.[259] Madden sustained fractures on two ribs and four vertebrae. Mack and his co-pilot exited the vehicle in shock while the remainder of the Mako 30 team grouped up on the ground. Mack asked Slab how many of his men had fallen out, but Slab had only seen Roberts fall.[260]

remainsRazor03
The remains of Razor 03, from Leigh Neville, Takur Ghar (2013), p. 39

Slabinski had Chapman set up his radio and try to get in contact with a rescue party. Chapman was soon in contact with Grim 32 (piloted by Air Force Major Daniel “DJ” Turner) and Grim 33, the two AC-130Hs that were now on station. Chapman tried to contact Roberts on his interteam radio but it was out of range, so Chapman asked Grim 32 to scan the peak and determine if Roberts was alive. Chapman soon found himself in contact directly with General Trebon, who wanted to know what the situation was.[261]

Mack’s wingman, Chief Warrant Officer Jason Friel flying Razor 04, who had delivered Mako 21 to their insert near Juliet’s position at 2:38,[262] was quickly rerouted, thanks to information provided by one of the orbiting AC-130 pilots, to pick up the stranded crew whose position he arrived at 30-45 minutes later.[263] Slabinski now radioed Blaber who, having departed Gardez at 2:20 am, had just arrived with the rest of the reconstituted TF Hammer at the northern Shahi Khot entrance (“the Guppy”) and informed him of the helicopter crash.[264]

Initially Friel and Mack planned to leave the Razor 03 crew behind and fly back up to Takur Ghar, with Mako 30, to rescue Roberts, before returning to the Razor 03 crash site and retrieving Mack’s crew, with the entire group then exfiltrating.[265] Meanwhile Chapman (and Blaber) coordinated with Grim 32 and 33, vectoring the latter to fly protection over the crash site while the former went to survey Takur Ghar.[266] With reports from an Orion P3 aircraft that there were approaching enemy near the crash site (in fact Wiercinski’s TF Rakkasans – demonstrating a serious communication flaw if the SOAR pilots and AC-130 gunships could not properly identify Wiercinski’s by now battalion-sized forces who had been holding LZ 15 for almost two days) and with the Razor 04 Chinook now dangerously overweight carrying two helicopter crews and Mako 30, the only option was to return to base. General Trebon relayed this order to Chapman.[267] There was a brief panic when Friel landed Razor 04 and collected the crashed crew, as two of Mack’s men were still securing the Razor 03 crash, but the crew heard Friel’s rotorwash and quickly climbed aboard.[268] Razor 04 landed back at Gardez at 4:34 am.[269] As Naylor has pointed out, the astonishing factor in this series of events was the lack of communication between TF Blue and CJTF Mountain – it was as if two completely separate battles were taking place less than a thousand meters apart.[270]

These developments led to two actions that would have significant consequences for the operation. First, at 4 am, the JSOC QRF, Captain Nathan Self’s A Company, 1st Battalion, 75th Ranger Regiment, was notified to prepare for a rescue operation. Second, Slabinski and Friel decided to try once more to deploy Mako 30 on Takur Ghar, this time to rescue Roberts.[271]

Roberts had in fact survived his fall and activated an IR strobe. Grim 32’s Fire Control Officer Ian Marr spotted Roberts’ IR strobe at the same time a Predator drone arrived to observe the ridgeline, by the clock no more than 25 minutes after the initial aborted landing. Grim 32 used a laser to designate the ridge, hoping that Roberts, if alive, would be able to see the beam through his night vision.[272] Roberts appeared to be leaning against a tree and was surrounded by between three to six enemy fighters, but to Grim 32 this looked like it could be as many as ten, who were possibly taking him prisoner.[273] In fact, Roberts had by now been shot and killed at close range after trying to engage the enemy fighters with his M249, which likely jammed during the brief encounter.[274]

Stripped down to make the flight back to Takur Ghar, Razor 04 left Gardez at 4:45 am, carrying Brett the M60 gunner, Chapman and Turbo with M4s, and Kyle, Slab, and Randy with SR25s.[275] Slabinski had briefed the team that they were going back up to the ridge and concluded his brief with the oblique statement that “we’re going back up there and killing every last one of those motherfuckers.”[276] Blaber communicated with Grim 32 and authorized the AC-130 to attack the enemy visible on the ridge – also visible from Juliet’s position – just prior to the arrival of Mako 30.[277] Due to a last second change in communication protocol the AC-130 did not receive final permission to fire.[278]

ENDURING FREEDOM

11th Reconnaissance Squadron RQ-1L Predator Drone, based out of Indian Springs, Nevada, conducting pre-flight checkout from an undisclosed Middle Eastern location in support of Operation Enduring Freedom, 9 November 2001, Technical Sergeant Scott Reed, USAF collection.

01

Razor 04 deploys Mako 30

Friel managed to make the landing, deploying Mako 30 on the mountain top, despite heavy enemy fire, just before 5 am.[279] Slabinski was temporarily delayed when he dropped waist deep into the snow, but John Chapman charged up the ridgeline, killing the two Chechen fighters who were manning the first position.[280] “It was as if the Controller [Chapman] was a man possessed” wrote Dan Schilling of this heroic moment.[281] In fact, by capturing the first position, Mako 30 was nearly on top of Robert’s body, but in the gunfight they never noticed the fallen SEAL.[282]

0203

Slab and Chappy move towards the enemy’s defensive position on the ridge

0405

Location of Roberts’ body and Chapman rushing the enemy

06

Chapman storms the enemy position, defeating two fighters, before being joined by Slab and the rest of Mako 30. Shortly after this Chapman is shot twice by the fighters from the second position.

Immediately after taking the first position, Mako 30 was exposed to PKM and RPG fire from a second entrenchment, 25 feet behind the first.[283] While Slabinski fired 40 mm grenades at the second position, Chapman was hit and mortally wounded, and as Chapman was the radio operator this temporarily cut off Mako 30’s communications.[284] Brett, the M60 gunner, blasted away at the second position, but was then hit by shrapnel from a frag grenade and shot twice in the leg.[285]

18

17

16

Visualization of Chapman storming the first position and engaging the second position, before being shot.

Despite throwing hand grenades and firing their weapons in an attempt to suppress the second position, the bunker had not been reduced and Mako 30 was already running low on ammunition.[286] Unable to capture the second position, with Roberts and Chapman both apparently killed and two or three others wounded, Slabinski tossed a smoke grenade and withdrew the team, scrambling down the mountainside at about 5:10, the entire firefight having lasted not more than thirteen minutes.[287] He then used his hand-held radio to regain communications with the orbiting AC-130 (Grim 32) – the pilots and crew described seeing gun flashes, tracers and lasers projecting in every direction – and proceeded to plastered the ridge with 75 rounds of 105 mm fire, as the mujahideen likewise fired mortars onto the mountain peak.[288]

0708

This shows Brett the M60 gunner (at left) engaging the second position (middle) from the boulder above the first entrenchment, until he is hit by grenade fragments and falls off the boulder, landing near Slabinski.

0910

Slabinski, with Roberts and Chapman believed dead and Brett injured, decided to pull out, and the SEALs can be seen here (bottom) retreating from the first position after popping a smoke grenade (just above them).

In fact, John Chapman had survived being shot, and continued to engage the enemy as additional mujahideen arrived on the summit. Chapman managed to despatch several fighters before being overrun and shot to death just as the QRF was landing around 6:11 am.[289]

1211

Grainy footage showing the wounded Chapman (green) engaging enemy fighters (red) after the GRIM 32 105mm howitzer strikes.

1314

Chapman, shortly before being overrun and shot at point blank range, attempts to distract the fighters around him from attacking the approaching QRF helicopter, which is nevertheless struck by an RPG.

Slabinski

In May 2018 Master Chief Petty Officer Britt “Slab” Slabinski was awarded the Medal of Honor for his role as the Mako 30 team leader at Takur Ghar on 4 March 2002

Chapman

 Air Force Controller Technical Sergeant John “Chappy” Chapman was posthumously awarded the Medal of Honor in August 2018

Robert’s Ridge

Roberts Ridge

Peak of Takur Ghar, March 2002

The 22-23 strong Ranger QRF, 1st Platoon, A Company (plus an air controller and a three-man 160th SOAR CSAR team), but lacking satellite communications had, about 5 am, departed Bagram aboard Razor 01 (piloted by Chief Warrant Officer Greg Calvert, carrying more than 20 men: the two pilots, a 160th medic, four crew chiefs, a CCT, 9 or 10 Rangers, an ETAC, and the CSAR parajumpers) and Razor 02 (about 16 men: two pilots, four crew chiefs, 10 Rangers and a SEAL).[290] As dawn was breaking the low-fuel AC-130 departed back to its airbase in Uzbekistan, meaning the QRF would be dangerously exposed when the Chinooks arrived on Takur Ghar.[291]

Self

Captain Nate Self and Staff Sergeant Arin Canon aboard an MH-47, from Nate Self, Two Wars (2008).

The sun was rising at 5:45 am, and between 6 and 6:15 am, Razor 01 arrived over Takur Ghar. The Chinook was immediately engaged by enemy machine gun fire, an RPG striking the Chinook’s right engine while the helicopter was still 20 feet off the ground. Riddled with gunfire, the cockpit glass was blown away and the helicopter crash-landed down onto the ridge. Razor 01’s copilot had been shot in the leg, and both door gunners were shot, Sergeant Phil Svitak, the right door gunner, was mortally wounded.[292] Three soldiers (Sergeant Bradley Crose, Specialist (Corporal) Matt Commons, and Specialist Marc Anderson) were immediately killed exiting the helicopter, and five more were badly wounded as the fighters on the mountaintop rained fire down on the crashed helicopter.[293] Razor 02 was waved off and flew back to Gardez.[294]

15

KIA and WIA from the QRF around the crashed Chinook

Razor01razor01peak

Razor 01 crashed on the peak of Takur Ghar, snow cleared. Al Qaida positions directly in front, from Leigh Neville, Takur Ghar (2013), p. 54-6

The Rangers, pilots, medics and crew chiefs blew open the Chinook’s emergency exits and quickly established a perimeter around the Chinook crash, returning fire as machine gun bullets and RPG fire continued to pour in.[295] The Rangers managed to shoot two of the RPG gunners, reducing the danger from the incoming fire.[296] With Specialist Aaron Totten-Lancaster using his M249 to provide suppressive fire, support was added by Rangers Gilliam and Depouli with their M240 machine gun, freeing Captain Self, with shooters Sergeant Josh Walker and Air Force Staff Sergeant Kevin Vance, to form a flanking movement and begin countering the fire from the positions above them.[297] Brian, one of the crew chiefs, picked up Specialist Commons’ M203 (the only one in Razor 01) and handed it off to Walker who dropped 40 mm grenades on the enemy bunker.[298] “We really turned the fight around in about a minute,” Self explained later.[299]

fighters

Fighters shooting down at the Razor 01 crash site, from Leigh Neville, Takur Ghar (2013), p. 52-3, note the sneakers

1280px-The_Battle_of_Takur_Ghar,_by_Keith_Rocco

Sergeant Keary Miller’s Silver Star action during the Battle of Takur Ghar, by Kieth Rocco.

At 7 am Vance, the QRF air controller, was able to call in F-15s which strafed the mountain with their 20 mm cannons.[300] Meanwhile Razor 02, carrying Staff Sergeant Arin Canon and the other half of the QRF again departed Gardez (the SEAL aboard Razor 02 was none other than Vic Hyder), along the way being informed by Slabinski that they should land near Mako 30’s position to avoid the hot LZ. Razor 02 touched down about 300 meters from Mako 30 at 7:30 am, although this meant a 2,000 foot climb up to the ridge to join the rest of the QRF.[301] While the Rangers climbed up to the summit, Vic Hyder went in search of Mako 30, reaching them about an hour later.[302]

Takur Gharridge

The tactical situation on Takur Ghar, 6 – 7 am, 4 March 2002.

The situation at the Takur Ghar ridge itself was critical, as the mujahideen were now deploying 82 mm mortars against the stranded Rangers.[303] The CSAR team moved the wounded, including Sergeant First Class Cory Lamoreaux,[304] and the PJ Senior Airman Jason Cunningham (who was in fact mortally wounded),[305] away from the crashed Chinook to avoid the mortars while Captain Self led a small contingent of four men to attempt to knock out the second position that was pinning them down, but were driven off.[306] An F-16 run that dropped two 500 lb bombs missed the enemy bunker, as did a Predator hellfire missile, although a second hellfire launched at 10:00 am (zeroed in by the Juliet AFO) scored a direct hit and wiped out the second position.[307] The Razor 02 Rangers reached the mountain top between 10:30 and 11 am.[308] The Rangers were still taking fire from mujahideen positioned on a false summit southeast of the Chinook crash site.[309]

battle

The firefight for the summit

ridge

The ridgeline, viewed from Specialist Randy Pazder’s M240B, from Nate Self, Two Wars (2008).

The QRF was still taking mortar fire, however, but by noon had cleared the Takur Ghar ridge, in the process discovering the fate of Roberts and Chapman.[310] A 70-man force (including 35 TF 11 operators) was at that time assembling at Gardez to fly onto Takur Ghar, escorted by Apaches, but this plan was delayed until 8 pm that evening, again indicating how important the cover of night and the presence of the AC-130s was to offset the enemy’s terrain advantage.[311] At 8:15 pm four Chinooks arrived and extracted the entire QRF and Mako 30, including the wounded (11) and KIA, of which there were seven Americans.[312] The mujahideen, however, had been dealt a serious blow as Takur Ghar was in fact their last stronghold in the valley. Furthermore the Taliban commander, Saif Rahman Mansour, was also killed during fighting on the 4th.[313]

rangers

Sergeant Philip Svitak, Specialist Marc Anderson, Sergeant Bradley Crose, PFC Matt Commons, USAF Senior Airman Jason Cunningham, from Nate Self, Two Wars (2008).

miller

Technical Sergeant Keary Miller, Senior Airman Jason Cunningham, and Staff Sergeant Gabe Brown, mid-February 2002.

chalk1chalk2

Staff Sergeant Ray Depouli, Private First Class David Gilliam, Specialist Aaron Totten-Lancaster, rangers from Chalk 1 & Staff Sergeant Harper Wilmoth, Specialist Oscar Escano, Specialist Randy Pazder, Specialist Jonas Polson, Sergeant Patrick George, Specialist Omar Vela and Specialist Chris Cunningham, rangers from Chalk 2, from Leigh Neville, Takur Ghar (2013), p. 50, 62

shootdown

Looking into the Shahi Khot towards the Eastern Mountains from “the Fishhook”, 6:20 am on 4 March, just after the Razor 01 crash, from Pete Blaber, The Mission, The Men, and Me (2008)

Meanwhile early on the 4th, Corkran’s 1/187 troops had marched far enough to the north that they were in direct contact with the Juliet team.[314] Their task was to examine a cave complex identified by the Delta team, which in fact consisted of several huts and significantly two Soviet era 57 mm anti-aircraft guns, although they appeared to be non-functional.[315] Wiercinski now ordered Corkran to move south, clearing the eastern ridges in the direction of Takur Ghar as he did so. Corkran ordered Cornell’s B Company to take point as they moved south.

It was about midday when Cornell arrived at the compound already cleared twice, by Preysler and then Crombie. Aspland’s C Company now took the lead and continued the march south.[316] As they closed in on BP Diane on the afternoon of 4 March, the only area still not secure was BP Ginger, the slope of Takur Ghar through which Wiercinski was convinced the enemy’s reinforcements had been slipping into the valley. As such, Wiercinski now ordered LaCamera’s 1/87 infantry – waiting at Bagram since being withdrawn the night of 2 March, to form TF Summit (Kraft’s depleted C Company, reinforced by two of Crombie’s A Company platoons; all of C Company 4th Battalion, 31st Infantry Regiment – newly arrived from Kuwait; plus B Company 1/187 which until now had been in reserve) and to return to the Shahi Khot to secure BP Ginger. TF Summit was deployed at LZ 3 (west of BP Diane) by 4:30 pm on 4 March.[317] LaCamera’s orders were to clear Takur Ghar, which was a significant mountaineering challenge, and by nightfall TF Summit had only made it about a quarter up the mountain. They were soon joined by Crombie’s A Company who had marched south from LZ 15. As a snowstorm swept the eastern mountains a small group of Taliban, who had survived the battle on the summit, descended the mountain and surrendered.[318]

interior5InteriorBriefing by Major A. C. Roper, 101st Airborne, in Kandahar; he states more than 80 pieces of ordnance have been dropped around the Shahi Khot. Afghan Interior Minister Younis Qanouni states that they have started an operation with the Americans against the Taliban and al Qaida, intending “to clean them out.”

rumsfeld03rumsfeld01

Rumsfeld and Myers give press briefing at the Pentagon on 4 March. Rumsfeld describes heavy casualties, but states that the coalition will not be dissuaded and the Taliban and Al Qaida fighters must either surrender of be killed.

marchsouth

The march to the south, 4-6 March, from Donald Wright, A Different Kind of War

Operation Glock, 5 – 12 March

The following morning (5 March) before sunrise LaCamera received orders to secure a suspected helicopter crashsite to the north west, and he despatched Crombie’s A Company for that purpose. Meanwhile Kraft’s C Company encountered an enemy squad, and was able to destroy it with help from an AC-130.[319] In the event it turned out the reports of the crashed helicopter were false. TF Summit however could see enemy fighters moving around the villages in the valley, in some cases hurriedly loading SUVs. The TF, which by now had a proliferation of 60 mm, 81 mm and 120 mm mortars, quickly bombarded the enemy concentrations. By 6 March BP Ginger was secured, and the Shahi Khot was declared a “free-fire zone” allowing airstrikes on the villages themselves.[320]

G06G05g04Gingerbomb

The Ginger draw being bombed, from Donald Wright, A Different Kind of War

hagenbeck06Hagenbeck05

Major General Hagenbeck briefing reporters on the conduct of Operation Anaconda, 6 March 2002, stating that CJTF Mountain has destroyed as many as 400 enemy fighters, AP newsreel archive

By 8 March reinforcements, under the Tajik General Gul Haidar, were being rushed from Kabul to Gardez, including six BMPs, four T-54 tanks, and about 600 Afghan soldiers.[321] Thus reinforced, Zia Lodin (overcoming the cultural conflict between Pashtuns and Tajiks) was now willing to go back to the valley and begin clearing the villages.[322] The next phase was known as Operation Glock, and took place following a sustained air bombardment of the Shahi Khot over three days, 6 to 9 March. ODAs 394, 594 and 372 would lead the Afghan fighters back into the valley, now supported by their tanks and mechanized elements, after the villages had been suitably bombarded.[323]

SmithDelta

8 March, Colonel Joe Smith, 10th Mountain Division Chief of Staff, tells reporters the Task Force has engaged between 250 to 700 fighters in the last few days, AP newsreel archive

Haidar was in position the morning of 11 March, but his men on “the Whale” would not wait for Zia Lodin to arrive and thus rushed into the valley in advance of both Zai Lodin and Haidar himself who was moving with the mechanized forces through the northern entrance. At first Haidar’s men confused Captain Baltazar’s C Company at BP Betty (ie, directly across the valley) with the enemy and were preparing to engage them when C Company was able to to open communications and prove that they were friendlies. While Haidar cleared Shir Khan Kheyl, Zia Lodin arrived to the south and cleared Babol Kheyl and Marzak. This phase of the operation was over by the afternoon.[324] TF Rakkasan, meanwhile, which had been holding the eastern mountains for the better part of a week, had been selectively exfiltrated since 9 March, the last units arriving back at Bagram on 12 March.

glock

Operation Glock, the Afghan forces arrive and clear the Shahi Khot, from Donald Wright, A Different Kind of War

contrails2contrails1

10 March 2002, B-52 contrails over Gardez, AP newsreel archive

T13T12T11T09T07T03T05T04T02

8-9 March 2002, lead mechanized elements drive to Gardez to reinforce Operation Anaconda (in preparation for Operation Glock), while Afghan T-54 tanks and BMPs depart from Kabul, AP newsreel archive

hilferty

9 March 2002, interview with Major Brian Hilferty, 10th Mountain Division spokesman, at Bagram, AP newsreel archive Hilferty stated the valley was still and active combat zone and that ongoing resupply missions were taking place.

strike03strike02strike05strike01

12 March 2002, Pentagon released gun-camera footage of F-16 and F-14 strikes carried out on 10 March, AP newsreel archive

afghans

Afghan fighters with Pete Blaber, clearing the Shahi Khot, 12 March 2002, from The Mission, The Men, and Me (2008)

apacheapache2binoscoolguygunsinterviewairbornemortarmortar2satphonetrooperpeaksstrikesview

10 March 2002, various shots of 10th Mountain division deploying, firing an 81 mm mortar, and clearing compounds, AP newsreel Archive

S08S07S06S05S04S03S01

Afghan mechanized column returning from Shahi Khot, 11 March 2002, AP newsreel archive

Operation Harpoon & Polar Harpoon, 12 – 18 March

harpoon

3rd Battalion, Princess Patricia’s Canadian Light Infantry on “the Whale”, from Donald Wright, A Different Kind of War


Hagenbeck was still convinced there were enemy forces in the valley, although by this point the last pockets of the enemy were hopelessly overmatched. To follow-up the Rakkasan and Afghan effort, Hagenbeck formed TF Commando under Colonel Kevin Wilkerson’s 2nd Brigade, 10th Mountain. They were supported by the Canadian’s 3rd PPCLI (Lt. Colonel Patrick Stogran), flown in from Kandahar, with Captain John Stevens’ A Company, 4th Battalion, 31st Infantry Regiment, plus HMM-165, a US Marine Corps helicopter unit with attached TF Talon Chinooks.[325] The Canadians were initially tasked with clearing the Naka Valley south of Takur Ghar, but due to confusion at CENTCOM were instead ordered to seize “the Whale” although by this point that objective had been thoroughly bombed and swept multiple times.[326] At any rate, Operation Harpoon was underway on 13 March, with the full Task Force deployed by 14 March.[327] Not surprisingly TF Commando discovered no enemy, although a number of weapons and ammunition caches were located. The afternoon of 15 March the TF did however locate an enemy emplacement held by three fighters, and quickly destroyed it. TF Commando was airlifted out on 18 March.[328]

return008return009return007return006return004return002return001

XbinosXfighterXflagXspecopsXt55

13 & 14 March 2002, coalition special forces and Afghan combatants, BMPs, T-54, return from the Shahi Khot, south of Gardez, as B-52 strikes take place overhead, AP newsreel archive

hagenbeck04Hagenbeck03

Major General Hagenbeck briefing reporters at Bagram on 14 March 2002, AP archive

anacondaplan

Graphic shown to the media by Hagenbeck, March 2002, AP newsreel archive, this indicates the situation during Operation Polar Harpoon.

The final sweep of the eastern valley was carried out by A and C Companies from 4/31 (Lt. Colonel Stephen Townsend) between 18 and 19 March. C Company with Lt. Colonel Townsends’ HQ landed on Takur Ghar and climbed the summit, while Captain Stevens with A Company swept the valley itself. Once again although few if any enemy were encountered a great number of weapons caches and fighting positions were discovered. One ammunition cache was so vast it took 6 hours to completely destroy. The mujahideen positions on Takur Ghar were revealed to be even more elaborate and developed than had been initially suspected, including trenches, command and control posts, and numerous weapons emplacements.[329] Townsend was still on the ridge the morning of 19 March when he heard over the radio General Franks – who was visiting Bagram – announce that Operation Anaconda was over.[330] The last of 4/31 was withdrawn before noon.

harpoon2

harpoon3

TF Commando movements during Operation Harpoon & Polar Harpoon, from Donald Wright, A Different Kind of War

binosChinookchinooksupplyenemyenemycampphonesunsettroopsvaley02valleyvalley03valley04

US troops conclude operations in the Shahi Khot valley, 18/19 March 2002, AP newsreel archive

Aftermath & Conclusion

Cheney

Vice President Cheney touring the Middle East, 13 – 17 March, visiting Al-Udeid Airbase, Qatar, the USS John C. Stennis, Sharm El-Sheikh, Egypt, and other locations.

reed

Sergeant David Martin Wurtz receiving the purple heart from Thomas E. White, US Secretary of the Army, at Walter Reed hospital in Washington, DC. Also awarded purple hearts on this occasion were Andrew Brent Scott, Lieutenant Bradley Majorca, and Ricardo Miranda Jr. AP newsreel archive, 12 March 2002

hers4herss2Herssherss3

ANACONDA

Immediately after the initial battles the bodies of seven Americans killed during Operation Anaconda are transferred to the United States via Germany, 5 March 2002, AP newsreel archive. National Archive, Staff Sergeant Justin Pyle, USAF.

Franks10Franks09

18 March, in Kabul General Franks awards Bronze Stars to 1st Battalion, 87th Infantry, 10th Mountain Division soldiers Sergeant First Class Michael Peterson, Staff Sergeant Randel Peres, Staff Sergeant Dwayne Simms, Staff Sergeant David Hruban.

The battle that took place between 2-19 March 2002 resulted in the death of three Northern Alliance fighters and 11 coalition soldiers, of whom eight were US servicemen, with another 40 to 80 wounded: the heaviest loss of US lives in combat since 18 Rangers and special operators were killed in Operation Gothic Serpent on 3-4 October 1993. Once again the casualties were proportionately on the side of the enemy, as many as 800 mujihadeen believed to have become casualties during Anaconda, of which at least 200 were killed. 41 cave complexes and 62 buildings were searched, and 26 mortars, 11 pieces of artillery (including five 122 mm howitzers left over from when the Soviet’s had penetrated into the Shahi Khot) and 15 DShK machine guns were captured or destroyed.[331]

artillery

Soviet 122 mm howitzers in the Shahi Khot, left over from Operation Magistral, November 1987 – January 1988, from Pete Blaber, The Mission, The Men, and Me (2008)

The numerous friendly fire near misses and actual blue on blue accidents suggested that air-ground coordination could certainly be improved. The al Qaida fighters and Taliban mujahideen in the Shahi Khot were experienced and motivated and inflicted significant damage on TF Rakkasan, damaging three Apaches, one badly, and then shooting down two Chinooks.

The coordination between the diverse air components, the AFO teams, and the conventional forces in TF Rakkasan and Afghan forces in TF Hammer had been a major bottleneck, leaving important enemy targets un-attacked and forcing the Apache gunships attached to the operation to engage a dangerous degree of enemy anti-aircraft weaponry. The initial TF Rakkasan air assault in the valley had been based on enemy force level estimates that were half their actual number, with the result that both LaCamera’s battalion in the south and Preysler’s in the north were initially deployed into positions in the valley that were enfiladed by a determined enemy dug in to the mountains surrounding them. The JSOC attack on Tarkur Ghar had been ill-conceived and devolved into a casualty intensive battle in which two Chinook helicopters were lost, although the target had certainly been a valuable enemy strongpoint. Perhaps most notably the presence of mortars, artillery, and the mujihadeen’s proficiency with these weapons had been entirely overlooked during mission planning.[332]

hagenbeck08hilferty02

Major General Heganbeck briefing the media that Operation Anaconda has concluded, 19 March, and Major Hilferty and Sergeant Steve Melbourne, 45 Commando, Royal Marines, giving briefings on 23 and 24 March 2002, AP newsreel archive

Rumsfeld4020408-D-2987S-123020427-M-0428C-002

Rumsfeld holding press conferences, 3 & 8 April 2002, Helene C. Stikkel collection, & Rumsfeld visiting Kabul, 27 April 2002, Staff Sergeant James Connolly collection

On 8 March in a televised interview with Fox News and CNN, Rumsfeld stated that Operation Anaconda was an example of a “cleaning up” operation, meant to dislodge and defeat “hard dead-enders” or loyalists who would never surrender to the coalition. Rumsfeld emphasized that the operation was winding down, in accordance with standard US joint doctrine for campaigns, and the following phases would see a transition to US involvement in the development of the interim government.[333] For the Bush administration the focus was shifting ever more rapidly towards Iraq. On 3 March, as Operation Anaconda was underway, General Franks had met again with President Bush in Crawford to refine war plans for the invasion of Iraq.[334]

Significant numbers of international forces, including commandos and special forces from Canadian, the United Kingdom, Norway, and Poland which had begun to arrive at Bagram in the new year, were now deployed in follow up operations in Gardez and throughout southern Afghanistan. On 13 March a follow-up mission in the Arma mountains just north of the Shahi Khot was conducted by American and Canadian forces. British operations, and other multinational operations started in April from Gardez.

The United Nations Assistance Mission in Afghanistan commenced on 28 March 2002.[335] CJTF Mountain was presently dissolved and reconstituted as Combined Joint Task Force 180. Within five months every battalion involved in Anaconda had left Afghanistan.[336] The 101st Airborne was superseded by the 82nd Airborne. Until 2004 there were never more than 1,500 US troops in theatre, and only 2,500 by 2006. Anaconda had been so successful in terms of defeating the Taliban and al Qaida fighters in country that there were only sporadic incidents of low intensity violence until late in 2005.[337]

The destruction of the mujahideen in the Shahi Khot was in fact the decisive battle of the war. As Carlotta Gall wrote in her history of the Afghan War, “The Taliban vanished after that. The survivors were seen trekking out along the well-worn mujahideen trail through the border village of Shkin, into Pakistan…. In May 2002, British Marines made a painstaking sweep through the mountain range of the Shahikot and found the insurgents were gone. The commander of the British task force, Brigadier Roger Lane, declared the fight against al Qaeda and the Taliban in Afghanistan ‘all but won.’”[338] General Franks stated that “the last al Qaeda sanctuary in Afghanistan had been destroyed.”[339]

By early May 2002 the Afghan Reconstruction Steering Group, chaired by representatives from the US, EU, Japan and Saudi Arabia, and including 60 other UN member countries and the World Bank, had raised US $4.5 billion to cover the cost of rebuilding Afghanistan over the next five years. Germany had committed to rebuilding the national police, Italy and the European Commission to training the Judiciary, the UK to the critical counter-narcotics mission (Afghanistan at the time of the invasion was the source of 90% of Europe’s heroin), while the UN and then later Japan took responsibility for general demobilization.[340] The draft of the new national constitution was completed on 3 November 2003.

2002map

Map of follow-up operations, 2002 – 2003, from Donald Wright, A Different Kind of War

Enduring Freedom

Rumsfeld addressing 500 members of the coalition armed forces on 26 April 2002, at the Manas International Airport, “Ganci Air Base” in Kyrgyzstan. On 17 April Rumsfeld denied that CENTCOM had failed to capture bin Laden at Tora Bora, stating that the only evidence bin Laden had been there was “repeated speculation” – a disturbing mischaracterization given the scale of the JSOC effort in December.

On 8 May 2002 Rumsfeld stated in a Pentagon briefing that the work in Afghanistan was not yet finished, and that in particular the Gardez area required additional security. The British had infact deployed to secure Gardez on 5 May in Operation Snipe. On 16 May Rumsfeld testified to the Senate Armed Services Committee that Afghanistan had demonstrated a new path forward for US military ‘transformation’ – his long-term goal for the Department of Defense, including in particular the use of “long-range bombers to provide tactical, close-air support,” adding that “this had never been done before.”

In Kuwait on 9 June to visit US troops, Rumsfeld told the US forces at Camp Doha that Afghanistan was only the first battleground of the Global War on Terror. He reiterated this point on 14 August 2003, after the invasion of Iraq stating then that “the Global War on Terror is far from over”.

binoschinooksmapSFsweep2valleywalk2

US conventional and Special Forces on Operation Mountain Sweep, 25 August 2002, AP newsreel archive.

On 13 August 2002 Rumsfeld stated at a Pentagon press event that he was “impressed” with the ongoing coalition efforts to destroy pockets of al Qaida and Taliban in Afghanistan, in particular, in south eastern Afghanistan where the remnants of the Taliban were hiding. The Defense Secretary pointed to the death of 28 year old Sergeant 1st Class James Speer, Special Forces, who had died of wounds sustained in a firefight on 27 July, significant as the incident took place at Khost, the other end of the Gardez corridor.

Of course, the war did not end even after Resolute Strike, however by now major operations had moved on to Iraq, essentially dooming the mission in Afghanistan by downgrading it from the frontline US war of the 21st century to a low order of importance. The lessons of the Afghan war regarding the tactical future of warfare were reintroduced in the war against ISIL, by the Combined Joint Task Force Operation Inherent Reserve. Rumsfeld and Franks testified to the Senate Armed Services Committee on 1 August 2002, stating that the ISAF coalition required sustained funding and international commitment, with Franks adding that by the end of 2002 the coalition expected between 3,000 to 4,000 Afghan troops to be trained, making ground towards Rumsfeld’s objective of building security inside Afghansitan.

On 19 and 27 September Rumsfeld testified to the Senate Armed Services Committee, and then stated in a press briefing, that the link between al Qaida and Saddam Hussein’s Iraq was “accurate and not debatable” and that Iraq was to be considered a component of the Global War on Terrorism. “We can fight the various elements of the global war on terror simultaneously,” Rumsfeld told the Armed Services Committee. At the following press briefing the Secretary went so far as to compare the situation to the Cuban Missile Crisis – another demonstration of the lengths the Bush administration was taking, long before the mission in Afghanistan was complete, to justify invading Iraq.

P22471-18.jpg

President Bush giving remarks on the success of the humanitarian mission in Afghanistan, at the Dwight Eisenhower Executive building, 11 October 2002

021024-D-9880W-021

Rumsfeld and Myers brief Pentagon reporters on 24 October 2002, Robert Ward collection

Violence certainly continued in Afghanistan: US Military Spokesman Roger King described a battle that took place on 28 January 2003 when AH64 Apache gunships came under fire from a series of caves held by as many as 80 enemy fighters. A QRF was flown in to support the Special Forces, with their Afghan militia, who had discovered the location of the enemy fighters. 19 JDAMs were dropped from B-1B bombers and two 500 lb laser guided bombs were dropped by coalition F16s  in the ensuing battle. Spokesman King stated that this was the largest enemy concentration the coalition had engaged since Operation Anaconda.

Bush

President George W. Bush delivering his January 2003 State of the Union Address, at which Captain Nathan Self was in attendance.

040304-F-0451J-011

4 March 2004, USAF Honor Guard retiring colors that flew over Afghanistan, in honor of the newly named SRA Jason D. Cunningham Leadership School, Moody AFB, after Senior Airman Jason Cunningham, pararescueman, 38th Rescue Squadron, 347th Rescue Wing, killed 4 March 2002 and posthumously awarded the Air Force Cross on 13 September 2002, Airman 1st Class Joshua T. Jasper, USAF collection

Major General Franklin Hagenbeck was promoted to Lt. General, and then in June 2006 to Superintendent of the US Military Academy, West Point, serving there for four years until his retirement.

Naylor

18 April 2005, author Sean Naylor discusses his book about Operation AnacondaNot a Good Day to Die.

bagramKarzaikabulkarzai2

President Bush visiting with troops at Bagram, meeting Hamid Karzai in Kabul on 15 December 2008, and being awarded the Ghazi Amir Amanullah Khan Insignia, shortly before leaving office in the new year.

Lt. Colonel Paul LaCamera, who commanded the 1/87 force in the valley, took command of the 3rd Brigade, 75th Ranger Regiment, and between 2005 and 2007 was the CO, 75th Rangers. From 2007 until 2012 he held senior posts in JSOC, before being promoted to Lt. General, with command of XVIII Airborne Corps, serving as CO Operation Inherent Resolve from September 2018 to September 2019, at which point he was promoted to four star, and assumed command of US Army Pacific.[341]

Image: U.S. President Donald Trump awards the Medal of Honor to Retired Navy Master Chief Special Warfare Operator Britt Slabinski for “conspicuous gallantry” in the East Room of the White House in Washington

24 May 2018, President Donald Trump presents Britt Slabinski with the Medal of Honor.[342]

Appendix I, Photo Gallery

010502-D-2987S-004

Cabinet members at working lunch at the Pentagon, 2 May 2001, photo by Helene C. Stikkel.

cabinet2

Senior cabinet members conferring and listening to reports at the Emergency Operations Center at the White House, 11 September 2001, National Archives.

P7541-07

Dr. Rice on 18 September, by Tina Hager

BushMueller

President Bush and FBI Director Robert Mueller unveil a list of the 22 “most wanted” terrorists, 10 October 2001

BushTravis

President Bush delivering a determined speech to USAF personnel at Travis AFB, 17 October 2001

ENDURING FREEDOM

General Tommy Franks meeting with the US Ambassador to Qatar, Maureen Quinn, 26 October. TSGT Michael R. Nixon collection

Bush3KofiPowell

9:38 am, 10 November 2001, Bush delivers his speech at the UN General Assembly.

ENDURING FREEDOMENDURING FREEDOM

Lt. Colonel Ron Corkran, US Army, CO TF 1-187, listens to Army Chief of Staff General Eric Shinseki on 23 November at a “forward operating location”. TSGT Scott Reed collection. & Shinseki meeting with Lt. Colonel Steven Hadley, USAF, CO 16th Special Operations Wing (Deployed)

Heather Mercer

President Bush meeting with Dayna Curry and Heather Mercer in the Oval Office, 26 November 2001. These Christian aid workers, along with six other prisoners had been held by the Taliban since 3 August, were liberated on 14 November when the Taliban fled Kabul.

Laura Bush

Laura Bush eating thanksgiving dinner, 21 November 2001, with members of the 101st Airborne division at Fort Campbell, Kentucky.

bushfranksBushFranks

The war in Afghanistan appeared to have been won, and on 28 December Bush invited Franks to his Crawford, Texas, ranch to discuss planning for the invasion of Iraq which, along with North Korea and Iran, he would label the “axis of evil” at his State of the Union address on 29 January, from Bob Woodward, Plan of Attack (2004), and the same event by White House photographer Susan Sterner

blair

British Prime Minister Tony Blair meets with Afghan interim chairman Karzai at Bagram, 7 January 2002, AP newsreel archive

Appendix II, Air Power & Naval Aviation

ENDURING FREEDOM

C-5 Galaxy carrying 366th Air Expeditionary Wing F-16C support personnel deploying, 8 November 2001, Staff Sergeant Michael D. Gaddis, USAF collection

ENDURING FREEDOM

ENDURING FREEDOM

Staff Sergeant Ken Bergmann, USAF, photograph of C-17 Globemaster III from Naval Air Station Sigonella, Sicily, taking off in support of Operation Enduring Freedom, 18 October 2001, & another C-17 taking off from Sigonella, 29 October 2001, Staff Sergeant Angela Evans, USAF collection

ENDURING FREEDOM

C-5 Galaxy carrying 366th Air Expeditionary Wing F-16C support personnel arriving in Middle East for Operation Enduring Freedom, 8 November 2001, Staff Sergeant Michael D. Gaddis, USAF collection

ENDURING FREEDOM

F-16s operating in support of Enduring Freedom, 9 November 2001, Staff Sergeant Tiffany Page, USAF collection

ENDURING FREEDOM

E-8C Joint Serveillance Target Attack Radar System (JSTARS) aircraft arriving in the Persian Gulf to support Enduring Freedom, 9 November 2001, Staff Sergeant Tiffany Page, USAF collection

ENDURING FREEDOM

KC-10A Extender, 763rd Expeditionary Air Refueling Squadron, 29 October 2001, Staff Sergeant Wayne A. Clark, USAF collection

ENDURING FREEDOM

ENDURING FREEDOM

B-52H from the 28th Air Expeditionary Wing returning to base at Diego Garcia after conducting air strikes in support of Operation Enduring Freedom, 30 October 2001, Technical Sergeant Cedric H. Rusidill, USAF collection

ENDURING FREEDOMENDURING FREEDOM

B-1B Lancer from the 28th Air Expeditionary Wing refuelling from 60th Air Expeditionary Group KC-10 Extender, night of 1 November 2001, Technical Sergeant Cedric H. Rudisill, USAF collection. & B-1B refuelling over Indian Ocean, 17 October 2001, Technical Sergeant Cedric H. Rudisill, USAF collection

ENDURING FREEDOMENDURING FREEDOM

USAF C-17 loadmasters checking loadout during humanitarian airdrop missions that delivered 35,000 daily ration packages to refugees inside Afghanistan, before the first airstirkes took place, 6 October 2001, Staff Sergeant Jeremy Lock, USAF collection

ENDURING FREEDOM

HMCS Vancouver FFH 331 alongside USS John C. Stennis CVN 74, deployed to the Middle East in November 2001, photographed here on 20 May 2002 by Tina R. Lamb, USN collection

ENDURING FREEDOM

CH-53 Sea Stallion helicopter deploys USMC artillery, Bravo Battery, 1st Marine Division, 15th Marine Expeditionary unit, 22 October 2001, Technical Sergeant Scott Reed, USAF collection. The Gardez – Khost mission had originally been a USMC objective, see From the Sea: U.S. Marines in the Global war on Terrorism

ENDURING FREEDOM

C-130 Hercules, Naval Air Station Sigonella, Sicily, in support of Operation Enduring Freedom, 29 October 2001, Staff Sergeant Angela Evans, USAF collection

ENDURING FREEDOM

USN F-14 after refuelling from KC-10 on 7 November 2001, note the 2,000 lb GBU-32 laser guided bomb under the fuselage, Staff Sergeant Michael D. Gaddis, USAF collection

ENDURING FREEDOMENDURING FREEDOM

ENDURING FREEDOM

USMC F/A-18C from VMFA-251 refuelling on 30 October from Technical Sergeant Scott Reed collection &  USN F/A-18s over Afghanistan, armed with 1,000 lb GBU-16 laser guided bombs, 7 November 2001 from Staff Sergeant Michael D Gaddis, USAF collection

ENDURING FREEDOM

Royal Air Force CH-47 landing with RAF EC-130 and USAF KC-135R, 92nd Refuelling Wing, parked in foreground at Thumrait Air Base, Oman, on 14 November 2001.  Technical Sergeant Marlin G. Zimmerman collection 

ENDURING FREEDOM

Marines from VMGR-352 refuelling two USN H-60 Seahawks from their C-130 tanker, 9 November 2001, Technical Sergeant Scott Reed, USAF collection

ENDURING FREEDOM

ENDURING FREEDOM 2001

B-1Bs taking off, 12 November, and landing, 4 December, SSGT Shane Cuomo collection

ENDURING FREEDOM

F-15s refuelling night of 14 November 2001, Technical Sergeant Scott Reed, USAF collection


ENDURING FREEDOM

ENDURING FREEDOM

USS Iwo Jima (LHD7) and USS Peterson (DD969) at New York after returning from deployment in support of Operation Enduring Freedom, 22 May 2002, Michael Pendergrass, & Johnny Bivera collection.

Appendix III, TF Rakkasan

B03B02B01

Chinooks above the Shahi Khot on 5 March 2002, AP newsreel archive

chinooks6

Chinooks at Bagram, 6 March 2002, AP newsreel archive

bab09bab08bab10bab05Bab04Bab03bab07bab06Bab02Bab01

US forces in the Shahi Khot, near Babulkhel, 3-6 March 2002, AP newsreel archive

gardez2gardeznightvision006nightvision005nightvision007nightvision004nightvision003nightvision001apacheapache2gunnerphonephone2soldiersoldier3soldier4soldiers2soldiers5

Chinooks deploying US forces from Gardez in support of Operation Anaconda, 6 March 2002, AP newsreel archive & US forces involved in Operation Anaconda, 6 March 2002, AP newsreel archive

return003return005Xblackhawk101stblackhwakChinookschinooks2chinooks3M60

10 March, 101st Airborne division paratroopers returning to Bagram, AP newsreel archive

basereturn01Basereturn03

basereturn02Soldier01

11 March 2002, exhausted TF Rakkasan troops returning from Operation Anaconda, AP newsreel archive

Chinook refuelingchinook airlifting suppliesS10S11S09

Chinooks refuelling and delivering supplies from Bagram airbase, & Apaches attacking targets, 14 March 2002

BlackhawksUSMCCobraUSMCcobra2

TF 58 USMC Cobra gunships and Blackhawk helicopters, 19 March 2002, AP newsreel archive

c17coolguys

 C-17 unloading special forces, 23 March 2002, AP newsreel archive

Appendix IV, British Forces

RM04rm03RM02RM01antitankchinookchinookbackcommandovalleyInterviewinterview2interview3ladsphonevalleyvalleyc

16 April, 45 Commando operations from Bagram, 3 Commando Brigadier Rodger Lane announces initial operating capability for his three brigades of Royal Marines, and Lt. Colonel Paul Harradine, Royal Marines spokesman, gives an interview on 17 April 2002, AP newsreel archive

Forces1Forces2Rodgerlanevalley

British forces on Operation Ptarmigan, 18 April 2002, and interview with Brigadier Rodger Lane, British Forces Commander, AP newsreel archive

chinookhowitzerinterviewinterview2mrinesroyal Marinesroyalmarines2valley

5 May 2002, Royal Marines on Operation Snipe, near Khost, and interview with British Forces Commander, Brigadier Rodger Lane, AP newsreel archive

Appendix V, Infographics

mobilization

List of National Guard and Reserve units mobilized by 20 September in support of Enduring Freedom

binladen

Concentration of Taliban forces, and movements of bin Laden, 2 October 2001, Washington Post archive

infographic

Washington Post Afghanistan infographic, 1 October 2001, note the ring road, location of the Khyber Pass, and the unmarked area southeast of Kabul.

bombs2bombs

October 7/8/9, maps showing location of coalition airstrikes, BBC

Enduring Freedom

7 October 2001, Operation Enduring Freedom begins, Washington Post archive

Northern Alliance

Northern Alliance/United Front infographic, 27 September 2001, Washington Post archive. Note leadership: Former Afghan President Burhanuddin Rabbani with Muhammad Fahim as Ahmed Shah Massoud’s successor.

Oct2001Dec

SFsouth

5th SFG and Northern Alliance concentrations, October – December 2001, Donald Wright, A Different Kind of War

anacaonda

The complex multi-mission elements involved in Operation Anaconda

Slide 1

2008 resource and mining assessment 

Carriers

Sorties1Sorties2

USN Aircraft Carriers on station for Operation Enduring Freedom, September 2001 – March 2002, from Benjamin Lambeth, American Carrier Air Power at the Dawn of a New Century (2005)

Pashtunwali

Code of Pashtunwali, from Donald Wright, A Different Kind of War

Notes

[1] Richard B. Andres and Jeffrey Hukill, “Anaconda: A Flawed Joint Planning Process,” Joint Forces Quarterly, no. 47 (October 2007): 135–40., https://ndupress.ndu.edu/portals/68/Documents/jfq/jfq-47.pdf

[2] Donald Wright, A Different Kind of War: The US Army in Operation Enduring Freedom, October 2001 – September 2005 (Fort Leavenworth, KS: Combat Studies Institute Press, 2010)., p. 173, Tommy Franks and Malcolm McConnell, American Soldier (Toronto: HarperCollins Publishers Ltd., 2004)., p. 381

[3] Stephen Biddle, Afghanistan and The Future of Warfare: Implications for Army and Defense Policy (US Army War College, Strategic Studies Institute, 2002)., p. viii

[4] Bob Woodward, Bush at War (Toronto: Simon & Schuster, 2002)., p. 121, Bob Woodward, Plan of Attack (New York: Simon & Schuster Paperbacks, 2004)., p. 26. https://georgewbush-whitehouse.archives.gov/news/releases/2001/12/20011214-8.html

[5] https://archive.defense.gov/news/newsarticle.aspx?id=44849

[6] https://georgewbush-whitehouse.archives.gov/news/releases/2001/10/20011004.html

[7] https://georgewbush-whitehouse.archives.gov/news/releases/2001/11/20011101-2.html

[8] Bob Woodward, State of Denial: Bush at War, Part III (New York: Simon & Schuster, 2006)., p. 78

[9] https://georgewbush-whitehouse.archives.gov/news/releases/2001/10/20011017-20.html

[10] https://archive.defense.gov/news/newsarticle.aspx?id=44434

[11] Wright, A Different Kind of War., p. 85

[12] US SOCOM History and Research Office, History of the United States Special Operations Command, 6th ed. (MacDill AFB, FL: Kindle ebook, 2007)., loc. 2409. https://abcnews.go.com/International/wireStory/timeline-key-events-afghanistans-40-years-wars-69304042

[13] https://georgewbush-whitehouse.archives.gov/news/releases/2001/11/20011108-4.html

[14] https://archive.defense.gov/news/newsarticle.aspx?id=44350

[15] Peter Bergen, The Longest War: The Enduring Conflict Between America and Al-Qaeda, epub (New York: Free Press, 2011)., p. 160-3. Sean Naylor, Relentless Strike: The Secret History of Joint Special Operations Command, Kindle ebook (New York: St. Martin’s Press, 2015)., p. 176-8. See also, Carlotta Gall, The Wrong Enemy: America in Afghanistan, 2001 – 2014, Kindle ebook (New York: Houghton Mifflin Harcourt Publishing Company, 2015)., p. 5

[16] Gall, The Wrong Enemy., p. 5-7

[17] https://georgewbush-whitehouse.archives.gov/news/releases/2001/11/20011110-7.html

[18] Naylor, Relentless Strike., p. 176 et seq

[19] Richard Stewart, Operation Enduring Freedom: October 2001 – March 2002, Kindle ebook, vol. 1, 2 vols., 2006., loc. 354 et seq. See also, “Remembering the Battle of Tora Bora” https://www.pri.org/stories/2015-12-22/remembering-battle-tora-bora-2001

[20] Stewart., loc. 428

[21] Ron Suskind, The One Percent Doctrine: Deep Inside America’s Pursuit of Its Enemies Since 9/11 (New York: Simon & Schuster, 2006)., p. 73

[22] Barton Gellman and Thomas Ricks, “U.S. Concludes Bin Laden Escaped at Tora Bora Fight,” Washington Post, April 17, 2002, sec. Politics, https://www.washingtonpost.com/archive/politics/2002/04/17/us-concludes-bin-laden-escaped-at-tora-bora-fight/b579f38a-24bc-49eb-99b1-a02e9e309623/. Mark Bowden, The Finish: The Killing of Osama Bin Laden, epub (New York: Atlantic Monthly Press, 2012)., p. 115. Bergen, The Longest War., p. 167-9, 172

[23] Bergen, The Longest War., p. 170-1, Wright, A Different Kind of War., p. 120

[24] Michael R. Gordon and Bernard E. Trainor, Cobra II: The Inside Story of the Invasion and Occupation of Iraq, 1st ed. (New York: Pantheon Books, 2006)., p. 30

[25] Wright, A Different Kind of War., p. 127

[26] Wright., p. 119

[27] Wright., p. 127

[28] Wright., p. 127

[29] https://georgewbush-whitehouse.archives.gov/news/releases/2001/11/text/20011128-7.html

[30] Suskind, The One Percent Doctrine., p. 75

[31] https://georgewbush-whitehouse.archives.gov/news/releases/2001/12/100dayreport.html

[32] Benjamin Lambeth, American Carrier Air Power At the Dawn of a New Century (Santa Monica, CA: RAND Corporation, 2005)., p. 28

[33] Lambeth., p. 28

[34] https://georgewbush-whitehouse.archives.gov/news/releases/2002/01/20020128-13.html

[35] https://georgewbush-whitehouse.archives.gov/news/releases/2002/01/20020128-8.html,  https://georgewbush-whitehouse.archives.gov/news/releases/2001/12/text/20011231-1.html

[36] Gordon and Trainor, Cobra II., p. 36

[37] https://archive.defense.gov/news/newsarticle.aspx?id=44001; https://archive.defense.gov/news/newsarticle.aspx?id=44046

[38] https://archive.defense.gov/news/newsarticle.aspx?id=43874

[39] Wright, A Different Kind of War., p. 127

[40] Wright., p. 131-2

[41] Wright., p. 132

[42] Wright., p. 132

[43] Wright., p. 138

[44] Franks and McConnell, American Soldier., p. 378

[45] Bradley Graham, “Bravery and Breakdowns in a Ridgetop Battle,” Washington Post, May 24, 2002, sec. Politics, https://www.washingtonpost.com/archive/politics/2002/05/24/bravery-and-breakdowns-in-a-ridgetop-battle/dce1eefb-d159-47e9-846c-2678b1615fee/. Wright, A Different Kind of War., p. 127

[46] Dan Schilling and Lori Chapman Longfritz, Alone at Dawn: Medal of Honor Recipient John Chapman and the Untold Story of the World’s Deadliest Special Operations Force, epub (New York: Grand Central Publishing, 2019)., p. 255

[47] Pete Blaber, The Mission, The Men, and Me: Lessons From a Former Delta Force Commander, epub (New York: Berkley Caliber, 2008)., p. 309-10, Gregory Feifer, The Great Gamble: The Soviet War in Afghanistan (New York: HarperCollins Perennial, 2010)., p. 234-7

[48] Schilling and Chapman Longfritz, Alone at Dawn., p. 255

[49] Blaber, The Mission, The Men, and Me., p. 335, 384

[50] Schilling and Chapman Longfritz, Alone at Dawn., p. 192

[51] Named after the hill at the National Training Center, Fort Irwin in California, it was said to resemble. Wright, A Different Kind of War., p. 135

[52] Wright., p. 130

[53] Wright., p. 130

[54] Schilling and Chapman Longfritz, Alone at Dawn., p. 177-80

[55] Wright, A Different Kind of War., p. 142
[56] Sean Naylor, Not a Good Day to Die: The Untold Story of Operation Anaconda, 2018 ebook (Penguin, 2005)., p. 121

[57] Wright, A Different Kind of War., p. 137, US SOCOM History and Research Office, History of the United States Special Operations Command., loc. 2431

[58] US SOCOM History and Research Office, History of the United States Special Operations Command., loc. 2562

[59] Wright, A Different Kind of War., p. 137

[60] Schilling and Chapman Longfritz, Alone at Dawn., p. 181-3

[61] US SOCOM History and Research Office, History of the United States Special Operations Command., loc. 2435

[62] Schilling and Chapman Longfritz, Alone at Dawn., p. 259

[63] Naylor, Not a Good Day to Die., p. 187

[64] Naylor., p. 197, Wright, A Different Kind of War., p. 137-9

[65] Wright, A Different Kind of War., p. 139

[66] Wright., p. 136

[67] Naylor, Not a Good Day to Die., p. 193

[68] Wright, A Different Kind of War., p. 139

[69] Wright., p. 139

[70] Wright., p. 140-1

[71] Franks and McConnell, American Soldier., p. 379

[72] Wright, A Different Kind of War., p. 141, US SOCOM History and Research Office, History of the United States Special Operations Command., loc. 2444

[73] Wright, A Different Kind of War., p. 135

[74] Naylor, Not a Good Day to Die., p. 189

[75] Naylor., p. 162

[76] Naylor., p. 163-4, Blaber, The Mission, The Men, and Me., p. 348

[77] Schilling and Chapman Longfritz, Alone at Dawn., p. 256

[78] Blaber, The Mission, The Men, and Me., p. 347

[79] Blaber., p. 342-3

[80] Naylor, Not a Good Day to Die., p. 164

[81] Naylor., p. 165

[82] Naylor., p. 165-6, 188, Blaber, The Mission, The Men, and Me., p. 349

[83] Naylor, Not a Good Day to Die., p. 167

[84] Naylor., p. 166, Blaber, The Mission, The Men, and Me., p. 350

[85] Blaber, The Mission, The Men, and Me., p. 351, Naylor, Not a Good Day to Die., p. 168

[86] Naylor, Not a Good Day to Die., p. 167

[87] Naylor., p. 168

[88] Naylor., p. 168

[89] Naylor., p. 168-9, Blaber, The Mission, The Men, and Me., p. 351

[90] Naylor, Not a Good Day to Die., p. 174

[91] Naylor., p. 169

[92] Naylor., p. 170

[93] Naylor., p. 171

[94] Blaber, The Mission, The Men, and Me., p. 354

[95] Naylor, Not a Good Day to Die., p. 170

[96] Blaber, The Mission, The Men, and Me., p. 353

[97] Naylor, Not a Good Day to Die., p. 171

[98] Naylor., p. 173-5, Blaber, The Mission, The Men, and Me., p. 354-5

[99] Naylor, Not a Good Day to Die., p. 174

[100] Naylor., p. 176, Blaber, The Mission, The Men, and Me., p. 355-6

[101] Naylor, Not a Good Day to Die., p. 176

[102] Naylor., p. 177

[103] Naylor., p. 177

[104] Blaber, The Mission, The Men, and Me., p. 357-8

[105] Naylor, Not a Good Day to Die., p. 166. Blaber, The Mission, The Men, and Me., p. 309, 359-60

[106] Naylor, Not a Good Day to Die., p. 178, Blaber, The Mission, The Men, and Me., p. 358

[107] Naylor, Not a Good Day to Die., p. 182

[108] Blaber, The Mission, The Men, and Me., p. 359, italics added.

[109] Blaber., p. 359-60

[110] Naylor, Not a Good Day to Die., p. 185, Wright, A Different Kind of War., p. 141

[111] Naylor, Not a Good Day to Die., p. 184-5, Blaber, The Mission, The Men, and Me., p. 361

[112] Wright, A Different Kind of War., p. 141

[113] Naylor, Not a Good Day to Die., p. 189, Blaber, The Mission, The Men, and Me., p. 363

[114] Schilling and Chapman Longfritz, Alone at Dawn., p. 260

[115] Naylor, Not a Good Day to Die., p. 189

[116] Schilling and Chapman Longfritz, Alone at Dawn., p. 262

[117] Schilling and Chapman Longfritz., p. 263

[118] Schilling and Chapman Longfritz., p. 263-4

[119] Blaber, The Mission, The Men, and Me., p. 363

[120] Naylor, Not a Good Day to Die., p. 171

[121] Naylor., p. 172

[122] Naylor., p. 171

[123] Naylor., p. 179

[124] Naylor., p. 179-80

[125] Naylor., p. 192-3

[126] Naylor., p. 193, 218

[127] Wright, A Different Kind of War., p. 141

[128] Blaber, The Mission, The Men, and Me., p. 364

[129] Naylor, Not a Good Day to Die., p. 201-3

[130] Naylor., p. 204

[131] Naylor., p. 204-6, Wright, A Different Kind of War., p. 141

[132] Naylor, Not a Good Day to Die., p. 208

[133] Naylor., p. 208, Wright, A Different Kind of War., p. 142
[134] Naylor, Not a Good Day to Die., p. 210

[135] Wright, A Different Kind of War., p. 143

[136] Blaber, The Mission, The Men, and Me., p. 365-7

[137] Naylor, Not a Good Day to Die., p. 211, 213

[138] Naylor., p. 212

[139] Naylor., p. 214

[140] Naylor., p. 214

[141] Naylor., p. 215

[142] Naylor., p. 215, Wright, A Different Kind of War., p. 142

[143] Naylor, Not a Good Day to Die., p. 215

[144] Naylor., p. 216

[145] Naylor., p. 219

[146] Naylor., p. 220

[147] Naylor., p. 220-1

[148] Naylor., p. 222-6, 257

[149] Wright, A Different Kind of War., p. 146

[150] Naylor, Not a Good Day to Die., p. 217-8, Wright, A Different Kind of War., p. 146

[151] Naylor, Not a Good Day to Die., p. 217-8, Wright, A Different Kind of War., p. 146

[152] Wright, A Different Kind of War., p. 147

[153] Wright., p. 147

[154] Wright., p. 147

[155] Wright., p. 147

[156] Naylor, Not a Good Day to Die., p. 249

[157] Naylor., p. 249-51

[158] Naylor., p. 251, Wright, A Different Kind of War., p. 147

[159] Naylor, Not a Good Day to Die., p. 226-8, Wright, A Different Kind of War., p. 145

[160] Wright, A Different Kind of War., p. 145

[161] Wright., p. 145

[162] Naylor, Not a Good Day to Die., p. 228

[163] Wright, A Different Kind of War., p. 145

[164] Naylor states that only the 120 mm mortar was brought, Wright stated that the 82 mm battery was also brought, see also, Daniel P. Bolger, Why We Lost: A General’s Inside Account of the Iraq and Afghanistan Wars, ebook (New York: Mariner Books, 2014)., p. 74 et seq.

[165] Wright, A Different Kind of War., p. 143-4

[166] Naylor, Not a Good Day to Die., p. 237, Wright, A Different Kind of War., p. 144

[167] Naylor, Not a Good Day to Die., p. 237, Wright, A Different Kind of War., p. 144, Blaber, The Mission, The Men, and Me., p. 370

[168] Naylor, Not a Good Day to Die., p. 239, Wright, A Different Kind of War., p. 152

[169] Naylor, Not a Good Day to Die., p. 240, Wright, A Different Kind of War., p. 144-5, 149

[170] Wright, A Different Kind of War., p. 151

[171] Naylor, Not a Good Day to Die., p. 252

[172] Naylor., p. 260

[173] Naylor., p. 262

[174] Naylor., p. 239

[175] Naylor., p. 246

[176] Naylor., p. 247

[177] Naylor., p. 247

[178] Wright, A Different Kind of War., p. 143, Bolger, Why We Lost., p. 74

[179] Naylor, Not a Good Day to Die., p. 241-2

[180] Naylor., p. 243

[181] Wright, A Different Kind of War., p. 149

[182] Naylor, Not a Good Day to Die., p. 243

[183] Naylor., p. 245

[184] Wright, A Different Kind of War., p. 150

[185] Wright., p. 151

[186] Wright., p. 153, Naylor, Not a Good Day to Die., p. 269

[187] Wright, A Different Kind of War., p. 153, Naylor, Not a Good Day to Die., p. 268-9

[188] Naylor, Not a Good Day to Die., p. 257

[189] Naylor., p. 257-8

[190] Naylor., p. 256

[191] Naylor., p. 259-60

[192] Naylor., p. 273

[193] Naylor., p. 274-5

[194] Naylor., p. 276

[195] Naylor., p. 277

[196] Naylor., p. 276-81

[197] Naylor., p. 265-6

[198] Naylor., p. 266, Blaber, The Mission, The Men, and Me., p. 371

[199] Naylor, Not a Good Day to Die., p. 267

[200] Wright, A Different Kind of War., p. 154

[201] Wright., p. 153-4

[202] Naylor, Not a Good Day to Die., p. 268-9

[203] Wright, A Different Kind of War., p. 155, Naylor, Not a Good Day to Die., p. 284

[204] Wright, A Different Kind of War., p. 154, Naylor, Not a Good Day to Die., p. 282

[205] Naylor, Not a Good Day to Die., p. 282, 288-9, 292

[206] Naylor., p. 285

[207] Naylor., p. 284

[208] Naylor., p. 290

[209] Blaber, The Mission, The Men, and Me., p. 375-8, , Naylor, Not a Good Day to Die., p. 301

[210] Naylor, Not a Good Day to Die., p. 297

[211] Blaber, The Mission, The Men, and Me., p. 377, Naylor, Not a Good Day to Die., p. 288

[212] Naylor, Not a Good Day to Die., p. 297-8

[213] Naylor., p. 298

[214] Naylor., p. 291

[215] Wright, A Different Kind of War., p. 155, Naylor, Not a Good Day to Die., p. 295

[216] Wright, A Different Kind of War., p. 155-6, Naylor, Not a Good Day to Die., p. 293

[217] Naylor, Not a Good Day to Die., p. 294-6

[218] Naylor., p. 290

[219] Wright, A Different Kind of War., p. 155

[220] Wright., p. 156

[221] Naylor, Not a Good Day to Die., p. 295, 297

[222] Naylor., p. 305

[223] Blaber, The Mission, The Men, and Me., p. 379

[224] Naylor, Not a Good Day to Die., p. 303

[225] Blaber, The Mission, The Men, and Me., p. 380, Naylor, Not a Good Day to Die., p. 305-6

[226] Naylor, Not a Good Day to Die., p. 308, Malcolm MacPherson, Roberts Ridge: A Story of Courage and Sacrifice on Takur Ghar Mountain, Afghanistan, epub (New York: Bantam Dell, 2005)., p. 23-4

[227] MacPherson, Robert’s Ridge., p. 25, Naylor, Not a Good Day to Die., p. 308,

[228] Blaber, The Mission, The Men, and Me., p. 381

[229] Graham, “Bravery and Breakdowns.”

[230] Naylor, Not a Good Day to Die., p. 311

[231] MacPherson, Robert’s Ridge., p. 21-2

[232] Blaber, The Mission, The Men, and Me., p. 381, Naylor, Not a Good Day to Die., p. 308,

[233] MacPherson, Robert’s Ridge., p. 29-30

[234] MacPherson., p. 30-1, Blaber, The Mission, The Men, and Me., p. 381, Naylor, Not a Good Day to Die., p. 309

[235] Blaber, The Mission, The Men, and Me., p. 385

[236] MacPherson, Robert’s Ridge., p. 33, Naylor, Not a Good Day to Die., p. 310

[237] MacPherson, Robert’s Ridge., p. 36

[238] Naylor, Not a Good Day to Die., p. 311

[239] MacPherson, Robert’s Ridge., p. 47

[240] Naylor, Not a Good Day to Die., p. 311

[241] MacPherson, Robert’s Ridge., p. 39

[242] MacPherson., p. 39

[243] MacPherson., p. 47

[244] MacPherson., p. 48

[245] MacPherson., p. 41

[246] Naylor, Not a Good Day to Die., p. 313

[247] MacPherson, Robert’s Ridge., p. 42
[248] MacPherson., p. 42
[249] MacPherson., p. 48

[250] MacPherson., p. 49

[251] Naylor, Not a Good Day to Die., p. 314

[252] MacPherson, Robert’s Ridge., p. 51

[253] MacPherson., p. 52

[254] Wright, A Different Kind of War., p. 157, Naylor, Not a Good Day to Die., p. 314

[255] MacPherson, Robert’s Ridge., p. 55

[256] Schilling and Chapman Longfritz, Alone at Dawn., p. 325

[257] MacPherson., p. 56

[258] Schilling and Chapman Longfritz, Alone at Dawn., p. 326

[259] MacPherson., p. 66, 68-9, Wright, A Different Kind of War., p. 157, Blaber, The Mission, The Men, and Me., p. 387, Naylor, Not a Good Day to Die., p. 315

[260] MacPherson, Robert’s Ridge., p. 73

[261] MacPherson., p. 73-4

[262] Naylor, Not a Good Day to Die., p. 311

[263] Wright, A Different Kind of War., p. 157

[264] Blaber, The Mission, The Men, and Me., p. 386, Naylor, Not a Good Day to Die., p. 310, 317

[265] MacPherson, Robert’s Ridge., p. 77

[266] MacPherson., p. 84, Blaber, The Mission, The Men, and Me., p. 387

[267] MacPherson, Robert’s Ridge., p. 78

[268] MacPherson., p. 80

[269] Schilling and Chapman Longfritz, Alone at Dawn., p. 332

[270] Naylor, Not a Good Day to Die., p. 321-2

[271] Wright, A Different Kind of War., p. 157-8, MacPherson, Robert’s Ridge., p. 88-9

[272] MacPherson, Robert’s Ridge., p. 87

[273] Blaber, The Mission, The Men, and Me., p. 387-8

[274] Graham, “Bravery and Breakdowns.”

[275] MacPherson, Robert’s Ridge., p. 90

[276] MacPherson., p. 91

[277] Blaber, The Mission, The Men, and Me., p. 389

[278] Blaber., p. 394

[279] Wright, A Different Kind of War., p. 158, Blaber, The Mission, The Men, and Me., p. 395

[280] Schilling and Chapman Longfritz, Alone at Dawn., p. 343-4

[281] Schilling and Chapman Longfritz, Alone at Dawn., p. 345

[282] Schilling and Chapman Longfritz, Alone at Dawn., p. 349

[283] Schilling and Chapman Longfritz, Alone at Dawn., p. 346

[284] Schilling and Chapman Longfritz, Alone at Dawn., p. 349-50

[285] Schilling and Chapman Longfritz, Alone at Dawn., p. 351, MacPherson., p. 133-4

[286] US SOCOM History and Research Office, History of the United States Special Operations Command., loc. 2492

[287] Schilling and Chapman Longfritz, Alone at Dawn., p. 353-4. MacPherson says 22 minutes. Turbo had also been shot in the ankle.

[288] Blaber, The Mission, The Men, and Me., p. 395, Schilling and Chapman Longfritz, Alone at Dawn., p. 376, Naylor, Not a Good Day to Die., p. 327, MacPherson, Robert’s Ridge., p. 139-42

[289] Schilling and Chapman Longfritz, Alone at Dawn., p. 383-91

[290] Every source gives a different description of the composition of the two QRF components. Wright, A Different Kind of War., p. 158, Blaber, The Mission, The Men, and Me., p. 396-7, US SOCOM History and Research Office, History of the United States Special Operations Command., loc. 2499, Schilling and Chapman Longfritz, Alone at Dawn., p. 363, Naylor, Not a Good Day to Die., p. 332
[291] Blaber, The Mission, The Men, and Me., p. 399, Naylor, Not a Good Day to Die., p. 336. According to Naylor several MANPADs were in fact fired at Grim 32.

[292] Wright, A Different Kind of War., p. 158, Naylor, Not a Good Day to Die., p. 341

[293] https://valor.militarytimes.com/hero/3745, Graham, “Bravery and Breakdowns.” US SOCOM History and Research Office, History of the United States Special Operations Command., loc. 2516, Naylor, Not a Good Day to Die., p. 342

[294] Blaber, The Mission, The Men, and Me., p. 400, Wright, A Different Kind of War., p. 158

[295] Naylor, Not a Good Day to Die., p. 343

[296] Naylor., p. 345-6

[297] Nate Self, Two Wars: One Hero’s Fight on Two Fronts – Abroad and Within, ebook (Carol Stream, Illinois: Tyndale House Publishers, Inc., 2008)., loc. 2297 et seq

[298] Naylor, Not a Good Day to Die., p. 346

[299] Naylor., p. 346

[300] Wright, A Different Kind of War., p. 158, Naylor., p. 351

[301] Wright., p. 158-9, US SOCOM History and Research Office, History of the United States Special Operations Command., loc. 2524, Mark Skovlund, Charles Faint, and Leo Jenkins, Violence of Action: The Untold Stories of the 75th Ranger Regiment in the War on Terror (Colorado Springs: Blackside Concepts, 2014). p. 60, Naylor., p. 353

[302] Naylor., p. 353, 358

[303] Wright, A Different Kind of War., p. 159, Naylor., p. 354

[304] https://valor.militarytimes.com/hero/17147

[305] US SOCOM History and Research Office, History of the United States Special Operations Command., loc. 2540

[306] Wright, A Different Kind of War., p. 159

[307] Wright., p. 159, Blaber, The Mission, The Men, and Me., p. 401, Naylor., p. 357

[308] US SOCOM History and Research Office, History of the United States Special Operations Command., loc. 2524, Naylor., p. 358

[309] Naylor., p. 361 et seq.

[310] Naylor., p. 359-60

[311] Naylor., p. 360

[312] Wright, A Different Kind of War., p. 159, US SOCOM History and Research Office, History of the United States Special Operations Command., loc. 2540

[313] Blaber, The Mission, The Men, and Me., p. 403, http://www.aparchive.com/metadata/Afghanistan-Fighting/4346a5f7d51910b2394ac00b70a7b774

[314] Wright, A Different Kind of War., p. 160

[315] Wright., p. 160

[316] Wright., p. 160

[317] Wright., p. 162

[318] Wright., p. 162

[319] Wright., p. 163

[320] Wright., p. 163

[321] http://www.aparchive.com/metadata/Afghanistan-Front/a923b8b4787c77a621dedebdc89ad4b1. Wright., p. 163

[322] Wright., p. 163

[323] Wright., p. 163

[324] Wright., p. 165

[325] Wright., p. 166

[326] Wright., p. 166

[327] Wright., p. 167

[328] Wright., p. 169

[329] Wright., p. 171

[330] Wright., p. 172

[331] Wright., p. 173, Blaber, The Mission, The Men, and Me., p. 404

[332] Naylor, Not a Good Day to Die., p. 296

[333] https://archive.defense.gov/news/newsarticle.aspx?id=44274. https://www.jcs.mil/Portals/36/Documents/Doctrine/pubs/jp3_0ch1.pdf?ver=2018-11-27-160457-910

[334] Gordon and Trainor, Cobra II., p. 38

[335] unama.unmissions.org

[336] Wright, A Different Kind of War., p. 173

[337] Donald Rumsfeld, Known and Unknown, A Memoir, epub (New York: Sentinel, 2011)., p. 1,613-6

[338] Gall, The Wrong Enemy., p. 37

[339] Franks and McConnell, American Soldier., p. 381

[340] https://georgewbush-whitehouse.archives.gov/news/releases/2002/05/20020502-18.html

[341] https://www.defense.gov/Explore/News/Article/Article/1631934/operation-inherent-resolve-transitions-commanders-for-defeat-isis-mission/
https://www.stripes.com/news/pacific/former-inherent-resolve-commander-takes-over-us-army-pacific-and-its-85-000-soldiers-1.607819

[342] https://taskandpurpose.com/code-red-news/john-chapman-medal-of-honor-citation

Combined Joint Task Force – Operation Inherent Resolve: The Air Campaign, Effectiveness, Part II

Inherent Resolve Camp

The Operation Inherent Resolve Campaign Medal, instated March 30, 2016.[i] The first five medals were awarded by US Secretary of Defense Ash Carter on 18 April 2016.

medals2

Combined Joint Task Force – Operation Inherent Resolve: The Air Campaign, Effectiveness, Part II

It has been over six months since the 13 November 2015 Paris terrorist attacks. Russian involvement has significantly changed the situation in Syria, while the latest terrorist attack against the Brussels airport and metro-station on 22 March, in addition to the 19 March attacks in Istanbul, seem to suggest ongoing pressure from the Islamic State’s European terrorist network.

How has CENTCOM’s Operation Inherent Resolve and its vast air campaign developed since November 2015? According to US Department of Defense figures, since the beginning of the air campaign (dated to 8 August 2014), over $6.5 billion dollars has been spent ($11.4 million a day), with total coalition sorties, as of 28 March 2016, estimated at 87,940.[ii] Of those, 11,230 were strike missions, with 7,556 carried out in Iraq and 3,674 in Syria. Meanwhile, the White House, Pentagon, NATO, and Moscow have all been been keen to stress improvements, such as the recapture of Ramadi, capital of Anbar province, at the end of 2015, or the capture of Palmyra, in Syria, by the Russian supported Syrian Army at the end of March 2016. Likewise, Baghdad, with US and NATO backing, is now preparing to begin an offensive against Mosul, the capital of Nineveh province, and a major ISIL stronghold. Meanwhile, Kabul remains a target for terrorist attacks,[iii] and the broader War on Terror is expected to continue into 2018 at least. How has the enormous Combined Joint Task Force – Operation Inherent Resolve’s air campaign effort been maintained by the Global Coalition in diplomatic and operational terms? How effective has it been over the last six months?

Diplomacy and Strategy: Maintaining the Coalition

On December 2, 2015 the UK parliament voted to expand the RAF mission to include Syria. That day, US Secretary of Defense Ash Carter made a statement applauding the UK’s commitment, and also voiced approval of the 1,200 personnel committed by Germany.[iv] On 7 December, the Defense Department announced that it had killed Abu Nabil (aka, Wissam Najm Abd Zayd al Zubaydi), who was an Iraqi ISIL leader and operative in Libya. He had been targeted as part of a strike on 13 November.[v]

On 15 December, the DOD announced that as part of the broader anti-Terror strategy, including air-strikes against targets in Somalia, the US was prepared to maintain a force level of 9,800 personnel in Afghanistan, to transition to 5,500 after 2016.[vi]

carterselva

Ash Carter and General Paul J. Selva, USAF, the vice chairman of the Joint Chiefs of Staff, testify before the Senate Armed Service Committee on 9 December.

On 19 December, as part of a tour of US and Coalition naval forces in theatre, Ash Carter made a phone call to Iraqi Prime Minister Haider al-Abadi regarding what appeared to be a friendly-fire incident involving the death of Iraq Security Forces by Coalition airstrikes.[vii] That same day Carter visited the French nuclear carrier Charles de Gaulle, then the flagship of the USN’s Central Command Task Force 50. Carter placed a phone call to French Minister of Defense, Jean Yves Le Drian, in which the two discussed the ongoing anti-ISIL mission and, significantly, the future role of Russia in Syria, as well as the position of Iran.[viii] Carter also met with King Hamad bin Isa Al Khalifa of Bahrain at the King’s residence, where they discussed counter-ISIL strategy.[ix]

On 22 December, Secretary of Defense Carter called Italy’s Defence Minister, Roberta Pinotti, to follow up on their meeting in Rome the previous October. In this phone call they discussed Italian commitments to Iraq and Libya.[x] Six days later, following the Christmas break, Carter made a statement congratulating Iraq’s Prime Minister for the recapture of Ramadi from ISIL forces.[xi]

Meanwhile, the Pentagon was confronted with the North Korean nuclear test of 6 January which caused a flurry of activity: Carter was in close communication with Japanese and South Korean Defence Ministries, as well as US Forces Command Korea to discuss responses.[xii] As a result of these developments, Brigadier General Tony D. Bauernfeind, the Deputy Commander Special Operations Joint Task Force-Afghanistan was transferred to Special Operations Command, Korea, as Commanding General.[xiii]

On 11 January, Carter met with King Abdullah II of Jordan at the Pentagon. Together they discussed the situation in Syria and reaffirmed their mutual commitment to countering ISIL.[xiv]

obama-ben rhodes

Barack Obama and Director of Speechwriting Cody Keenan work on the State of the Union Address while Ben Rhodes, Deputy National Security Advisor for Strategic Communications, looks on, seemingly exasperated. January 11, 2016.

On 13 January 2016, at 9:10 pm EST, US President Barack Obama gave his final State of the Union address to the joint session of Congress. In his address, the President described the efforts that had been made thus far to degrade and destroy ISIL and al Qaeda- while the President denied that the Long War against global terrorism represented a new “World War III”, he did acknowledge that the US led 60 member nation coalition had conducted over 10,000 air strikes. Obama once again asked the US Congress to pass a vote authorizing military action against ISIL.[xv] Earlier that day, Ash Carter made a statement thanking US Secretary of State John Kerry for negotiating the release of ten US Navy sailors held by Iran.[xvi]

The next day, Deputy Secretary of Defense Bob Work traveled to Israel as part of a two-day trip to shore up US-Israeli defence commitments. During the trip, Work met with Israeli Minister of Defense Moshe Ya’alon and the Director-General of Israeli Ministry of Defense Dan Harel, as well as Israel’s President, Reuven Rivlin. In addition to broader discussion of regional strategy, the meeting emphasized US-Israeli technology cooperation, specifically the DOD’s Third Offset Strategy.[xvii] Work was scheduled to follow up this trip with another trip to the United Kingdom. While in Cheltenham and Hereford during January 14, 15, 16 and 17, the Deputy Secretary met with UK Minister of State for Defence Procurement, Philip Dunne, and discussed “global security issues, bilateral defence cooperation,” and other technical issues related to refocusing the UK’s defence establishment on cyber, special operation and technical innovation, following on the UK’s Strategic Defense and Security Review.[xviii]

On 18 January Ash Carter met with Australian Prime Minister Malcolm Turnbull at the Pentagon, following a wreath laying ceremony at Arlington National Cemetery. The focus of the discussion was on Syria and Iraq, in addition to the ongoing crisis in the Asia-Pacific region. Carter expressed his desire to see continued Australian cooperation, in particular, Turnbull’s participation in the upcoming counter-ISIL coalition meeting in Paris.[xix]

obama turnbull

January 19th, President Obama says goodbye to Australian Prime Minister Malcolm Turnbull following a working lunch.

Next, Coalition partners, meeting in Paris, issued a joint statement on January 20th. The Defence Ministries of Australia, France, Germany, Italy, the Netherlands, the UK and United States affirmed their commitment to accelerating the “C-ISIL/DAESH” mission. The joint statement confirmed that the coalition had gained momentum and was now preparing to move into, “its next phase targeting ISIL/DAESH vulnerabilities.” The statement emphasized that, while the military campaign was a critical component of the overall strategy, equally important would be ongoing political steps to ensure regional stability.[xx] A further meeting would take place in February.

Major re-shuffling of the Afghan-Iraq command occurred on 21 January. Major General Jay B. Silveria USAF was moved to deputy commander USAF Cent-Com, and, wearing a second hat, also became deputy Combined Forces Air Component Commander, Cent-Com (Southwest Asia). Brigadier General Jeffrey B. Taliaferro became Commander 9th Air And Space Expeditionary Task Force-Afghanistan, as well as NATO C-in-C for Air Command-Afghanistan, in addition to deputy commander USAF-Afghanistan Central Command. Brigadier General Richard A. Coe, the deputy commander (air) for Combined Joint Forces Land Component Command-Iraq, and Joint Air Component Coordination Element-Iraq (for CJTF-OIR) was moved to the Inspector General position for HQ Air Combat Command in Langley Virginia. Brigadier General Coe was replaced by Col. Matthew C. Isler- promoted, Brigadier General- formerly of the 12th Flying Training Wing, Air Education and Training Command, San Antonio Texas. To support closer integration with UK forces, Brigadier General Chris M. Short, 57th Fighter Wing commander, became the defense attaché-UK, within the Defense Intelligence Agency.[xxi]

Meetings of the Chiefs of Defence at NATO Headquarters in Brussels- Military Committee in Chiefs of Staff Session

Left to right: General Sir Nicholas Houghton (UK Chief of Defence) with General Tom Middendorp (Chief of Defence, The Netherlands) and General Joseph Dunford (Chairman of the US Joint Chiefs of Staff)

174th Military Committee in Chiefs of Defence Session, Brussels. General Sir Nicholas Houghton, UK Chief of Defence, General Tom Middendorp, Chief of Defence, The Netherlands, and the Chair of the US Joint Chiefs of Staff, General Joseph Dunford, met on 21 January, 2016.

The next day, Ash Carter met with Iraqi Prime Minister Haider al-Abadi, during the World Economic Forum in Davos, Switzerland. They reiterated their commitment to countering-ISIL, with Carter stressing the successes in the Ramadi operation.[xxii] The global coalition was preparing for a major summit in Brussels. Carter also met with Afghan President Ashraf Ghani, where they discussed the deployment of Afghanistan’s A-29 aircraft in the counter-Taliban campaign, and both looked forward to meeting again at the NATO summit in July to be held in Warsaw.[xxiii] The A-29 contract is worth $427 million, and will deliver 20 of the close attack planes by 2018.[xxiv]

''The Global Security Outlook'' Session at the World Economic Forum

Afghan President Mohammad Ashraf Ghani, NATO Secretary General Stoltenberg, US Secretary of Defense Ash B. Carter, the Deputy Prime Minister and Coordinating Minister for Economic and Social Policies, Office of the Prime Minister of Singapore, and Espen Barth Eide, Head of Geopolitical Affairs, World Economic Forum are seen discussing the Global Security Outlook at the 2016 World Economic Forum in Davos, Switzerland, 22nd January.

obama-phone.jpg

US President Barack Obama at the Resolute Desk in the Oval Office, January 22nd 2016

On 27 January, Carter announced that General John Campbell, C-in-C US Forces Afghanistan and Commander NATO Operation Resolute Support was to be replaced by Lt. General John Nicholson, former commander US 82nd Airborne Division and Chief of Staff for the International Security Assistance Force and US Forces Afghanistan.[xxv]

The following day the US and Russian Defense personnel consulted via video conference on further implementation of their “memorandum of understanding” designed to prevent flight accidents over Syrian airspace.[xxvi] The next day, 29 January, Ash Carter made a statement regarding the Dutch Minister of Defense, Jeanine Hennis-Plasschaert’s, decision to expand Dutch airstrikes over Syria. Carter looked forward to meeting with Hennis-Plasschaert, and the representative from the 26 nation military coalition, in two-weeks time in Brussels for the coalition’s Defence Ministerial conference.[xxvii]

January 29th: Major General Mark R. Stammer, C-in-C Combined Joint Task Force Operation Enduring Freedom-Horn of Africa was replaced by Brigadier General Kurt L. Sonntag, formerly Special Operations Command South, US Southern Command.[xxviii] Brigadier General Scott A. Howell, promoted Major General, became commander, Special Operations Joint Task Force-Afghanistan.[xxix] On 5 February Colonel Daniel L. Simpson was promoted to Brigadier General and transferred from the National Security Agency to deputy director of intelligence, US Forces-Afghanistan, as well as assistant deputy chief of staff of intelligence to NATO HQ, Operation Resolute Support.[xxx] It is significant to note the number of intelligence officers being transferred to Afghanistan postings.

forcenumbers

As of February 2nd, Lt. General Sean B. Macfarland, C-in-C CJTF-OIR had approximately 6,500 soldiers from 17 nations under his command in Iraq.[xxxi]

NATO Secretary General attends European Defence Ministers meeting

February 5th, NATO Secretary General Jens Stoltenberg photographed at the European Defence Ministers meeting.

On February 9th, President Obama sent Congress his Fiscal Year 2017 budget for $582.7 billion for the DOD. The budget was meant to reflect changes in the security situation, including, “Russian aggression, terrorism by the Islamic State of Iraq and the Levant (ISIL) and others, and China’s island building and claims of sovereignty in international waters”. The budget allowed for 460,000 soldiers in the Army, 335,000 soldiers in the National Guard, and 195,000 soldiers in the Army Reserve for 56 total brigade combat teams. The Marine Corps would consist of 182,000 marines and 38,5000 reservists. The Navy was to expand from 280 ships to 308 (over 5 years), with 380,900 active duty and reserve sailors. The USAF was to consist of 491,700 active duty, reserve and national guard airmen, for 55 tactical fighter squadrons.[xxxii]

bilateral.jpg

February 10th, US Secretary of Defense Ash Carter and Staff in bilateral meeting with NATO Secretary General Jens Stoltenberg.

Defense Secretary Carter met with Canadian Minister of National Defense Harjit Sajjan on 10 February during Carter’s visit to Brussels. Sajjan was thanked for his commitment to countering ISIL, including the extension of Canada’s role in aerial refueling and surveillance. Canada is also expanding its training and intelligence missions for Iraq.[xxxiii]

NATOfamily.jpg

NATO Defence Ministers family portrait 10th February 2016, NATO HQ, Brussels.

On 11 February, Ash Carter met with Saudi Arabia’s Minister of Defense, Mohammed bin Salman, in Brussels. Both parties agreed on the importance of accelerating the counter-ISIL mission. Carter responded favorably to the Minister’s offer to expand Saudi Arabia’s role in the air campaign.[xxxiv]

On February 12th, Brigadier General Scott A. Kindsvater, formally the Assistant deputy commander USAF Central Command, became deputy commander-Operations and Intelligence, CJTF-OIR.[xxxv] Also on the 12th, Ash Carter met with United Arab Emirates Minister of State for Defense Affairs, Mohammed Al Bowardi, in Brussels. Carter “welcomed” the Minister’s willingness for the UAE to rejoin the coalition air campaign.[xxxvi] Further, on the 12th, the International Syria Support Group (ISSG) members met at Munich to discuss a Cessation of Hostilities agreement.

February 15 was the beginning of the Syrian Democratic Forces operation to secure Shaddadi.[xxxvii] On 16 February Brigadier General Antonio M. Fletcher, formerly the special assistant to the commanding general, US Army Special Operations Command, Fort Bragg, became deputy commander, Special Operations Joint Task Force-Afghanistan, Operation Freedom’s Sentinel. Brigadier General Robert P. Walters Jr., formerly the director of intelligence US Special Operations Command, MacDill Air Force Base became deputy chief of staff, intelligence, Resolute Support Mission, NATO and director J-2, US Forces Afghanistan, Operation Freedom’s Sentinel- continuing the trend of appointing intelligence officers to Afghanistan postings.[xxxviii]

The following day, Secretary of Defense Carter made a statement condemning the 17 February terrorist attacks in Ankara.[xxxix] On 19 February the DOD announced that it had conducted an airstrike on an ISIL training camp near Sabratha, Libya, targeting Noureddine Couchane (“Sabir”), a Tunisian, operating the ISIL training camp there.[xl] That same day, Brigadier General David W. Hicks (USAF) was transferred from vice commander First Air Force, Tyndall Air Force Base, Florida, to Commander NATO Air Training Command-Afghanistan, Operation Resolute Support.[xli] The following day the DOD admitted that two Serbian hostages held in Libya had been killed, although the Defense Department did not admit if it was responsible, or if these were reprisal killings for its 19 February airstrike.[xlii]

obama-cameron.jpg

23rd February, President Obama and members of the national security team meet via video conference with Prime Minister of the United Kingdom, David Cameron, Chancellor Angela Merkel of Germany and French President Francois Hollande to discuss the situation in Syria. From Obama’s right is Vice President Joseph Biden, Assistant to the President for Homeland Security, Lisa Monaco, Avril Haines, Deputy National Security Advisor, and National Security Advisor Susan E. Rice.

afghanistan

ISW map estimating Taliban control in Afghanistan, 23 February 2016.[xliii]

On 23 February USMC Colonel William H. Seely III was promoted to Brigadier General, serving in the function of chief of staff USMC Cyberspace Command, Fort Meade, then deployed at the J-2 Combined Joint Forces Land Component Command-Iraq.[xliv]

obama-state.jpg

February 25th, President Obama at a National Security Council meeting held at the US State Department to discuss the Counter-ISIL mission.

February 29th: the DOD held a video conference with Russian Defense officials concerning the ongoing US-Russia memorandum of understanding on flight safety over Syria.[xlv]

iraq-NATO.jpg

1st March 2016, NATO Secretary General Jens Stoltenberg meets with Iraq’s President Fouad Massoum.

obama-security.jpg

March 4th, Barack Obama and members of the National Security Council discuss counter-terrorism, via video conference from the White House Situation Room, with Afghan President Ashraf Ghani and Chief Executive Abdullah Abdullah. From the President’s right are Vice President Joseph Biden, Assistant to the President for Homeland Security, Lisa Monaco, Peter Lavoy, Senior Director for South Asian Affairs, Avril Haines, Deputy National Security Advisor, and National Security Advisor Susan E. Rice.

ISIS's Regional Campaign MAR2016-01_16 (1).png

Institute for the Study of War, ISIS Regional Campaign map showing major areas of operation, March 2016[xlvi]

On March 8th, Ash Carter met with German Defense Minister, Ursula von der Leyen, at the Pentagon. The two discussed the counter-ISIL mission, the situation in Ukraine, and Afghanistan, and Carter was pleased with Germany’s ongoing commitment to Operation Resolute Support.[xlvii] On 11 March the DOD announced that Army General Curtis M. Scaparrotti would succeed USAF General Breedlove as Supreme Allied Commander, Europe.[xlviii] Scaparrotti had previously commanded the International Security and Assistance Force Afghanistan during the 2011-2012 surge.[xlix]

On 14 March, Carter met with Israeli Defense Minister, Moshe Ya’alon at the Pentagon. On March 15, the DOD appointed Major General Paul A. Ostrowski to deputy commanding general for support, Combined Security and Transition Command-Afghanistan, Operation Freedom’s Sentinel.[l] Likewise, Brigadier General Jeffery D. Broadwater, the deputy commander of the 1st Armored Division, was appointed the director CJ-35 for Resolute Support Mission, NATO, Operation Freedom’s Sentinel, replacing Brigadier General Richard C. Kim. Brigadier General Broadwater traded postings with Brigadier General Joel K. Tyler, who had formerly been the director of operations for the CTJF-OIR.

NIchols-NATO-Afghanistan.jpg

NATO Secretary General Stoltenberg conducts a briefing during his visit to Afghanistan with Chairman of the Military Committee, General Petr Pavel (left) and Operation Resolute Support Commander, General John Nicholson (centre), 14 March 2016.

obama-hollande.jpg

March 18th, 2016. President Obama speaks with French President Francois Hollande and Belgian Prime Minister Charles Michel regarding the capture of Salah Abdeslam, a planner of the November 13 2015 Paris Terrorist attacks. Standing across from Obama is Lisa Monaco, Assistant to the President for Homeland Security and Counterterrorism.

On the 17th, the Pentagon released its 2017 Defense Posture Statement.[li] In that document, Defense Secretary Carter lamented the possible sequestration that would follow 2017, resulting in a $100 billion in cuts from 2018 to 2021. Carter acknowledged a dramatic shift in the global balance of power, suggesting that the concept of a return to great power politics may be a valid comparison. The Secretary of Defense stressed the importance of countering ISIL, “most immediately in its parent tumor in Iraq and Syria, and also where it is metastasizing, in Afghanistan, Africa, and elsewhere”. Carter noted that the $7.5 billion budget for Operation Inherent Resolve would be “critical to continuing to implement and accelerate the coalition military campaign plan that the United States has developed”. The 2017 strategy would focus on destroying ISIL in Raqqa, in Syria, and Mosul, in Iraq.[lii]

The budget included the all important figure of $630 million for training and equipping the Iraqi Security Force, and another $250 million for “enabling Syrian anti-ISIL forces.”[liii] Significantly, only $41.7 million was earmarked for Operation Freedom’s Sentinel. Another $9 million was earmarked for other counter-ISIL operations in the Levant, and a further $166 million for the North and West African theatres. The DOD intended to spend another $1.8 billion to purchase over 45,000 GPS guided bombs due to the reduction in coalition stockpiles caused by the air campaign.[liv] A further $5.7 billion was earmarked for the increase of global daily unmanned air patrols form 70 to 90 by the end of 2018. These patrols would include “a mix of MQ-9 Reapers, Extended Range Reapers, and MQ-1C Advanced Gray Eagles” and require “60 patrols from the Air Force, 16 from the Army, and 14 that are government-owned and flown by contractors for the Air Force and US Special Operations Command”. The A-10 Thunderbolt II would continued flying until 2022, as the A-10s operating in support of Operation Inherent Resolve flying out of Incirlik Air Base in Turkey were deemed essential for the air campaign.[lv]

On March 19th the Pentagon announced the deployment of the XVIII Airborne Corps HQ to Kuwait, along with 450 soldiers, where the XVIII Airborne Corps would replace III Corps as the command HQ for the Combined Joint Task Force – Operation Inherent Resolve.[lvi]

On 22 March Deputy Secretary of Defense Bob Work met Danish Permanent Secretary for the Ministry of Defense, Thomas Ahrenkiel, at the Pentagon, where they discussed the counter-ISIL campaign.[lvii]

stoltenberg-Brusselsattacks.jpg

22nd March, NATO Secretary General Jens Stoltenberg prepares to give a statement following the Brussels airport terrorist attacks.

On 24 March Deputy Secretary of Defense Bob Work hosted Norway’s Secretary for Defense, Oystein Bo, at the Pentagon, where the two discussed broader counter-ISIL strategy.[lviii] Secretary of Defense Ash Carter meanwhile called Crown Prince Mohammed bin Salman, Saudi Arabia’s Minister of Defense, to discuss the situation in the middle-east and the counter-ISIL mission.[lix]

On 25 March Major General Christopher K. Haas became deputy chief of staff, Operations, Resolute Support Mission, having been transferred from his posting as director, force management and development, US Special Operations Command.[lx] Major General Hass replaced Major General Mark R. Quantock, who became director J-2 US Central Command, MacDill Air Force Base. Brigadier General Willard M. Burleson III, the director, Mission Command Center of Excellence, US Army Combined Arms Center, Fort Leavenworth, also became senior advisor to the Ministry of Defense, US Forces-Afghanistan, Operation Freedom’s Sentinel.

carterdunford.jpg

March 25, Ash Carter and Marine Corps General Joe Dunford, the Chairman of the Joint Chiefs of Staff, briefed reporters on counter-ISIL strategy.

On March 29th Ash Carter hosted the Estonian Defense Minister, Hannes Hanso, at the Pentagon to discuss Estonia’s support for “operations in Afghanistan, Africa, the Balkans, and importantly its support for the coalition’s counter-ISIL campaign.”[lxi] Naturally, Russia was another major item on the agenda.

On March 30th the Defense Department announced that service members who had been active in Iraq, Syria, or nearby water or airspace from June 15, 2014, onwards would be eligible to be awarded the newly implemented Inherent Resolve Campaign Medal.[lxii]

obama-nucleardinner.jpg

March 31st, President Obama hosts a working dinner with the heads of state and delegation members attending the Washington Nuclear Security Summit in the White House East Room.

On 31 March, Acting Assistant Secretary for International Security Affairs Elissa Slotkin, and Joint Staff Vice Director for Strategic Plans and Policy Major General Steven M. Shepro, held a video conference from the Pentagon, with Russian MOD counterparts concerning the ongoing memorandum of understanding regarding flight safety over Syrian airspace.[lxiii]

obama-Jin

April 1st, 2016. US President Barack Obama bids farewell to Chinese President XI Jinping at the conclusion of the Nuclear Security Summit, Washington DC.

NATO-obama2.jpg

April 4th, President Obama and members of his national security team meet with Jens Stoltenberg, NATO Secretary General, in the Oval Office. To the right of the President are Vice President Biden, Secretary of State John Kerry, and National Security Advisor Susan Rice. Seated in front of the camera, holding a highlighted document, is Secretary of Defense Ash Carter, and right of Carter is Avril Haines, Deputy National Security Advisor, and Lisa Monaco, Assistant to the President for Homeland Security and Counterterrorism.

nato-obama3.jpg

President Obama shakes hands with NATO Secretary General Jens Stoltenberg during their bilateral meeting on April 4th. Vice President Joe Biden and Secretary of State John Kerry visible in background.

Obama-Jens.jpg

April 4th, Barack Obama poses with NATO Secretary General Jens Stoltenberg in the Oval Office following their bilateral meeting.

President Obama also met with his National Security Team and the Joint Chiefs of Staff on April 5th and issued a statement in which he stressed the need to continue accelerating the air campaign, which he credited with cutting critical the Raqqa-Mosul supply line.[lxiv]

On 14 April, the DOD announced that Brigadier General Dennis S. McKean, formerly the commandant US Army Armor School, would become the chief, Office of Security Cooperation – Iraq, US Central Command.[lxv]

obama CIA

On April 13, President Barack Obama, flanked by Vice President Biden, Secretary of State Kerry, CIA Director Brennan, and the Chairman of the Joint Chiefs of Staff, General Dunford made a statement on the coalition’s anti-ISIL strategy.[lxvi] Speaking from the CIA headquarters in Langley, Virginia, President Obama stated that the Islamic State is now on the defensive. The President noted successes in Anbar province, Iraq, especially around Hit. The President also pointed to gains made in Syria at al-Shaddadi, including the cutting of the supply corridor between Raqqah and Mosul. “In other words,” said the President, “the ISIL core in Syria and Iraq continues to shrink,” with ISIL fighters estimated to be in their lowest numbers in two years. Meanwhile, Obama pointed to diplomatic efforts about to resume in Geneva, seeking a conclusion to the Syrian civil war.[lxvii]

On April 16th, the New York Times reported that the Obama Administration was planning to accelerate its anti-ISIL campaign by increasing the deployment of Special Operations forces to Syria, as well as Army helicopters to Iraq. “Dozens” of SOF soldiers were to be added, to the 50 currently working inside Syria, up to as many as 200. The SOF were expected to provide support for the planned operation against Raqqa, the Islamic State’s capital, while the Army’s Apache helicopter gunships (which Iraq’s government had refused in December 2015)[lxviii] would support the planned future operation to capture Mosul.[lxix] Ash Carter, meanwhile, was in Al Dhafra air base for a tour of the Middle East. There were approximately 5,000 US service members in Iraq at the time. The coalition was now transitioning to its second phase of operations.

carter-global.jpg

Ash Carter meets with Global Hawk pilots during his tour of Iraq, April 17, 2016.

Operations and Tactics: Executing the Mission

kurdstraining.JPG 

Kurdish Peshmerga fighters training in Irbil Iraq, October 11 2015.

During airstrikes carried out on 13 November 2015, nine coalition strikes were carried out against ISIL units near Ramadi, while other strikes near Ramadi destroyed 16 buildings, two weapons caches, six ISIL fighting positions, two light machine guns, an ISIL rocket launcher and two sniper positions. Also targeted and destroyed were five vehicle borne improvised explosive devices (VBIEDs), a staging area, two heavy machine guns, two command and control positions, a supply cache, an ISIL vehicle, another fighting position, plus damage was done to an ISIL controlled road.[lxx]

As part of Operation Tidal Wave II (the targeting of ISIL controlled oil assets), 116 fuel trucks were destroyed near Abu Kamal, Syria on November 15.[lxxi]

nov16a.jpg

            In the above image a PGM (precision guided munition) can be seen moments before it destroys an ISIL fuel truck. In the image below, incoming cannon rounds from the attacking A-10 Thunderbolt II aircraft can be seen a split second before destroying another truck.[lxxii]

nov16b

            On November 18th coalition airstrikes destroyed a bridge leading to Ramadi.[lxxiii]

nov18

On November 19 the coalition conducted three strikes near Kisik , Iraq, destroying four LMGs, two vehicles and two supply caches. [lxxiv] That same day the coalition destroyed an ISIL anti-air emplacement near Fallujah.[lxxv]

nov22

nov22a

Shortly afterwards, on November 24, the CJTF-OIR youtube page uploaded video highlighting the destruction of 283 ISIL fuel trucks during November 22, near Al Hassakah and Dayr Az Zawr Syria.[lxxvi] The images above show a small sample of the trucks, parked end-to-end in a huge circle, being decimated by A-10 cannon strikes.

            On the 24th of November the coalition destroyed a homemade exposive (HME) cache near Ramadi. On December 1st the coalition targeted a VBIED factory near Al Qaim, Iraq, and destroyed it, following that up with airstrikes the next day that destroyed two VBIEDs near Ramadi.[lxxvii]

dec1

            The photo above shows the VBIED factory before its destruction, while the colour before and after screen captures (below) show the destruction of VBIEDs near Ramadi.

dec2adec2b

On December 5, the coalition destroyed five ISIL oil wellheads near Dayr Az Zawr, Syria.[lxxviii] PGM circled.

dec5

Two VBIED factories near Qayyarah Iraq were targeted on December 7th and 10th, and a logistics factory was also hit.[lxxix]

dec10

On December 9, six strikes were carried out near Ramadi, destroying 2 ISIL boats used to cross the Euphrates, as well as two “tactical units” and five “fighting positions” and three weapons caches.[lxxx] Further strikes were carried out at Ramadi on 13 December, destroying multiple ISIL controlled buildings.[lxxxi] These were only a small sample of broader coalition strike missions, which included hundreds of attacks on a monthly bases. Multiple strikes were carried out every day.

dec15

On 15 December coalition airstrikes hit Al Qaim, Iraq, destroying an HQ building, an IED factory and a VBIED factory.[lxxxii]

During December 16-17 multiple strikes were carried out at Mosul, pulverizing ISIL positions and vehicles.[lxxxiii] More strikes were carried out on 20 December.[lxxxiv]

On 21 December six USAF personnel were killed when they were attacked while on patrol by a suicide bomber on a motorcycle at Bagram Air Base in Afhganistan. [lxxxv] Another two services members were injured as was a US contractor.[lxxxvi] These soldiers had been operating as part of Operation Freedom’s Sentinel.

On December 24 the coalition continued to hammer ISIL oil assets near Dayr Az Zawr, Syria. In sum 11 strikes were carried out in Syria that day followed by 19 strikes in Iraq.[lxxxvii] Cave complexes around Al Baghdadi were targeted, as shown in the image below.[lxxxviii]

dec24

On December 25-26 the coalition targeted ISIL controlled bridges near Tal Afar, Iraq.[lxxxix]

dec28

On December 28th the ISF recaptured portions of Ramadi, raising the Iraqi flag over the rubble of a government building.[xc]

ramadi.jpg

On December 29 the New York Times reported that Iraqi Security Forces had recaptured Ramadi- one the heaviest bombed cities during the December air campaign.[xci] By this point the CJTF-OIR had trained 15,892 ISF forces with another 4,200 in training.

December2015.jpg

This chart shows the number of times a respective area was targeted, according to CJTF-OIR website press releases for December 2015, providing an indication of the scale of daily and monthly attacks. It is important to recognize that these figures do not include the hundreds of sorties and strikes carried out by Russian aircraft during the same period.[xcii]

Jan1

Further strikes against the Dayr Az Zawr oilfields occurred on December 29.[xciii] Additional strikes were carried out against Mosul,[xciv] and further attacks hit the Abu Kamal bridge, Syria, on January 1st.[xcv] The various oil works at Dayr Az Zawr were targeted again on 2 January.[xcvi]

jan5a

jan5b

Ramadi was subjected to additional airstrikes on 5 January.[xcvii] A PGM seen here moments before obliterating an ISIL controlled building.

On 6 January 2016 the DOD announced the death of Staff Sgt. Matthew Q. McClintock, 1st Battalion, 19th Special Forces Group (Airborne), who was killed in Marjah District, Afghanistan, during a firefight as part of Operation Freedom’s Sentinel.[xcviii]

raffale

French F-2 Rafale flies over Iraq on 8 January.[xcix]

jan10

On January 10 a bridge at Tal Afar was destroyed.[c] Mosul was again targeted on January 11, this time an ISIL controlled bank and mint was targeted. This was the beginning of a shift in focus towards targeting central Mosul, in particular, ISIL’s financial assets. Other buildings were also targeted, again, dozens of strikes were carried out each day.[ci]

jan12

Kisik, Iraq was bombed on January 12th.[cii] The following day an IED factory at Hit, Iraq was bombed.[ciii] Mosul was again the targeted of bombing on 15 January, PGM circled.[civ]

jan15jan15b

Mosul was bombed again on the 18th: you can see approximately seven separate bombs hitting the same target in the video posted on the CJTF-OIR youtube page, before the structure collapses- significantly this would only count as part of one “strike” in the vernacular of the US Defense Department.[cv]

jan18jan18b

On January 17 the DOD announced the death of Major John D. Gerrie who was killed in “a non-combat related incident” on January 16th while involved in Operation Inherent Resolve- the US Central Command’s anti-ISIL campaign.[cvi] The casualty had initially been attributed to Operation Freedom’s Sentinel, but was re-categorized as an OIR loss on January 22.

On January 25 airstrikes near Mar’a, Syria, destroyed another ISIL HQ building.[cvii] On 28 January an ISIL controlled communication array in Mosul was destroyed.[cviii]

Jan28jan28b

On 29 January the DOD announced the death of Sgt. Joseph F. Stifter, 1st Battalion, 7th Field Artillery Regiment, 2nd Brigade Combat Team, 1st Infantry Division, when his HMMWV rolled over near Al Asad Airbase, Al Anbar Province, during activity supporting Operation Inherent Resolve on 28 January.[cix]

mapfeb.jpg

Map showing territory lost to the Islamic State by February 2016.

Meanwhile, during the end of January, and the first week of February, Russia flew 468 sorties in Syria, destroying 1,354 facilities in the provinces of Aleppo, Latakia, Hama, Homs, Damascus, Raqqa, Daraa, and Deir-ez-Zor.[cx]

russian airstrikes.jpg

ISW map showing Russian airstrikes in Syria, February to March 2016.[cxi]

A series of coalition strikes were carried out on 2 February. The oil fields at Dayr Az Zawr, Syria were targeted again. Then ISIL positions at Manbij, Syria were bombed.

feb2

Further heavy airstrikes were carried out on 13 February. Mosul was bombed again: see the before and after comparison below.[cxii] Several major buildings were destroyed, again note the multiple bomb impacts.[cxiii]

feb13cfeb13dfeb13feb13b

Abu Kamal, Syria, was bombed on 15 February, targeting weapon storage.[cxiv] ISIL barracks and vehicles were also targeted.[cxv]

feb15

The Dayr Az Zawr oil and gas plants were bombed again on 19 February.[cxvi] On 20 February ISIL positions near Al Hasakah Syria were bombed.[cxvii] Additional strikes against Al Hasakah were conducted on 21 February.[cxviii] Bridges at Dayr Az Zawr, Syria, were bombed on 21-22 February, and further wellhead strikes took place.[cxix]

feb21feb22feb22b

An IED factory near Al Qaim, Iraq, was bombed on February 24th.[cxx]

feb24feb25

On 25 February an oil separation facility at Abu Kamal, Syria was hit.[cxxi]

Fallujah, one of the major ISIL control-points in Iraq, was targeted on 29 February, where an ISIL weapons storage facility was bombed.[cxxii] Also on the 29th, a VBIED was destroyed at Manbij, Syria.[cxxiii]

            On 1 March another VBIED and a weapons storage warehouse at Mosul were destroyed.[cxxiv] The PGM can be seen before a series of explosions obliterates the warehouse in the images below.

mar1amar1b

An ISIL technical was destroyed at Ramadi on 2 March.[cxxv] On 3 March, Syrian President Bashir al-Asad’s forces recaptured the strategic city of Palmyra, a major turning point in the Syrian Civil War. On 4 March, the DOD carried out an airstrike at al Shaddadi, Syria, targeting senior ISIL leader Tarkhan Tayumurazovish Batirashvili, aka, Abu Umar al-Shishani, or Omar the Chechen, a senior member of the Islamic State’s war council. Omar the Chechen had been targeted as a Specially Designated Global Terrorist.[cxxvi]

hornets

US Navy F/A-18 Hornets fly over Iraq on 3 March 2016.

On 5 March ISIL vehicles were bombed at Manbij, Syria, while a weapons facility at Hit, Iraq, was also bombed.[cxxvii]

mar5amar5

On 7 March the DOD announced that on March 5th it conducted an airstrike against al-Shabaab’s training camp in Raso, Somalia with manned and unmanned aircraft.[cxxviii]

ISIL positions at Mar’a were targeted on 8 March.[cxxix] An ISIL vehicle was also destroyed at Mar’a on 11 March.[cxxx]

mar8

ISIL positions at Hit, Iraq, were bombed on 12 March.[cxxxi] At least two IED factories at Mosul was destroyed on 14 March.[cxxxii] In the video, multiple PGMs can be seen hitting the targets, before secondary explosions completely destroy them.[cxxxiii]

Another ISIL vehicle was destroyed near Hit, Iraq on 15 March.[cxxxiv] Also on 15 March, it was reported that Russia would begin a phased withdrawal of its forces from Syria, following the success of pro-regime forces at Palmyra. Russia was expected to maintain a reserve presence in support of the Syrian Army.

On 19 March the coalition dropped bombs on an ISIL HQ building in Mosul.[cxxxv] Also on 19 March, Staff Sgt. Louis F. Cardin, 2nd Battalion, 6th Marine Regiment, 26th Marine Expeditionary Unit, was killed while “providing force protection fire support” near Makhmur, Northern Iraq, when their fire base was attacked by ISIL rockets.[cxxxvi] Several other marines were wounded in the attack. The Pentagon noted that this was the second combat fatality since the start of OIR.[cxxxvii] On 21 March, the Pentagon admitted it had formed a USMC base in northern Iraq, staffed by 100 to 200 marines from the 26th Marine Expeditionary Unit.[cxxxviii]

mar19

mar19b

On 22 March the DOD announced that it had conducted an airstrike in Yemen against an al-Qa’ida training camp, then being used by more than 70 militants training with the al-Qa’iada in the Arabian Peninsula (AQAP).[cxxxix]

mar23

On 23 March the coalition carried out multiple strikes at Qayyarah, Iraq; where a radio tower and other communication facilities were demolished.[cxl] An ISIL vehicle was also destroyed at Al Hawl, Syria.[cxli] The bridge at Qayyarah was again targeted on 24 March, destroying a large part of it.[cxlii]
mar24

training, Czech.JPG

Afghan tactical air controllers call in practice strikes at a training range in Kabul, 27 March. Czech Republic air advisors look on.

An ISIL barracks and a safehouse, at Hit, Iraq were bombed on March 28th.[cxliii] The next day an HQ building in Hit was destroyed.[cxliv] Further strikes at Hit on 31 March destroyed a VBIED.[cxlv]

mar31mar29

On 31 March the DOD carried out an airstrike in Somalia, targeting Hassan Ali Dhoore, a senior al-Shabaab agent within the organization’s Amniyat (security and intelligence) wing.[cxlvi]

ISIS Sanctuary 31 MAR 2016-01_2.png

Institute for the Study of War map showing estimated ISIL control in Syria and Iraq on 31 March.[cxlvii]

On 1 April a weapons cache at Qayyarah was bombed.[cxlviii] A bridge at Hit was bombed on 2 April.[cxlix] On 3 April a VBIED was destroyed near Shadaddi, Syria.[cl] In the video, the vehicle can be seen racing down a road before it is surrounded by cannon fire and explodes in a huge fireball.

april5.jpg

On April 7, the Pentagon announced that it had killed Abu Zubary al-Bosni near Bajar, a Swedish fighter, and Khalid Osman Timayare, the “deputy emir of the Anwar al-Awlaki Brigade,” also a Swedish national, was killed at Ar Rayhaniyah.[cli] By this point in the Shaddadi offensive, 6,100 square kilometers had been recaptured, and the coalition had conducted over 209 strike missions, “killing hundreds of enemy fighters.”[clii]

A number of attacks were carried out on April 8. In Syria, remotely piloted aircraft (RPAs) carried out eight strikes, one at Hawl and seven at Mara. In Iraq, fighter aircraft and attack planes, supported by RPAs, bombed targets at Huwayjah, where an HMG was destroyed, at Fallujah, and at Hit, where two HMGs were destroyed, as well as a recoilless rifle, a supply cache, a boat and two vehicles. At Kirkuk two strikes destroyed an ISIL bunker, two vehicles and seven rocket systems plus a VBIED. At Mosul, seven strikes destroyed various targets including a VBIED manufacturing plant and a supply cache. At Qayyarah eight ISIL positions were bombed. Near Sinjar two supply caches were destroyed. At Sultan Abdallah a supply cache was destroyed and an assembly area bombed.[cliii]

humvee.jpg

Iraqi HMMWV fires TOW missile in Hit during fighting early in April.

On April 9th, attack aircraft carried out two strikes in Syria, one bombing the Dayr Az Zawr oil separation plant. At Manbij, a strike destroyed ISIL artillery and rocket systems. 21 strikes were conducted in Iraq. An ISIL HMG was bombed at Huwayjah. 22 rockets and two “rocket rails” were destroyed at Albu Hayat. An ISIL mortar system and vehicle were destroyed near Habbaniyah. At Haditha an ISIL tactical unit and fighting positions were bombed. At Hit four strikes were carried out, destroying an HMG, an artillery piece, and anti-aircraft piece and 30 boats and one vehicle. At Kirkuk a fighting position was bombed. At Kisik two strikes hit an ISIL “command and control node”. At Mosul three strikes were carried out, destroying additional buildings and three rocket systems. An ISIL HQ building was bombed at Tal Afar, and at Qayyarah four strikes destroyed weapons facilities and two ISIL VBIEDs were also destroyed.[cliv] This level of destruction was typical for the entire period, November 2015 to April 2016.

B-52.JPG

On April 9, B-52 bombers operating out of Al Udeid Air Base, Qatar began operations as part of the CJTF-OIR effort, signaling a dramatic expansion of the air war.[clv]

On 10 April one strike was carried out at Raqqah, Syria, and 24 strikes were conducted in Iraq. Qayyarah was bombed 3 times, destroying two boats and a vehicle. Mosul was bombed eight times, destroying five communications facilities, two vehicles and a boat. Kirkuk was hit four times, destroying two ISIL HMGs, and a supply cache, amongst other areas and targets bombed.[clvi]

On 11 April the coalition carried out five strikes in Syria and 13 strikes in Iraq. On 14 April four strikes were conducted in Syria, at Hawl, Raqqah, and Ma’ra in Syria; while 17 strikes were carried out in Iraq, at Hit, four machine gun positions were destroyed, a boat and boat dock, an ISIL vehicle, and a command position were all bombed. In Kisik two ISIL units were destroyed as well as a bunker. At Mosul, a VBIED and a storage facility were destroyed. At Qayyarah, an HQ unit and financial centre were bombed. Near Sultan Abdallah two strikes destroyed seven ISIL boats and a mortar position. Another mortar was bombed at Tal Afar.[clvii]
prowler.JPG

US Marine Corps EA-6B Prowlers deployed to Turkey to support the OIR air campaign, starting on 14 April.[clviii]

On April 14th, the New York Times reported that a team of Italian engineering specialists had arrived to work on repairing the Mosul dam, recaptured from ISIL in 2014, which earlier in the year CJTF-OIR commander Lt. General Macfarland described as a serious humanitarian disaster waiting to happen should it collapse.[clix]

The A-29 Super Tucano airplanes, flown by USAF trained Afghan Air Force pilots, went into action on 15 April.[clx] Also on 15 April Airman First Class Nathaniel H. McDavitt, operating at part of Operation Inherent Resolve, was killed when the building he had been working in collapsed as a result of high winds.[clxi]

strikes15paril.jpg

Strikes carried out the week of 9 to 15 April.

On 18 April, Reuters newswire reported that the previous day, the coalition had conducted 20 airstrikes against IS militants in Syria and Iraq. Three strikes targeted two anti-aircraft pieces in Syria, and in Iraq, 17 strikes hit near eight different cities, destroying a weapons cache, communications facility, and safe house, a mortar position, a boat and a rocket team; basically par for the course in the ever increasing tempo of air operations.[clxii]

Conclusion


The coalition has dramatically accelerated its bombing campaign, conducting round-the-clock operations in Syria and Iraq. In the current phase of operations, heavy airstrikes are conducted daily against the major IS cities of Mosul, starting in February 2016, and the focus is now shifting to the IS capital, Raqqah, in Syria. More assets have been deployed to increase the pressure, including, in April, B-52 Stratofortress bombers, signaling a major escalation. The diplomatic and military effort to keep the coalition dedicated has yielded some results, with nations pledging either increased or continued support. However, by far the majority of strikes remain USAF led. The Russian campaign in Syria has been carefully orchestrated to prevent a conflict with coalition aircraft operating in the area, and is expected to maintain pressure if not at the tempo that had been carried out when Russia first intervened. President Obama spoke with Russian President Vladimir Putin in a phone conference on April 18, and both parties agreed to “increase coordination” in the Syrian air campaign.[clxiii]

            Meanwhile, NATO and US coalition airstrikes are carried out in Afghanistan- as part of Operation Resolute Support and Freedom’s Sentinel- as well as in Somalia, Yemen, and Libya as part of the broader anti-al Qaida, anti-ISIL campaign. The US, NATO and the coalition have confirmed their intent to maintain troop presence in Afghanistan, and increasing deployments are being made to Iraq, where the US has suffered a handful of casualties, including combat fatalities. As a result of all this devastation from the air, the coalition has noticed a significant decrease of ISIL activity in Afghanistan.[clxiv] If true, this represents a major turning point since, in January 2016, the incoming Operation Resolute Support commander Lt. General John W. Nicholson described the situation in Afghanistan as “deteriorating” in a Senate Armed Services Committee hearing on January 28th.[clxv]

Operation Inherent Resolve staff estimates suggest that the Islamic State has lost 40% of its former Syrian and Iraqi territory, with the CJTF-OIR spokesman stating that ISIL was “weakened” and efforts were now shifting to focus on fracturing the terrorist group.[clxvi] However, the OIR spokesman also pointed to the Iraqi Security Forces defensive posture at Fallujah, and noted that ISIL forces are putting up the staunchest resistance yet experienced, despite having suffered over 500 deaths from over 21 airstrikes in Iraq in the last week.[clxvii] At this time the coalition of nations involved in targeting ISIL in Iraq include the US, Australia, Belgium, Canada, Denmark, France, Jordan, the Netherlands, and the United Kingdom. In Syria, strikes have been carried out by the US, Australia, Bahrain, Canada, France, Jordan, the Netherlands, Saudi Arabia, Turkey and the United Arab Emirates and the United Kingdom.

total.jpg

The Combined Forces Air Component Commander Air Power Statistics for March 2016 show large increases in overall sorties and, significantly, in strikes, from November through to February, with March still showing an overall increase over the preceding year.[clxviii]

In the following phase of operations, the focus will shift to further pulverizing Mosul and Raqqa, while the diplomatic agenda will accelerate to secure the modest gains made over the past six months. Nevertheless, it remains to be seen if the ISF and coalition aligned Syrian forces can operate on the scale necessary to conduct the large-scale offensives required for Mosul or Raqqa, and the increasingly combat orientated presence of US Special Forces and Marines seems to suggest skepticism regarding the success of the training regime. The arrival of additional coalition, USAF, Army and USMC air assets, including Apache helicopters and other close attack aircraft, not to mention the B-52s, no doubt heralds a further expansion of the air war in the future.

[i] http://www.defense.gov/News/News-Releases/News-Release-View/Article/708442/department-of-defense-publishes-inherent-resolve-campaign-medal-guidance

[ii] http://www.defense.gov/News/Special-Reports/0814_Inherent-Resolve

[iii] http://www.reuters.com/article/us-afghanistan-blast-idUSKCN0X80PX

[iv] http://www.defense.gov/News/News-Releases/News-Release-View/Article/632434/statement-from-secretary-carter-on-counter-isil-actions-by-the-united-kingdom-a

[v] http://www.defense.gov/News/News-Releases/News-Release-View/Article/633221/statement-from-pentagon-press-secretary-peter-cook-on-nov-13-airstrike-in-libya

[vi] http://www.defense.gov/News/News-Releases/News-Release-View/Article/634187/dod-releases-report-on-enhancing-security-and-stability-in-afghanistan

[vii] http://www.defense.gov/News/News-Releases/News-Release-View/Article/637498/statement-from-pentagon-press-secretary-peter-cook-on-secretary-carters-phone-c

[viii] http://www.defense.gov/News/News-Releases/News-Release-View/Article/637499/readout-of-secretary-carters-visit-to-frances-aircraft-carrier-charles-de-gaull

[ix] http://www.defense.gov/News/News-Releases/News-Release-View/Article/637503/readout-of-secretary-carters-meeting-with-the-king-of-bahrain

[x] http://www.defense.gov/News/News-Releases/News-Release-View/Article/637806/readout-of-secretary-carters-call-with-italian-minister-of-defense-roberta-pino

[xi] http://www.defense.gov/News/News-Releases/News-Release-View/Article/638744/statement-by-secretary-of-defense-ash-carter-on-progress-in-the-fight-for-ramadi

[xii] http://www.defense.gov/News/News-Releases/News-Release-View/Article/641779/dod-identifies-army-casualty ; http://www.defense.gov/News/News-Releases/News-Release-View/Article/641725/readout-of-secretary-of-defense-carters-call-with-republic-of-korea-defense-min

[xiii] http://www.defense.gov/News/News-Releases/News-Release-View/Article/642709/general-officer-assignments

[xiv] http://www.defense.gov/News/News-Releases/News-Release-View/Article/642261/readout-of-secretary-carters-meeting-with-his-majesty-king-abdullah-ii-of-jordan

[xv] https://www.whitehouse.gov/the-press-office/2016/01/12/remarks-president-barack-obama-%E2%80%93-prepared-delivery-state-union-address

[xvi] http://www.defense.gov/News/News-Releases/News-Release-View/Article/642791/statement-from-secretary-of-defense-ash-carter-on-us-navy-sailors-departure-fro

[xvii] http://www.defense.gov/News/News-Releases/News-Release-View/Article/643050/readout-of-deputy-secretary-works-visit-to-israel

[xviii] http://www.defense.gov/News/News-Releases/News-Release-View/Article/643424/deputy-secretary-of-defense-bob-works-visit-to-the-united-kingdom

[xix] http://www.defense.gov/News/News-Releases/News-Release-View/Article/643442/readout-of-secretary-carters-meeting-with-australian-prime-minister-turnbull

[xx] http://www.defense.gov/News/News-Releases/News-Release-View/Article/643681/joint-statement-on-counter-isil-cooperation-by-the-defense-ministers-of-austral

[xxi] http://www.defense.gov/News/News-Releases/News-Release-View/Article/643975/general-officer-assignments

[xxii] http://www.defense.gov/News/News-Releases/News-Release-View/Article/644017/readout-of-secretary-of-defense-ash-carters-meeting-with-iraqi-prime-minister-h

[xxiii] http://www.defense.gov/News/News-Releases/News-Release-View/Article/644250/readout-of-secretary-carters-meeting-with-the-president-of-afghanistan-ashraf-g

[xxiv] http://www.military.com/daily-news/2016/04/15/a29-super-tucanos-see-first-action-afghanistan.html

[xxv] http://www.defense.gov/News/News-Releases/News-Release-View/Article/645193/statement-by-secretary-of-defense-ash-carter-on-change-of-command-in-afghanistan

[xxvi] http://www.defense.gov/News/News-Releases/News-Release-View/Article/645700/statement-by-pentagon-press-secretary-peter-cook-on-us-russia-video-conference

[xxvii] http://www.defense.gov/News/News-Releases/News-Release-View/Article/646430/statement-by-secretary-of-defense-ash-carter-on-the-netherlands-expansion-of-ai

[xxviii] http://www.defense.gov/News/News-Releases/News-Release-View/Article/646918/general-officer-assignments

[xxix] http://www.defense.gov/News/News-Releases/News-Release-View/Article/646920/general-officer-assignments

[xxx] http://www.defense.gov/News/News-Releases/News-Release-View/Article/651341/general-officer-assignments

[xxxi] http://www.voanews.com/content/sixty-five-hundred-coalition-troops-in-iraq-us-wants-more/3172721.html

[xxxii] http://www.defense.gov/News/News-Releases/News-Release-View/Article/652687/department-of-defense-dod-releases-fiscal-year-2017-presidents-budget-proposal

[xxxiii] http://www.defense.gov/News/News-Releases/News-Release-View/Article/653572/readout-of-secretary-of-defense-ash-carters-meeting-with-canadian-minister-of-n

[xxxiv] http://www.defense.gov/News/News-Releases/News-Release-View/Article/654672/readout-of-secretary-carters-meeting-with-deputy-crown-prince-and-minister-of-d

[xxxv] http://www.defense.gov/News/News-Releases/News-Release-View/Article/655507/general-officer-assignments

[xxxvi] http://www.defense.gov/News/News-Releases/News-Release-View/Article/655588/readout-of-secretary-of-defense-ash-carters-meeting-with-the-emirati-minister-o

[xxxvii] http://www.defense.gov/News-Article-View/Article/715735/coalition-kills-2-foreign-fighters-in-iraq-oir-spokesman-says

[xxxviii] http://www.defense.gov/News/News-Releases/News-Release-View/Article/656601/general-officer-assignments

[xxxix] http://www.defense.gov/News/News-Releases/News-Release-View/Article/657534/statement-from-secretary-of-defense-ash-carter-on-bombing-in-turkey

[xl] http://www.defense.gov/News/News-Releases/News-Release-View/Article/658458/statement-from-pentagon-press-secretary-peter-cook-on-libya-airstrike

[xli] http://www.defense.gov/News/News-Releases/News-Release-View/Article/658511/general-officer-assignments

[xlii] http://www.defense.gov/News/News-Releases/News-Release-View/Article/669095/statement-by-pentagon-press-secretary-peter-cook-on-serbian-hostages-in-libya

[xliii] http://understandingwar.org/sites/default/files/February%202016%20AFG%20Map%20JPEG-01_4.jpg

[xliv] http://www.defense.gov/News/News-Releases/News-Release-View/Article/671680/general-officer-announcements

[xlv] http://www.defense.gov/News/News-Releases/News-Release-View/Article/682038/statement-by-pentagon-press-secretary-peter-cook-on-us-russia-video-conference

[xlvi] http://understandingwar.org/sites/default/files/ISIS%27s%20Regional%20Campaign%20MAR2016-01_16.png

[xlvii] http://www.defense.gov/News/News-Releases/News-Release-View/Article/688855/readout-of-secretary-of-defense-ash-carters-meeting-with-german-minister-of-def

[xlviii] http://www.defense.gov/News/News-Releases/News-Release-View/Article/691544/statement-by-secretary-of-defense-ash-carter-on-the-presidents-nomination-of-ge

[xlix] http://www.defense.gov/News/News-Releases/News-Release-View/Article/691544/statement-by-secretary-of-defense-ash-carter-on-the-presidents-nomination-of-ge

[l] http://www.defense.gov/News/News-Releases/News-Release-View/Article/694035/general-officer-assignments

[li] http://www.defense.gov/Portals/1/Documents/pubs/2017DODPOSTURE_FINAL_MAR17UpdatePage4_WEB.PDF

[lii] http://www.defense.gov/Portals/1/Documents/pubs/2017DODPOSTURE_FINAL_MAR17UpdatePage4_WEB.PDF , p. 12

[liii] http://www.defense.gov/Portals/1/Documents/pubs/2017DODPOSTURE_FINAL_MAR17UpdatePage4_WEB.PDF , p. 13

[liv] http://www.defense.gov/Portals/1/Documents/pubs/2017DODPOSTURE_FINAL_MAR17UpdatePage4_WEB.PDF , p. 16

[lv] http://www.defense.gov/Portals/1/Documents/pubs/2017DODPOSTURE_FINAL_MAR17UpdatePage4_WEB.PDF , p. 16 – 17

[lvi] http://www.defense.gov/News/News-Releases/News-Release-View/Article/698377/da-announces-deployment-of-fort-bragg-based-units

[lvii] http://www.defense.gov/News/News-Releases/News-Release-View/Article/700438/readout-of-deputy-secretary-works-meeting-with-danish-permanent-secretary-for-t

[lviii] http://www.defense.gov/News/News-Releases/News-Release-View/Article/703814/readout-of-deputy-secretary-works-meeting-with-norways-state-secretary-for-defe

[lix] http://www.defense.gov/News/News-Releases/News-Release-View/Article/704104/readout-of-secretary-carters-call-with-the-kingdom-of-saudi-arabias-deputy-crow

[lx] http://www.defense.gov/News/News-Releases/News-Release-View/Article/705322/general-officer-assignments

[lxi] http://www.defense.gov/News/News-Releases/News-Release-View/Article/707770/readout-of-secretary-of-defense-ash-carters-meeting-with-estonian-minister-of-d

[lxii] http://www.defense.gov/News/News-Releases/News-Release-View/Article/708442/department-of-defense-publishes-inherent-resolve-campaign-medal-guidance

[lxiii] http://www.defense.gov/News/News-Releases/News-Release-View/Article/709886/statement-by-pentagon-press-secretary-peter-cook-on-us-russia-video-conference

[lxiv] https://www.whitehouse.gov/photos-and-video/video/2016/04/05/president-obama-meets-combatant-commanders-and-joint-chiefs-staff

[lxv] http://www.defense.gov/News/News-Releases/News-Release-View/Article/721116/general-officer-assignments

[lxvi] https://www.whitehouse.gov/photos-and-video/video/2016/04/13/president-obama-delivers-statement-isil

[lxvii] http://www.defense.gov/News-Article-View/Article/721148/obama-counter-isil-campaign-accelerates

[lxviii] http://www.nytimes.com/2015/12/17/world/middleeast/ashton-carter-iraqi-officials-isis.html

[lxix] http://www.nytimes.com/2016/04/17/world/middleeast/us-plans-to-step-upmilitary-campaign-against-isis.html?hp&action=click&pgtype=Homepage&clickSource=story-heading&module=first-column-region&region=top-news&WT.nav=top-news

[lxx] https://www.youtube.com/watch?v=PMMEv8UaIos

[lxxi] https://www.youtube.com/watch?v=hXvrfmzH05M

[lxxii] http://www.airforcetimes.com/story/military/2016/04/18/idaho–10-wing-deploys-operation-inherent-resolve/83191594/

[lxxiii] https://www.youtube.com/watch?v=mU6QuBjANiM

[lxxiv] https://www.youtube.com/watch?v=86-2OJqNmWU

[lxxv] https://www.youtube.com/watch?v=8bl_yRKs9so

[lxxvi] https://www.youtube.com/watch?v=AN9moYkOyHY

[lxxvii] https://www.youtube.com/watch?v=vc-7mHjD-Tw

[lxxviii] https://www.youtube.com/watch?v=qyn7PEWmdfM

[lxxix] https://www.youtube.com/watch?v=spwHT0UfG2U ; https://www.youtube.com/watch?v=tz11ORkQxwY

[lxxx] https://www.youtube.com/watch?v=SyJR6mLJQA4

[lxxxi] https://www.youtube.com/watch?v=Hck20jtn5ZE

[lxxxii] https://www.youtube.com/watch?v=715A5f2bxwk

[lxxxiii] https://www.youtube.com/watch?v=4SOSI4Jbxyc

[lxxxiv] https://www.youtube.com/watch?v=ejFDF7wr_wU

[lxxxv] http://www.defense.gov/News/News-Releases/News-Release-View/Article/637802/dod-identifies-air-force-casualties

[lxxxvi] http://www.defense.gov/News/News-Releases/News-Release-View/Article/637634/statement-by-secretary-of-defense-ash-carter-on-attack-against-us-service-membe

[lxxxvii] https://www.youtube.com/watch?v=7n1bxTCpiJQ

[lxxxviii] https://www.youtube.com/watch?v=Ml9BnDYuwnY

[lxxxix] https://www.youtube.com/watch?v=Jhj28_eSDgY

[xc] https://www.youtube.com/watch?v=JR8q_LyIQPI

[xci] http://www.nytimes.com/2015/12/30/world/middleeast/isis-ramadi-iraq.html

[xcii] http://www.inherentresolve.mil/News/StrikeReleases?platform=hootsuite

[xciii] https://www.youtube.com/watch?v=NOYzhlSIK-8

[xciv] https://www.youtube.com/watch?v=7dcTsQtnsT0

[xcv] https://www.youtube.com/watch?v=tedSmieC2Oc

[xcvi] https://www.youtube.com/watch?v=43TG2VmfcuI

[xcvii] https://www.youtube.com/watch?v=Fb9NFDvU0gU

[xcviii] http://www.defense.gov/News/News-Releases/News-Release-View/Article/641779/dod-identifies-army-casualty

[xcix] http://media.defense.gov/2016/Jan/18/2001335607/-1/-1/0/160118-D-XT155-002.JPG

[c] https://www.youtube.com/watch?v=YtFsttZhU68

[ci] https://www.youtube.com/watch?v=5eN5vnS_NSY

[cii] https://www.youtube.com/watch?v=55OUUrMbEUo

[ciii] https://www.youtube.com/watch?v=IihM3fFwlnI

[civ] https://www.youtube.com/watch?v=kQmnFEFBTZA

[cv] https://www.youtube.com/watch?v=_PIC-7csbzo

[cvi] http://www.defense.gov/News/News-Releases/News-Release-View/Article/643431/dod-identifies-air-force-casualty

[cvii] https://www.youtube.com/watch?v=_dwGTYbgUPU

[cviii] https://www.youtube.com/watch?v=ZZoRRKmujRc

[cix] http://www.defense.gov/News/News-Releases/News-Release-View/Article/646338/dod-identifies-army-casualty

[cx] http://www.globalresearch.ca/syria-isis-supply-lines-destroyed-extensive-russian-airforce-operations-1354-terrorist-facilities-targeted-over-7-day-period/5505288

[cxi] http://www.understandingwar.org/sites/default/files/JPG%20Russian%20Airstrikes%2029%20FEB%20-%2015%20MAR-01_5.jpg

[cxii] https://www.youtube.com/watch?v=R1E56Mkf_8s

[cxiii] https://www.youtube.com/watch?v=pNQHa0TLQqI

[cxiv] https://www.youtube.com/watch?v=MSbKaqtLKY8

[cxv] https://www.youtube.com/watch?v=RRLZPqFgtJg

[cxvi] https://www.youtube.com/watch?v=9jrfM0Uj_8g

[cxvii] https://www.youtube.com/watch?v=Hgc_f2dJyfk

[cxviii] https://www.youtube.com/watch?v=6l9Jgx0KHUo

[cxix] https://www.youtube.com/watch?v=dRU7yDU9C1o

[cxx] https://www.youtube.com/watch?v=YZcEzDYrrPQ

[cxxi] https://www.youtube.com/watch?v=KmEvB8QAwL4

[cxxii] https://www.youtube.com/watch?v=ZUjjpLlNFpI

[cxxiii] https://www.youtube.com/watch?v=qpUvB0KqxXg

[cxxiv] https://www.youtube.com/watch?v=DIrTGBFHMaM

[cxxv] https://www.youtube.com/watch?v=-mOdyUOu9uk

[cxxvi] http://www.defense.gov/News/News-Releases/News-Release-View/Article/688810/statement-by-pentagon-press-secretary-peter-cook-on-syria-airstrike

[cxxvii] https://www.youtube.com/watch?v=IdArmuVODY0

[cxxviii] http://www.defense.gov/News/News-Releases/News-Release-View/Article/687305/statement-from-pentagon-press-secretary-peter-cook-on-airstrike-in-somalia

[cxxix] https://www.youtube.com/watch?v=s4QNu7Kl9qc

[cxxx] https://www.youtube.com/watch?v=jA4dxpZPMrU

[cxxxi] https://www.youtube.com/watch?v=LtYhuBO5lpM

[cxxxii] https://www.youtube.com/watch?v=1NXSj4bf1hU

[cxxxiii] https://www.youtube.com/watch?v=sHPJ3uLaUa4

[cxxxiv] https://www.youtube.com/watch?v=aApCFfBIR5Y

[cxxxv] https://www.youtube.com/watch?v=1MtYKsoBOlQ

[cxxxvi] http://www.defense.gov/News/News-Releases/News-Release-View/Article/698404/dod-identifies-marine-casualty

[cxxxvii] http://www.defense.gov/News/News-Releases/News-Release-View/Article/698359/statement-by-pentagon-press-secretary-peter-cook-on-us-casualty-in-iraq

[cxxxviii] http://www.nytimes.com/2016/03/22/us/politics/marine-base-in-northern-iraq-is-confirmed-by-pentagon.html

[cxxxix] http://www.defense.gov/News/News-Releases/News-Release-View/Article/700454/statement-by-pentagon-press-secretary-peter-cook-on-yemen-airstrike

[cxl] https://www.youtube.com/watch?v=uUlsgRqSEHk

[cxli] https://www.youtube.com/watch?v=qkgRft0xAQ4

[cxlii] https://www.youtube.com/watch?v=CuYx9BeGIEs

[cxliii] https://www.youtube.com/watch?v=OX0-g8IfoaM

[cxliv] https://www.youtube.com/watch?v=2zuvLKDpR1k

[cxlv] https://www.youtube.com/watch?v=E7KkUOizhZc

[cxlvi] http://www.defense.gov/News/News-Releases/News-Release-View/Article/711634/statement-from-pentagon-press-secretary-peter-cook-on-airstrike-in-somalia

[cxlvii] http://understandingwar.org/sites/default/files/ISIS%20Sanctuary%2031%20MAR%202016-01_2.png

[cxlviii] https://www.youtube.com/watch?v=hA14s5QzRxI

[cxlix] https://www.youtube.com/watch?v=DwrpyUYeDHc

[cl] https://www.youtube.com/watch?v=wS6p8QOcVX8

[cli] http://www.defense.gov/News-Article-View/Article/715735/coalition-kills-2-foreign-fighters-in-iraq-oir-spokesman-says

[clii] http://www.defense.gov/News-Article-View/Article/715735/coalition-kills-2-foreign-fighters-in-iraq-oir-spokesman-says

[cliii] http://www.defense.gov/News-Article-View/Article/716447/coalition-strikes-hit-isil-terrorists-in-syria-iraq

[cliv] http://www.defense.gov/News-Article-View/Article/717094/military-strikes-continue-against-isil-in-syria-iraq

[clv] http://www.af.mil/News/ArticleDisplay/tabid/223/Article/717091/b-52-stratofortress-joins-coalition-team.aspx

[clvi] http://www.defense.gov/News-Article-View/Article/717213/coalition-strikes-target-isil-terrorists-in-syria-iraq

[clvii] http://www.defense.gov/News-Article-View/Article/720818/counter-isil-strikes-hit-terrorists-in-syria-iraq

[clviii] http://www.defense.gov/News-Article-View/Article/721537/marine-corps-aircraft-deploy-to-turkey-for-operation-inherent-resolve

[clix] http://www.nytimes.com/aponline/2016/04/14/world/middleeast/ap-ml-iraq-mosul-dam-.html

[clx] http://www.military.com/daily-news/2016/04/15/a29-super-tucanos-see-first-action-afghanistan.html

[clxi] http://www.defense.gov/News/News-Releases/News-Release-View/Article/722602/dod-identifies-air-force-casualty

[clxii] http://ca.reuters.com/article/topNews/idCAKCN0XF1D5

[clxiii] http://abcnews.go.com/International/wireStory/latest-russia-calls-direct-syria-peace-talks-38478336

[clxiv] http://www.defense.gov/News-Article-View/Article/721629/number-of-isil-fighters-in-afghanistan-drops-significantly-official-says

[clxv] http://understandingwar.org/map/afghanistan-partial-threat-assessment-february-23-2016

[clxvi] http://www.defense.gov/News-Article-View/Article/720245/coalition-focuses-on-dismantling-fragmenting-isil-oir-spokesman-says

[clxvii] http://www.defense.gov/News-Article-View/Article/720245/coalition-focuses-on-dismantling-fragmenting-isil-oir-spokesman-says

[clxviii] http://www.defense.gov/Portals/1/features/2014/0814_iraq/docs/March_2016_Airpower_Summary.pdf

Armour Tactics at the Battle of 73 Easting, 26 February 1991

Tank tactics at the Battle of 73rd Easting: February 26, 1991.

Introduction

            Two days into the coalition ground war in Kuwait and Iraq, Phase IV of Operation Desert Storm,[i] the armour of Third Army’s VII Corps attacked Iraq’s Republican Guard and other armour brigades in a series of battles, forty-one hours in duration, commencing with the Battle at 73 Easting.[ii] After crossing into Iraq on 24 February, the Coalition’s armoured and airborne forces raced across the desert to locate and engage Iraq’s Republican Guard, known to be holding positions near the border with Kuwait. On February 26th, the mechanized formations of VII Corps encountered the Republican Guard and three mechanized divisions, deployed to protect the flank of Iraq’s withdrawal corridor through Basra. Keeping this route open was crucial, as was closing it to prevent the Iraqi Army from escaping.[iii]

M-1A1 Abrams main battle tanks of the 3rd Armored Division move out on a mission during Operation Desert Storm.

M-1A1 Abrams main battle tanks of the 3rd Armored Division move out on a mission during Operation Desert Storm.

US armour crosses the Iraqi desert.

The major actions occurred on the afternoon, and evening of 26th February, 1991, around the 73rd easting grid coordinate, near Objective Norfolk west of the Kuwait-Iraq border. When President Bush’s ultimatum of February 23rd expired, the Coalition launched its massive offensive, with the expectation of a confrontation with Iraq’s Republican Guard shortly to follow. The ground phase of the campaign commenced on the 24th, with the advance of VII (armour) and XVIII (airborne) Corps through the desert, combined with Joint Forces Command-North & East, and Marine Forces Central Command, operations to secure Kuwait and Kuwait City.[iv]

Although the battle that started at 73 Easting continued on the 27th and engulfed components from the Republican Guard Medina, Adnan and Hammurabi Divisions, and the remainder of the 12th Armored Division, this post examines primarily the tactical and operational circumstances of the Battle at 73 Easting between VII Corps and the Tawakalna Division on 26th February.[v]

The battle has generated significant interest amongst scholars and soldiers alike as a case study for the influence of technology and training on operations and tactics, including the role of air power and close air support prior to land operations, the significance of weather and environmental friction, and the importance of battlefield intelligence and robust command and control to prevent blue-on-blue actions. The one-sided nature of the engagement has unsettled analysts and military historians alike as to the deceptive role played by any one of these elements.[vi] The Battle of 73 Easting was the first salvo in the last major tank battle of the Cold War, indeed, what turned out to be the largest tank battle since the Battle of Kursk in July 1943.[vii] This post looks at the tactical movements during the opening phase of battle through a narrative, and the conclusion addresses the historiographical question of the tactical lessons of the battle.

 iraqi disposition

Disposition of Iraq’s Army at the beginning of the ground war, 24 February 1991.[viii]

iraq

Disposition of Iraqi forces.

The Iraqi Army deployed 26 divisions of conscripts along its Saddam Line, and supported these with 9 mechanized divisions, with the 8 Republican Guard divisions acting as a mobile reserve. The Republican Guard had been formed in the 1970s and expanded during the Iran-Iraq war of 1980-8 with the recruitment of college educated soldiers. By 1990 the Republican Guard comprised 3 armoured divisions and 5 infantry divisions. The Tawakalna Division, the main antagonist of VII Corps on February 26th, was composed of 220 T-72s and 278 Infantry Fighting Vehicles (IFVs), and was commanded by Major General Salah Aboud Mahmoud. The division had been moved to the west of the Iraq Petroleum Saudi Arabia (IPSA) pipeline, roughly 80 miles west of Kuwait City.[ix]

The Coalition’s Third Army, to which VII Corps was attached, had published its programme of operations on 5 January: Operation Plan 001 which called for Corps to, “Conduct main attack in zone to penetrate Iraqi defenses and destroy RGFC [Republican Guard Forces Command] … in zone.”[x] XVIII Airborne Corps would cover the 260 kilometers to the Euphrates, and VII Corps, with the heaviest concentration of armour, would move on Al Basrah where Iraq’s Republican Guard was deployed.[xi] A US Army heavy brigade was a formidable force, containing up to 3 battalions of M1A2 tanks (116 total) and another battalion of 54 Bradleys plus scout, mortar, air-defence and support vehicles: formed into a 22,000 soldier division, the unit covered a frontage of 25-45 kilometers, with a depth of 80-150 kilometers.[xii]

100 hour war

Operation Desert Storm: The 100 hour ground campaign.[xiii]

3_AD_Iraq

3rd Armored Division tanks

            Battle Narrative


Coalition1

Initial Coalition movements, G-day, 24 February.[xiv]

At 2:30 pm on 24 February, VII Corps started its drive to the Euphrates. Small groups of the enemy were encountered and destroyed, and prisoners were captured from overrun outposts. Almost all but 200 members of Iraq’s 110th Infantry Brigade surrendered when their position was overrun by US armour.[xv] Unfortunate friendly fire incidents raised concern amongst Army leadership. An entire division of artillery was assembled from five brigades of M109A2 155mm self-propelled howitzers and rocket launchers in preparation for supporting operations the next day.[xvi] Meanwhile, the night of the 24th, the Iraqi force commander had issued orders to redeploy two brigades from Iraq’s 12th Armoured Division to support the Tawakalna Division.[xvii] By the end of the first day the Coalition offensive had secured 13,000 prisoners at the cost of 8 combat dead and 27 WIA.[xviii]

day2

G+1, 25 February.[xix]

The drive was continued on 25 February, as the VII Corps forward elements encountered scouts from the Republican Guard divisions, destroying a number of Armoured Fighting Vehicles (AFVs) in the process. General Schwarzkopf (CENTCOM) urged Lt. General John Yeosock (Third Army), to put pressure on VII Corps commander, Lt. General Frederick M. Franks, to accelerate his advance.[xx] Delays were caused when prisoners were taken or the tanks had to stop to refuel. Otherwise, the T-55 tanks and groups of infantry deployed to screen the heavier elements positioned closer to Kuwait, were brushed aside without much resistance. American helicopter gunships engaged T-55 tanks from Iraq’s 26th Infantry Division. The deadliest Scud attack of the war, in terms of military casualties, occurred on 25 February when an IRBM fired at Dhahran, Saudi Arabia, hit an American barracks and killed 28 soldiers, wounding 100 more.[xxi]

It was now the morning of February 26th and the leading elements of the 2nd Armored Cavalry Regiment (ACR) were tired, having slept, still in their Nuclear Biological Chemical (NBC) suits, for only a few hours in three days, and the days before had been spent rehearsing under an ever increasing tempo of operations. Worse, the tank formations were facing adverse weather conditions, including oil-rain, which was limiting strategic reconnaissance.[xxii] The enemy had so far put up only sporadic resistance from isolated vehicles and strongpoints, but was certain to have massed large formations of tanks and artillery nearby the Basra corridor. In fact, the Tawakalna commander was now aware that he faced a large Coalition force, including American armour, and had prepared reconnaissance positions (no more than 20 tanks and 40 IFVs) to provide information on the American advance.[xxiii] The division’s three heavy brigades, the 18th, 29th, and 9th were positioned to cover the IPSA road. The Tawakalna line also included the 37th Armoured Brigade, and the remains of the 9th and 50th brigades. [xxiv]

G2

G+2, 26 February, defeating the Republican Guard, Kuwait City is secured.[xxv]

destruction

Battle of 73 Easting, US armour attacks the Republican Guard Forces Command (RGFC).[xxvi]

At 8:30 am, Ghost Troop, 2d ACR scouts, engaged and destroyed an Iraqi troop carrier from the Tawakalna Division.[xxvii] At 10 am, Eagle Troop was maneuvering into position through the fog.[xxviii] Lt. Petschek, commanding Eagle Troop’s scout platoon of six Bradleys and 30 soldiers, deployed forward, with Lt. Timothy Gauthier’s third platoon scouts in close contact with Fox Troop to the north. Lt. Michael Hamilton and Jeffrey DeStefano had two tank platoons positioned behind the scouts to support them. At this point, Staff Sergeant Patterson, Eagle Troop, reported contact with three enemy MTLBs (Soviet Multi-Purpose Tracked Vehicles).

Ghost Troop Bradleys quickly destroyed two more of the enemy APCs (Armoured Personnel Carriers), scouting elements of the Tawakalna Division. Captain H. R. McMaster, in his command M1A1, engaged and destroyed the third MTLB before it could escape, gunner Staff Sergeant Craig Koch hitting the APC with a HEAT round at over 2 kms distance.[xxix] By 10 am the rain had cleared, but only to produce a thick fog and low clouds. Eagle Troop was now ordered to move south of Ghost Troop, and tie in with Iron Troop of 3rd Squadron. 2nd Squadron’s operations officer, Major Douglas MacGregor, assured McMaster that Eagle Troop would be in the lead when, “contact with the Republican Guard was imminent”. At 12 pm the Troop was leading the squadron’s movements towards the 60 easting.[xxx] The Troop was ordered to stop again at 1 pm, and prepare defensive positions, during which they again refueled their vehicles.

sand

sand2

Sandstorms encountered in the Second Gulf War: 5th Marines on 26 March 2003, and a V Corps Humvee.[xxxi]

The Left Flank

A sandstorm now obscured visibility as the American forces approached the Iraqi positions.[xxxii] The Troops pressed forward, and at 3 pm, encountered and destroyed 3 enemy tanks.[xxxiii] Between 3:15 and 3:25, McMaster’s Eagle Troop was ordered to push to the 70th Easting, and fix the location of the Republican Guard forces.[xxxiv] Within 15 minutes, Eagle Troop came under fire from Iraqi artillery and infantry occupying buildings at the 69th Easting. These were the forward elements of the 18th Mechanized Brigade. Enemy air-burst artillery landed amidst Lt. Petschek’s scout platoon, causing them to close their hatches.[xxxv] The M1s (Abrams tanks), and M3s (Bradley cavalry vehicles) returned fire and pushed forward, despite incoming Iraqi artillery.[xxxvi] At 3:56 Staff Sergeant Jon McReynolds (3rd platoon) passed an Iraqi bunker whose four occupants quickly surrendered when McReynolds and Sergeant Wallace, and Private First Class Robert Sanchez, dismounted and confronted them.[xxxvii] At 4:07 Eagle Troop found the Republican Guard main force, in the form of dug-in T-72 tanks. Ghost Troop’s 1st Lt. Keith Garwick, commanding a 3rd Squadron Bradley platoon, was engaged in an intense firefight at 4:42 pm, in which a T-72 company counter-attacked their position, and by 5 pm the Bradley’s had destroyed 9 APCs and were engaging enemy infantry.[xxxviii] Also at 5 pm the Iraqis opened a counter-barrage on Ghost Troop, with rounds landing near Bradley G-16 obscuring the sight of 23-year-old gunner Sergeant Nels A. Moller, and within seconds a tank shell hit the Bradley’s turret and destroyed it, killing Moller, while the remaining crewmen escaped to nearby Bradley G-15.[xxxix] PFC Jeff Pike, 21-years-old and the driver of Captain Sartiano’s command M1A1, believed their gunner now destroyed the responsible enemy T-55, although it was impossible to confirm.[xl] It was now just after 6 pm, and the sandstorm reappeared with intensity: soon visibility was limited to a mere 50 yards.[xli] The Republican Guard attacked in waves of tanks, and Ghost Troop was unsupported by coalition air forces, although it was backed by powerful regimental artillery.

column

American Mechanized column.

Meanwhile, north of 2d ACR, at 4 pm, Captain Gerald Davie of Alpha Troop, 4/7 Cavalry, 3rd Armd Division, was moving as part of a compact, 27 kilometer wide formation of two brigades, supported by divisional artillery and followed by the 4th Battalion of the 34th Armored Regiment.[xlii] When it arrived at the 73rd Easting, Alpha Troop’s 3rd platoon (6 Bradleys) reported Iraqi BMPs (Soviet IFVs) and infantry in front of them, and 2nd platoon, with another 7 Bradleys deployed and opened fire with 25mm cannon. Captain Davie, in 2nd platoon, “could see tracer rounds streaking across the battlefield in both directions. He could see small explosions as the 25-mm rounds impacted on the BMPs. Through his thermal sights, Davie could see more vehicles in the distance.”[xliii] Although they could only see a few vehicles abreast of him, due to the storm, the platoons continued to advance, and although Captain Davie did not realize it, was now moving into the sights of T-72 tanks: obscured by the weather and only 300 or 600 meters away. Alpha Troop encountered enemy infantry at 75 meters and soon Iraqi artillery began hitting their position. Within moments Alpha Troop was in a major engagement with Republican Guard tanks. Bradley A-24 was destroyed and Staff Sergeant Kenneth Gentry, despite the efforts of medics deployed by A-25 and A-26, died of his wounds. The Bradleys began to engage the enemy T-72s with TOW missiles. A-33 was hit by heavy machine gun fire, wounding its commander.

t-72

Destroyed Tawakalna Division T-72.[xliv]

With 1st platoon acting as a diversion, 2nd and 3rd platoons withdrew under fire. Davies was also under friendly-fire from elements of the 2nd ACR and 4th battalion, 34th Regiment. As A-36 withdrew, it was hit by small arms gunfire, knocking out the vehicle’s transmission. As A-36’s occupants were about to be picked up by A-31, an M1A1 fired at A-36, showering the Bradley’s driver with shrapnel. The wounded man was retrieved and A-31 moved westward, when it was struck twice by armour-penetrating sabot rounds, neither wounding any of the occupants. However, Sergeant Edwin Kutz, gunner of A-22, was killed when the Bradley was hit by a tank round. Alpha Troop accelerated its withdrawal, deploying a smokescreen and moving west at thirty miles per hour.[xlv] Alpha Troop had two KIA and 12 WIA with three Bradleys out of commission and another four with various degrees of damage.

Meanwhile, to the south of Alpha and Ghost Troops, the tank platoons of Eagle Troop advanced, crossing a minefield, and engaging the enemy. McMaster’s command tank destroyed a T-72 at 4:18, and by 4:22 a total of 9 Iraqi T-72s had been destroyed, and the advance continued.[xlvi] Within forty minutes of joining battle, Eagle Troop had destroyed 37 T-72s and 32 other vehicles. [xlvii]With many Iraqi tanks destroyed, McMaster pressed forward until he reached the 73rd Easting, radioing when asked why he was passing the 70th Easting: “I can’t stop. We’re still in contact, Tell them I’m sorry.” At 4:40, with as many as 17 more T-72s in sight, but out of range, Eagle Troop halted its advance.[xlviii]

            Iron Troop, to the south of Eagle Troop, attacked the fortified positions Eagle Troop had by-passed, and destroyed a number of T-72s and BMPs, while support from Apache helicopters neutralized the enemy’s artillery to a depth of 12 kilometers beyond the 73rd Easting.[xlix] At 4 pm, 3d Brigade of 1st Armored Division, and 2nd Brigade, 3rd Armored Division were engaged in an air and artillery battle with Iraqi forces. The 3d Brigade called in A-10 Thunderbolt II attacks, and the 2nd Brigade engaged the enemy in-front of them with artillery. Progress was slow, and despite the M1A1 thermal sights, visibility was limited to less than two kilometers by the sand and rain.[l]

bunker

1st Cavalry trooper prepares to enter an abandoned Iraqi bunker.[li]

North of Alpha Troop, Lt. Colonel John Brown’s 3/5 Cavalry was encountering Iraqi bunkers and prepared positions, about 5:05 pm.[lii] Captain Tony Turner’s Charlie Company, of 3/5 Cavalry, encountered an Iraqi bunker complex and dug-in T-72 tanks and BMPs. Within seconds, First Lieutenant Donald Murray’s Bradley was damaged in the track-wheels by T-72 fire.[liii] Captain Turner ordered his M1A1s into position and soon First Lieutenant Marty Leners, from tank Charlie 1-1 was engaged in a duel with a T-72, destroying the enemy tank after missing his first shot.[liv] With artillery support, the entire 1st Brigade developed its advance, with Charlie company, 3/5 Cavalry, leading the assault on the bunker complex.

            Lt. Col. Tony Isaacs and 1st Squadron, 2d ACR, had meanwhile encountered elements of the 50th Armored Brigade and engaged several battalions as it pressed towards the 70 Easting. At 5 pm, the 1st Squadron was positioned to attack the 37th Armored Brigade. The sun was setting at 5:50 pm.[lv]

The Centre

            North of 1st Brigade, 2d Brigade’s Colonel Higgins, 3rd Armored Division, also attacked at 5 pm. A Task Force comprised of a reinforced battalion was drawn from 4/8 Cavalry to lead the centre of the brigade’s attack, and was supported by divisional artillery.[lvi] 4/8 Cavalry engaged the enemy at 5:22, and was fighting 4 enemy BMPs at 5:27. The 3rd Armored Division had encountered three battalions of the 29th Mechanized Brigade, three armoured and one mechanized battalion from the 9th Armored Brigade, and one battalion of the 46th Mechanized Brigade plus a T-62 tank battalion, for a combined total of 160 Iraqi tanks and 117 BMPs.[lvii]

Captain Ernest Szabo’s Charlie Tank Company attacked into a flurry of enemy RPGs and artillery rounds. Ordered back by Lt. Col. Beaufort Hallman, Szabo, in tank Charlie 66, was delayed when the tank threw a track. Captain Szabo dismounted and ran through the artillery storm to eventually find Charlie 65 with a working radio and Charlie Company pulled back at 5:55. Colonel Higgens asked for artillery and Apache support and was given it, providing breathing space for the battle group to reform under artillery and air cover, with plans to continue the attack at 10 pm. General Funk, at 3rd Armored Division headquarters, prepared am artillery barrage including 5 battalions of artillery and an attack helicopter battalion.[lviii] When the attack came it lasted for 4 more hours, ending at 2 am on February 7th, with the 2nd Brigade having fought through much of the enemy’s 29th Brigade, despite the enemy’s determined counter-attacks.

Meanwhile, at 6 pm 4/7 Cavalry Squadron encountered dug-in Iraqi tanks. Unable to press the advance without heavy armour, the Bradley squadron pulled back, suffering damage to 9 of its 13 M3 Bradleys, plus another 2 damaged by friendly fire. 4/7 suffered 2 KIA and 12 WIA during this engagement. In effect, Iraq’s 9th Armoured Brigade had halted the advance of the US 1st Brigade, 3rd Armored Division.[lix]

The Right Flank

The 1st Armored Division moved across the Phase Line (PL) Tangerine at 6 pm, three brigades abreast. 1/1 Cavalry, a detachment alongside 3rd Brigade, 1st Armored Division, encountered a large number of enemy tanks, 52 in all, and called down artillery against them, destroying 30 successfully.[lx] At 6:30, Colonel Zanini, commanding 3rd Brigade, 1st Armored Division (the most heavily armoured formation in the US Army, known as the “Bulldog” Brigade), delivered orders to Lt. Col. Ed Dyer commanding 1/37 “Dragon” Armor Battalion, who then issued attack orders to the battalion’s company commanders at 6:45: “Buster, Cobra, Dauntless, Gator – we have just gotten word that one brigade of the Tawakalna Division is a few kilometers to our front. The enemy unit consists of more than a hundred armored vehicles…”, and concluded with orders to form, “DRAGON’S ROAR [formation] on my command!”[lxi] The 1/37 battalion’s formation included 45 M1A1 tanks, supported by attack helicopters and Bradleys.[lxii]

            155mm DIPCM howitzers from 3/1 Field Artillery began hammering the enemy positions in front of 3rd Brigade at 7pm.[lxiii] Although the artillery missed its target, it scattered the Iraqi forces nevertheless, who believed they were under air attack.

            This was the situation at 8 pm: Ed Dyer’s TF 1/37 Armor Battalion, and TF 7/6 supported by TF 3/35 in reserve, moved on the 68th Easting at PL Libya. Task Force 1/37 Abrams tanks moved into position, using their patent battalion formation in phalanx form, in which the M1A1s presented a single front, each MBT (Main Battle Tank) fifty meters apart, the entire line 2 kms long (2d ACR, for its part, had its own formations, such as the Troop Diamond formation, with four Troops forming the diamond’s points).[lxiv] Delta Company, 1/37 now approached the positions occupied by Iraqi infantry, who, once the American artillery lifted, assaulted Delta’s position in rushes. They were quickly reduced by heavy machine gun, and more targets were encountered on the horizon. The brigade opened up with TOW missiles and cannon fire, and at 8:30 pm Colonel Zanini ordered 1/37 to advance into the Iraqi positions, with 7/6 providing over-watch. As the divisional artillery MLRS (Multiple Launch Rocket Systems) went into action on targets in the rear of the Republican Guard positions, Captain Dana Pittard, of Delta Company, led the advance of Bravo and Charlie companies, storming a ridge and continuing to engage Iraqi vehicles.[lxv]

trenches

Iraqi trenches.

As the battalion moved down the ridge, it encountered dug-in Iraqi tanks. At extreme ranges, the longest of 3.7 kms, and an average between 2 and 3 kms, the Americans engaged the Iraqi tanks, devastating them with M-829AI Armor Piercing Sabot depleted uranium munitions. Apache helicopters covered 1/37s advance.[lxvi] M1A1, Delta-24, was hit and destroyed- the crew injured, but escaped- and the battle became close-in around burning vehicles and bunkers. One of Bravo company’s tanks was hit in the rear and disabled, the crew escaped unharmed, tank burning. C-22 was hit shortly afterwards, and also disabled without major injuries. The C-Company commander’s tank was hit, for a total of four damaged tanks with 16 general uninjured crewmen escaping.[lxvii] The battalion was under fire from concealed Iraqi positions strewn amongst the burning hulks of their tanks and bunkers. 7/6 Infantry now advanced and secured prisoners, and by 11 pm the battlefield was reported cleared, with over 100 prisoners taken.[lxviii]

At 8:30 pm, HQ-26, a Bradley AFV from 4/32 scouts, was engaged by a T-72 and enemy infantry. Private First Class Frank Brandish was able to knock out the T-72s road-wheels with a TOW missile, however, in return, the T-72 killed Staff Sergeant Christopher Stevens in the Bradley’s turret. Nearby, HQ-21 joined the skirmish, destroying the T-72 with another TOW missile. As PFC Bradish and PFC Adrian Stokes escaped the wreck of HQ-26, they were fired at with heavy machine gun. Peppered by gunshots and their own ammunition as it cooked-off inside the burning AFV, Stokes went down, but was retrieved by the wounded Bradish, although Stokes soon succumbed to his wounds. Bradish continued to retrieve supplies and equipment from the Bradley, and was able to recover gunner Sergeant Donald Goodwin, who had been blown fifty meters from the destroyed Bradley, and was suffering from a chest-wound.[lxix] Lt. James Baker, in HQ-21, called in mortar fire on the Iraqi infantry engaging HQ-26 and then moved to recover survivors. Twenty minutes later, rapidly arrived medical tracks were administering to the wounded Bradish and Goodwin.

            The battle continued until about 10 pm, when General Funk decided to suspend the attack until the following day, to prevent further friendly fire incidents.[lxx] Specialist Chris Harvey, in an APC of the hard-pressed Ghost Troop, recalled seeing 360 degrees of carnage from his position: “All I saw were things burning,” he recalled.[lxxi] Air and artillery attacks continued throughout the night.

ff

M3 destroyed by friendly fire.

General Griffith, with 3d Brigade, had engaged the northernmost elements of the Tawakalna Division, and he soon dispatched 1/1 Cavalry to search for the Medina Division to the north. As the sun was setting, the cavalry troops were 50 kms ahead of the rest of the division, when they encountered enemy T-72s and BMPs. It was now 10 pm, and 2nd Brigade, 1st Armored Division, had also started to encounter the forward positions of the Medina Division, although they had been abandoned as the division contracted into its close security zone.

euphrates

American troops secure an abandoned Iraqi Army radio station along the Euphrates river valley.[lxxii]

As this was happening, General Funk received intelligence from VII Corps command, informing him that a JSTARS aircraft had spotted a battalion sized detachment from the Tawakalna Division preparing to counter-attack between 1st and 3rd Armored Divisions. Colonel Burke, General Funk’s Aviation Brigade Commander was now alerted, and he rapidly deployed 24 Apache gunships, which struggled through the worsening weather and storms and, identified the enemy tank formation at 11 pm. Descending on their targets the Apaches destroyed 8 T-72s and 19 BMPs in 3 minutes, while more Apaches from the 1st Infantry Division attacked far behind the enemy’s lines at the 90th Easting.[lxxiii] Throughout the night 3rd Armored’s 4/18 Infantry was involved in intense combat with Iraqi infantry counter-attacks. A VULCAN antiaircraft system was employed to decimate the enemy’s infantry attacks.

m11320mm

20mm VULCAN cannon mounted on M113 APC, destroying an Iraq Army truck.[lxxiv]

The “Big Red One”, 1st Infantry Division, now pressed the attack, providing relief to the 2nd ACR. The 1st Division included 334 M1A1s, 224 M2A2 Bradleys, and 3 battalions of attached engineers.[lxxv] It was an apocalyptic scene for the soldiers of 1st “Devil” Brigade who encountered a situation in which they pressed, “… through the darkness toward what looked like Armageddon. The eastern horizon was ablaze with green and red tracers and MLRS rocket trails, punctuated by bursts of light from tank cannon fire and artillery explosions. Fires raged from destroyed Iraqi vehicles all along the horizon.”[lxxvi]

bigredone

Movements of the 1st Infantry Division.[lxxvii]

2nd Battalion, “The Dreadnoughts”, 34th Armored Regiment, now pressed in to relieve Ghost and Eagle Troops, although the plan at this point was vague and intelligence on the enemy incomplete. Colonel Maggart of the 1st Brigade moved forward to the 2/34 battalion’s position and ordered the 5/16 battalion to screen 3 kilometers to his rear.[lxxviii] In the process of this leap-frog attack. 1/34’s “Centurion’s” battalion encountered BMPs and T-55 tanks. Captain James A. Bell saw a regimental scout Bradley go up in flames, the crew, with 4 injuries, running from the flaming wreck. As M1A1 tanks moved up to engage the T-55s, another Bradley was hit, killing the gunner and wounding the leader of the scout platoon.[lxxix] The 1/34 pressed its attack, supported by 1st Brigade and 3rd Brigade, and 2/34 battalion had overrun the Republican Guard positions and were indeed arriving at the Kuwait border (PL Milford) after 1:35 am.

Meanwhile, at 1 am, B Troop of 1/1 Cavalry came under artillery fire as they began to encounter the Adnan Division, and suffered 23 soldiers wounded and 5 vehicles destroyed. Apaches were dispatched to counter the enemy’s artillery.[lxxx] In the ensuing Apache attack, 38 T-72 tanks were destroyed, along with 14 BMPs and 70 trucks.

3rd Armored Division was now beginning to approach the Iraqi Al Faw Division, and on the orders of General Franks, Colonel McCauley and the 18 Apache gunships under his command, were ordered to attack Objective Minden, logistical stores and division command for the Al Faw Division. McCauley assigned target areas and the Apaches engaged until they ran up against the 20th grid line, which demarcated USAF area of operations, in which F-111s were active.[lxxxi]

G+3

Victory: the situation by the evening of 27 February, G+3.[lxxxii]

Fighting continued into the morning, and at 7 am, orders were issued to cross into Kuwait. After 7:30 am, 4/32 battalion encountered a stray Iraqi tank battalion moving northward and destroyed it, including 15 tanks and 25 other vehicles.[lxxxiii] After halting to reform, the advanced continued, and at 12 pm, the 2nd Brigade of the 1st Armored Division, attacked The 2nd Brigade of the Medina Republican Guard Division, in what is known as the Battle of Medina Ridge, “the largest single engagement of the war”, where the Iraqi 2nd Brigade was totally destroyed for no Coalition fatalities.[lxxxiv] Following reports from Schwarzkopf that of the 4,700 tanks deployed by Iraq, nearly 3,700 had been destroyed, President Bush suspended operations at 9 pm, Wednesday, Washington time, confirmed by General Colin Powell, for 8 am the following day in Kuwait.[lxxxv] This was in part influenced by media reports coming from Iraq regarding the carnage on Highway 6, soon named the “Highway of Death”.[lxxxvi]

Conclusion

At the conclusion of the forty-hours of combat, VII Corps had destroyed 1,350 tanks, 1,224 armored troop carriers, 285 artillery pieces, 105 air defence systems, and 1,229 trucks, while having sustained only 36 armored vehicles losses to enemy fire: 47 KIA with 192 wounded.[lxxxvii] These figures are significant: before ground operations commenced Third Army Personnel Command predicted that VII Corps would sustain 20,000 casualties by G+4.[lxxxviii]

The Coalition suffered 148 American, 47 British, 2 French, and 14 Egyptian fatalities, and 357 WIA, in the ground campaign.[lxxxix] 60,000 Iraqis had been killed and 2,500 tanks, 2,000 IFVs, and 2,000 guns destroyed.[xc] As historian Stephen Biddle put it, the salient fact of the war was the Coalition’s miniscule casualty rate: “795,000 Coalition troops destroyed a defending Iraqi army of hundreds of thousands for the loss of only 240 attackers.”[xci] Over 80,000 of Iraq’s soldiers had surrendered or been captured with another 100,000 retreating back to Iraq.[xcii]

oil

Oil wells on fire: the First Gulf War as an ecological catastrophe.[xciii] The average cost of the war was 1 billion US dollars a day, with total cost estimated at over $200 billion, accounted in 1991 dollars.[xciv]

The heavily engaged 2d ACR elements, in particular, Ghost, Eagle and Iron Troops, destroyed an entire Republican Guard Brigade; 50 T-72 and T-62 tanks, over 35 other AFVs, (113 AFVs in total), and at least 45 trucks, wounding or killing over 600 Iraqi soldiers, and capturing another 600.[xcv] Only one Bradley IFV was actually destroyed by enemy fire, with a second lost to friendly fire.[xcvi] The 1st Amored Division, for its part, had destroyed large elements of the Tawakalna Division as well: 112 tanks, 82 APCs, two pieces of artillery, and 94 trucks, plus two air defence artillery systems and over 500 prisoners.[xcvii] Task Force 1/37, alone, destroyed 21 T-72s, 14 BMPs, two Shilka vehicles, a T-62 and a MTLB. The 29th Brigade of the Tawakalna Division was wiped out by a force one-fourth of its size, and likewise the 18th Brigade was annihilated and only managed to inflict a single loss on the enemy’s, smaller, AFV force.[xcviii]

Superior technology, and general preponderance, certainly played key roles in the victory: it allowed the Coalition air forces to achieve air superiority and the suppression of the enemy’s air defence network within six-weeks, and was followed by a month long air campaign in which one-third of all Iraqi armed forces were destroyed. When maneuvering, especially at night, Iraq’s forces became vulnerable to US Army helicopter gunships quipped with FLIR (Forward Looking Infrared) pods.

Mobile artillery, acting in the classic role of field artillery, on both sides, produced significant results: breaking up attacks, countering other artillery, and supporting embattled units, while also demonstrating the capability to destroy armoured vehicles and tanks. Ghost Troop had called in 2,000 howitzer rounds and 12 rockets in support of its position during the defensive battle on February 26.[xcix] The Artillery was also proven in the more traditional role of fixed bombardment, such as with the 90,000 round 2 and a half hour long opening bombardment fired against the Iraq border defences.[c]

Indeed, clear qualitative and quantitative disparities did exist: the 120 mm cannon mounted on the M1A1 MBTs outranged the T-72s and T-55s by more than a kilometer in terms of penetrative power.[ci] Furthermore, the depleted uranium (DU) anti-tank rounds fired by the M1A1 could penetrate through both the defensive berms and armour of any vehicle behind it, rendering the Iraqi sand-work obstructions counter-productive.[cii]

USAF aerospace power, stealth technology, reconnaissance satellites, laser-guided munitions, global positing systems, laser range-finders, thermal sights and FLIR pods, and remotely piloted vehicles, all represented a margin of technological superiority over the hardware of the Iraq Army.[ciii] Biddle calculated that the “average date of introduction for the US weapons used in Desert Storm”, was roughly 1974 for the Coalition and 1962 for the Iraqis.[civ]

In the event, the Coalition air forces had flown 106,000 sorties during the campaign, and these attacks crippled the Iraqi Army’s ability to resist. Airpower, naval and land-based, had contributed in no small measure to this victory: 1,388 tanks, 1,152 pieces of artillery, and 929 APCs had been destroyed by Coalition air power before the commencement of ground operations altogether (CENTCOM estimated that 39% of the Iraqi tanks, 32% of APCs and 47% of their artillery had been destroyed before G-day).[cv]

surrender

During the coalition mechanized assault over 80,000 prisoners were taken.[cvi]

On the other hand, the USMC, in operations to liberate Kuwait, suffered fewer tank losses against equally powerful armoured forces and did so with older M-60A1 tanks. Furthermore, despite the destruction of the Tawakalna by VII Corps on 26 February, and the Medina division likewise the following day by the 1st US Armored Division, the third Republican Guard armoured division, the Hammurabi division fought another one-sided engagement against the 24th US Mechanized Division at Al-Tawr al-Hammar on 2 Marc, after the ceasefire.[cvii]

prisoners

Processing Iraqi prisoners.

The significant limitations on battlefield range imposed by the weather- and the impact this had on the scale of air support that could be provided- should also not be under-emphasized. Training was essential, and while the Republican Guard units had combat experience from the Iran-Iraq War, the US Army mechanized forces had been redeployed from Germany, where they had prepared to engage the Soviet Union’s expected massive armoured assault. Once in theatre, the Coalition had time to prepare and rehearse the planned operation, and time was also spent acclimatizing: for example, Eagle Troop had arrived in Saudi Arabia on December 4th, 1990, which allowed almost three months of preparation time.[cviii]

An overly centralized and rigid command structure limited the Iraqi Army’s capacity to adapt and respond, a problem compounded by logistical interference in the form of Coalition airstrikes. The destruction of the Republican Guard’s outposts and reconnaissance elements meant that little intelligence was moved up the chain of command, producing tactical surprise.[cix] H. R. McMaster, the Eagle Troop commander, and the author of an influential book reviewing the political decisions that contributed to the failure in Vietnam,[cx] observed of 73 Easting that the battle demonstrated the importance of tactical decision making by lower echelon commanders, and indeed, exposed the real limitations of technology, and airpower.[cxi] Historian Stephen Bourque argued that the US Army Staff tended to over-plan by focusing on worst-case scenarios, while the attempts by senior commanders to try to be everywhere (through over-use of their personnel helicopters) meant delays in decision making.[cxii] Other low-tech delays impacted the American forces, such as vehicles becoming lost because they lacked compasses, or were bogged down by the rain.[cxiii] Likewise, some Iraqi tanks, whose crews had dismounted fearing Coalition air strikes, did not appear on thermal sights because their engines were not running.[cxiv]

Stephen Biddle, based on computer simulations of the battle, observed that the US Army’s high-tech arsenal was only a force-multiplier when matched with the rigorous training and professionalism of the American soldiers and officers, combined with apparent mistakes made by the Iraqi commanders.[cxv] Likewise, despite possessing older equipment, the Republican Guard and Iraq Army divisions may have been significantly more effective had they been trained to Western standards.[cxvi] The various explanations have sparked intense debate,[cxvii] and many questions remain unanswered.

simulations

Table of simulated outcomes.[cxviii]

clancy

Tom Clancy prepared a script treatment to be produced by Universal Studios and directed by John McTiernan.

[i] Diane Putney, “Planning the Air Campaign: The Washington Perspective,” in Air Power History: Turning Points from Kitty Hawk to Kosovo, ed. Sebastian Cox and Peter Gray, Cass Series: Studies in Air Power 13 (New York: Frank Cass Publishers, 2002), 249–57., p. 249

[ii] Stephen Biddle, Military Power: Explaining Victory and Defeat in Modern Battle (Princeton, New Jersey: Princeton University Press, 2004)., p. 134

[iii] Ibid., p. 134

[iv] Stephan Alan Bourque, Jayhawk!: The VII Corps in the Persian Gulf War, Google ebook (Washington, D.C.: Department of the Army, 2002), https://books.google.ca/books?id=-qWfpwO3e0cC., p. 189

[v] Richard S. Lowry, The Gulf War Chronicles: A Military History of the First War with Iraq (Lincoln, NE: iUniverse Star, Inc., 2008)., p. 157

[vi] Biddle, Military Power: Explaining Victory and Defeat in Modern Battle., p. 132

[vii] Otto Friedrich, ed., Desert Storm: The War in the Persian Gulf (Time Warner Publishing, Inc., 1991)., p. 89

[viii] Alastair Finlan, The Gulf War 1991, Essential Histories 55 (Oxford: Routledge, 2003)., p. 53

[ix] Stephan Alan Bourque, “Correcting Myths about the Persian Gulf War: The Last Stand of the Tawakalna,” Middle East Journal 51, no. 4 (1997).

[x] Bourque, Jayhawk!: The VII Corps in the Persian Gulf War., p. 184

[xi] Ibid., p. 189

[xii] Ibid., p. 214

[xiii] Friedrich, Desert Storm: The War in the Persian Gulf., p. 111-2

[xiv] Finlan, The Gulf War 1991., p. 56

[xv] Bourque, Jayhawk!: The VII Corps in the Persian Gulf War., p. 225

[xvi] Ibid., p. 207

[xvii] Bourque, “Correcting Myths about the Persian Gulf War: The Last Stand of the Tawakalna.”

[xviii] H. Norman Schwarzkopf and Peter Petre, It Doesn’t Take A Hero (New York: Bantam Books, 1992)., p. 456

[xix] Finlan, The Gulf War 1991., p. 61

[xx] Ibid., p. 62; Bourque, Jayhawk!: The VII Corps in the Persian Gulf War., p. 206; Schwarzkopf and Petre, It Doesn’t Take A Hero., p. 456-7

[xxi] Finlan, The Gulf War 1991., p. 57

[xxii] US Defence Department and H. R. McMaster, Battle of 73 Easting, Kindle ebook, 2014., p. 8; Schwarzkopf and Petre, It Doesn’t Take A Hero., p. 461

[xxiii] Bourque, “Correcting Myths about the Persian Gulf War: The Last Stand of the Tawakalna.”

[xxiv] Ibid.

[xxv] Finlan, The Gulf War 1991., p. 64

[xxvi] Bourque, Jayhawk!: The VII Corps in the Persian Gulf War., p. 326

[xxvii] Vince Crawley, “From the Stars and Stripes Archives: The Battle of the 73 Easting,” Stars and Strips, June 7, 2003, http://www.stripes.com/news/the-battle-of-the-73-easting-1.6319.

[xxviii] Mike Guardia, The Fires of Babylon: Eagle Troop and the Battle of 73 Easting, Google ebook (Casemate, 2015), https://books.google.ca/books?id=_j8bCgAAQBAJ., Chapter 6, Day of Battle; Lowry, The Gulf War Chronicles: A Military History of the First War with Iraq., p. 158

[xxix] US Defence Department and McMaster, Battle of 73 Easting., p. 10

[xxx] Ibid., p. 11

[xxxi] John Keegan, The Iraq War: The 21-Day Conflict and Its Aftermath (London: Pimlico, Random House, 2005)., colour plates

[xxxii] Lowry, The Gulf War Chronicles: A Military History of the First War with Iraq., p. 157; Crawley, “From the Stars and Stripes Archives: The Battle of the 73 Easting.”

[xxxiii] Lowry, The Gulf War Chronicles: A Military History of the First War with Iraq., p. 158; US Defence Department and McMaster, Battle of 73 Easting., p. 10

[xxxiv] US Defence Department and McMaster, Battle of 73 Easting., p. 11

[xxxv] Ibid., p. 12

[xxxvi] Lowry, The Gulf War Chronicles: A Military History of the First War with Iraq., p. 158

[xxxvii] US Defence Department and McMaster, Battle of 73 Easting., p. 13

[xxxviii] Crawley, “From the Stars and Stripes Archives: The Battle of the 73 Easting.”

[xxxix] Lowry, The Gulf War Chronicles: A Military History of the First War with Iraq., p. 159-60

[xl] Crawley, “From the Stars and Stripes Archives: The Battle of the 73 Easting.”

[xli] Ibid.

[xlii] Lowry, The Gulf War Chronicles: A Military History of the First War with Iraq., p. 160-1

[xliii] Ibid., p. 161

[xliv] Bourque, Jayhawk!: The VII Corps in the Persian Gulf War., p. 329

[xlv] Lowry, The Gulf War Chronicles: A Military History of the First War with Iraq., p. 163

[xlvi] Ibid., p. 158

[xlvii] Spencer C. Tucker, ed., “Battle of 73 Easting,” in Battles That Changed American History: 100 of the Greatest Victories and Defeats, Google ebooks (ABC-CLIO, LLC, 2014), 291–92., p. 291

[xlviii] Lowry, The Gulf War Chronicles: A Military History of the First War with Iraq., p. 158

[xlix] Ibid., p. 158

[l] Ibid., p. 167

[li] Friedrich, Desert Storm: The War in the Persian Gulf., p. 63-4

[lii] Lowry, The Gulf War Chronicles: A Military History of the First War with Iraq., p. 163

[liii] Ibid., p. 164

[liv] Ibid., p. 164

[lv] Bourque, Jayhawk!: The VII Corps in the Persian Gulf War., p. 206

[lvi] Lowry, The Gulf War Chronicles: A Military History of the First War with Iraq., p. 164

[lvii] Bourque, “Correcting Myths about the Persian Gulf War: The Last Stand of the Tawakalna.”

[lviii] Ibid.

[lix] Ibid.

[lx] Lowry, The Gulf War Chronicles: A Military History of the First War with Iraq., p. 167

[lxi] Ibid., p. 167

[lxii] Bourque, “Correcting Myths about the Persian Gulf War: The Last Stand of the Tawakalna.”

[lxiii] Lowry, The Gulf War Chronicles: A Military History of the First War with Iraq., p. 167

[lxiv] Guardia, The Fires of Babylon: Eagle Troop and the Battle of 73 Easting. ebook

[lxv] Lowry, The Gulf War Chronicles: A Military History of the First War with Iraq., p. 169

[lxvi] Ibid., p. 169

[lxvii] Ibid., p. 169

[lxviii] Ibid., p. 170

[lxix] Ibid., p. 166

[lxx] Ibid., p. 165

[lxxi] Crawley, “From the Stars and Stripes Archives: The Battle of the 73 Easting.”

[lxxii] Friedrich, Desert Storm: The War in the Persian Gulf., p. 75-6

[lxxiii] Lowry, The Gulf War Chronicles: A Military History of the First War with Iraq., p. 170-1

[lxxiv] Friedrich, Desert Storm: The War in the Persian Gulf., p. 67

[lxxv] Bourque, Jayhawk!: The VII Corps in the Persian Gulf War., p. 195

[lxxvi] Lowry, The Gulf War Chronicles: A Military History of the First War with Iraq., p. 171

[lxxvii] Ibid., p. 172

[lxxviii] Ibid., p. 172

[lxxix] Ibid., p. 173

[lxxx] Ibid., p. 181

[lxxxi] Ibid., p. 180

[lxxxii] Finlan, The Gulf War 1991., p. 65

[lxxxiii] Lowry, The Gulf War Chronicles: A Military History of the First War with Iraq., p. 185

[lxxxiv] Ibid., p. 189; Biddle, Military Power: Explaining Victory and Defeat in Modern Battle., p. 145

[lxxxv] Friedrich, Desert Storm: The War in the Persian Gulf., p. 93; Schwarzkopf and Petre, It Doesn’t Take A Hero., p. 471

[lxxxvi] Schwarzkopf and Petre, It Doesn’t Take A Hero., p. 468

[lxxxvii] Biddle, Military Power: Explaining Victory and Defeat in Modern Battle., p. 135

[lxxxviii] Bourque, Jayhawk!: The VII Corps in the Persian Gulf War., p. 184

[lxxxix] Friedrich, Desert Storm: The War in the Persian Gulf., p. 96

[xc] Keegan, The Iraq War: The 21-Day Conflict and Its Aftermath., p. 82

[xci] Biddle, Military Power: Explaining Victory and Defeat in Modern Battle., p. 133

[xcii] Keegan, The Iraq War: The 21-Day Conflict and Its Aftermath., p. 81, 83

[xciii] Friedrich, Desert Storm: The War in the Persian Gulf., p. 197-8

[xciv] Ibid., p. 197

[xcv] Lowry, The Gulf War Chronicles: A Military History of the First War with Iraq., p. 160; Tucker, “Battle of 73 Easting.”, p. 292

[xcvi] Tucker, “Battle of 73 Easting.”, p. 291

[xcvii] Lowry, The Gulf War Chronicles: A Military History of the First War with Iraq., p. 170

[xcviii] Biddle, Military Power: Explaining Victory and Defeat in Modern Battle., p. 145

[xcix] Tucker, “Battle of 73 Easting.”, p. 291

[c] Bourque, Jayhawk!: The VII Corps in the Persian Gulf War., p. 194

[ci] Biddle, Military Power: Explaining Victory and Defeat in Modern Battle., p. 135

[cii] Ibid., p. 138

[ciii] Ibid., p. 135; Bourque, Jayhawk!: The VII Corps in the Persian Gulf War., p. 199

[civ] Biddle, Military Power: Explaining Victory and Defeat in Modern Battle., p. 135

[cv] Putney, “Planning the Air Campaign: The Washington Perspective.”, p. 255; Tim Benbow, The Magic Bullet? Understanding the Revolution in Military Affairs (London: Chrysalis Books Group, 2004)., p. 66

[cvi] Friedrich, Desert Storm: The War in the Persian Gulf., p. 91-2

[cvii] Bourque, “Correcting Myths about the Persian Gulf War: The Last Stand of the Tawakalna.”

[cviii] Douglas Macgregor, Warrior’s Rage: The Great Tank Battle of 73 Easting (Annapolis, Maryland: Naval Institute Press, 2009)., p. 43; US Defence Department and McMaster, Battle of 73 Easting., p. 2

[cix] Bourque, “Correcting Myths about the Persian Gulf War: The Last Stand of the Tawakalna.”

[cx] H. R. McMaster, Dereliction of Duty: Johnson, McNamara, the Joint Chiefs of Staff, and the Lies That Led to Vietnam (HarperCollins, 1998).

[cxi] David Leonhardt, “Why Success Starts With Failure,” Economix Blog, NYT, May 9, 2011, http://economix.blogs.nytimes.com/2011/05/09/why-success-starts-with-failure/.

[cxii] Bourque, Jayhawk!: The VII Corps in the Persian Gulf War., p. 198, 216

[cxiii] Bourque, “Correcting Myths about the Persian Gulf War: The Last Stand of the Tawakalna.”

[cxiv] Bourque, Jayhawk!: The VII Corps in the Persian Gulf War., p. 355

[cxv] Stephen Biddle, “Victory Misunderstood: What the Gulf War Tells Us About the Future of Conflict,” International Security 21, no. 2 (Fall 1996): 139–79., p. 165-6

[cxvi] Daryl G. Press, “Lessons from Ground Combat in the Gulf: The Impact of Training and Technology,” International Security 22, no. 2 (Fall 1997): 137–46., p. 137

[cxvii] Stephen Biddle, “The Gulf War Debate Redux: Why Skill and Technology Are the Right Answer. (response to Press, Keaney, and Mahnken and Watts).,” International Security 22, no. 2 (1997): 137.

[cxviii] Biddle, “Victory Misunderstood: What the Gulf War Tells Us About the Future of Conflict.”,

Infantry Tactics at the Battle of Crecy, 1346

Infantry Tactics at the Battle of Crecy, 26 August 1346

 Introduction

Crecy was the decisive opening battle of the first phase of the Hundred Years War. The campaign that preceded the battle and the perplexing outcome are of unending fascination. This article provides background on the campaign and examines the battle with respect to the crucial question of infantry tactics. The details of the infantry operations at Crecy are significant as Crecy demonstrated both the utility of gunpowder weapons, and the increasing importance of archers and spearmen relative to the traditional European nobility (chivalry).[i]

As Geoffrey Parker explained, “The verdict of battle at Crecy (1346), Poitiers (1356), Agincourt (1415), and countless other lesser encounters confirmed that a charge by heavy cavalry could be stopped by archery volleys.”[ii] Modern, “…explanations for the English dominance have tended to emphasize the importance of the archers’ clothyard shafts fired from prepared positions, on the indiscipline of French armies, and on the inherent superiority of disciplined infantry to cavalry.”[iii] Barbara Tuchman: “England’s advantage lay in combining the use of those excluded from chivalry – the Welsh knifemen, the pikemen, and above all, the trained yeomen who puled the longbow – with the action of the armored knight.”[iv] Or, “The penetration power of the longbow made mail armor essentially useless against the missile weapon.”[v] And again, “The rare efforts when [chivalry] were stupidly committed unsupported by combined arms to a frontal assault against well deployed men fighting on foot generally resulted in disaster for the horsemen.”[vi] Crecy is an excellent case study with which to examine these hypotheses.

 Battle_of_crecy_froissart

Battle of Crecy, 26 August 1346. From a 14th century illustration of Froissart’s Chronicles.[vii]

Background

The battle of Crecy was the result of a complex series of events, but the essential component was the dynastic struggle between the heirs of the Angevin Empire to contest the throne of France. Edward III Plantagenet’s objective was to reverse the expansion of France engineered by Philip II Capetian, the first titled King of France, in the 12th and early 13th centuries.

The Treaty of Paris (1259) concluded the first round of conflict. Henry III and (Saint) Louis IX agreed to a diminished presence of England on French soil.[viii]

 Territorial_Conquests_of_Philip_II_of_France (1)

Philip II reverses Angevin dominance in France.[ix]

The 14th century iteration of the dynastic struggle involved Philip VI Valois, a successor of the Capetians, and Edward III Plantagenet, the Duke of Aquitaine.[x]

Charles IV, the last Capetian, died without a male heir in 1328. Edward’s mother was Isabella of France, sister of Charles IV. Philip VI was the son of Charles of Valois, himself the son of Philip III (d. 1285) to whom both Philip and Edward were descended (the latter through Philip IV’s daughter, Isabella).[xi]

 Hommage_of_Edward_I_to_Philippe_le_Bel

Edward I, King of England and Duke of Aquitaine pays homage to Philip IV, c. 1293. 15th century copy.[xii] Prince Edward (III) repeated this ceremony for Charles IV in 1325;[xiii] a duty for which Edward II made his son the Earl of Aquitaine. Edward III repeated the ceremony for Philip VI at the Amiens cathedral on 6 June 1329.[xiv]

France had gained in strength through alliances with Scotland (1295) and Holland (1328), although the latter’s textile industry remained dependent on English wool, the supply of which was controlled in Flanders by pro-Edward weaver magnate Jacques van Artevelde.[xv] Scotland was diminished by Edward’s campaigns of 1332 and 1333. Through the mediation of Pope Benedict XII, a truce was arranged for 1335.[xvi]

Edward III, King from 29 January 1327, arranged alliances with the Duke of Brabant, the Count of Hainualt and the Count of Gueldros, Guelders, Limburg, Juliers, and Brabant, in addition to the support he received from Emperor Louis IV (Ludwig IV of Bavaria).[xvii]

 france_1314

France in 1314.[xviii]

These developments forced Philip to intervene. First he arranged his alliances: “the king of Bohemia, the duke of Lorraine, the prince-bishop of Liege, the count of Savoy, the count of Saarbrucken, the count of Namur and the count of Geneva.”[xix] Philip began to assemble an invasion fleet in the summer of 1336[xx] and “declared Guienne [Gascony] forfeited” on 24 May 1337.[xxi] Edward was now prepared to accept the title of heir of the Capetians, and thus the throne of France.[xxii] In November 1337 he challenged Philip through the Bishop of Lincoln; although refrained from claiming the throne.[xxiii] Meanwhile French ships attacked and burnt Portsmouth, Portsea, Southampton and with the ships of their Genoese allies, in May 1339, Hastings and Plymouth.[xxiv] On 16 July 1339, Edward , “in a declaration addressed to the pope and cardinals,” claimed the throne of France.[xxv]

02-Bataille de Buironfosse (1339)

The French and English armies are arrayed at Buironfosse where both sides refused battle, in 1339.[xxvi]

 In October of the 1339 campaign, Philip, with the army at Peronne, challenged Edward to open battle but was refused.[xxvii] Edward retreated to La Flamengerie, but was confronted by Philip’s army on October 23: Edward took the field, however, neither side engaged. Edward withdrew and arrived in Brussels on 1 November.[xxviii] The pay-off from this campaign was Edward’s announcement on 25 January 1340 of a double monarchy vested in himself as King of both England and France: this released the pro-English Flemish to endorse Edward for the throne of France.[xxix] Following the English naval victory at Sluys, on 24 June 1340, the truce of Esplechin was arranged on 25 September.[xxx]

Edward’s ally, the Duke of Brittany, John III, died in April 1341, resulting in a succession crisis.[xxxi] More campaigns followed, first in Scotland and then the continent, with Edward landing in Brittany in October 1342.

 Brest

Chateau de Brest, today.[xxxii] The English captured the strategically located fortress of Brest, situated to control the sea-lanes to Gascony, in 1342.[xxxiii] A truce was arranged at Malestroit on 19 January 1343- set to expire in September 1346.[xxxiv]

The Campaign

Failed peace negotiations at Avignon in 1344, compounded by the illiquidity of the Florentine firms bankrolling the English war effort,[xxxv] forced Edward to stake a military claim commensurate to his political claim for the throne of France. War by proxy in Brittany had not achieved the desired aims. In 1346 John of Hainault, along with many of Edward’s other allies, had switched sides or deserted the cause. These political-economic developments placed the English King in a precarious situation.

In June 1344, Parliament advised the King of their hope that “he would make an end to this war, either by battle, or by a suitable peace,”[xxxvi] [xxxvii] Edward’s intention was “to win his rights by force of arms”.[xxxviii] The next year Parliament ordered all landowners to serve or to supply a monetary equivalent of soldiers: “£5 of income from land or rents was to supply an archer, a £10 income supplied a mounted spearman… over £25 supplied a man-at-arms, meaning usually a squire or knight.”[xxxix] “According to the Statute of Winchester of 1258… those with lands or rents worth £2 to £5 per year were, to serve as or provide an archer.”[xl]

Edward III(3)

Edward III, by William Bruges, c 1430-40.[xli]

The English captured the channel island of Guernsey in the summer of 1345, and thus cleared the route for a landing in Normandy.[xlii] Edward’s strategy for 1346 included several distinct components: an attack from Flanders, combined with or following his own landing in Normandy; the Earl of Northampton’s attack against Brittany; and another operation in Aquitaine.[xliii] Henry of Derby, later Duke of Lancaster, executed the latter, where he campaigned and captured Garonne, the Dordogne, and then defeated French forces at Auberoche in October 1345. Henry also captured La Reole and, significantly, recaptured Aiguillon. In response, the French, under the Duke of Normandy, moved to siege Aiguillon in April 1346.[xliv] Meanwhile, Baron Hugh Hasting, with 250 to 600 archers embarked in 20 ships, executed the Flemish component of the campaign.[xlv]

There was speculation that Edward’s intentions for 1346 were to sail around Brest and land at Bordeaux; thus placed in a position to relieve Aiguillon.[xlvi] It is also conceivable that Edward created rumors of this plan for the purpose of military deception. Others argue that Edward’s clear intention had been the capture of Calais as a permanent base, as had occurred with Brest, and much as Henry V would move to capture Harfleur 70 years later.[xlvii] In the event, the landing in Normandy forced Philip to order the Duke of Normandy, then operating at Aiguillon, to come northward, thus reducing the pressure on the besieged English.[xlviii]

Philippe_VI_de_Valois

Philip VI of Valois, by Jean de Tillet, 16th Century.[xlix]

For his part, Philip VI was faced with increased English support in Brittany and Flanders. Worse still was the disagreeable prospect of declining battle with Edward for a third time.[l] In the event, bad weather forced a landing in Normandy (where Edward had anyway received promises of support from local nobles).[li]

Edward embarked for Normandy on 11 July (Harari: 5 July)[lii] from Portsmouth and arrived at Cotentin on 12 July.[liii] The King landed “on the beach to the south of St Vaast-la-Hogue” in Normandy. Upon landing, the army was composed of 3,200 men-at-arms, 7,800 archers and 2,400 Welsh spearmen.[liv] The subsequent campaign coincided with English naval raids along the coast, in which over 100 enemy ships were destroyed.[lv]

 Campaign of Crecy

Edward III’s campaign for 1346, July – August.[lvi]

 crecycampaign

Detail of the campaign.[lvii]

The army took five to six days to marshal once ashore.[lviii] After receiving the endorsement of Godfrey of Harcourt,[lix] Edward marched through Normandy and Picardy, raiding and acquiring booty as he went. Edward’s advancing army defeated the small forces dispatched by Philip to garrison the Norman coast. Philip was caught between a rock and a hard place as his main army of 20,000 men commanded by his son and heir, Jean (Duke of Normandy), was then in Gascony attempting to force the siege of Aiguillon.[lx]

Barfleur was burnt starting on 14 July, the success of which prompted the destruction of Cherbourg shortly afterwards.[lxi] Caen was captured on 26 July.[lxii] These moves seem to support the argument that Edward’s intention was to combine with his Flemish allies before confronting Philip.[lxiii], [lxiv] Edward, however, was placed in a critical situation when the crews of the English fleet mutinied following the capture of Caen, stranding the army without a line of retreat or ready access to his communication with Gascony.[lxv]

Philip’s movements during the campaign are complex: by depriving Edward of battle Philip could reduce him by siege tactics while his own forces grew in strength.[lxvi] Philip took the significant step and issued the nation-wide arriere-ban, or general summons for mobilization.[lxvii] As a result, Philip gathered his army and on 25 July set out for Rouen- where he intended to defend.[lxviii] Edward scouts reported on Philip’s force and movements, with the result that Edward increased the pace of his march east. On 13 August he was at Poissy, where he crossed the Seine after Philip withdrew to Paris, only ten miles away.[lxix] Here Philip dispatched a letter to Edward, challenging him to array his army before Paris in preparation for battle. The English continued to pillage the terrain outside Paris, but moved to withdraw to the north rather than accept battle on Philip’s terms.[lxx]

 crecy, google maps

The forest and village of Crecy, east of the Somme river delta, Abbeville to the south.[lxxi]

Meanwhile, the combined English-Flemish force had arrived at Bethune where a siege was conducted, however, after a series of French counter-attacks, the raiders were forced to withdraw, actually lifting the siege on 24 August: incidentally the same day Duke Jean lifted his siege of Aiguillon to march to Philip’s assistance.[lxxii]

Heading north, Edward crossed the Somme by ford on 22 August, and captured the defenders Philip had situated to block Edward’s route. Harassed by Philip’s vanguard, on 25 August, Edward was prepared to accept battle. He thus moved the army into a defensive position on the hills north of the village of Crecy.[lxxiii] Edward’s position was strong: he was now well supplied by captured victuals from Le Crotoy, and he presently expected the arrival of his Flemish allies under Hugh Hastings (although in fact, the Flemish contingent was retreating without knowledge of Edward’s situation).[lxxiv] Philip rested the army at Abbeville, 14 miles by road from Crecy.[lxxv] The two armies confronted each other on the following day, 26 August 1346.

 longbowman

Modern depiction of English infantry and bowman.[lxxvi]

The Battle

The details of Edward’s army are obscure as the army pay records covering this period no longer exist.[lxxvii].[lxxviii] However, some of the exchequer records concerned with the siege of Calais do exist: they provide concrete figure for Edward’s navy and logistics at that phase of the campaign.[lxxix]

 OOBenglish

Reconstruction of Edward’s order of battle.[lxxx]

When deployed, the army was composed of 11,000 soldiers in three divisions. The right wing was commanded by Edward the Black Prince, and Prince of Wales. The Prince of Wales’ force consisted of 800 to 1000 dismounted men at arms, 2,000 to 3,000 archers and 1,000 Welsh spearmen.[lxxxi] The Black Prince was supported by a veteran staff, including the Earls of Warwick and Oxford; Count Godfrey d’Harcourt; Sir Thomas Holland, Lord Stafford, Bartholomew Lord Burghersh and Sir John Chandos.[lxxxii]

The second division was commanded by the Earls of Arundel and Northampton, and was composed of 500 men-at-arms and 1,200 to 3,000 archers as well as a quantity of Welsh spearmen.[lxxxiii] In reserve behind these two divisions was Edward III’s division of 700 men-at-arms, 2,000 archers and 1,000 Welsh spearmen.[lxxxiv] Edward’s archers each carried 24 to 48 arrows and were supported by a large reserve, possibly as many as 5 million arrows.[lxxxv] The royal inventory included at least 133,200 arrows; that is to say, at the absolute minimum, more than a hundred thousand arrows had been prepared for the army.[lxxxvi]

halidon2

Conjectural dispositions at Halidon Hill, 1333.[lxxxvii]

Edward deployed his army in “Halidon-style”- a defensive formation, in reference to the battle of Halidon Hill, 19 July 1333.[lxxxviii] Trenches were dug in front of the army to disrupt the expected French cavalry charge.[lxxxix] Edward III was said to have possessed three “small cannon” at the field- possibly multi-barreled ribauldequins– no surprise considering the revolution in artillery, both field and siege, that had occurred in England during the 13th century.[xc]

Edward III’s army had marched over 300 miles in a single month, but rested on the 25th.[xci]

Crecy2

Conventional map of deployments.[xcii]

The size of Philip’s army is largely conjecture. Some estimates place it at 60,000 men; 4,000 to 6,000 Genoese crossbows, and 8,000 to 12,000 cavalry.[xciii] A conservative estimate is a total of 20,000 men, plus between 200 to 2,000 crossbows: twice the size of Edward’s army.[xciv] The first division of cavalry was led by King John of Bohemia (the blind) supported by Philip’s brother, Charles Duke of Alencon, a veteran of the Brittany campaigns. Carlo Grimaldi and Otto Doria commanded the Genoese component.[xcv] Philip’s army was assembled in part by “’lettres de retenue’”- essentially mercenary contracts that pledged the contractor to fight during a certain period of time and for a specified sum.[xcvi] In 1340, six years before Crecy, 28.5% of the royal army was composed of foreign mercenaries.[xcvii] Contingents from Flanders, Picardy, Normandy, Paris, Burgundy and Loire were all present at the battle.[xcviii] The French were tired when they arrived, having marched from Abbeville; whereas the English forces were well rested, fed, and had spent the day preparing.

Infantry Tactics

Philip rose at sunrise and heard mass at St. Peter’s in Abbeville before setting out with the army to confront Edward.[xcix] The army arrived about 4 pm, with the sun setting behind the English.[c] Philip was recommended to delay until the following morning, a suggestion he approved of, but the confusion of the situation, combined with the impatience of the forward ranks of the French army, pushed the battle beyond Philip’s control.

 Genoacrossbow

Modern depiction of infantry and Genoese crossbowman.[ci]

At 6 pm it rained.[cii] The exhausted Genoese crossbowmen went into action, as the weather reduced the effectiveness of their weapons. Next, Edward’s longbows, carefully kept dry, developed an intense fire on the Genoese, which may have included fire from Edward’s cannon.[ciii] Both bows and crossbows had been technically prohibited in use between Christian armies since the Second Lateran Council of 1139.[civ] Edward I had incorporated the Welsh longbow into the English army for garrisoning in Scotland: Longbowmen could deliver as many as 10 arrows a minute, out to ranges of 250 to 300 yards, with pull between 80 and 160 lbs.[cv] The bows themselves were made from yew tree (“the most resilient and elastic wood in the world”) imported from Italy through English merchants in Venice.[cvi] The details of period armour versus longbow technology can be read in a number of sources: the essence of the argument is that prior to Crecy, the prevailing tournament-style armour was insufficient.[cvii] The chivalry on both sides were equipped with armour and weapons derived from such sporting occasions: Edward’s royal wardrobe in 1344 included 38 cuirace plates of armour, initially acquired for a tournament held at Windsor in 1278.[cviii]

 1280px-Crecy-en-Ponthieu_champ-de-bataille

Site of the battle, today.[cix]

In the event, the hail of longbow fire broke the Genoese attack; the crossbowmen were seriously exposed as their shields were still packed with the baggage train.[cx] The crossbow attack was the prologue to the grand charge of the chivalry. The marshaled chivalry of France were well aware of the “repute and combat records” of their English opposites- from sport, such as jousts and tournaments.[cxi] Indeed, the chivalry of Europe represented an “international knightly community”.[cxii]

knights

Dueling knights: illustration from the Hans Talhoffer manuscript, “Alte Armatur und Ringhunst”, Danish, 1459.[cxiii]

At dusk, with the crossbow attack defeated, the Duke of Alencon (Count d’Alencon), commander of the first division, endorsed by Philip, ordered a general charge against the English right wing- in the process trampling the retreating crossbowmen.[cxiv] The ensuing melee was composed of three distinct French attacks comprising 15 separate charges (reflecting the 15 different contingents of the royal army). On one occasion the English right wing was penetrated and the French infantry possibly captured Edward, the Black Prince.[cxv]

 militaria-cavalry-v-archers.-battle-of-crecy.-1894-wdjb--135735-p[ekm]400x243[ekm]

1894 depiction of the battle, showing French cavalry charging English positions.[cxvi]

The French force was unable to break the English line.[cxvii] At nightfall the Count of Hainault led Philip, dismounted twice during these attacks, and wounded, away from battle.[cxviii] As a decade later at Poitiers it is probable that the longbowmen had focused their fire against the lightly armoured horses of the French cavalry.[cxix]

 San_Romano_Battle_(Paolo_Uccello,_London)_01

The Battle of San Romano, Paolo Uccello, c. 1438-40, National Gallery London, depicting battle between Florentine and Sienese forces in 1432.[cxx] Note heavily armoured knights and unarmoured horses.

 arrows2

Longbow arrowhead variants.[cxxi]

4,000 French soldiers were killed, including the Duke of Alencon, the Count of Blois, Count Louis Nevers of Flanders, the Count of St. Pol and the Count of Sancerre, Enguerrand de Coucy VI,[cxxii] the Duke of Loraine, the King of Majorca and King John of Bohemia.[cxxiii] The Genoese crossbows were wiped out. The carnage amongst the nobles was immense: for example, ten counts and viscounts, eight barons, one archbishop and one bishop, 80 bannerets and 1,542 knights and squires were all slain by the Black Prince’s division, alone.[cxxiv] Edward is said to have lost 300 men-at-arms and some archers, all told.[cxxv]

 bataille de crecy 1346

Modern depiction of Crecy, showing French cavalry charging through the Genoese crossbow line. Note fieldworks and cannon at English position.[cxxvi] Note also Genoese crossbow shields- not present at the battle.

Outcome: Political – Military


The next day, amidst a thick fog, the Duke of Lorraine arrived on the field with 7,000 infantry, followed by the Count of Savoy with 500 men-at-arms and was routed by the Earl of Warwick and the Earl of Northampton (with 2,000 French losses including the Duke of Lorraine, himself).[cxxvii] All told, English raids involving 500 lances and 2,000 archers killed or captured another 4,000 French soldiers on 27 August.[cxxviii]

 risban2

Fort Risban today: the site of the original medieval port fortification. Rebuilt in the 17th century and every century subsequently.[cxxix]

The English sieged Calais on 3 September 1346. Early in 1347 Philip was rebuilding his army, however, he was unwilling to take the field. Edward now “ordered the recruitment of 7,200 archers, as well as calling on the services of the Earls of Lancaster, Oxford, Gloucester, Pembroke, Hereford and Devon.”[cxxx] The eleven month siege concluded with Calais’ surrender on 4 August 1347, and was followed shortly thereafter by the ceasefire of 28 September.[cxxxi] Philip VI secured an alliance with Castile and the war was continued at sea through 1349.[cxxxii] It was now that the bubonic plague spread throughout Europe: experts predicted the end of the world.

Philip died in 1350, and was succeeded by King Jean II (1350-1364), against whom the Black Prince continued the war in Aquitaine. Calais, which likely had been Edward III’s objective all along, became the beachhead for the subsequent campaigns of 1355 and 1359-60.[cxxxiii] [cxxxiv] The capture of Brest and Calais provided security for England’s trade, and established defensible outposts on the continent.[cxxxv]

poitiers

Battle of Poitiers: the Black Prince repeats his father’s tactics; defeats and captures King Jean, 19 September 1356, from Froissart’s chronicle, Louis de Bruges copy, c. 1460.[cxxxvi] Following Crecy, and then the Black Death, in 1351, Jean II introduced reforms designed to improve the discipline of the army.[cxxxvii]

1360france

Treaty of Bretigny, 1360. Note also Edward III’s route from Normandy to Calais.[cxxxviii] In addition to territorial concessions, the treaty of Bretigny arranged for the payment of King Jean’s ransom.

 Raoul_de_Presles_presents_his_translation_to_Charles_V_of_France

Charles V receives Raoul de Presles’ translation (of Augustine’s City of God, 1370), c. 1410.[cxxxix]

Edward’s gains were not to last. The campaigns of Charles V Valois reversed Edward III’s success, resulting in the Treaty of Bruges (1375). When Edward died in 1377, England’s holdings in France had been reduced to the rump of Bordeaux and the fortresses of Calais and Brest- the latter held until 1397.[cxl] Armourers in France, Italy and England, meanwhile, responded to the infantry revolution by improvements to plate armour technology over the half century from 1350 to 1400. The knight could now rely on full-body plate to generally protect against the longbow.[cxli] Ultimately, English reliance on the longbow was a weakness: skilled bowmen could not be trained in the numbers required for the ongoing campaigns in France. Gunpowder, the great leveler, was set to revolutionize European warfare.[cxlii] The groundwork was prepared for the second phase of the Hundred Years War.

 france1400

France in 1400.[cxliii]

[i] John France, Perilous Glory, The Rise of Western Military Power (New Haven: Yale University Press, 2011)., p. 153

[ii] Geoffrey Parker, The Military Revolution, Military Innovation and the Rise of the West, 1500 – 1800 (Cambridge: Cambridge University Press, 2011)., p. 69

[iii] Rogers, “‘Werre Cruelle and Sharpe’: English Strategy under Edward III, 1327 – 1347.”,, p. 337 74n

[iv] Barbara W. Tuchman, A Distant Mirror, The Calamitous 14th Century (New York: Alfred A. Knopf, 1978)., p. 88

[v] John J. Mortimer, “Tactics, Strategy, and Battlefield Formation During the Hundred Years War: The Role of the Longbow in the ‘Infantry Revolution’” (MA Thesis, Indiana University of Pennsylvania, 2013)., p. 8

[vi] Bernard S Bachrach, review of Weapons and Warfare in Renaissance Europe: Gunpowder, Technology, and Tactics, by Bret S. Hall, Canadian Journal of History 33, no. 1 (1998): 94., p. 95

[vii] http://commons.wikimedia.org/wiki/File:Battle_of_crecy_froissart.jpg

[viii] http://en.wikipedia.org/wiki/Treaty_of_Paris_%281259%29

[ix] http://upload.wikimedia.org/wikipedia/commons/1/12/Territorial_Conquests_of_Philip_II_of_France.png

[x] J. F. C. Fuller, A Military History of the Western World. Volume I: From the Earliest Times to the Battle of Lepanto, vol. 1, 2 vols. (New York: Da Capo Press, 1987)., p. 445

[xi] Ibid., p. 444

[xii] http://en.wikipedia.org/wiki/File:Hommage_of_Edward_I_to_Philippe_le_Bel.jpg

[xiii] Fuller, A Military History of the Western World. Volume I: From the Earliest Times to the Battle of Lepanto., p. 444

[xiv] Ibid., p. 445

[xv] Ibid., p. 446, 450

[xvi] Ibid., p. 448

[xvii] Jaliker14, “History – Edward III & The Hundred Years War,” Study notes, Pret-A-Revise, (November 17, 2014), http://pret-a-revise.com/2014/11/17/history-edward-iii-the-hundred-years-war/. ; Fuller, A Military History of the Western World. Volume I: From the Earliest Times to the Battle of Lepanto., p. 448-9

[xviii] http://www.westpoint.edu/history/SiteAssets/SitePages/Dawn%20Of%20Modern%20Warfare/france_1314.gif

[xix] Bertrand Schnerb, “Vassals, Allies and Mercenaries: The French Army before and after 1346,” in The Battle of Crecy, 1346, ed. Andrew Ayton and Philip Preston, Warfare in History (Woodbridge: The Boydell Press, 2007), 265–72., p. 268

[xx] N. A. M. Rodger, The Safeguard of the Sea. A Naval History of Britain, 660-1649 (New York: W. W. Norton & Company, 1998)., p. 446

[xxi] Fuller, A Military History of the Western World. Volume I: From the Earliest Times to the Battle of Lepanto.,, p. 448

[xxii] Rodger, The Safeguard of the Sea. A Naval History of Britain, 660-1649., p. 446; Fuller, A Military History of the Western World. Volume I: From the Earliest Times to the Battle of Lepanto., p. 445

[xxiii] Fuller, A Military History of the Western World. Volume I: From the Earliest Times to the Battle of Lepanto., p. 448

[xxiv] Ibid., p. 450; Rodger, The Safeguard of the Sea. A Naval History of Britain, 660-1649., p. 446

[xxv] Fuller, A Military History of the Western World. Volume I: From the Earliest Times to the Battle of Lepanto., p. 450

[xxvi] http://www.maisonstclaire.org/common/mss_images/chronicles/BNF_FR76_chroniques_d_angleterre/02-Bataille%20de%20Buironfosse%20(1339).jpg

[xxvii] Fuller, A Military History of the Western World. Volume I: From the Earliest Times to the Battle of Lepanto., p. 450

[xxviii] Ibid., p. 451

[xxix] Ibid., p. 451

[xxx] Rodger, The Safeguard of the Sea. A Naval History of Britain, 660-1649., p. 447

[xxxi] Ibid., p. 447

[xxxii] https://cedpics.files.wordpress.com/2009/01/p1010679.jpg

[xxxiii] Rodger, The Safeguard of the Sea. A Naval History of Britain, 660-1649., p. 102

[xxxiv] Ibid., p. 447; Robin Neillands, The Hundred Years War (Routledge, 2002)., p. 90

[xxxv] Tuchman, A Distant Mirror, The Calamitous 14th Century., p. 81

[xxxvi] Rogers, “‘Werre Cruelle and Sharpe’: English Strategy under Edward III, 1327 – 1347.”, p. 315

[xxxvii] Ibid., p. 321

[xxxviii] Ibid., p. 348

[xxxix] Tuchman, A Distant Mirror, The Calamitous 14th Century., p. 82

[xl] Mortimer, “Tactics, Strategy, and Battlefield Formation During the Hundred Years War: The Role of the Longbow in the ‘Infantry Revolution.’”, p. 32-3

[xli] http://en.wikipedia.org/wiki/Edward_III_of_England#mediaviewer/File:Edward_III_of_England_(Order_of_the_Garter).jpg

[xlii] Rodger, The Safeguard of the Sea. A Naval History of Britain, 660-1649., p. 102

[xliii] Neillands, The Hundred Years War., p. 90

[xliv] Rodger, The Safeguard of the Sea. A Naval History of Britain, 660-1649., p. 448

[xlv] Rogers, “‘Werre Cruelle and Sharpe’: English Strategy under Edward III, 1327 – 1347.”, p. 325; Yuval Noah Harari, “Inter-Frontal Cooperation in the Fourteenth Century and Edward III’s 1346 Campaign,” War in History 6, no. 4 (1999): 379–95., p. 384

[xlvi] Rogers, “‘Werre Cruelle and Sharpe’: English Strategy under Edward III, 1327 – 1347.”, p. 317

[xlvii] Ibid., p, 339, Jan Willem Honig, “Reappraising Late Medieval Strategy: The Example of the 1415 Agincourt Campaign,” War in History 19, no. 2 (2012): 123–51.

[xlviii] Rogers, “‘Werre Cruelle and Sharpe’: English Strategy under Edward III, 1327 – 1347.”, p. 376

[xlix] http://commons.wikimedia.org/wiki/File:Philippe_VI_de_Valois.jpg

[l] Rogers, “‘Werre Cruelle and Sharpe’: English Strategy under Edward III, 1327 – 1347.”,, p. 327-9

[li] Ibid.,, p. 322

[lii] Harari, “Inter-Frontal Cooperation in the Fourteenth Century and Edward III’s 1346 Campaign.”, p. 381

[liii] Rodger, The Safeguard of the Sea. A Naval History of Britain, 660-1649., p. 102-3

[liv] Rogers, “‘Werre Cruelle and Sharpe’: English Strategy under Edward III, 1327 – 1347.”, p. 308

[lv] Rodger, The Safeguard of the Sea. A Naval History of Britain, 660-1649., p. 103

[lvi] http://www.emersonkent.com/images/hundred_years_war.jpg

[lvii] Map 1, Andrew Ayton and Philip Preston, The Battle of Crecy, 1346, Warfare in History (Woodbridge: The Boydell Press, 2007).,p. 2

[lviii] Rogers, “‘Werre Cruelle and Sharpe’: English Strategy under Edward III, 1327 – 1347.”, p. 311

[lix] Rogers, “‘Werre Cruelle and Sharpe’: English Strategy under Edward III, 1327 – 1347.”, p. 343

[lx] Harari, “Inter-Frontal Cooperation in the Fourteenth Century and Edward III’s 1346 Campaign.”, p. 384

[lxi] Rogers, “‘Werre Cruelle and Sharpe’: English Strategy under Edward III, 1327 – 1347.”, p. 344

[lxii] Christopher Rothero, The Armies of Crecy and Poitiers, Men-At-Arms Series (Hong Kong: Reed International Books Ltd., 1995)., p. 5

[lxiii] Rogers, “‘Werre Cruelle and Sharpe’: English Strategy under Edward III, 1327 – 1347.”, p. 334

[lxiv] Ibid., p. 364

[lxv] Fuller, A Military History of the Western World. Volume I: From the Earliest Times to the Battle of Lepanto., p. 460; Harari, “Inter-Frontal Cooperation in the Fourteenth Century and Edward III’s 1346 Campaign.”, p. 383

[lxvi] Rogers, “‘Werre Cruelle and Sharpe’: English Strategy under Edward III, 1327 – 1347.”, p. 339

[lxvii] Tuchman, A Distant Mirror, The Calamitous 14th Century., p. 83; , p. 267

[lxviii] Rothero, The Armies of Crecy and Poitiers., p. 5

[lxix] Ayton and Preston, The Battle of Crecy, 1346., p. 2

[lxx] Rogers, “‘Werre Cruelle and Sharpe’: English Strategy under Edward III, 1327 – 1347.”, p. 372-3

[lxxi] google earth

[lxxii] Harari, “Inter-Frontal Cooperation in the Fourteenth Century and Edward III’s 1346 Campaign.”, p. 385

[lxxiii] Rothero, The Armies of Crecy and Poitiers., p. 5-6

[lxxiv] Rogers, “‘Werre Cruelle and Sharpe’: English Strategy under Edward III, 1327 – 1347.”, p. 383; Harari, “Inter-Frontal Cooperation in the Fourteenth Century and Edward III’s 1346 Campaign.”, p. 391

[lxxv] Rothero, The Armies of Crecy and Poitiers., p. 7

[lxxvi] Ibid., p. 26

[lxxvii] Craig Lambert, “Edward III’s Siege of Calais: A Reppraisal,” Journal of Medieval History 37, no. 3 (2011): 245–56., p. 2

[lxxviii] Ibid., p. 247 fn; see also, Andrew Ayton, “The English Army at Crecy,” in The Battle of Crecy, 1346, ed. Andrew Ayton and Philip Preston, Warfare in History (Woodbridge: The Boydell Press, 2007), 159–252., p. 246

[lxxix] Susan Rose, “The Wall of England, to 1500,” in The Oxford Illustrated History of the Royal Navy, ed. J. R. Hill and Bryan Ranft (Oxford: Oxford University Press, 1995), 1–23., p. 10

[lxxx] Ayton, “The English Army at Crecy.”, p. 242-4. Appendix 2

[lxxxi] Rothero, The Armies of Crecy and Poitiers., p. 7

[lxxxii] Ibid., p. 7

[lxxxiii] Ibid., p. 7

[lxxxiv] Charles W. C. Oman, The Art of War in the Middle Ages, ed. John H. Beeler (Ithaca: Cornell University Press, 1968)., p. 127-8

[lxxxv] France, Perilous Glory, The Rise of Western Military Power., p. 153

[lxxxvi] Michael Prestwich, “The Battle of Crecy,” in The Battle of Crecy, 1346, ed. Andrew Ayton and Philip Preston, Warfare in History (Woodbridge: The Boydell Press, 2007), 139–58., p. 153

[lxxxvii] Mortimer, “Tactics, Strategy, and Battlefield Formation During the Hundred Years War: The Role of the Longbow in the ‘Infantry Revolution.’”, p. 41, Figure 2

[lxxxviii] Rogers, “‘Werre Cruelle and Sharpe’: English Strategy under Edward III, 1327 – 1347.”, p. 339; Fuller, A Military History of the Western World. Volume I: From the Earliest Times to the Battle of Lepanto., p. 451

[lxxxix] Rothero, The Armies of Crecy and Poitiers., p. 7

[xc] Tuchman, A Distant Mirror, The Calamitous 14th Century., p. 71; David Stewart Bachrach, “English Artillery 1189-1307: The Implications of Terminology,” The English Historical Review 121, no. 494 (December 2006): 1408–30. p. 1430; Fuller, A Military History of the Western World. Volume I: From the Earliest Times to the Battle of Lepanto., p. 464 fn

[xci] Rothero, The Armies of Crecy and Poitiers., p. 6

[xcii] http://historywarsweapons.com/wp-content/uploads/image/Crecy2.jpg

[xciii] Rothero, The Armies of Crecy and Poitiers., p. 7; Rogers, “‘Werre Cruelle and Sharpe’: English Strategy under Edward III, 1327 – 1347.”, p. 383 fn

[xciv] Rogers, “‘Werre Cruelle and Sharpe’: English Strategy under Edward III, 1327 – 1347.”, p. 371

[xcv] Rothero, The Armies of Crecy and Poitiers., p. 9

[xcvi] Schnerb, “Vassals, Allies and Mercenaries: The French Army before and after 1346.”, p. 267

[xcvii] Ibid., p. 268

[xcviii] Ibid., p. 268

[xcix] http://www.maisonstclaire.org/resources/chronicles/froissart/book_1/ch_126-150/fc_b1_chap128.html

[c] Tuchman, A Distant Mirror, The Calamitous 14th Century., p. 70; John Keegan, The Face of Battle, A Study of Agincourt, Waterloo and The Somme (Penguin Books, 1978)., p. 87

[ci] Rothero, The Armies of Crecy and Poitiers.,, p. 33

[cii] Fuller, A Military History of the Western World. Volume I: From the Earliest Times to the Battle of Lepanto., p. 465

[ciii] Rothero, The Armies of Crecy and Poitiers., p. 9

[civ] Rory Cox, “Asymmetric Warfare and Military Conduct in the Middle Ages,” Journal of Medieval History 38, no. 1 (March 2012): 100–125., p. 105

[cv] Tuchman, A Distant Mirror, The Calamitous 14th Century., p. 70; Keegan, The Face of Battle, A Study of Agincourt, Waterloo and The Somme., p. 84 ; Mortimer says 400 yards, although really effective at half that. Mortimer, “Tactics, Strategy, and Battlefield Formation During the Hundred Years War: The Role of the Longbow in the ‘Infantry Revolution.’” p. 6, 26

[cvi] Mortimer, “Tactics, Strategy, and Battlefield Formation During the Hundred Years War: The Role of the Longbow in the ‘Infantry Revolution.’”, p. 24-5

[cvii] Ibid., Keegan, The Face of Battle, A Study of Agincourt, Waterloo and The Somme., Thom Richardson, “Armour in England, 1325-99,” Journal of Medieval History 37 (2011): 304–20.

[cviii] Richardson, “Armour in England, 1325-99.”, p. 314

[cix] http://commons.wikimedia.org/wiki/File:Crecy-en-Ponthieu_champ-de-bataille.jpg

[cx] Rogers, “‘Werre Cruelle and Sharpe’: English Strategy under Edward III, 1327 – 1347.”, p. 386

[cxi] Tuchman, A Distant Mirror, The Calamitous 14th Century., p. 70; Keegan, The Face of Battle, A Study of Agincourt, Waterloo and The Somme., p. 87

[cxii] Ayton and Preston, The Battle of Crecy, 1346., p. 5

[cxiii] http://www.kb.dk/da/nb/materialer/haandskrifter/HA/e-mss/thalhofer/thott-2_290.html ; http://www.aemma.org/onlineResources/talhoffer1459/contents_body.htm

[cxiv] Rothero, The Armies of Crecy and Poitiers., p. 9; Tuchman, A Distant Mirror, The Calamitous 14th Century. p. 87

[cxv] Rothero, The Armies of Crecy and Poitiers., p. 9

[cxvi] http://www.antiquaprintgallery.com/militaria-cavalry-v-archers-battle-of-crecy-1894-135735-p.asp

[cxvii] Oman, The Art of War in the Middle Ages., p. 129

[cxviii] Rothero, The Armies of Crecy and Poitiers., p. 9-10; Tuchman, A Distant Mirror, The Calamitous 14th Century. p. 88

[cxix] Tuchman, A Distant Mirror, The Calamitous 14th Century., p. 148-9

[cxx] http://en.wikipedia.org/wiki/The_Battle_of_San_Romano#mediaviewer/File:San_Romano_Battle_(Paolo_Uccello,_London)_01.jpg

[cxxi] Mortimer, “Tactics, Strategy, and Battlefield Formation During the Hundred Years War: The Role of the Longbow in the ‘Infantry Revolution.’”, p. 32, figure 1.

[cxxii] “perhaps” – Tuchman, A Distant Mirror, The Calamitous 14th Century., p. 88

[cxxiii] Rothero, The Armies of Crecy and Poitiers., p. 10

[cxxiv] Rogers, “‘Werre Cruelle and Sharpe’: English Strategy under Edward III, 1327 – 1347.”, p. 388

[cxxv] Ibid., p. 389

[cxxvi] http://photos1.blogger.com/blogger/3908/963/1600/bataille%20de%20crecy%201346.jpg

[cxxvii] Rogers, “‘Werre Cruelle and Sharpe’: English Strategy under Edward III, 1327 – 1347.”, p. 389-90; Schnerb, “Vassals, Allies and Mercenaries: The French Army before and after 1346.”, p. 269

[cxxviii] Rogers, “‘Werre Cruelle and Sharpe’: English Strategy under Edward III, 1327 – 1347.”, p. 390; http://www.maisonstclaire.org/resources/chronicles/froissart/book_1/ch_126-150/fc_b1_chap130.html

[cxxix] http://en.wikipedia.org/wiki/Fort_Risban

[cxxx] Lambert, “Edward III’s Siege of Calais: A Reppraisal.”, p. 249

[cxxxi] Rodger, The Safeguard of the Sea. A Naval History of Britain, 660-1649., p. 103

[cxxxii] Ibid., p. 104

[cxxxiii] Rogers, “‘Werre Cruelle and Sharpe’: English Strategy under Edward III, 1327 – 1347.”, p. 358-9

[cxxxiv] Harari, “Inter-Frontal Cooperation in the Fourteenth Century and Edward III’s 1346 Campaign.”, p. 389

[cxxxv] Rodger, The Safeguard of the Sea. A Naval History of Britain, 660-1649., p. 104

[cxxxvi] http://images.easyart.com/highres_images/easyart/3/0/301947.jpg; Tuchman, A Distant Mirror, The Calamitous 14th Century., p. 234, plate 4.

[cxxxvii] Ibid., p. 128

[cxxxviii] http://legacy.fordham.edu/halsall/maps/1360france.jpg

[cxxxix] http://commons.wikimedia.org/wiki/File:Raoul_de_Presles_presents_his_translation_to_Charles_V_of_France.jpg

[cxl] http://en.wikipedia.org/wiki/Brest,_France#History

[cxli] Keegan, The Face of Battle, A Study of Agincourt, Waterloo and The Somme., p. 87; Mortimer, “Tactics, Strategy, and Battlefield Formation During the Hundred Years War: The Role of the Longbow in the ‘Infantry Revolution.’”, p. 2; Richardson, “Armour in England, 1325-99.” , p. 315

[cxlii] Mortimer, “Tactics, Strategy, and Battlefield Formation During the Hundred Years War: The Role of the Longbow in the ‘Infantry Revolution.’”, p. 7

[cxliii] http://etc.usf.edu/maps/pages/6900/6906/6906z.htm